Inserting images can make your data more informative and easier to understand, especially when creating reports, charts, or sales sheets.
Excel has several tools and functions to insert images on your spreadsheet. While all Excel users can access the Picture option in the Insert tab, Excel 365 supports the new IMAGE function to insert images directly into the cells.
Besides that, you can also insert images by copying them from online sources, documents like Word, Excel, PPT, and programs like Windows Photos, Paint, and Photoshop. However, you can not copy and paste photos from your computer into Excel spreadsheets.
Insert Images Via Computer
Excel has a built-in feature for inserting pictures on your spreadsheet. You can insert images from your computer using the Pictures option in the Insert tab.
- Open Excel.
- Click on the cell you want to insert an image.
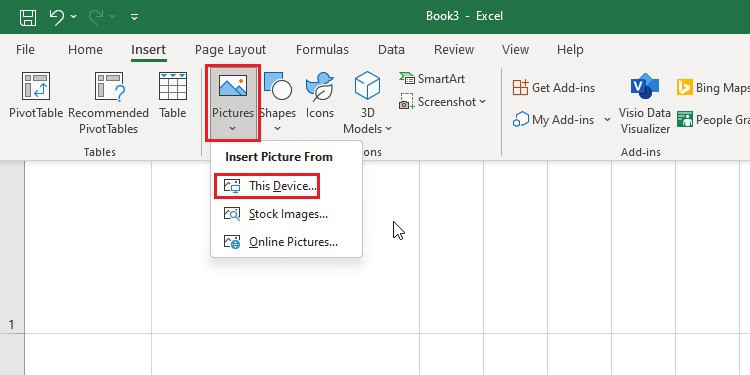
- Go to the Insert tab. Click on the Pictures option and select This Device.
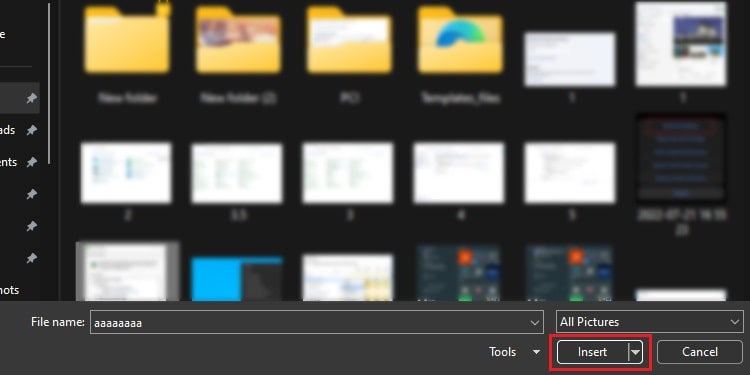
- Select the image you want to insert from your PC and click Insert.
Insert Stock Images
Excel provides you with various stock images, including icons, images, stickers, and illustrations which you can insert into your Excel workbooks. However, Excel has a limited number of stock images, and you can only choose to insert images from those catalogs of images.
Inserting images from stock images is similar to inserting from your computer—you just need to select the stock images option from the Pictures feature.
But remember that inserting images from stock images is an online feature, so you will need an active internet connection to use this feature.
- Open Excel.
- Click on the cell where you want to insert an image.
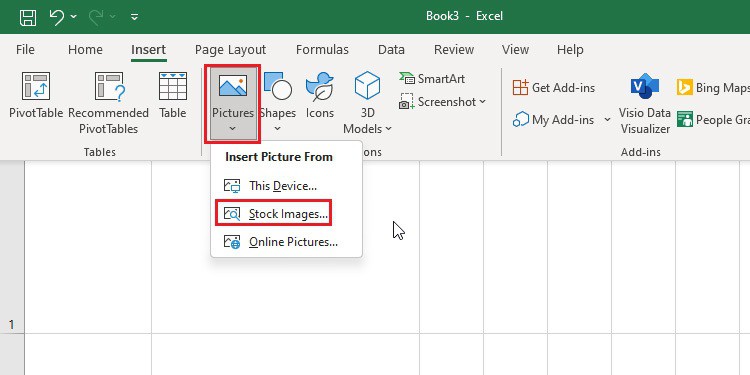
- Go to the Insert menu. Click Pictures and select Stock Images.
- Select the images you want to insert and click Insert.

If you try to insert multiple images from the Stock Images, all the images will stack upon each other. And those images will only move or resize as a single unit.
So, to resize or relocate individual images, click anywhere on the sheet, and then you can separate those images and work individually.
Insert Images Via Online Sources
You can also insert images from the online pictures option in Excel. While using the option, search for different images from online sources and insert them in Excel.
Excel lets you enter the image description, and it searches on the web to match the description of that image.
Here is how you can insert images in Excel from online pictures.
- Open Excel.
- Click where you want to insert an image.
- Go to Insert Tab. Click Pictures > Select Online Pictures.

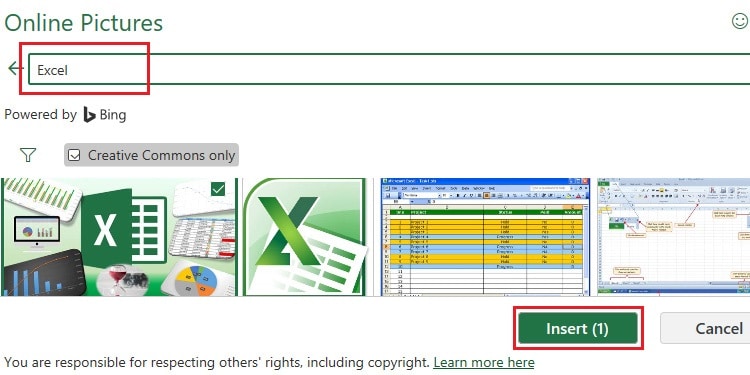
- Search for images in the Search bar. Then, select the image and click Insert.
- All the selected images will insert into an Excel spreadsheet.
- You have to remove other attributes at the bottom of the image manually.
If you insert multiple images, they will stack upon each other and move as a single unit. To resize or relocate the images individually, click anywhere on the sheet, and select the image you want to work with.
How to Insert Image into Cells?
All of the above ways help you insert images on that floats top of the cells. If you wish to insert images in cells as a part of a use the IMAGE function and VBA code.
Using Image Function
Unlike the above methods, this function only applies to Microsoft 365, the Web version of Excel and Excel for mobile devices.
Syntax: =IMAGE(source, [alt_text], [sizing], [height], [width])Here,
- Source: Place the URL of the image file here. (It supports BMP, JPG/JPEG, GIF, TIFF, PNG, ICO, and WEBP formats)[Required]
- Alt_text: You can write the image’s description here.[Optional]
- Sizing: Place the image dimensions in this argument.[Optional]There are several values for the sizing:
- Place 0 to fit the image in the cell and maintain the aspect ratio.
- Place 1 to fill the cell with the image and ignore the aspect ratio.
- Place 2 to maintain the image’s original size.
- Place 3 for the customized height and width of the image.
- Height and Width: Define the height of the image’s width using the sizing “3” option.[Optional]
Here’s how you can add images using the IMAGE function.
- Open Excel.
- Click on the cell you want to insert the image.
- Search for the image you want to insert and copy the URL.
- Now, enter all the required values:
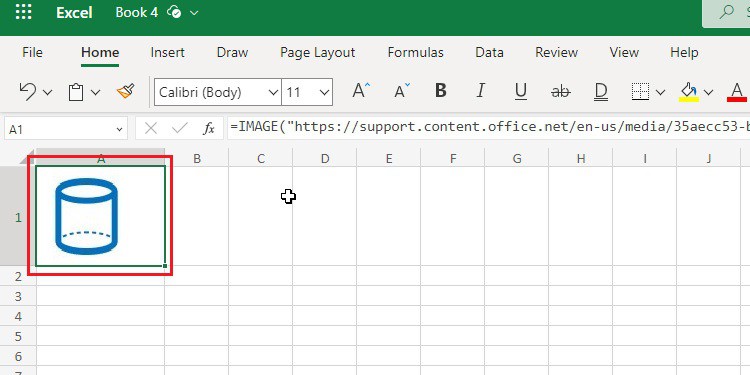
=IMAGE(source or URL, [alt_text], [sizing], [height], [width]) - Click on Turn on images in the Security Warning.

- Now the image will insert into your sheet.
You can place the value for the arguments as instructed above, and the image will insert in Excel. But remember that the image will not be displayed in Excel if you place an URL of an image that requires authentication.
Using VBA Code
You can insert images from your computer in Excel using VBA with a simple code and a few easy steps.
- Open Excel and Press Alt + F11 to open VBA Editor.
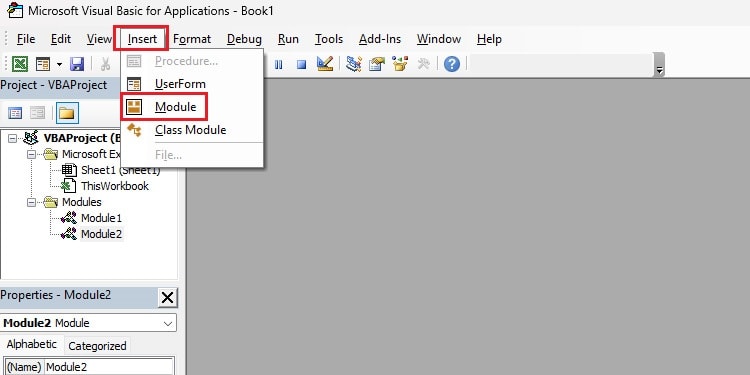
- Go to the Insert tab and Select Module.
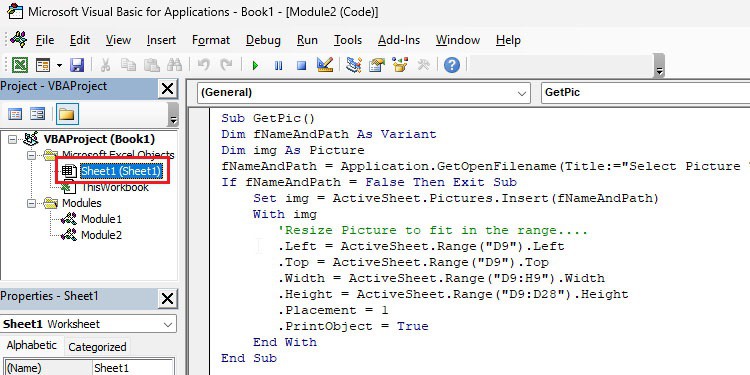
- Paste the following code on the blank space.
Sub GetPic()
Dim fNameAndPath As Variant
Dim img As Picture
fNameAndPath = Application.GetOpenFilename(Title:="Select Picture To Be Imported")
If fNameAndPath = False Then Exit Sub
Set img = ActiveSheet.Pictures.Insert(fNameAndPath)
With img
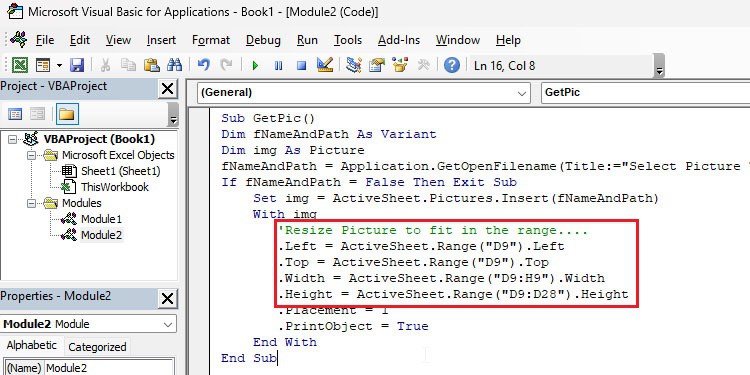
'Resize Picture to fit in the range....
.Left = ActiveSheet.Range("D9").Left
.Top = ActiveSheet.Range("D9").Top
.Width = ActiveSheet.Range("D9:H9").Width
.Height = ActiveSheet.Range("D9:D28").Height
.Placement = 1
.PrintObject = True
End With
End Sub- Ensure you have selected the suitable spreadsheet and press F5 to run the macros.
- Resize the image to the cell from the code as per requirement.
- Select the images and click Open.
If you want to insert pictures from an URL, you need to follow the steps below.
- Open Excel and Press Alt + F11 to open VBE.
- Go to the Insert tab and Select Module.
- Paste the following code on the blank space.
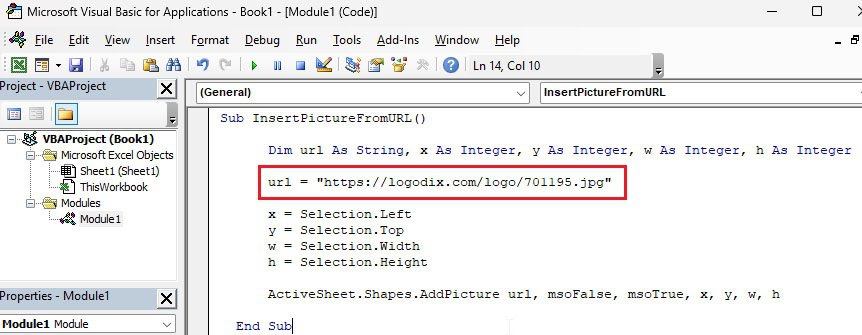
Sub InsertPictureFromURL()
      Dim url As String, x As Integer, y As Integer, w As Integer, h As Integer
      url = "https://logodix.com/logo/701195.jpg"
      x = Selection.Left
      y = Selection.Top
      w = Selection.Width
      h = Selection.Height
      ActiveSheet.Shapes.AddPicture url, msoFalse, msoTrue, x, y, w, h
End Sub- Place the URL of the image in the URL section of the code.
- Ensure you have selected the suitable spreadsheet and Press F5 to run the macros.
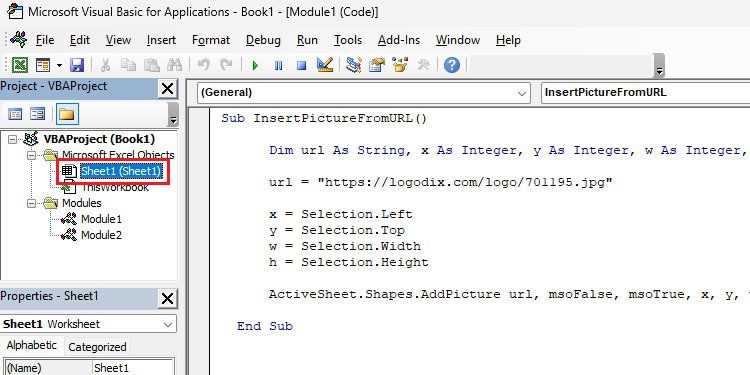
- The image from the URL will insert in your selected spreadsheet.
How to Resize and Lock Images in Excel?
After inserting the images in Excel, sometimes you might need to resize images per the cells and lock the images to the cells. Here’re the steps you can do so.
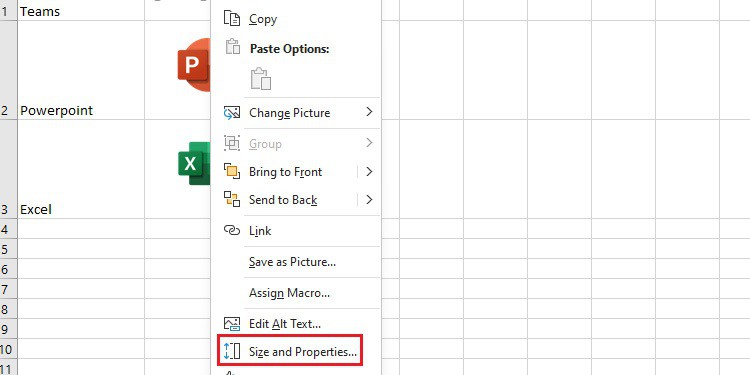
- Right-click on your image and click on Size and Properties.
- Click on Properties and Select the Move and Size with Cells option.
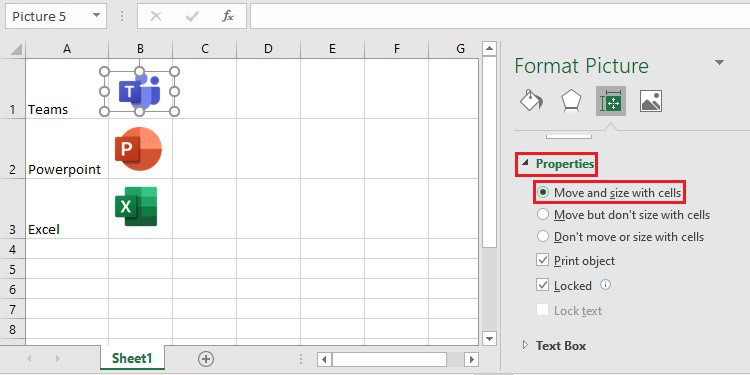
- Close the Format Picture window. Now the image will resize with cells.

- Here the images are also locked with the cell. If you move the cell, the image will also move with the cell.
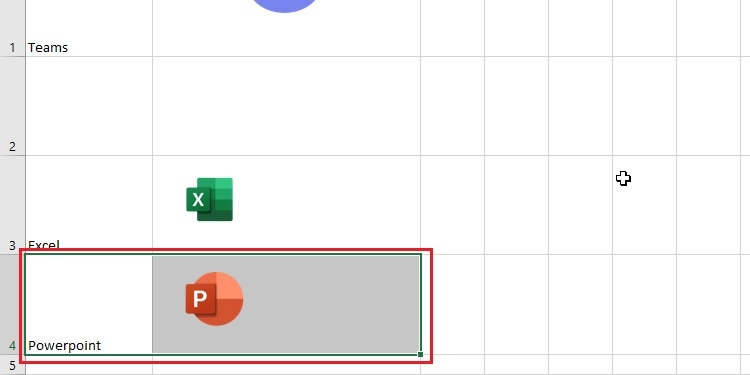
When you move the second row to the fourth row, you can see that the contents of the second row are also moving, including the image.