There are a number of instances where your cell content may not exactly fit in the cell. You see, Excel by default has only 8.43 points as the column width and 15 points as the column height. This measurement may not always be ideal to fit longer text elements in the sheet.
Depending on how you want to display your data, there is more than just one method to fit text in an Excel cell. In this article, we have covered almost everything including wrapping your text to shrinking your text to fit it into the current cell size.
Auto-fit the Column Width to the Text
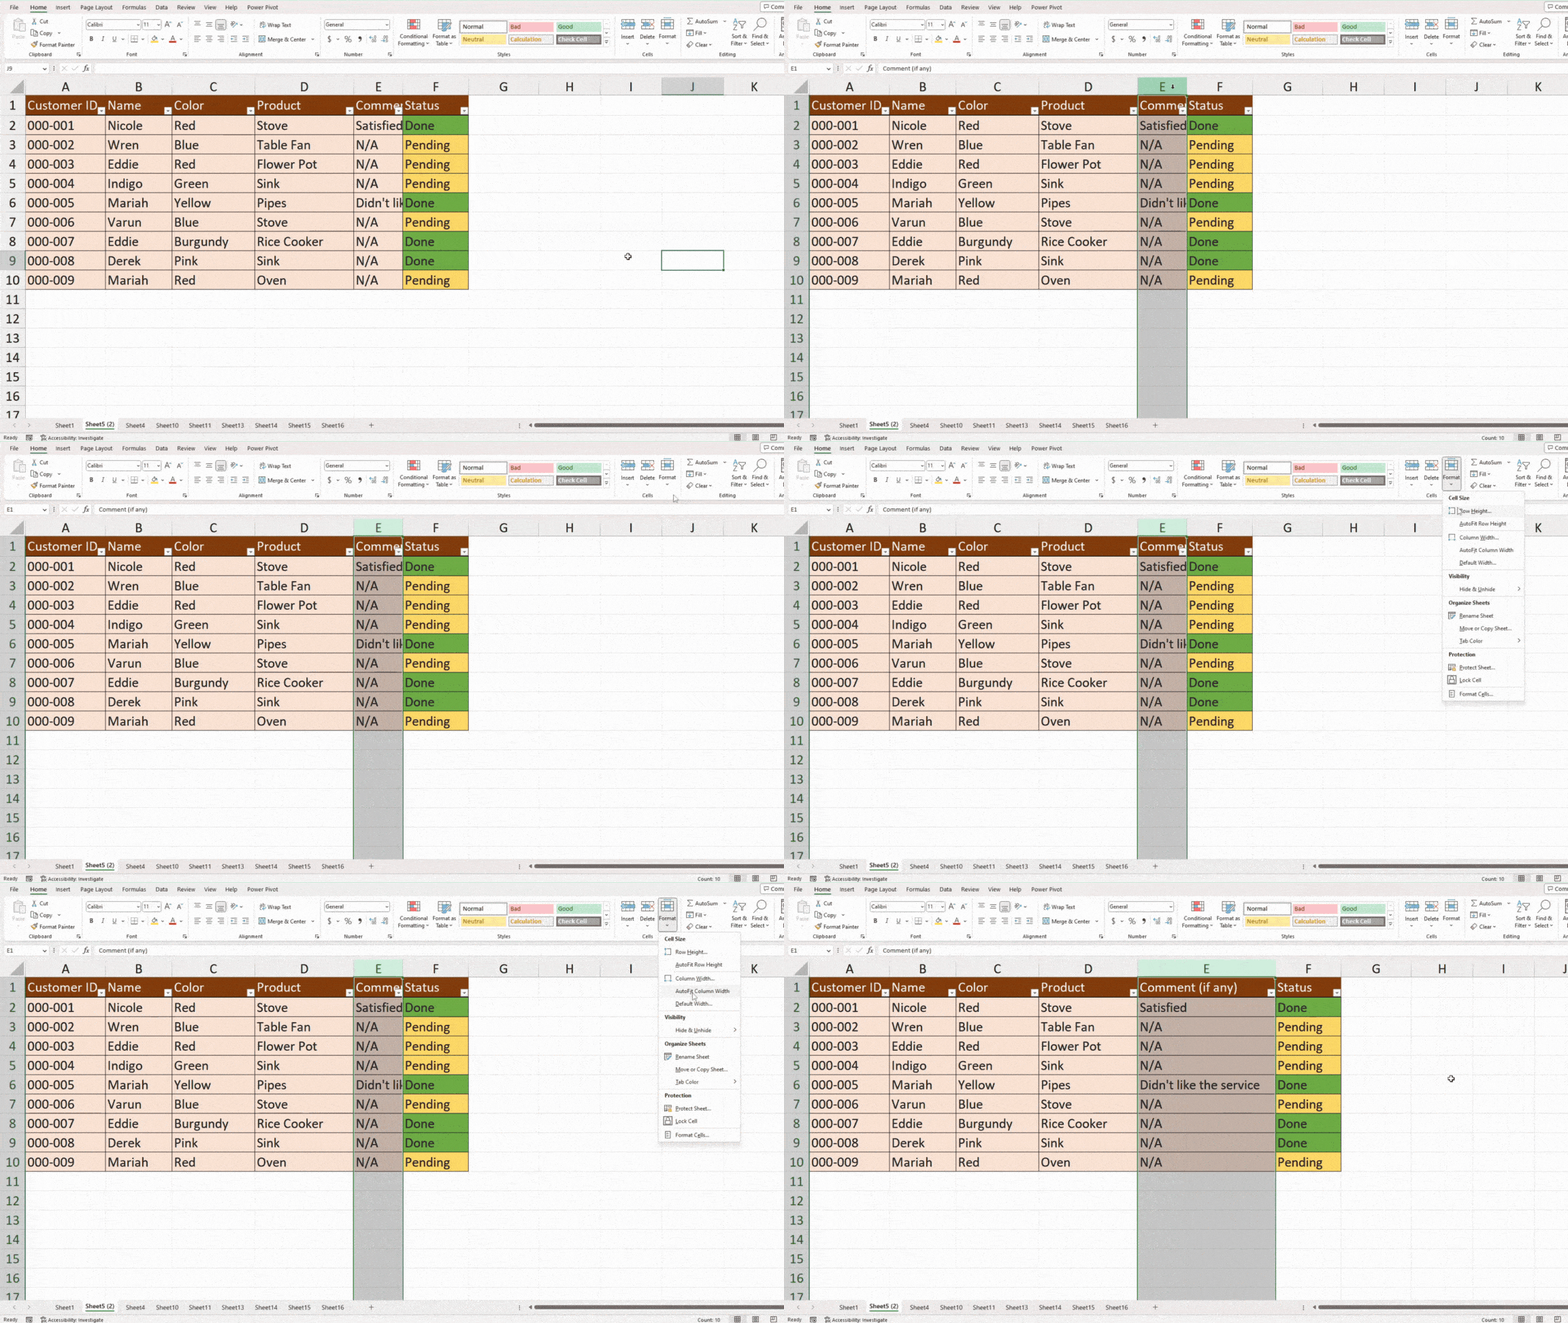
Let’s see; the problem is that the cell is too small for the text. So, let’s just adjust the cell width according to our cell content! If you’re a Windows user, you can use the ribbon shortcut, Alt, H, O, I to automatically fit the column width according to your active cell.
You can also navigate through the Home ribbon to autofit your cell.
- Select the cell you wish to adjust the column by.
- Head to the Home tab.
- From the Cells section, select Format > Autofit Column Width.
Wrap Text
Increasing the column width is great if your text isn’t as long. However, if your text is more of a sentence than a phrase, then this can be a problem. This is because your cell will dramatically increase the column width which might not go well with the rest of the cells in the column. Furthermore, the longer texts will also extremely extend your cell to the right of the spreadsheet.
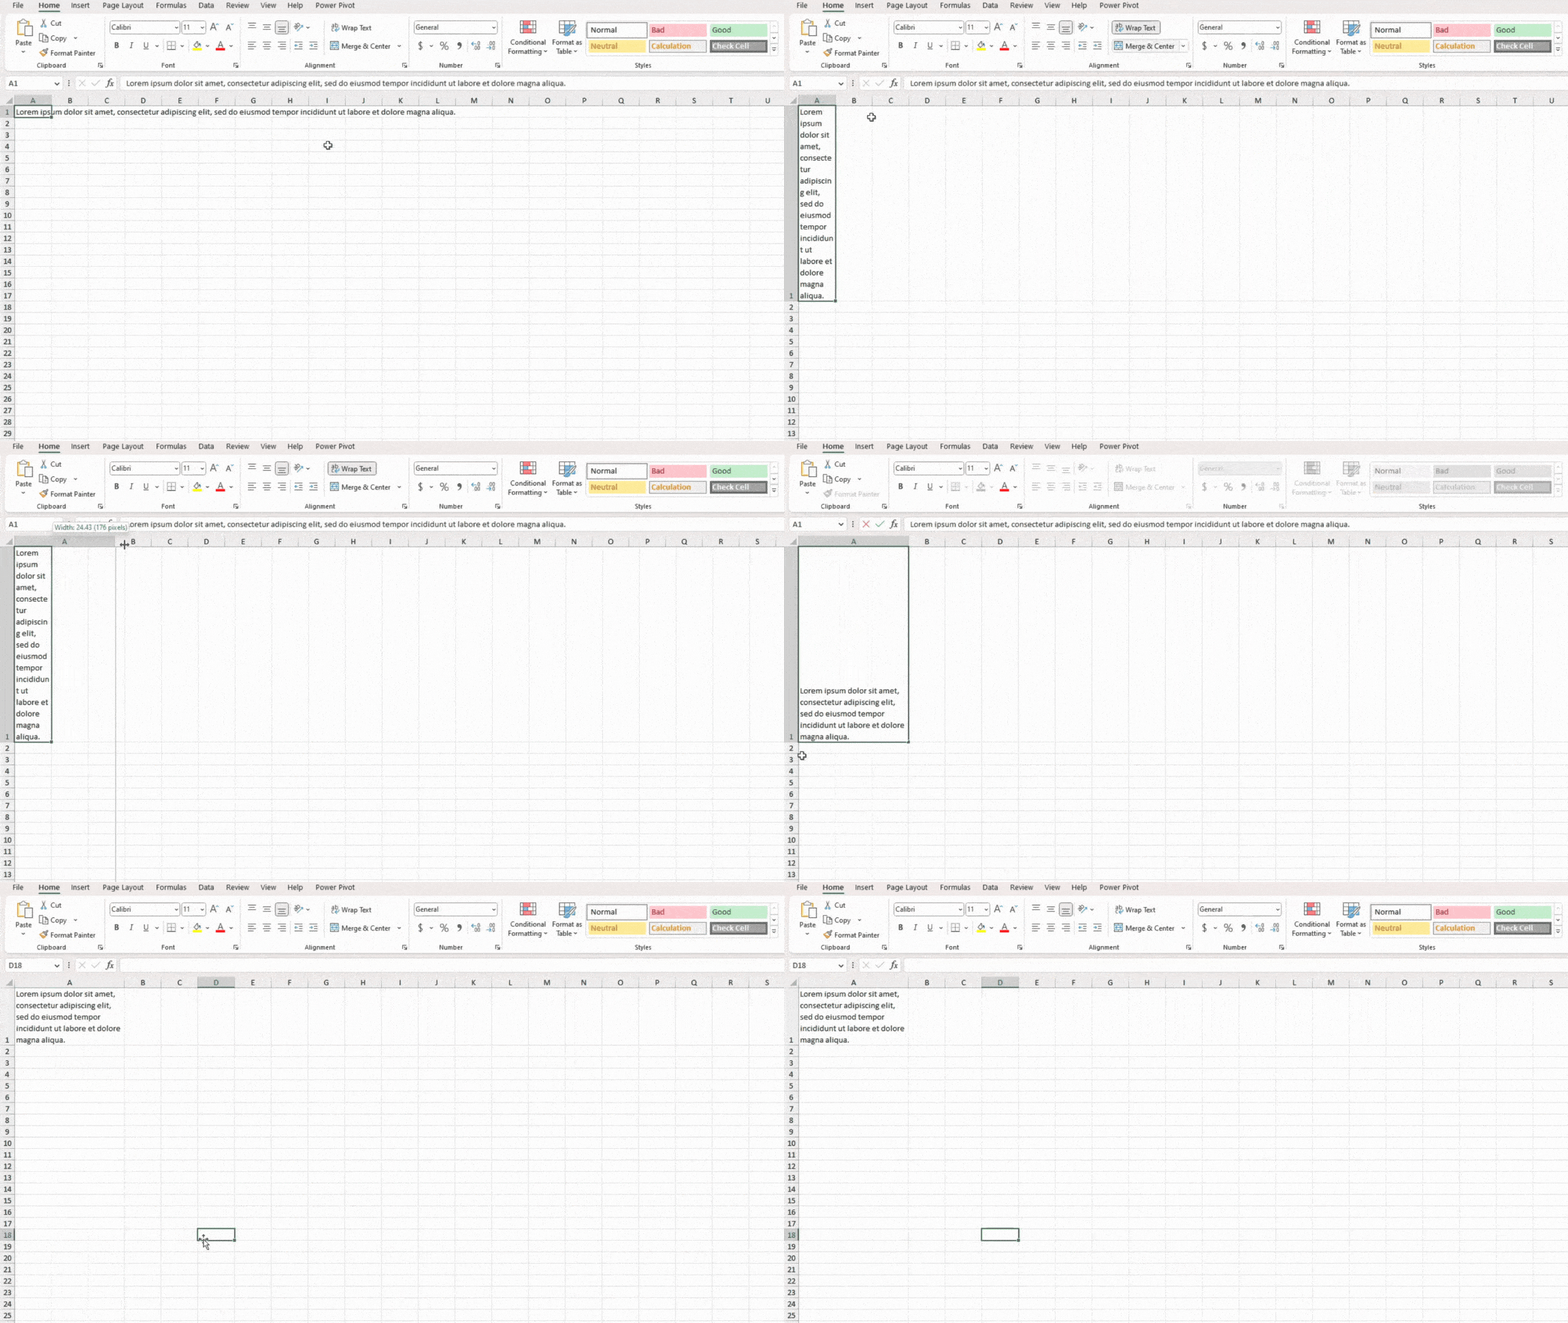
Wrapping texts is perfect if you’re dealing with texts as long as a sentence, or even a paragraph. When you wrap your text, your text will be pushed downwards, not compromising the width or the column. The only drawback is that it will affect the height of the cell.
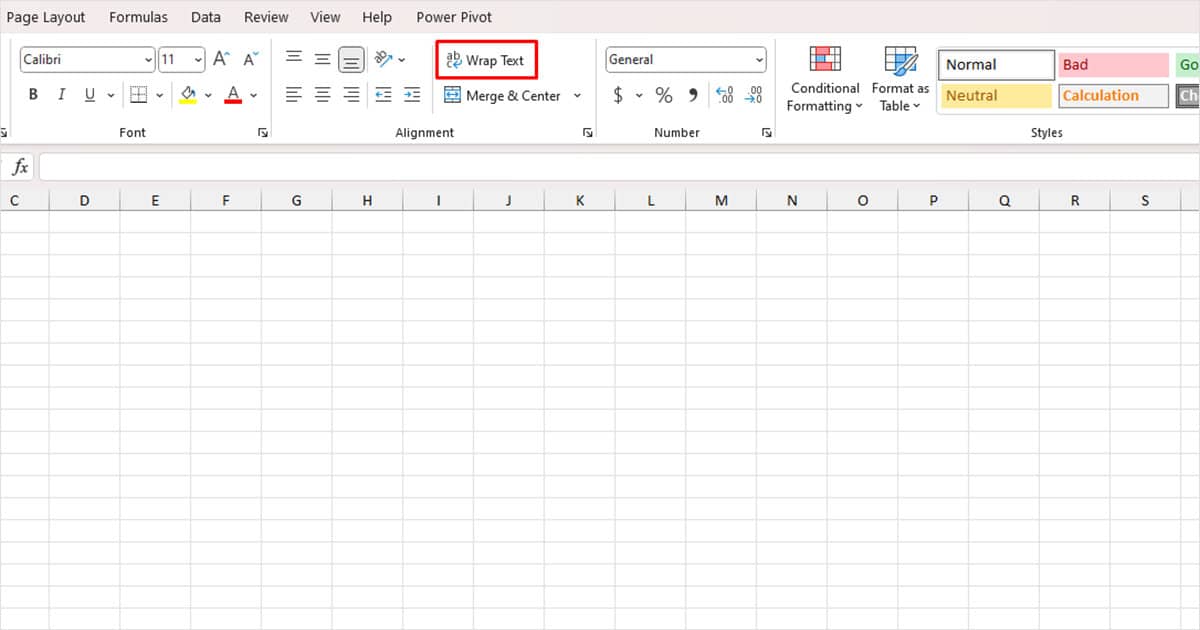
- Select the cell with the text you wish to wrap.
- Head to the Home tab and select Wrap text from the Alignment section.
- If your text looks a bit congested, you can increase the column width a little.
Insert Line Breaks
Excel has the option to insert line breaks using the combination of the Alt + Enter keys.
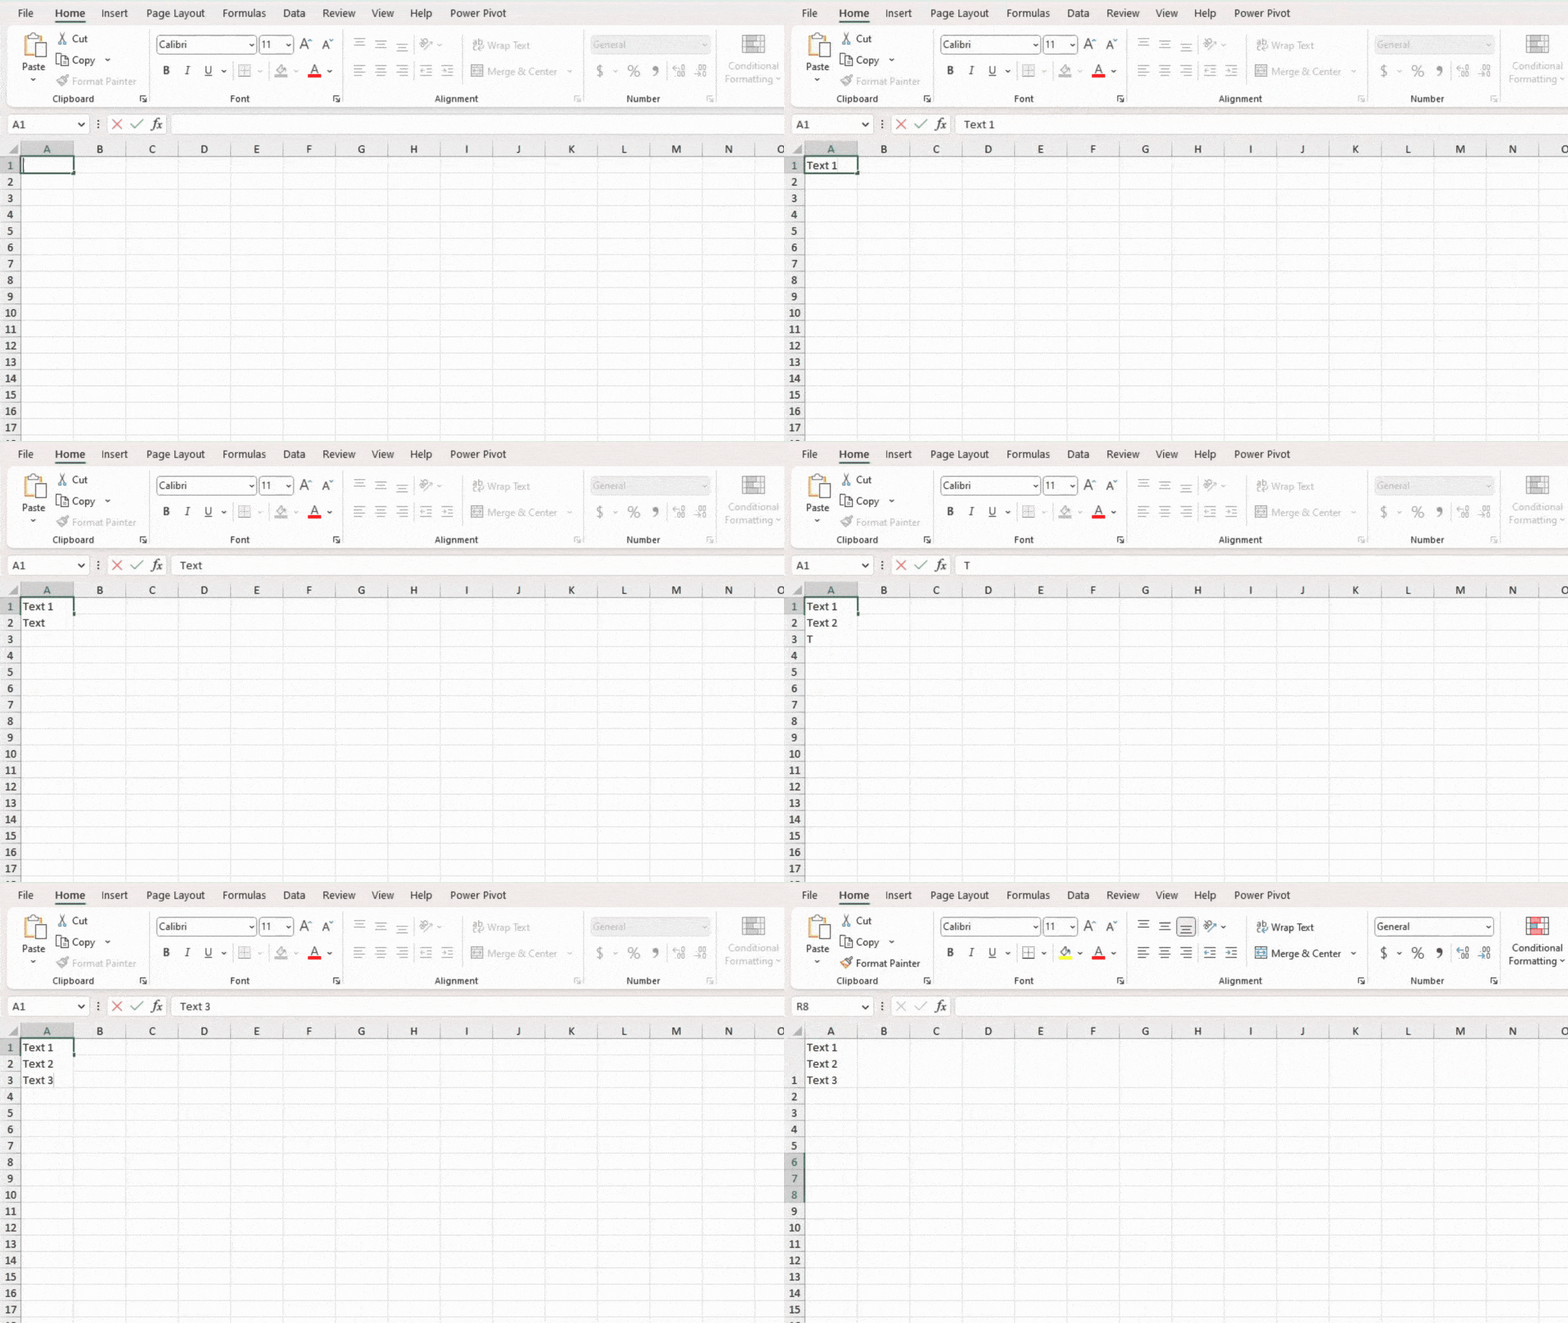
Simply enter your text. When you reach the edge of the column, enter Alt + Enter then, Excel will push your text to a different line in the same cell. It basically has the same effect as wrapping text with control over where the lines are broken.
Shrink Text to Fit Inside the Cell
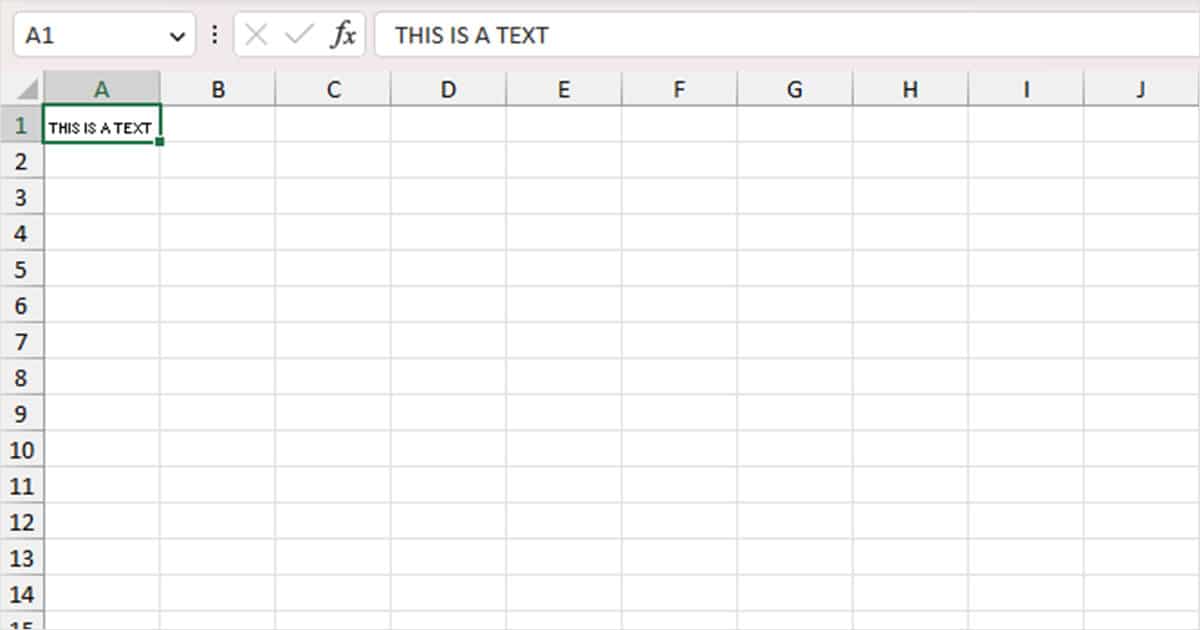
If you don’t like the idea of adjusting the column measurement to fit your data, you can shrink the text to fit the cell.
I would not recommend you shrink longer texts to fit the default Excel cell size (trust me, I tried!). Longer texts become indecipherable, making the text impossible to read.
- Select the cell with the text you want to shrink.
- On your keyboard, use Ctrl + 1 to open the Format Cells window.
- Head to the Alignment tab.
- Select the option next to the Shrink to fit option.
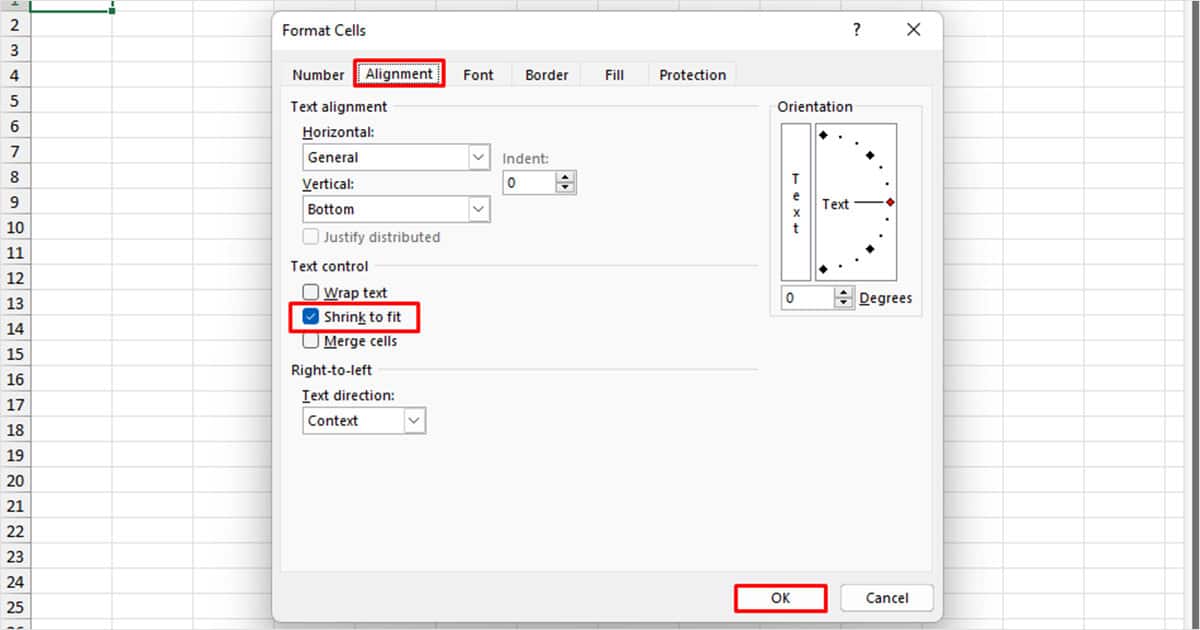
- Click OK.
Merge & Center Cell
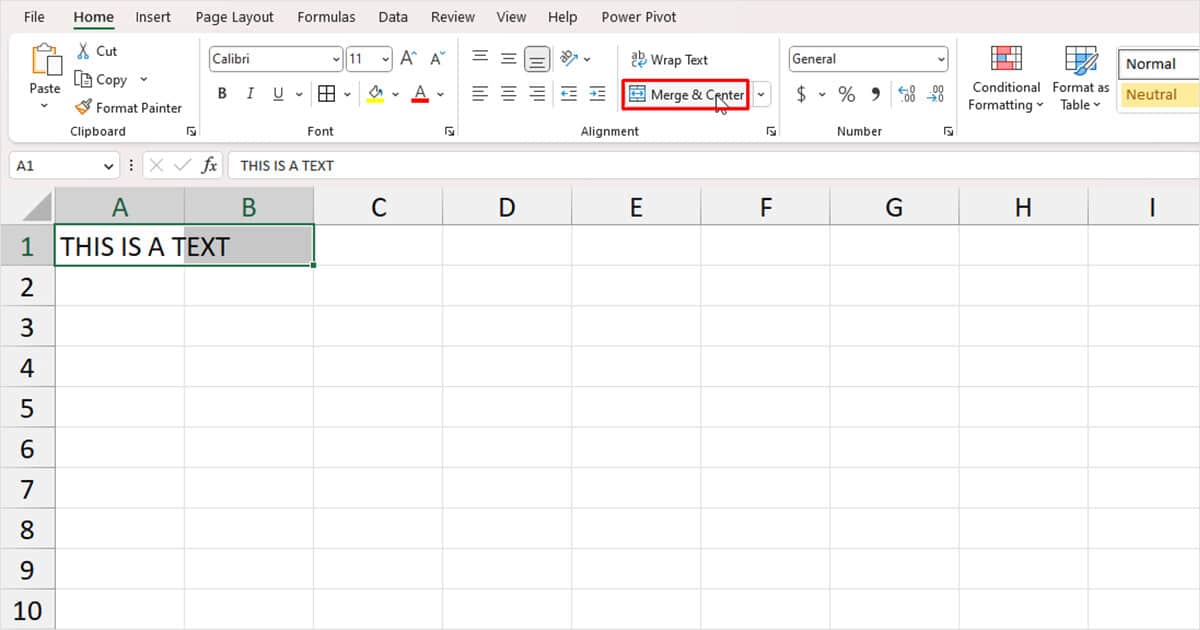
If your adjacent cell(s) is empty, you can use the Merge and Centre tool to merge your active cell with the cells. I personally use Merge and Center if I want to add a heading on top of my data table. As headings can sometimes get long, merging my cell with the adjacent cells is the best way to go for me.
- Select the cells you wish to merge.
- Head to the Home tab.
- In the Alignment section of the ribbon, click on Merge & Center.
