With the new whiteboard feature in Zoom, you can now illustrate things by drawing rather than trying to explain them verbally.
Even better, you don’t necessarily have to be in a meeting. You can choose to draw anything beforehand and present it in a meeting later.
At the same time, you can share it with anyone having a Zoom account and provide edit access to work on it collaboratively.
Step 1: Log in to Your Zoom Account
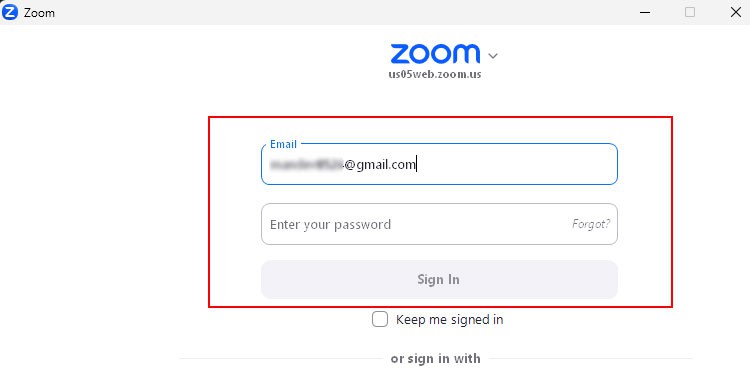
Open the Zoom app or Zoom homepage on a browser. Then, enter the necessary credentials like email/password and click Sign in.
Step 2: Create or Open a Whiteboard
You can choose to create and draw on a whiteboard with or without being present in an ongoing meeting.
If you want to draw something while presenting the whiteboard in a meeting, follow all the steps.
Otherwise, just follow Steps 5 and 6 in this section to work on whiteboards outside of the meeting.
- On the Home screen, click the New Meeting button.
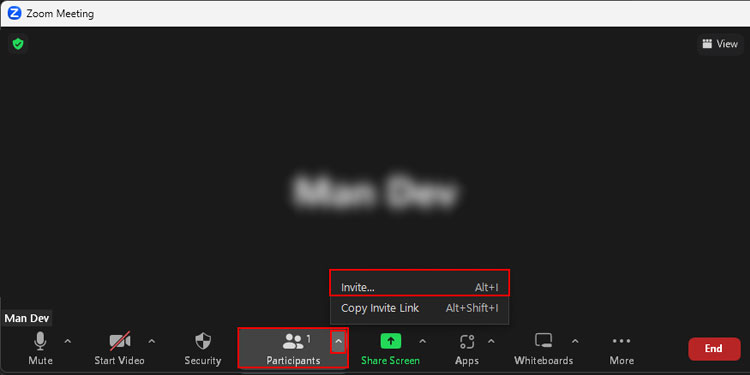
- Select Participants on the bottom dock. Then, click Invite to send the meeting link to other people.
- As the participants try to join your meeting, click Admit to allow them.
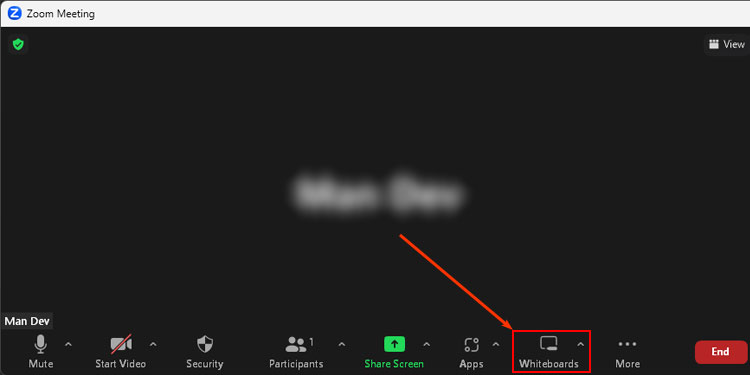
- In the meeting screen, click Whiteboards at the bottom dock.
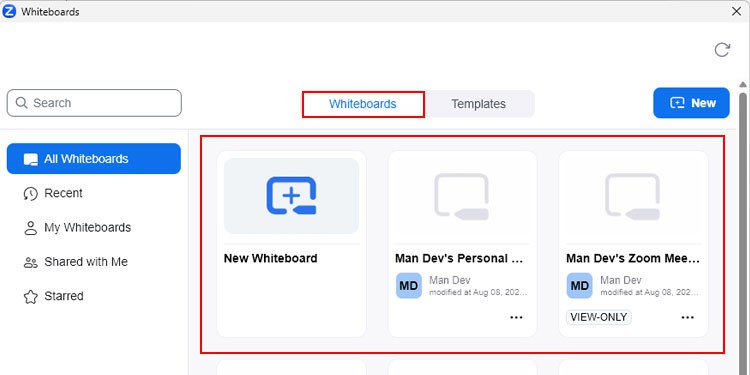
- Click the Whiteboards tab. Look for it in the top bar or sidebar.
- Then, click New in the top-right corner to create and draw on a new whiteboard. Alternatively, select an existing whiteboard or an available template.
- If you are inside a meeting, select one of the following options on the next prompt. Otherwise, you can skip directly to the next step.
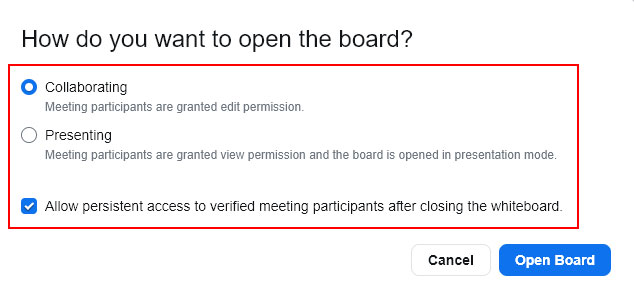
- Collaborating: Let other attendees edit the whiteboard you are presenting.
- Presenting: Let other attendees only view the whiteboard in a separate window.
- Allow persistent access to verified meeting participants after closing the whiteboard: Enable it to let others open the whiteboard even if you close the whiteboard and switch to the online meeting.
- Click Open Board.
You can manage the whiteboard access for each participant before the meeting even starts as mentioned above.
But, in case you later need to share the whiteboard with additional people or reconfigure edit options for existing attendees, you can do so as follows.
- To invite additional people, click Share in the top right corner. Then, enter the email of the person and click the down arrow icon right beside it.
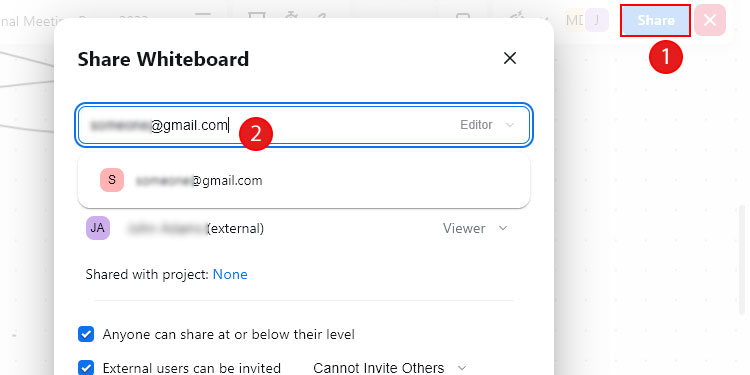
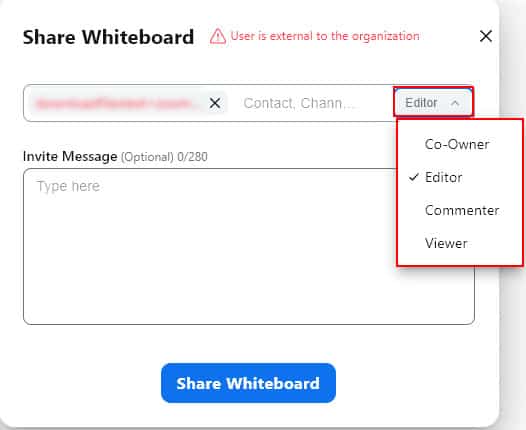
- Assign the level of access like Editor, Commentator, Viewer, or Co-Owner according to your preferences.
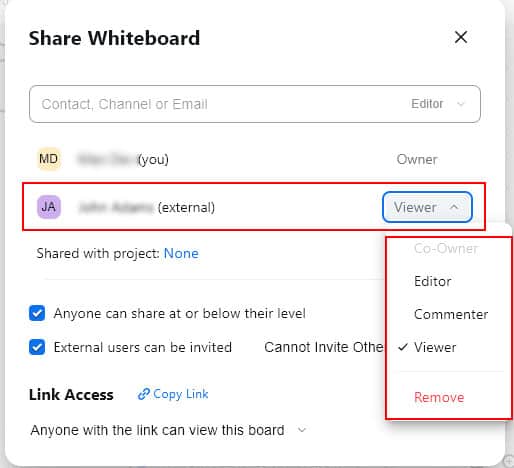
- Alternatively, you can also manage edit access to the whiteboard for the existing attendees there.
- Click Share Whiteboard.
- Under the Link Access section, click Anyone with the link can view this board or similar and choose the attendees that are allowed to view the presented whiteboard.
Step 3: Use Different Drawing Tools
To save time, you can directly edit the built-in templates provided by Zoom instead of drawing from scratch.
Alternatively, open a blank whiteboard and use the tools mentioned below to draw on it.
For your convenience, we have listed the drawing tools in the same order that appears on the actual whiteboard.
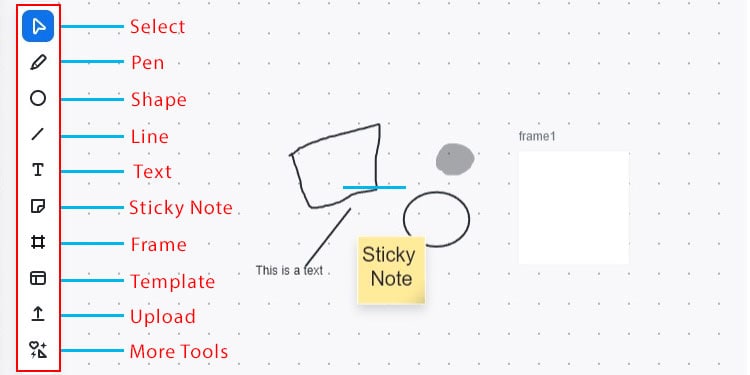
- Select tool: Select a part of a drawing. (Shortcut key: V)
- Draw tool: Contains a pen and highlighter to draw and an eraser to erase on the whiteboard. Plus, you can change the text color and thickness as well. (Shortcut key: P)
- Shape tool: Contains custom shapes like circles, rectangles, arrows, and several others. (Shortcut key: S)
- Line: Contains a straight line shape, single arrow, and double-arrow along with options to change their color and thickness. (Shortcut key: L)
- Text: Generates a text box to write texts on the whiteboard. (Shortcut key: T)
- Sticky Notes: Contains several notes with different colors. To use it, select a note. Then, hold and drag over the whiteboard until you have the note of the preferred size. (Shortcut key: N)
- Frame tool: Create a canvas with a certain aspect ratio to draw within it.
- Templates tool: Display a list of templates like flowcharts, Venn diagrams, etc to choose from.
- Upload tool: Upload an image or PDF document from your PC.
- More Tools: Contains additional tools like a custom mind map, table, kanban, and cards.
Step 4: Lock the Whiteboard (Optional)
As you draw something important on the whiteboard, you certainly wouldn’t want to accidentally delete or draw over it. Also, you may want to prevent others from erasing or drawing over it.
- To lock a certain part of the drawing in the whiteboard, use the Selection tool to select it. Then, right-click and select the Lock option or simply click the Lock icon.
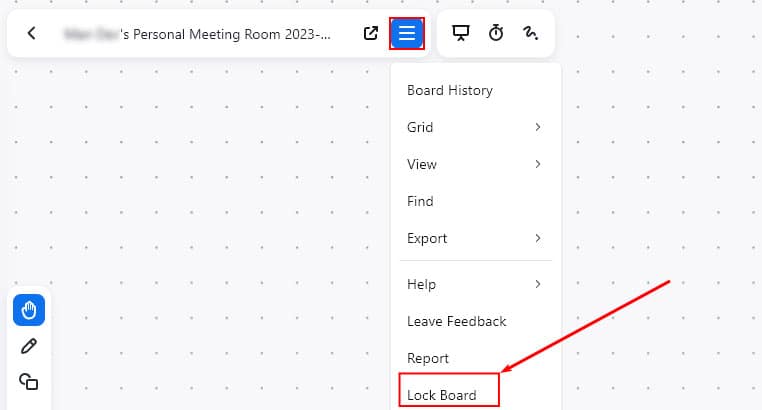
- To lock the whole whiteboard, Click the More icon (three horizontal bars) in the top right corner and select Lock Board.
Step 5: Create Multiple Pages for Drawing
While the whiteboard is large enough for basic drawings, it’s a good idea to use separate pages for specific types of drawings.
- To add and work on multiple pages, click the Page icon in the bottom right corner and click Add Page.

- To delete a page and duplicate or clear its contents, click the three horizontal dots and choose the respective option. Also, drag and drop the page to re-order its position.
How to Draw on a Live Meeting Session while Sharing Screen?
Anyone (presenter or attendee) with edit access can draw on the shared whiteboard, even during an ongoing Zoom meeting.
However, note that you cannot share the screen and then open/draw on the whiteboard simultaneously. Still, you can use the annotation tools to draw over the screen.
While you get the basic drawing tools while annotating, it contains fewer tools compared to the whiteboard.
On Zoom Desktop
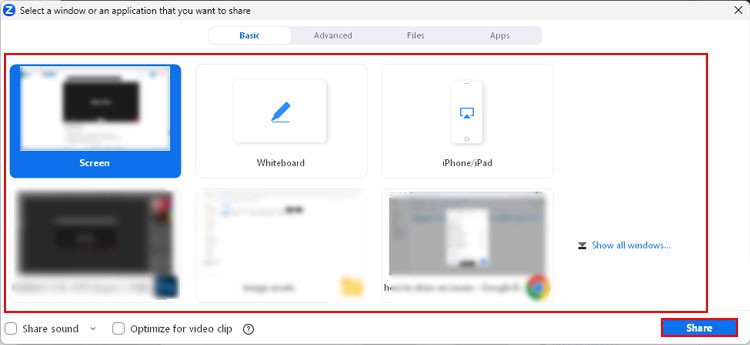
- On the meeting screen, click Share Screen.
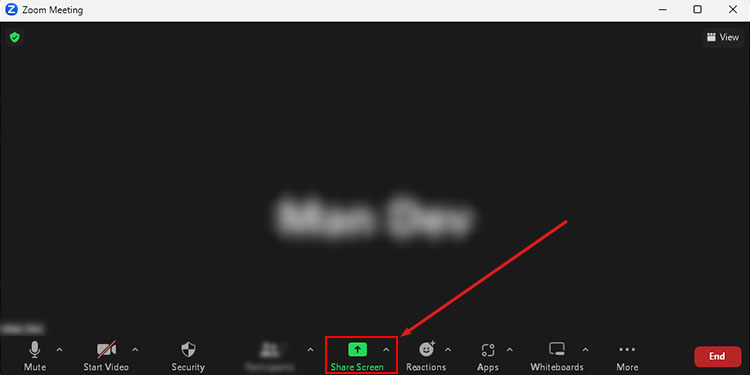
- Select Screen and click Share at the bottom to share the whole screen. Or, choose a particular window or app screen that you want to share with others.
- Next, click Annotate to draw over the screen.
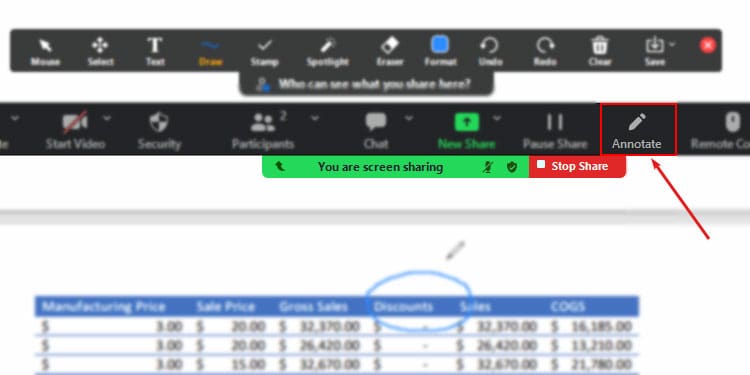
- Use different tools and options according to your preferences.
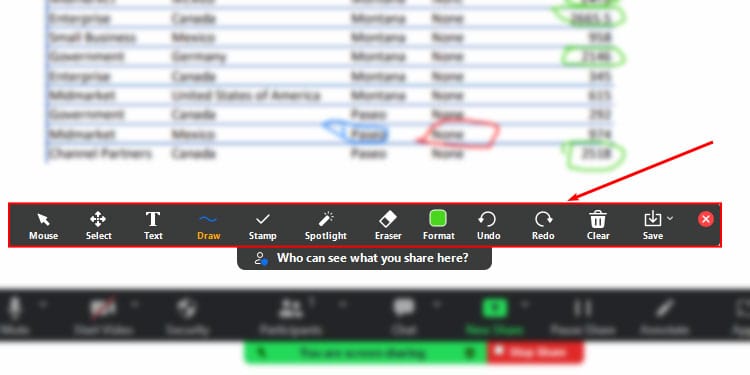
- Select: Use it to select a part of the drawing and move it around.
- Text: Insert a text.
- Draw: Use it to create shapes like circles, rectangles, freehand drawings, arrows, etc.
- Stamp: Insert different icons like a tick and a heart icon.
- Spotlight: Use it to highlight part of drawing with arrow and red
- Eraser: Erase drawings.
- Format: Set color, font size and line width options.
- Undo: Undo the most recent action.
- Redo: Redo the action.
- Clear: Clear the drawing on the whiteboard or other parts of the screen.
- Save: Save the drawing along with annotations.
On Zoom Mobile App
- Open the Zoom app.
- Tap Share at the bottom. Swipe to the left if you don’t see it.
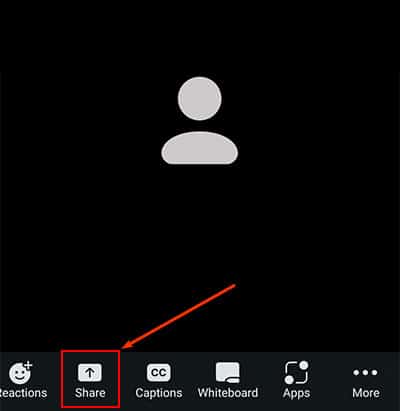
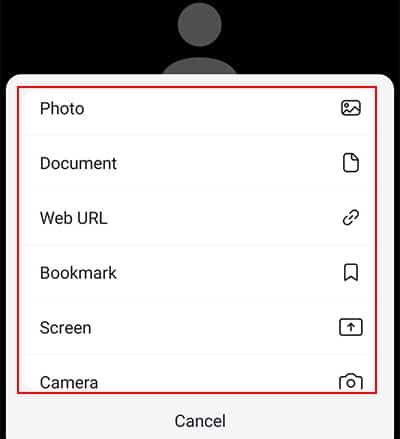
- Next, choose Screen, Document, Photo, or any other file you want to open and share its screen.
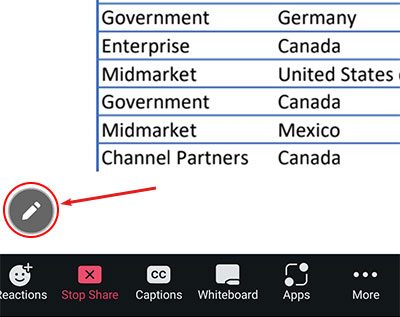
- On the meeting screen, tap the pencil icon in the bottom left corner.
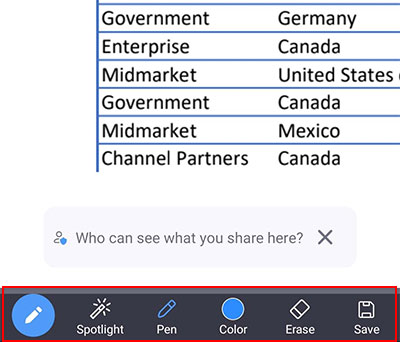
- Once the annotation tools appear, use them to draw while sharing the screen.
- Tap Stop Share to stop sharing the screen.
Related Questions
Where Can I Find My Whiteboards?
Once you open and log in to your Zoom app, you can find all the whiteboards you own and shared ones under the Whiteboards tab. In case you are logging into your Zoom account via a browser, click the Whiteboard option in the top right corner of the window.