Inserting and deleting rows on your spreadsheet is a very common practice in Excel. If you have any unwanted rows, you could use Excel’s Ctrl + – shortcut key to eliminate the selected rows quickly.
But, to delete rows with a specific condition, you can check out one of the Excel tools like Filter, Go To Special, Find and Replace, etc. For Instance, to cancel out rows having conditional formatting only, the Go To Special menu can be useful.
However, if you have to delete every other row or every nth row in Excel, you’d have to use a formula.
Delete Single or Multiple Rows
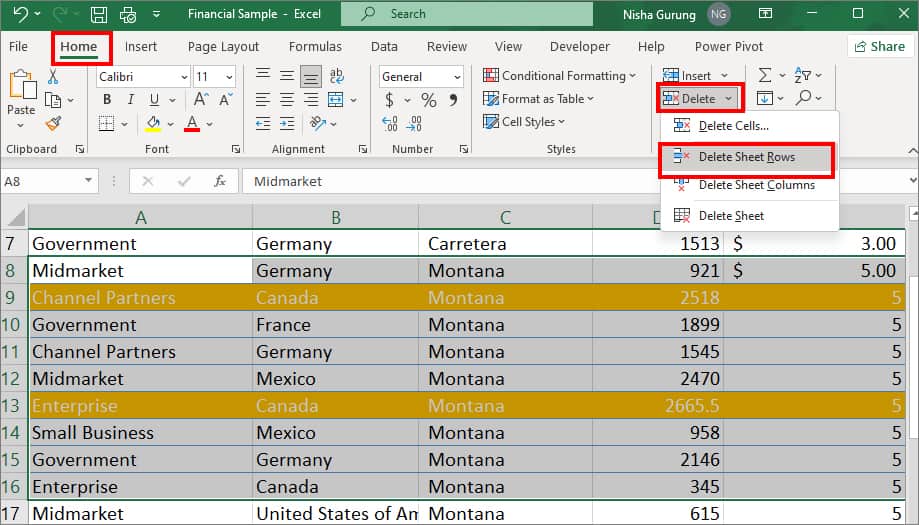
You can also delete single or multiple rows from the Home Tab. Use this method if you are not used to working with shortcut keys.
Firstly, make a selection of a row or multiple rows. Then, on the Home Tab, click on Delete > Delete Sheet Rows option.
Delete Rows With Condition
If you have to delete rows based on specific conditions like cell value, texts, formulas, etc, check out one of these methods.
From Go To Special
Go To Special menu will help you to locate and select all cells having comments, constants, formulas, row differences, column differences, and many more. Then, you can cancel out only selected rows.
This method will especially come in handy for deleting Blank rows immediately. It will save you from the wearisome process of selecting empty cells between the data one by one and removing them.
As an example, we have provided a reference for eliminating blanks. Choose your preferred option in the Select box.
- Highlight a Row or multiple Rows.
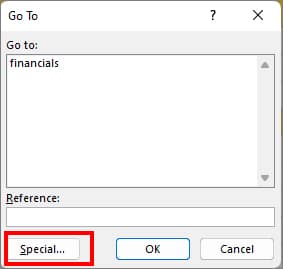
- Enter F5 or Ctrl + G on your keyboard.
- Click on Special.
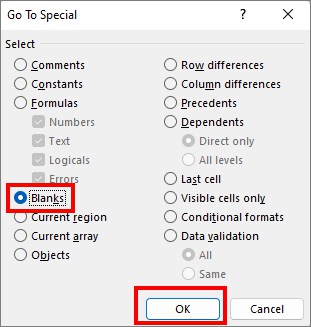
- Under Select, choose Blanks.
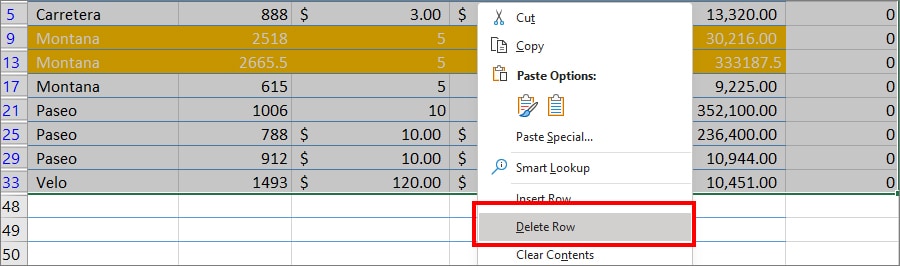
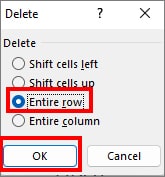
- Right-click on the selection and pick Delete.
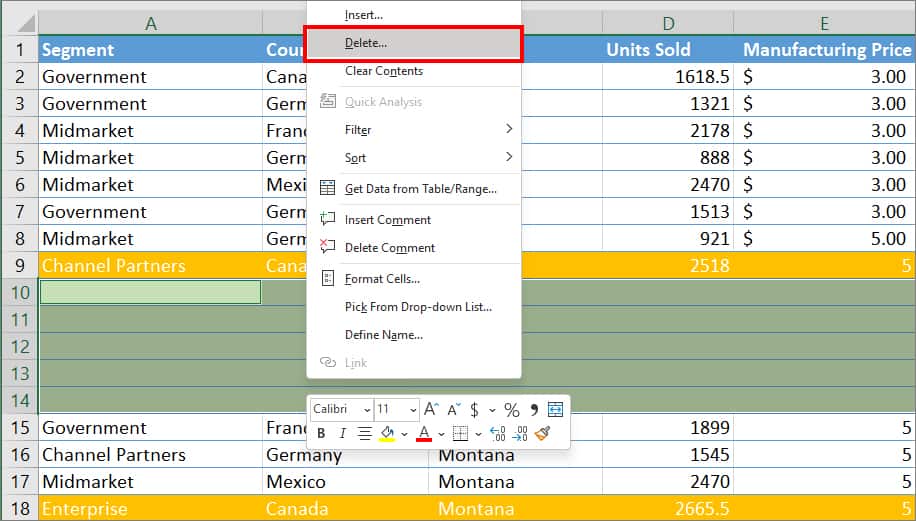
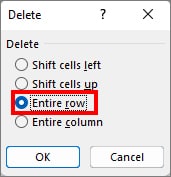
- Choose Entire Rows. Then, click OK.
Using Filter Tool
Sometimes, you would want to delete certain rows with texts or numbers. In such case, you must enable the Filter tool to make a selection because there is no option for it on the Go To Special menu.
With Filter Tool, you can choose to show only the specific rows with conditions from the defined area. For Instance, rows with a cell containing Germany or Less than 200 value.
You will have access to more filter options like cells that begins with, ends with, equal to, is greater than, is less than, etc. Thus, it is easier for you to eliminate rows. Once you turn off the filter, you can have all the data again.
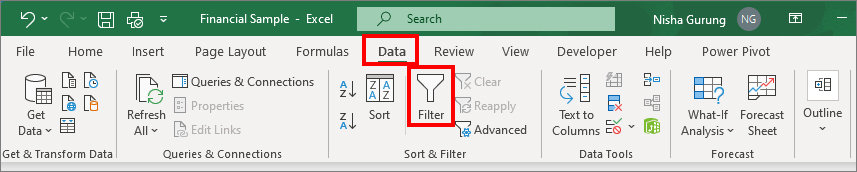
- Select any Cell.
- Navigate to Data Tab. On Sort & Filter section, click the Filter option.
- Do one of the following:
To delete rows with specific Text,
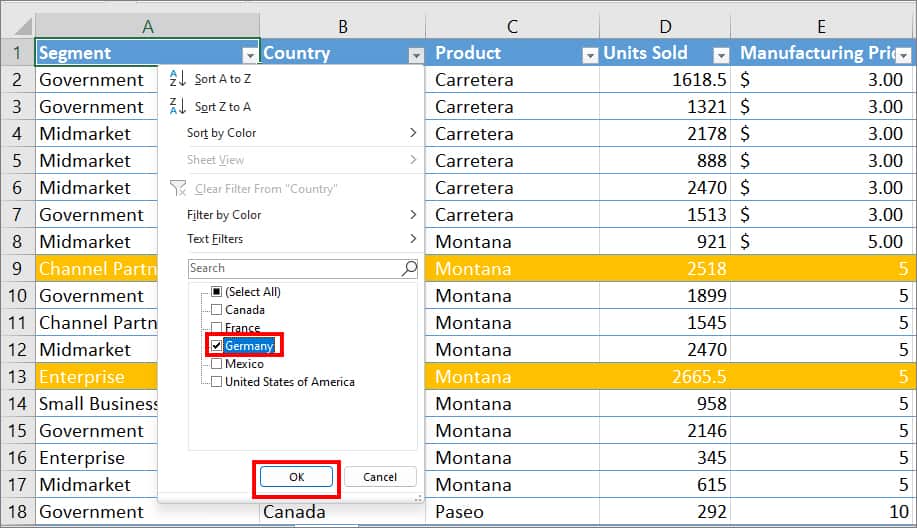
- Click on the Filter dropdown of your text column.
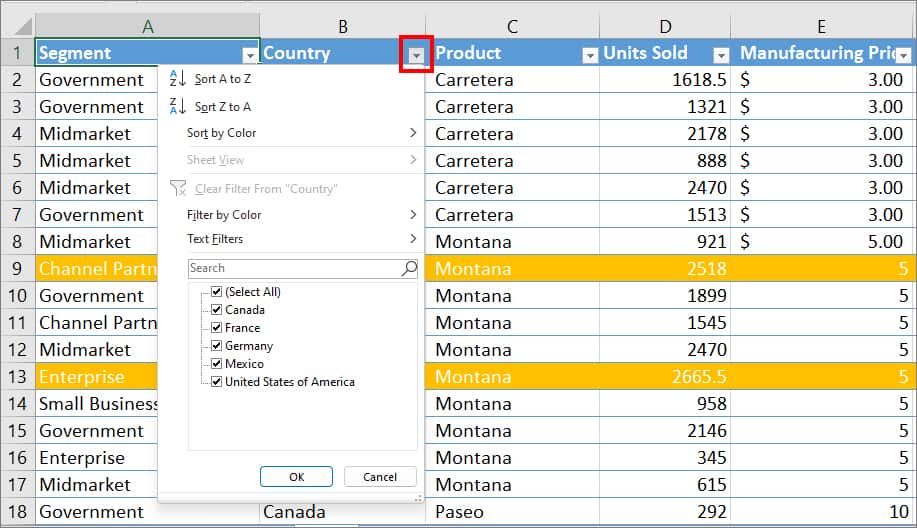
- Under Text Filters, click on Select All to deselect entire lists.

- Now, check the box for Germany and click OK. (You can choose any according to the data)
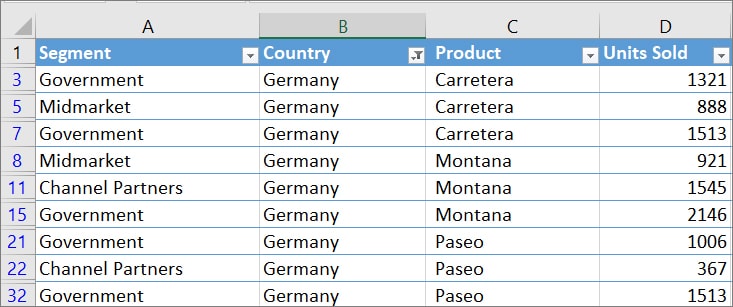
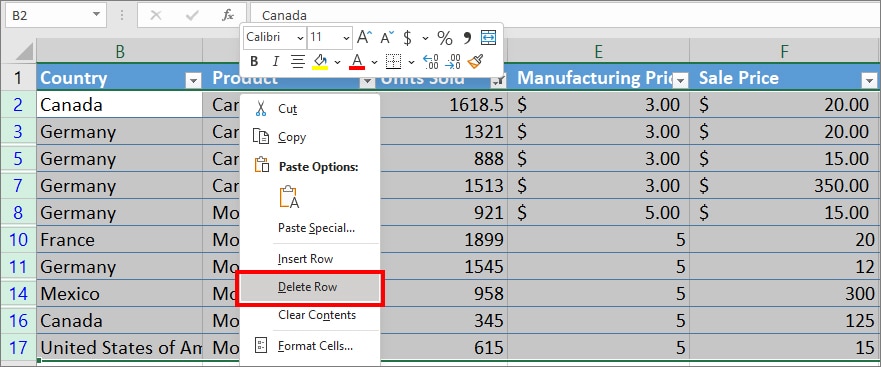
- All rows with Germany will appear in the data.
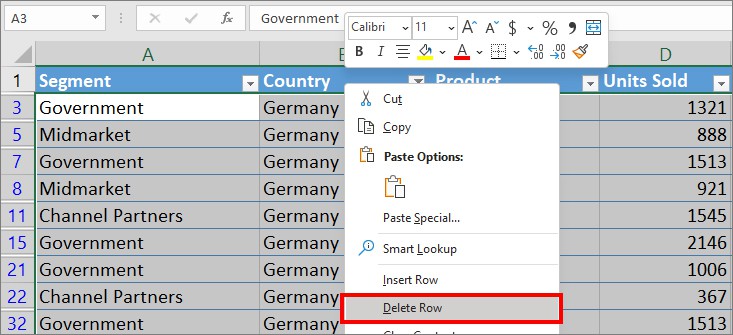
- After selecting rows, Right-click on them and choose Delete Row.
To delete rows with specific Values,
- Expand the Filter dropdown of the column with number data.
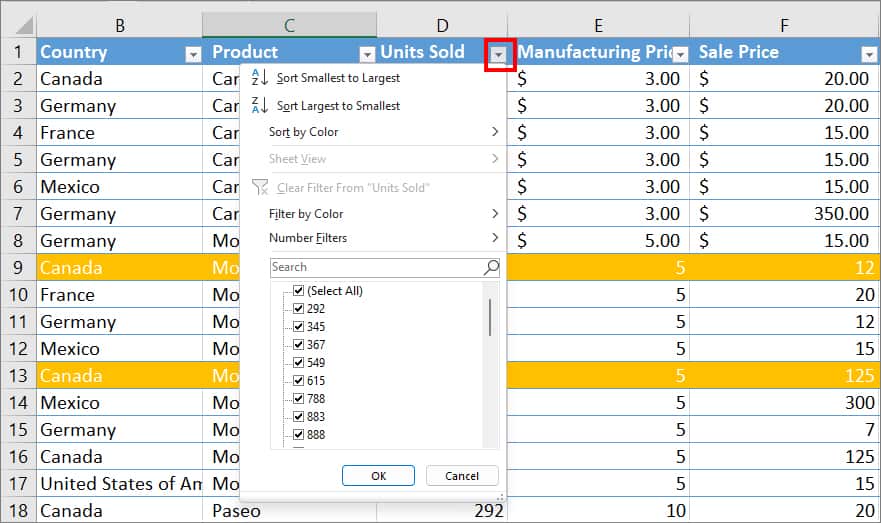
- Pick Number Filters > Custom Filter.
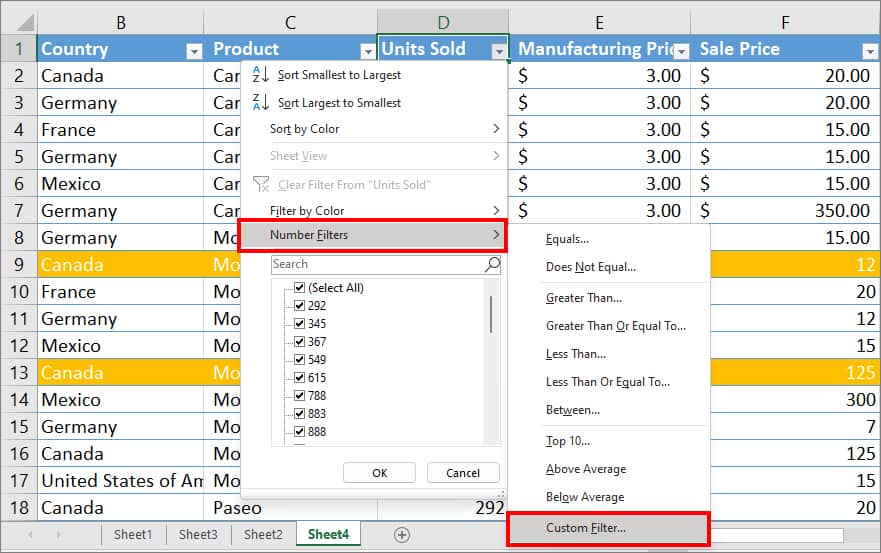
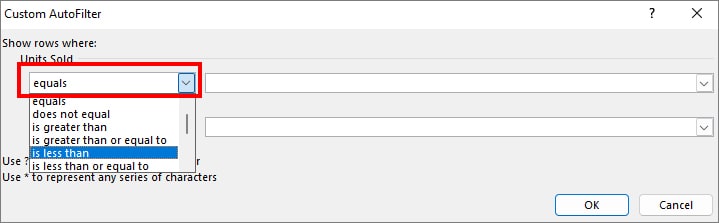
- Select your option on the Drop-down menu.
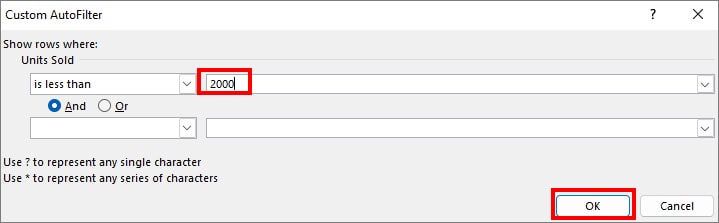
- Enter a Number in the field and hit OK button.
- Select the Rows.
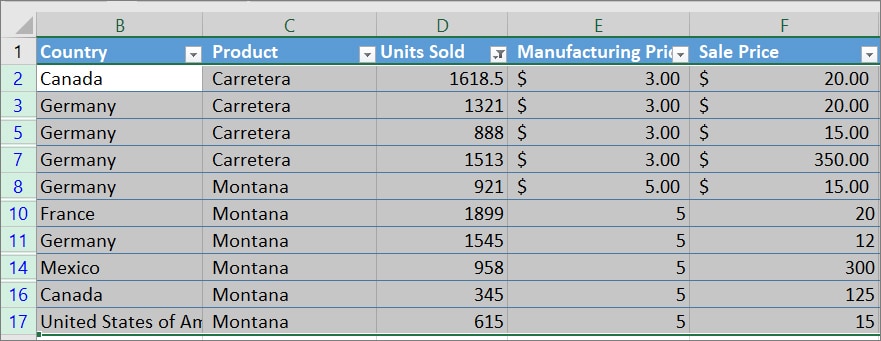
- Right-click on the selected area and choose Delete Row.
Using Find and Replace
Excel’s Find tool is another way to search the particular cells of your spreadsheet. Unlike filter tools, you may not have access to a wide range of options to narrow down your search. However, you can use this method to look up cell contents immediately and eliminate its rows.
- Highlight all data ranges using Ctrl + A.

- For the Find and Replace menu, press Ctrl + F shortcut key.
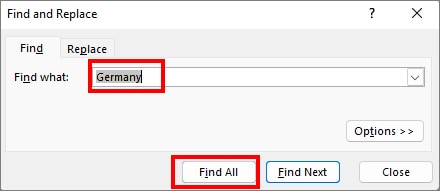
- On Find What, type Germany in the field and click on Find All.
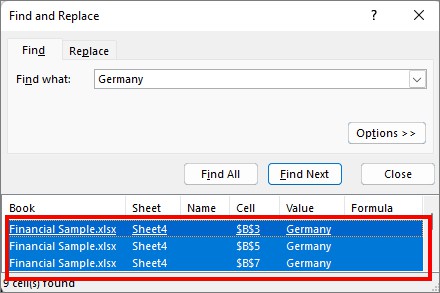
- You can see all cells with Germany. Again, press Ctrl + A to select them.
- Now, right-click on the cell containing Germany and choose Delete.
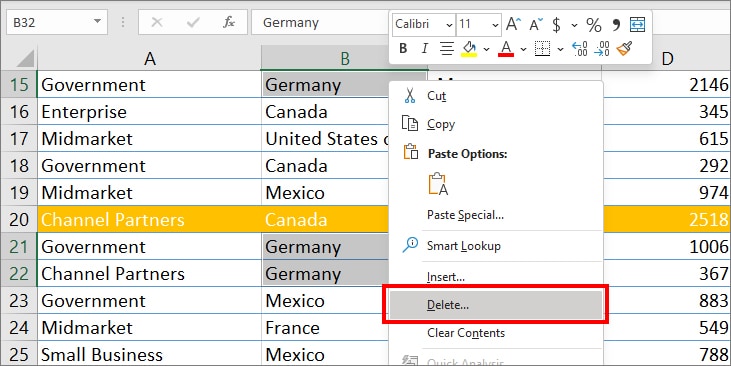
- Choose Entire row and click OK.
Delete Every Alternate Rows
There is no such menu that deletes alternate rows in Excel. Even if you manage to eliminate them manually, it would take forever for large spreadsheets.
Luckily, we have a formula that will help you to filter out every odd or even row at once. So, deleting them wouldn’t be a big deal.
Formula: =MOD(ROW(),2)
In this formula, when the MOD function divides each ROW by 2, you will get either 0 or 1 as a remainder.
For example,
- =MOD(ROW(2),2)=0 (when the MOD Function divides the 2nd row, the remainder is 0 as 2 is divisible by 2).
- =MOD(ROW(5),2)=1 (When the MOD Function divides the 5th row, you will have 1 as the remainder because 5 is not divisible by 2)
To use this formula,
- In an empty adjacent cell of a column, enter
=MOD(ROW(),2)formula.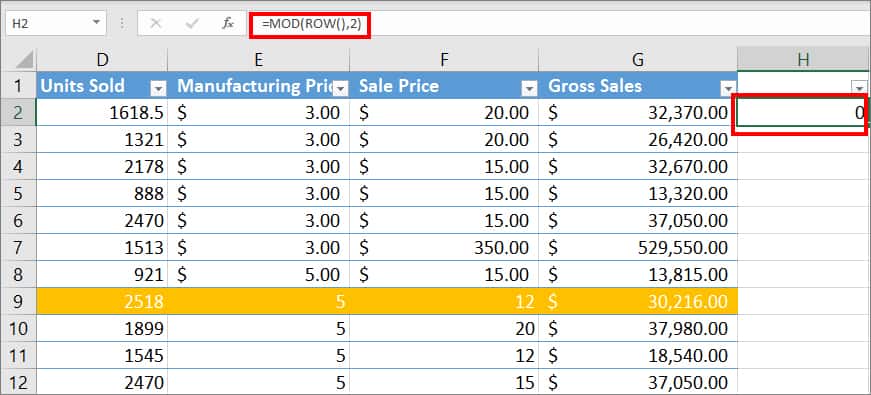
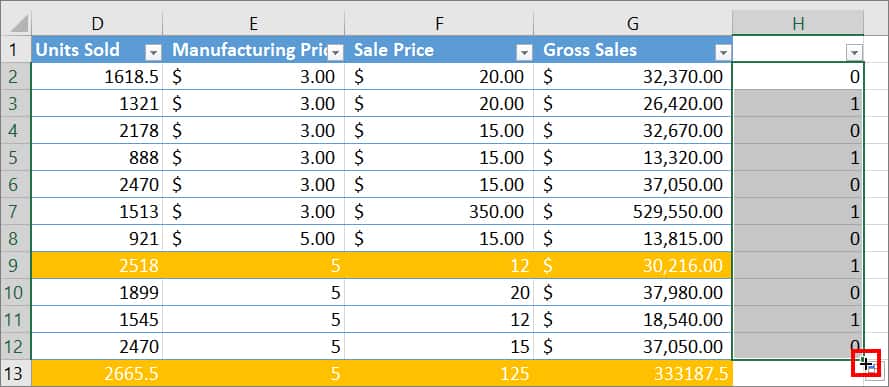
- If your row is odd, you’ll get 1 as result. Similarly, if your row is even, you’ll get 0. Use Flash-fill to apply a formula to other ranges.
- Now, press down Ctrl + Shift + L keys together for the Filter tool.
- Expand the Filter dropdown of the column with MOD ROW formula.

- Uncheck the box for Select All.
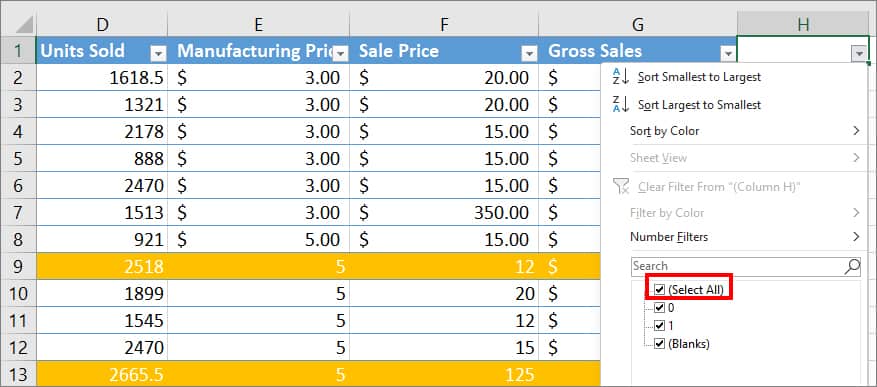
- Now, depending on the odd or even rows you want to delete, check the box for 1 or 0. Then, click OK.
- Since I chose 0 above, Excel will display all the Even rows. Now, Highlight all ranges.
- Right-click on the selected area and pick Delete Row.
Delete Every Nth Rows
If you want to delete every nth row, we will use the MOD(ROW) formula like above. But here, we are adding the value to filter out only the nth number of rows.
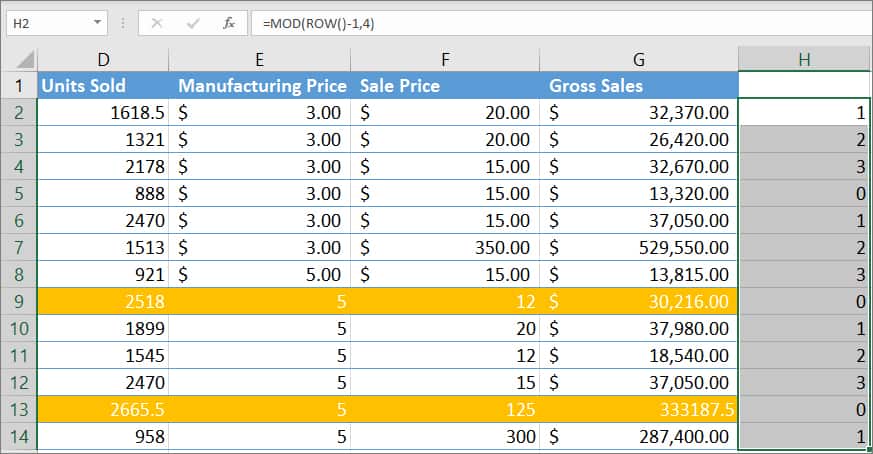
Formula: MOD(ROW()-m,n)
Let’s take the example of deleting every 4th row. According to our data, the Formula Arguments would be:
- m= -1 (Row Number where your data begins – 1). Our data starts at row 2. So, 2-1 = 1. If your data starts at row 4, 4-1=3. So, m would be 3.
- n= 4 (Nth row to delete).
- Enter
=MOD(ROW()-1,4)in a cell.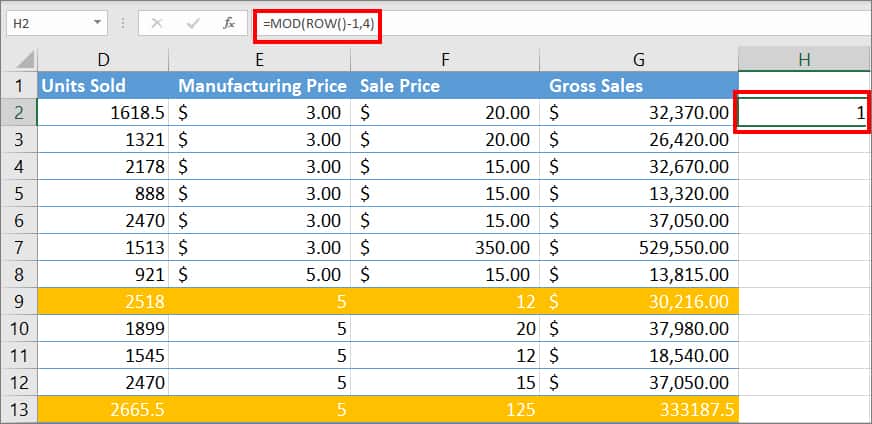
- Drag down the Flash-fill icon to copy the formula for the remaining ranges.
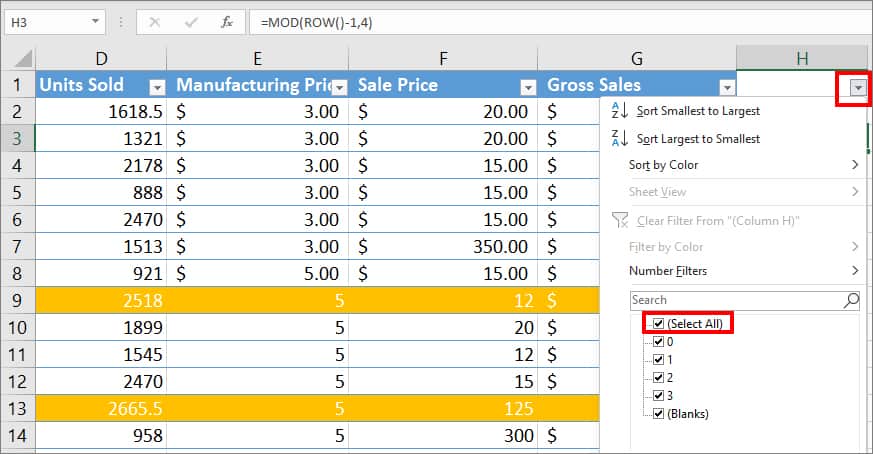
- Then, press Ctrl + Shift + L shortcut keys to apply Filter.
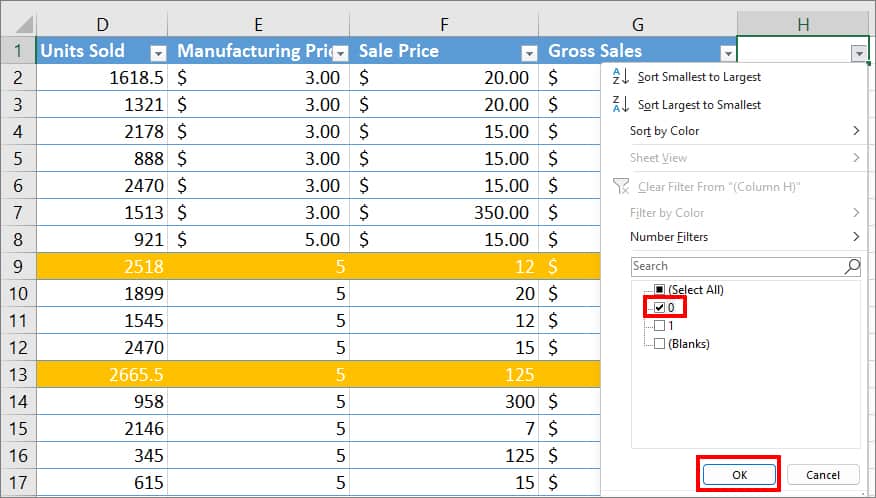
- On the MOD ROW column, click on Filter drop-down. Then, Click on Select All to deselect all menu.
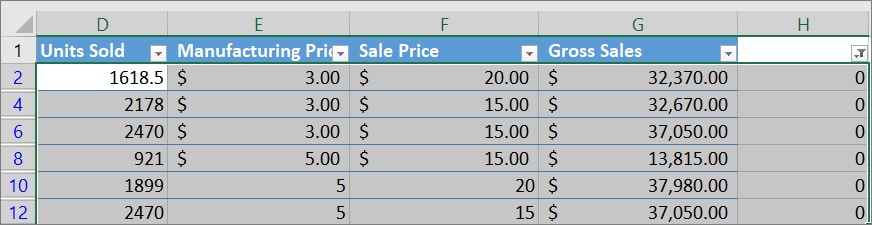
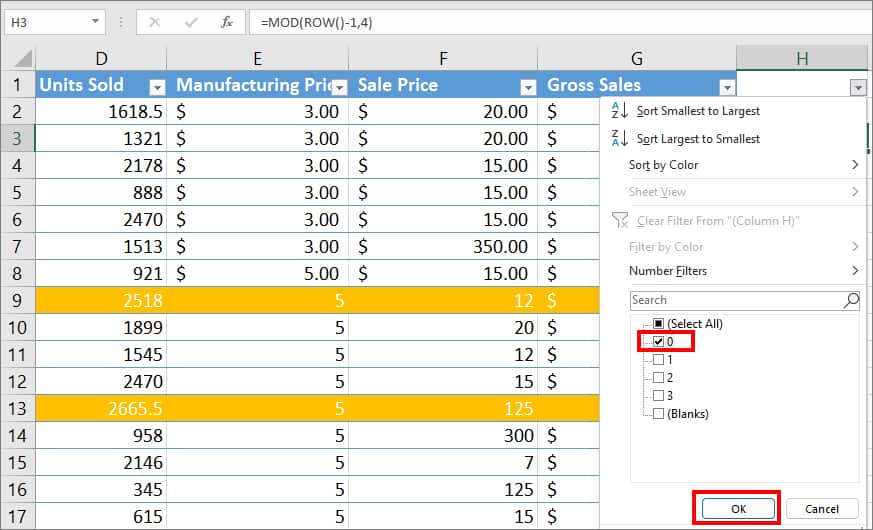
- Choose 0 and click OK.
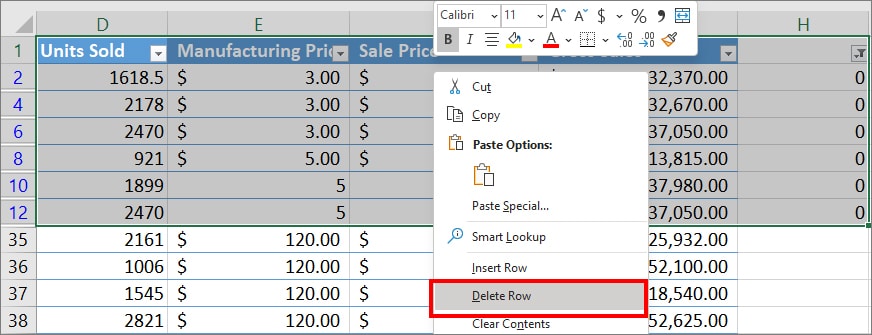
- Press Ctrl + A to select all.
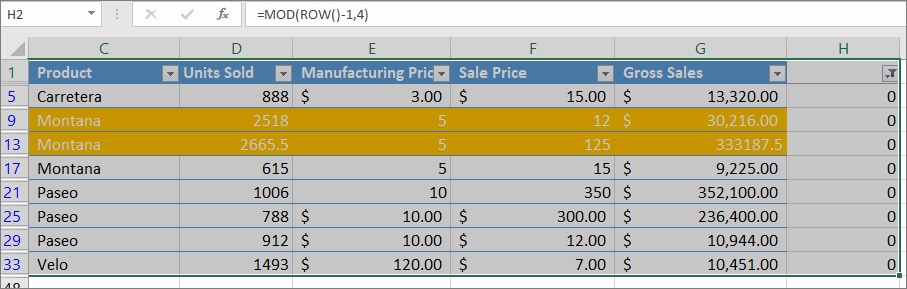
- Right-click and pick Delete Row option.