One of the most important skills you must have during Excel Data Entry is to quickly input values without any mistakes. But, this is not possible when you attempt to manually record the information in rows and columns one after another.
Well, the trick to recording data like a professional is by using the “Data Entry Form.” You can actually create a Form to fill up the values of an entire row at once. It is also effective for huge datasets as you can enter up to 32 columns at a time.
Step 1: Load Form in Excel Ribbon
Microsoft Excel has a built-in Form menu to create a Data Entry. However, as the Form is hidden by default, you cannot find it in the Excel Ribbon. So, the first thing you should do is load the form to the ribbon. For users, who already have the Form menu in their ribbon, you can skip to step 2.
- Launch Excel workbook.
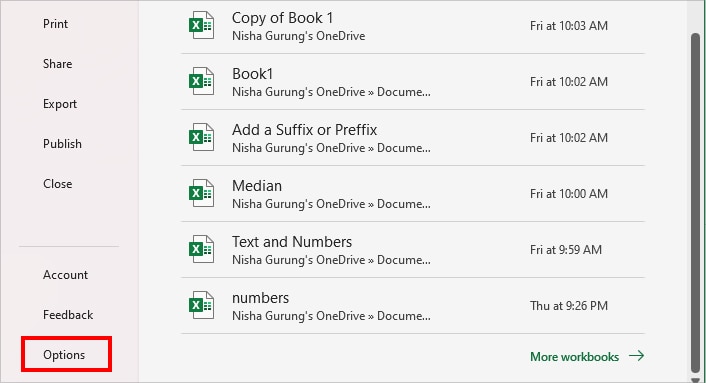
- Head to File tab. Click on Options menu at the bottom.
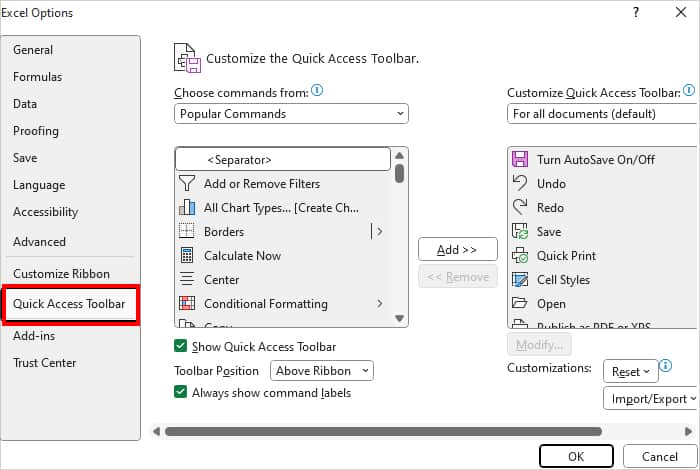
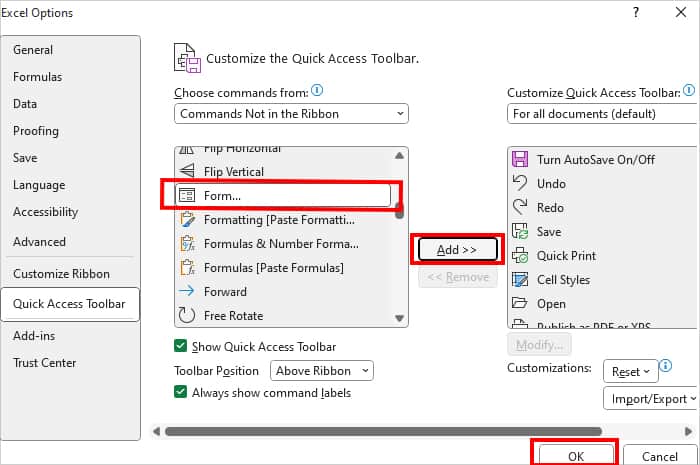
- On Excel Options, head to Quick Access Toolbar category.
- Under Choose commands from, pick Commands Not in the Ribbon.
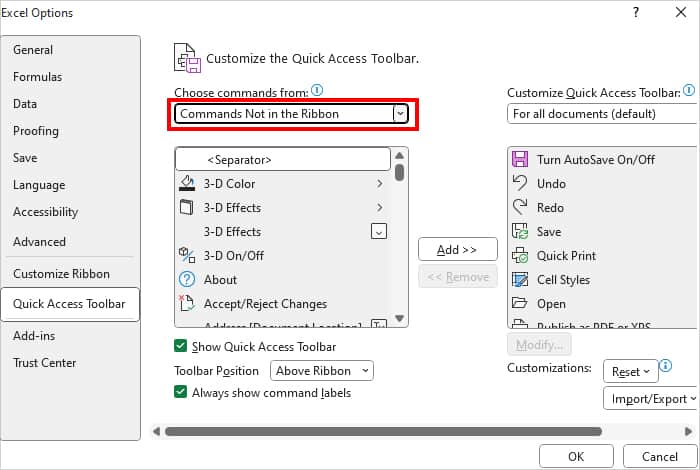
- Scroll the menu to locate Form and select it. Click Add and hit OK.
Step 2: Create Data Entry
Once you load the Form menu to Excel, it’ll appear in the Quick Access Toolbar. Now, in this step, we will make the data entry form using it.
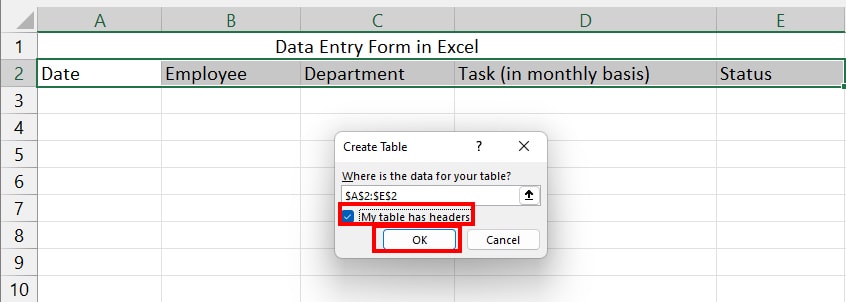
- On your worksheet, start entering the Column heading you want to create a form for.
- When you’re done, select the cell ranges and enter Ctrl + T shortcut to create Table. On the prompt box, tick the box for My table has headers and hit OK.
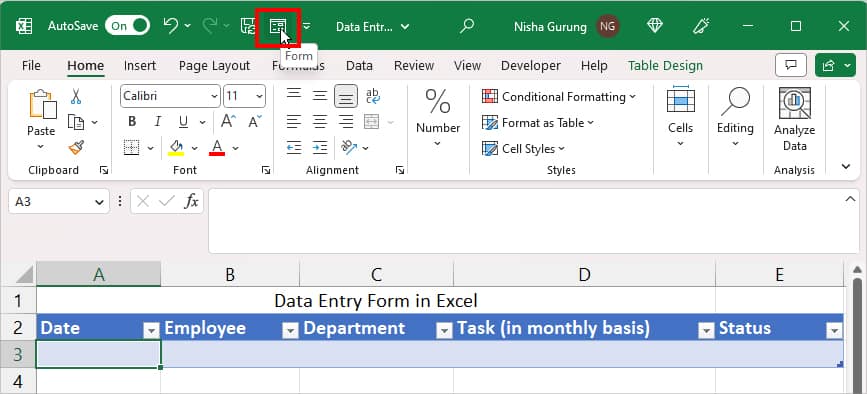
- Click anywhere in the Table. Then. from the Quick Access Toolbar, click on the Form Icon.
- Fill in the fields for all Column headings and press Enter.
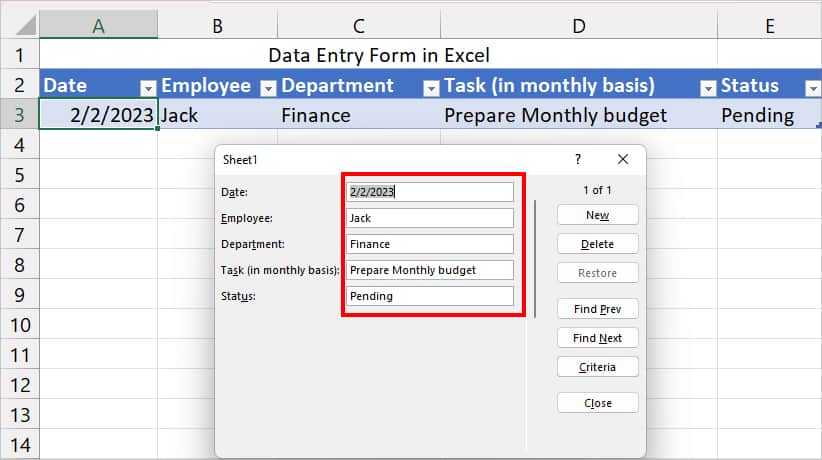
- Scroll down and enter the data for the remaining rows.
Step 3: Add Data Validation
In this step, we will use the Data Validation tool to restrict the information in Data Entry Form. You can prevent users from recording the wrong values.
For Example, you can set the Validation Criteria to allow only specific dates entry in the form. If someone enters a different date than expected in the form, they’ll receive an error.
- Select the Data Column you want to restrict.
- From Data Tab, click on Data Validation.

- On Data Validation window, stay on the Settings tab.
- Under Allow, pick an option. See what each option refers to below.
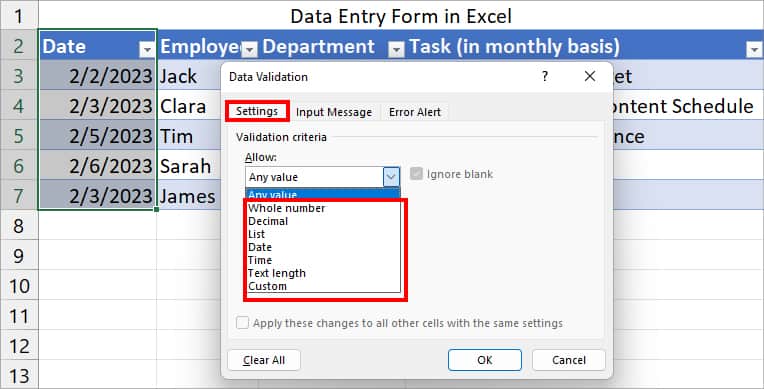
- Whole Number: Allows users to input whole numbers only.
- Decimal: Accepts Decimal numbers only.
- List: Allows users to choose data from the drop-down list.
- Date: Limit start date and end date to input in the selected cell.
- Time: Allows only time in the selected cell.
- Text Length: Limits text length.
- Custom: Accept custom formula.
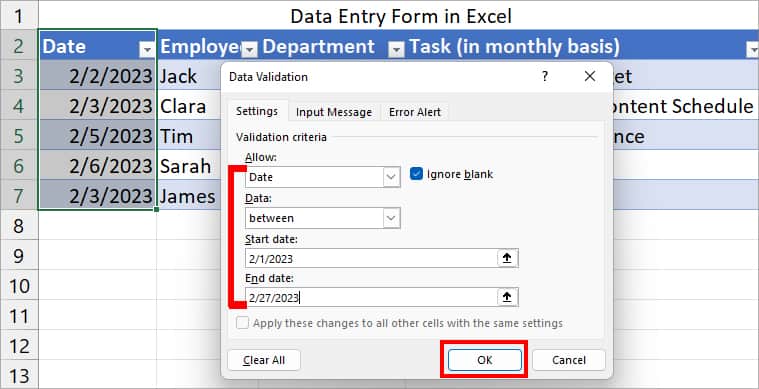
- Now, set Validation criteria. Here, we set the form to accept only Date from 2/1/2023 – 2/27/2023. Click OK.
How to Navigate Through Records in Data Entry Form?
After generating the form, you may wish to navigate through rows to look for information. There are three ways you can do this.
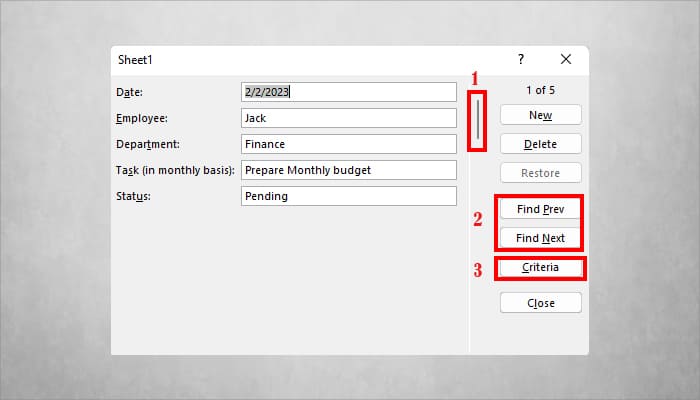
- Use Scroll Bar: Similar to the Excel window, you can find the Scroll bar in the Form. You could use this if you want to quickly go to the last or middle record at once.
- Use the Find Prev and Find Next buttons: Press this button to go back and forth between the records.
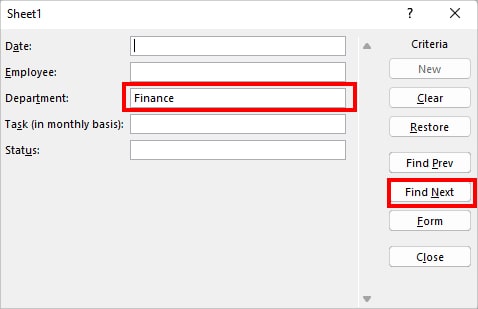
- Use the Criteria button: If you want to precisely search specific data, you could opt for the Criteria menu. When you click on the Criteria, you can see an empty record. Here, you can enter any one of the information to locate them. For example, if you enter Finance in the department and hit Find Next, it’ll display all records with Finance.
How to Edit Information in Data Entry Form?
If you need to change the information in Data Entry Form, place the cursor on the desired field. Then, start typing a new value. When done, press Enter.
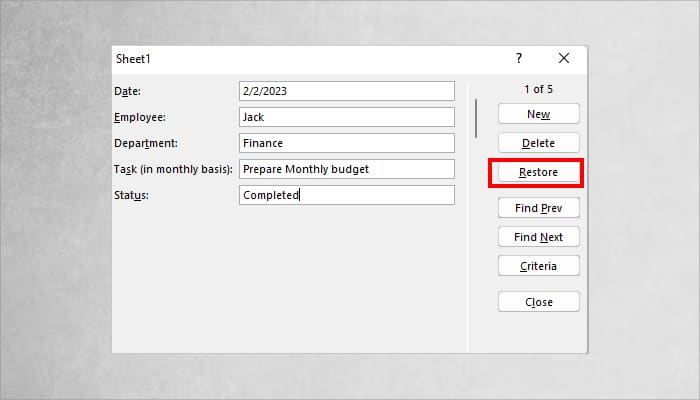
However, in case you want to undo changes within the form, click the Restore button. It is similar to using Ctrl + Z. The option will be greyed out if you haven’t made any changes. Finally, you can hit Close to Exit the Form Window.
How to Add or Delete a Row in Data Entry?
There can be instances when you would want to insert new data or delete existing ones in the form. To do so, you can use the New and Delete button in the Form.
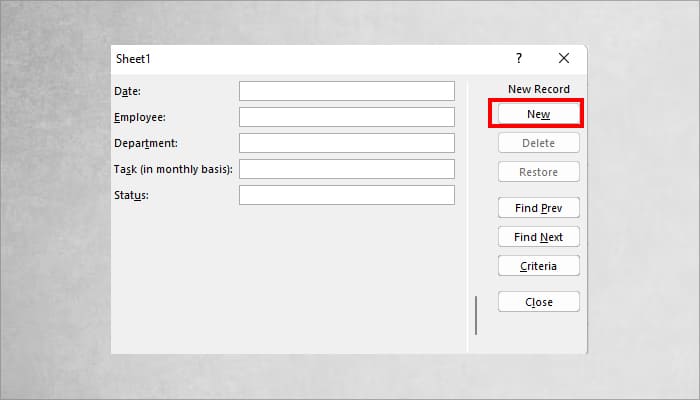
Insert New Row
On Form Window, press the New button to insert an additional row. Then, fill in the remaining information and hit Enter key to save.
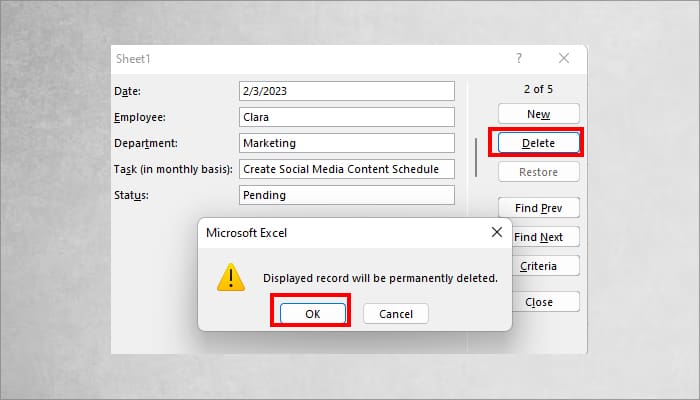
Delete Row
On Form Window, firstly, locate and view the record you wish to remove. Then, press the Delete button. On the prompt box, click Confirm to delete the record. Note that once you approve, you cannot undo the deletion.