The two things I love the most about Excel are its ability to automate tasks and the Flash Fill feature. When I first found out that I could create a list Excel would use to fill in my data automatically, I knew it would be my new favorite thing about Excel.
A custom fill is really handy in cases where you enter the same data frequently such as serial numbers and name lists. This will save you from the hassle of entering the same data each time you create a new spreadsheet.
While it is easy to create a custom autofill list in Excel, it is equally convenient to edit them to make changes, and even delete them. We’ve covered everything in this article, so keep reading!
Create a Custom Autofill List in Excel
Creating a custom autofill list falls under the advanced option in Excel. General lists such as numbers, names of the months, and names of the days are already listed in the feature. Remember, the list you enter must be texts or strings.
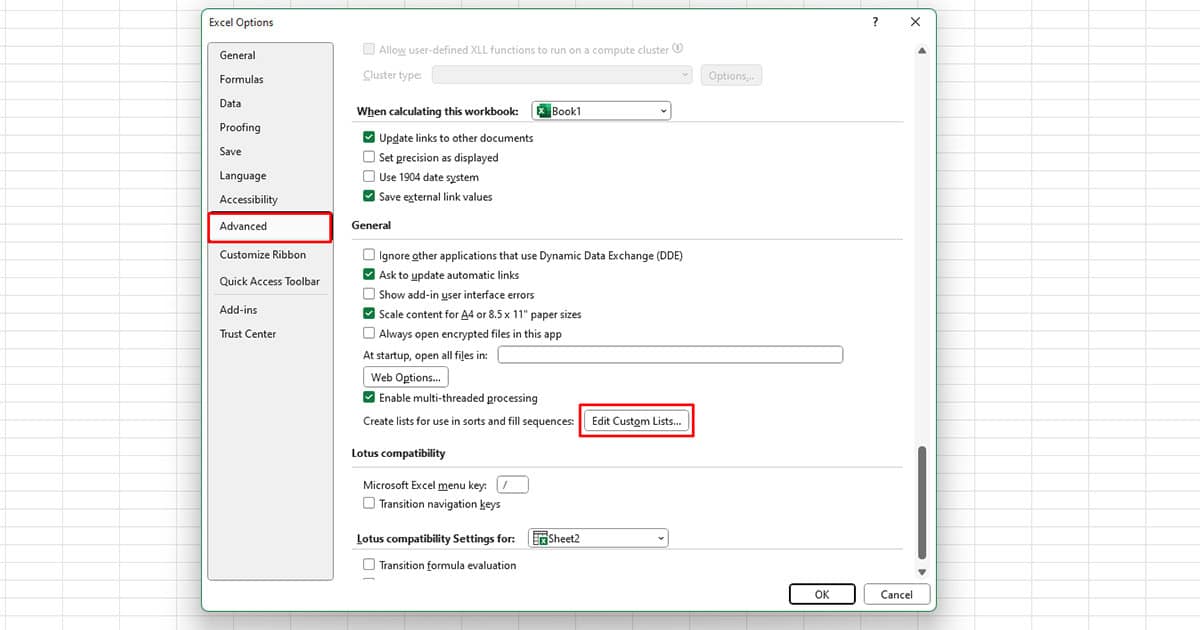
- Head to File > Options.

- From the sidebar, select Advanced.
- Scroll down to the General section and click on the Edit Custom Lists button.

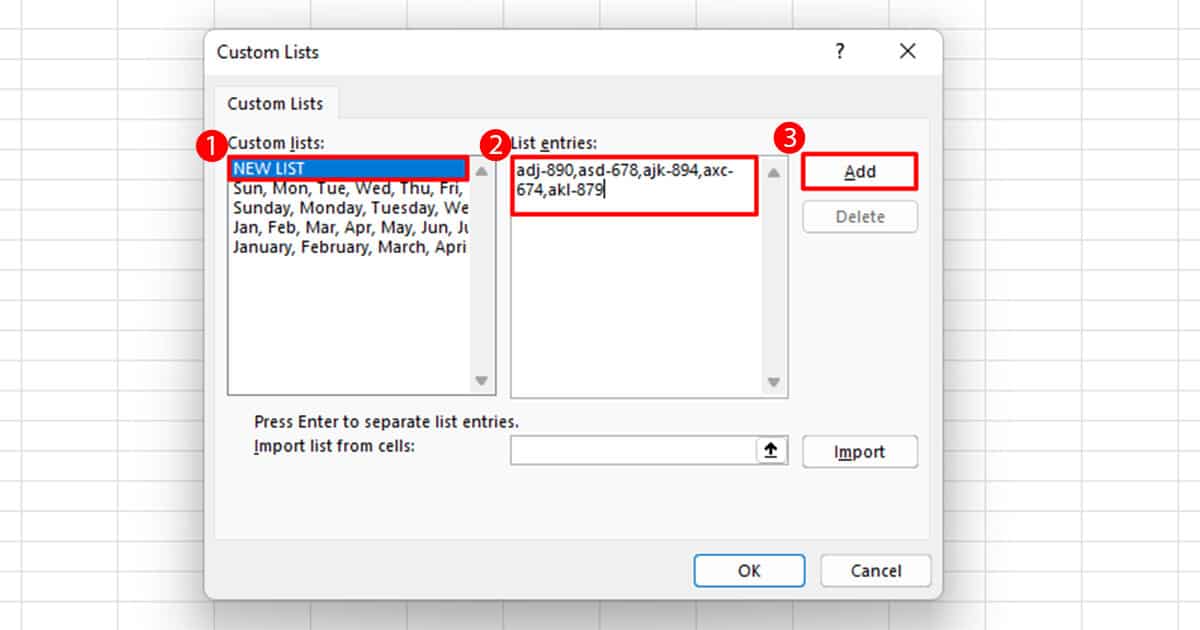
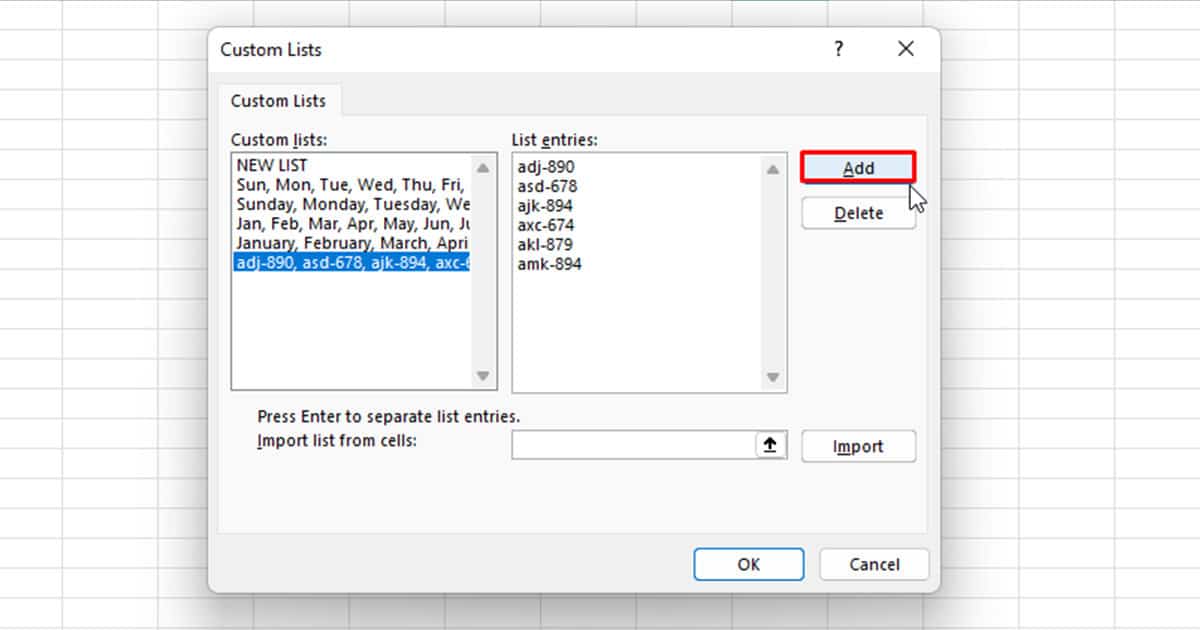
- Under Custom lists, select NEW LIST.
- To enter your list:
- Either, enter your list under the List entries section. Make sure you separate each entry with a comma.
- Or, if you have your list in one of the active sheets, enter the range next to the Import list from cells section. Then, select the Import button.
- Select Add > OK.
Use your Custom Autofill List
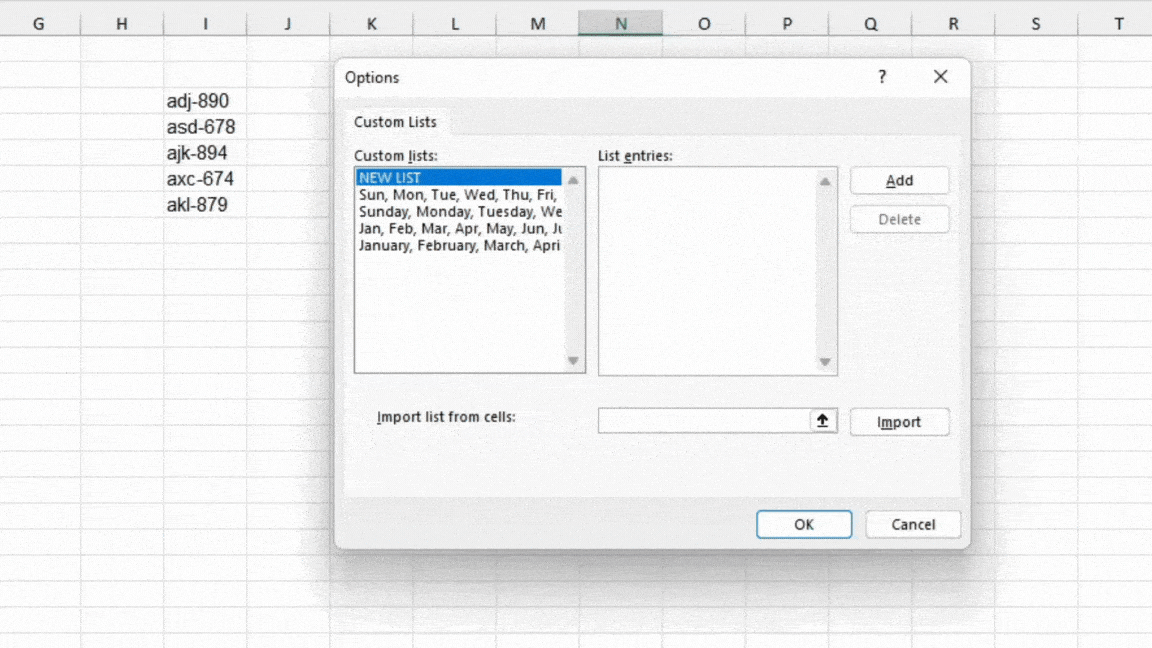
Using the list you created works exactly how you would use Excel’s autofill lists. For example, I just created a list with five elements: adj-890, asd-678, ajk-894, axc-674, akl-879. These are pretty random data Excel would otherwise never be able to autofill. After I added these under the Custom Lists section, I can finally autofill this list to my sheet.
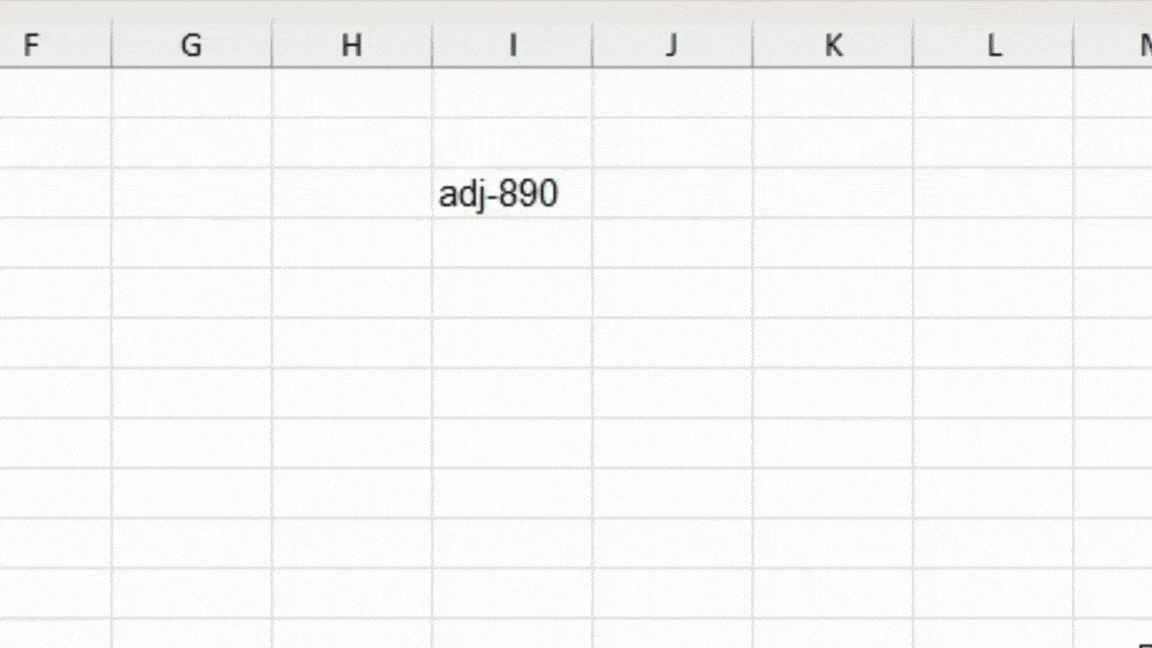
I entered the first list item, adj-890, on an empty cell on my spreadsheet. Then, I placed my cursor on the bottom-right edge of the cell and dragged it to the direction I wish to fill my cells. Voila! here’s the list I just created!
Edit an Existing Custom Autofill List
You may often find the need to update the list you created after some time. In such cases, you don’t have to entirely create a new list. Excel has the option to edit the list where you can change something or everything from the list.
- Navigate to File > Options.
- Click Advanced > Edit Custom Lists.
- Select the list you wish to edit under the Custom Lists section.
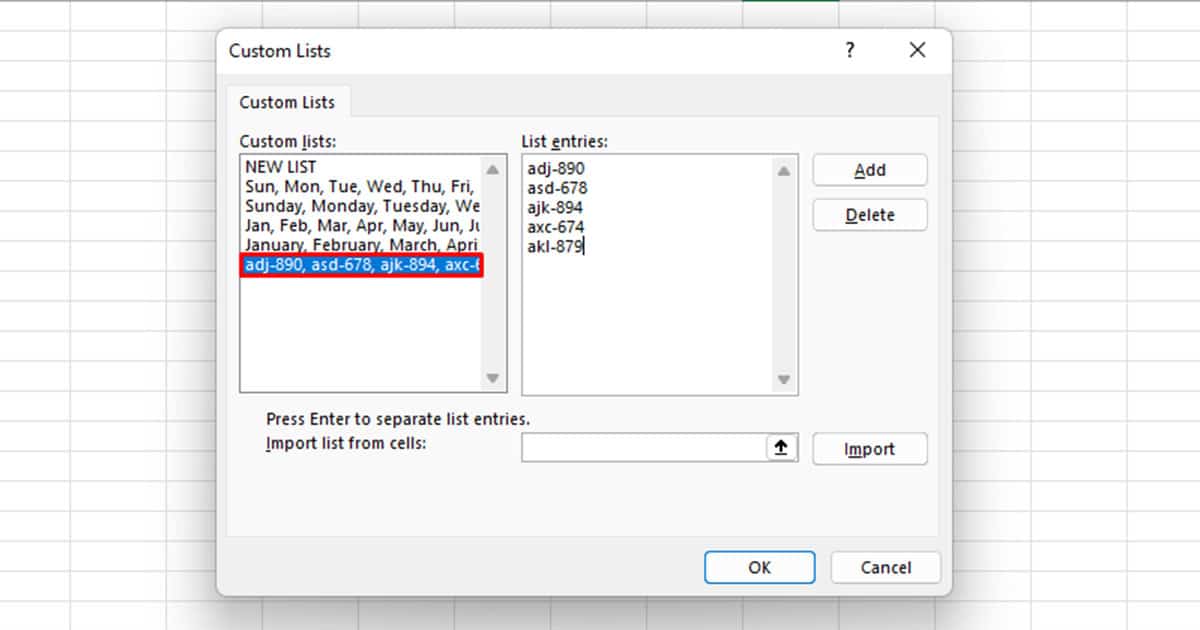
- Under List entries, update your values.
- Select the Add button on the right.
- Click OK.
Delete a Custom Autofill List
After you’re done with the list, it is best if you delete it. This will allow you to create similar lists in the future that begin with the same first element. Additionally, I suggest you get rid of data you don’t use so that they don’t clutter up and make your Excel run slow.
- From the menubar, select File.
- Head on to Options > Advanced.
- Under the General section, click Edit Custom lists.
- Select the list you wish to remove under the Custom Lists section.
- Click the Delete button on the right.
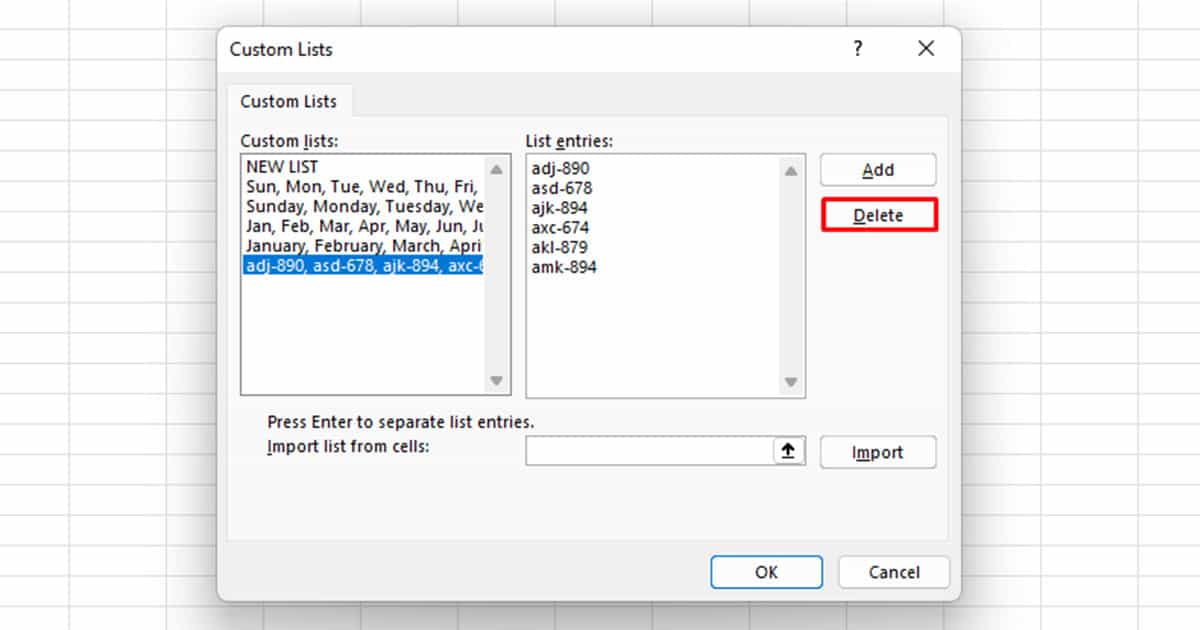
- Select OK.
Why Can’t I Create a Custom Autofill List?
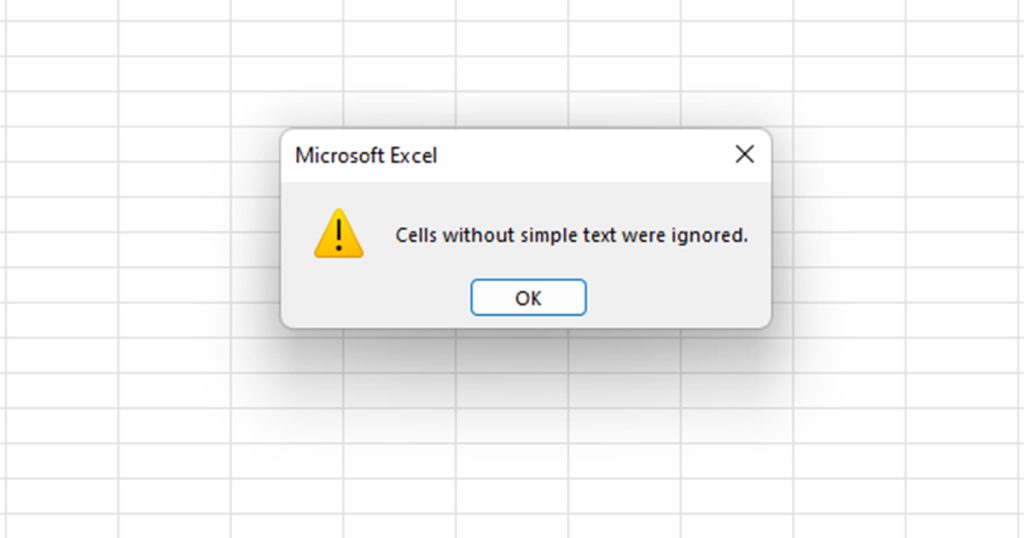
If the list you created isn’t working, or if Excel isn’t importing the referenced cell from the spreadsheet, it’s almost always because you’re trying to create a list of numbers.
You cannot create a custom autofill list out of numbers. If you try to reference a cell with only numbers, you will receive a prompt that says “Cells without simple text were ignored”. Although you can enter numbers under the List entries section and even add it to your list, it simply won’t work when you try to use it on your spreadsheet.