If you need to compile a list of File names in Excel, you wouldn’t want to wear yourself out by manually entering the names in a sheet. To avoid this, one of the best work-around is to copy the file name and paste them into the sheet.
But, users often make a common mistake while copying the document name. Instead of copying the File path, they go for the File itself. So, if you’re wondering why the Paste option is greyed out, it’s because you are actually copying the File.
In this article, you can learn how to copy file names with or without the Path address. We have also provided other effective methods to create file name records in Excel.
Copy and Paste the File Path
For beginners, the most simple approach to copying file names into Excel is by using the copy-paste command. Here, you could just copy the file path and paste it into your spreadsheet.
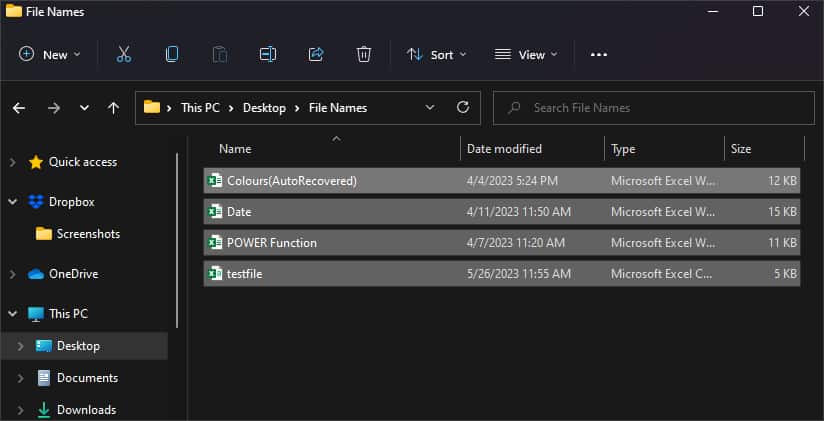
- On your PC, locate the files and select the ones you wish to copy to an Excel sheet.
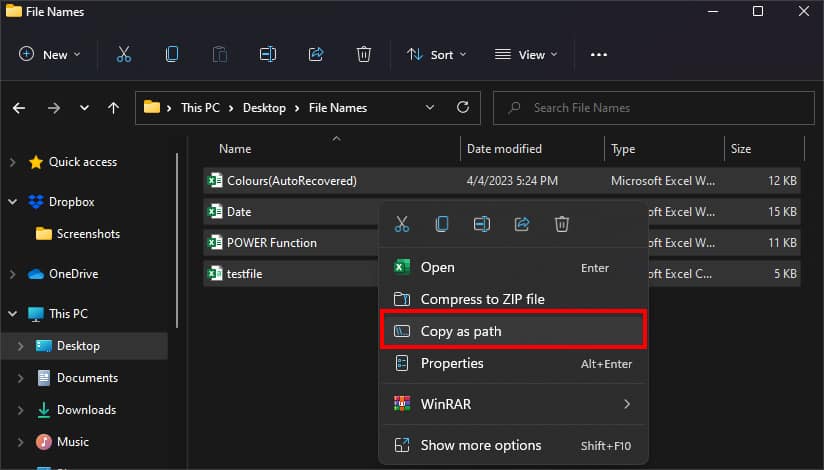
- Right-click on the selection and pick Copy as path.
- Go to your worksheet and enter Ctrl + V to paste the names.

When you copy the file name path, it’ll have \ in them. You could keep the file path as it is if you feel it’s easier to locate files. However, for users who just want to have file names, you could use the Find and Replace tool to remove the rest.
Select the Files and enter Ctrl + H to bring up the Find and Replace menu. Now, copy your File address and paste it into the Find What. Hit Replace All. You’ll be left with only file names in your sheet.
Using Google Chrome to Copy-Paste
If you do not want the File path in your sheet, there’s an alternative to paste only the file’s names. You could follow this method if you’re not into using any formula or Power Query tool. Here, we will use Google Chrome as a means to copy the file name into Excel.
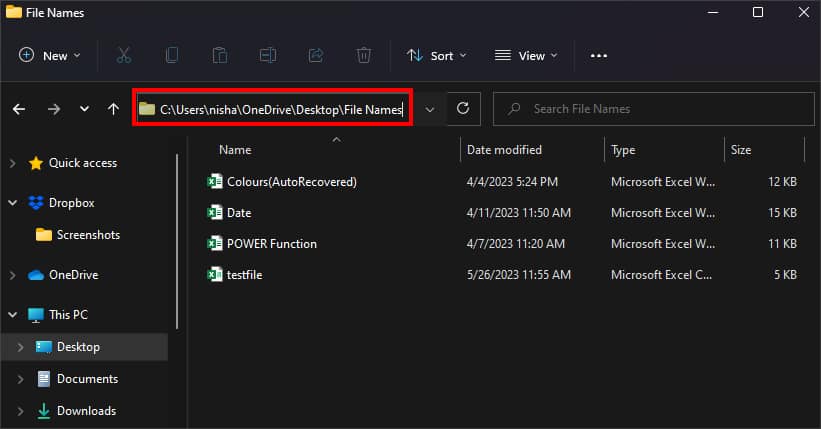
- Firstly, open the Folder with documents and copy the Folder Path.
- Launch Google Chrome and paste the Folder path into Chrome’s URL address.
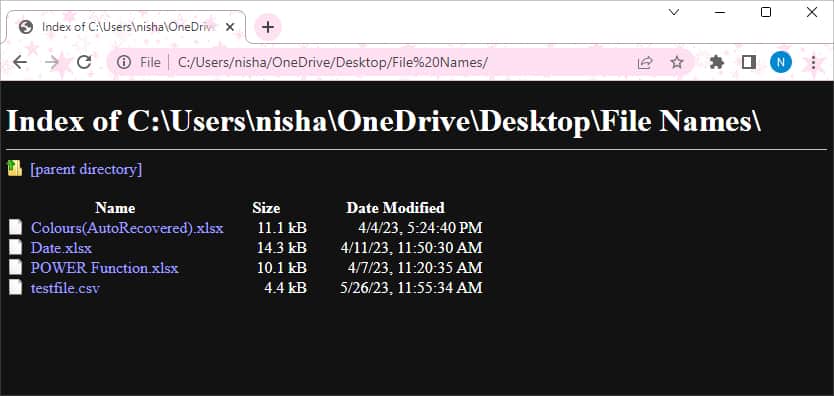
- Now, you can see the File Name, Size, and Date Modified in Google Chrome. Press Ctrl + A to select everything. Then, use Ctrl + C shortcut to copy the selected information.
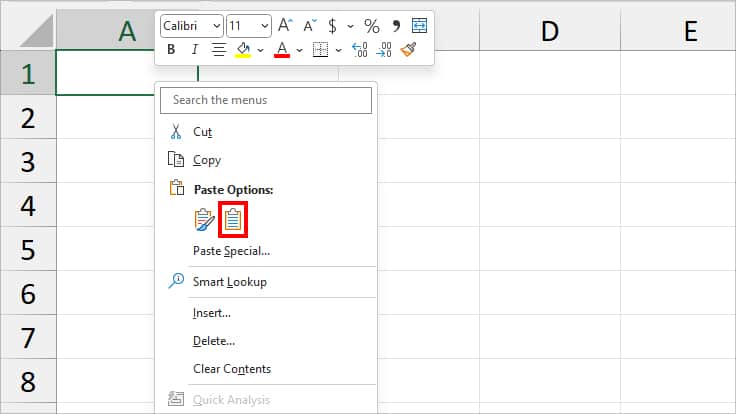
- Paste the copied data into your Excel Sheet with Ctrl + V key. If you do not want the original formatting, right-click on a cell and choose Match Destination Formatting in Paste Options.
- Remove the unwanted columns and keep only Names column.

Using Power Query
Excel’s Power Query tool has a default option to import files in several formats like Text/CSV, XML, JSON, PDF, etc. I personally prefer this method to create the file name lists in Excel because Power Query allows users to import an entire folder of files. So, there’s no need to select each document and copy the name. It is best if you have all of the files in a single folder.
In this method, we will import a folder with documents. Then, using the Transform Data, we will delete the unnecessary columns and import only the names. Check out these steps.
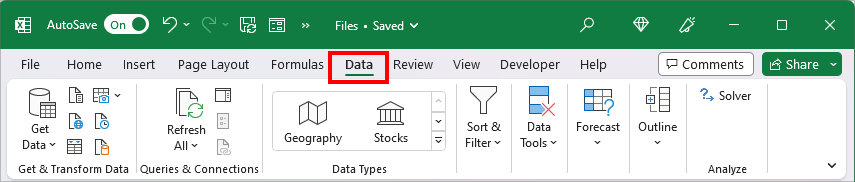
- On your worksheet, go to Data Tab.
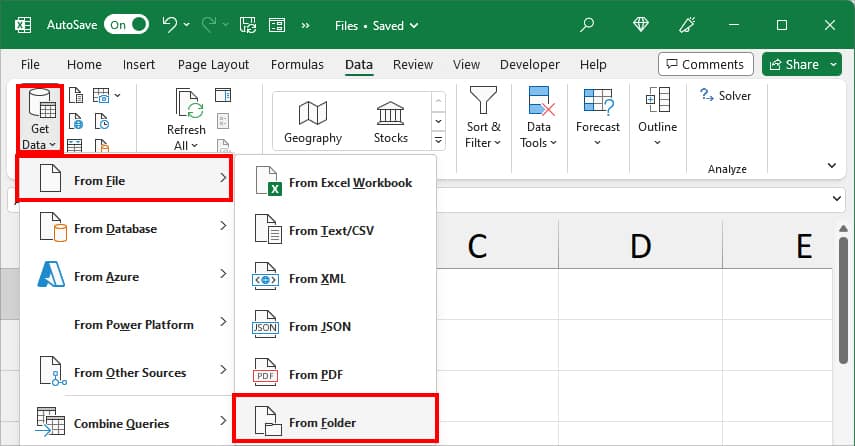
- From Get & Transform Data, select Get Data. Pick From File > From Folder.
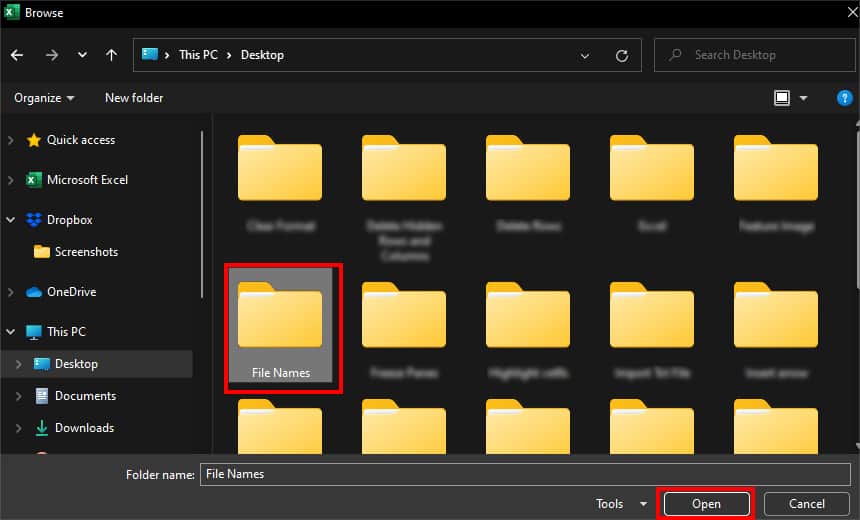
- Locate your Folder with documents and select it. Then, hit Open.
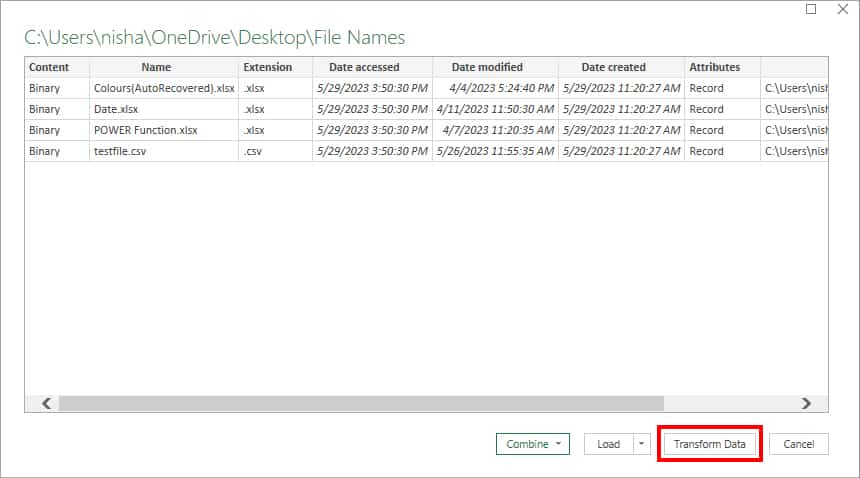
- On the Files Names window, click Transform Data.
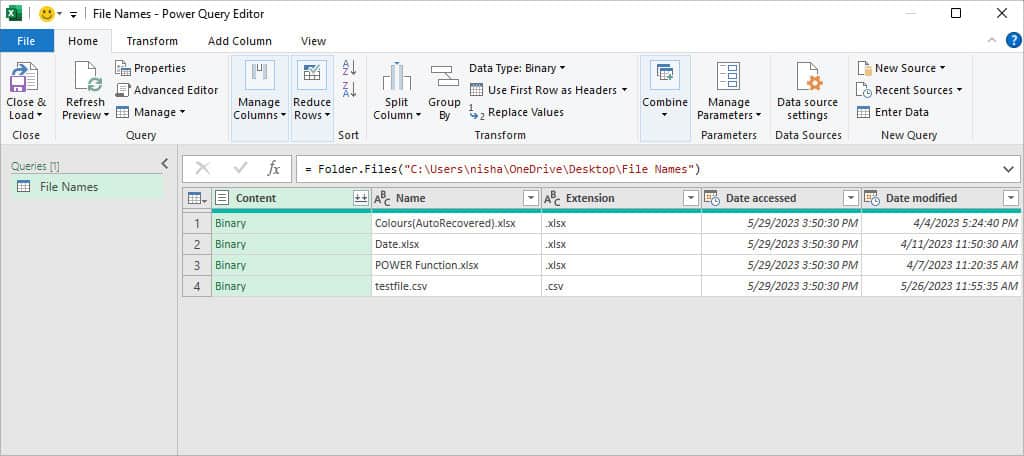
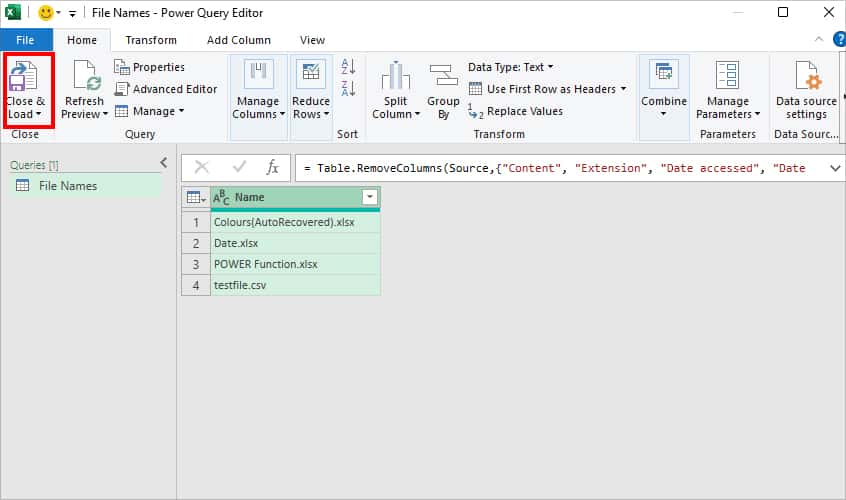
- On Power Query window, you can see each piece of information of the document separated into columns such as Name, Extension, Date Accessed, Folder Path, and many more.
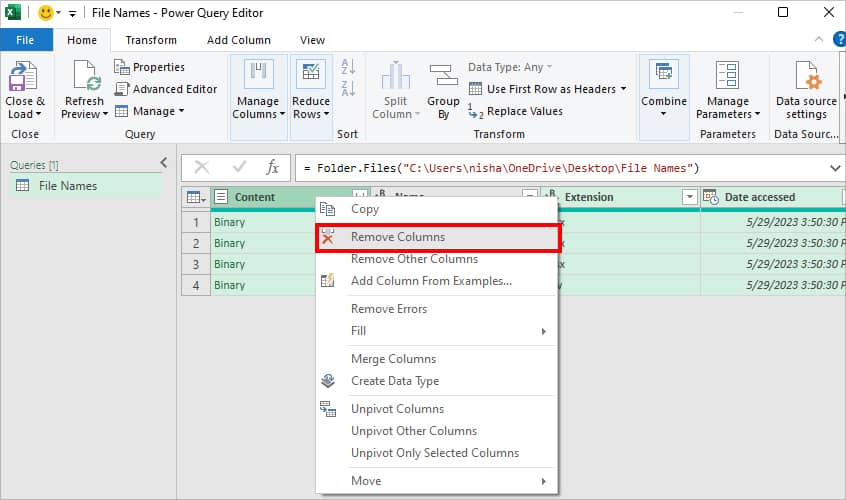
- Now, excluding the Name Column, select all other Columns using the Ctrl key. Right-click on the selected Column and pick Remove Columns.
- From the File Tab, select Close & Load.
Using HYPERLINK Function
Instead of copying just the names of the documents to your sheet, you could also link the location of the file. By doing so, you wouldn’t have to look for a file path and search for it on your PC. The hyperlink will quickly direct you to the file with just a single click. For this, we will use Excel’s Hyperlink Function.
The HYPERLINK function returns the document name with the link you pass on. It only takes up two arguments in the formula which are the link location and friendly name. Here, the link location is the file address and the friendly name is the document name.
Syntax: HYPERLINK(link_location, [friendly_name])To create a hyperlink to your folder, use the formula provided in the box.
=HYPERLINK(“Your File Path”, “Your File Name”)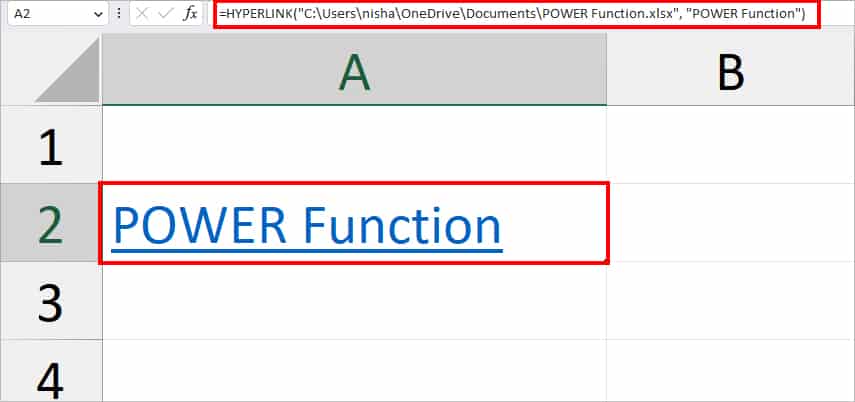
See these steps to input the formula.
- Firstly, locate your file. Right-click on the file and choose Copy as Path.
- On your sheet, enter =HYPERLINK(
- Paste the File Path you copied earlier and enter a Comma. Type in your file name and enclose it inside a Double quotation mark.
- Your formula should look something like this
=HYPERLINK("C:\Users\nisha\OneDrive\Documents\POWER Function.xlsx", "POWER Function"). Press Enter.