If you are adding long texts in Excel, the first thing you would want to do is to auto-size them according to the cell.
As Excel’s text orientation is set to horizontal by default, words can clutter inside the cell grid, especially in tables. While expanding columns can do the job, you may not have all the columns on a single page.
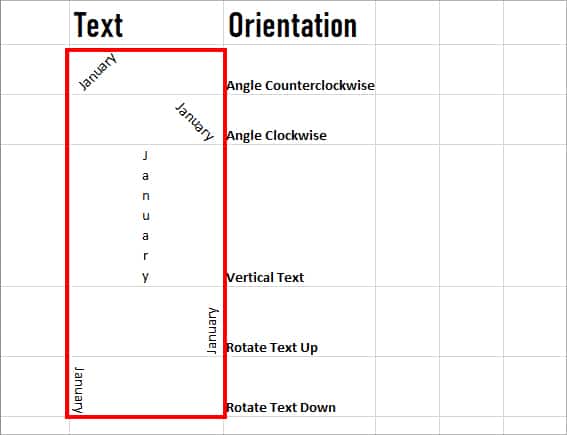
In cases like these, changing text angles works like a charm. For Example, like in the given picture, you can position texts at the Angle Counterclockwise to accommodate the cell without changing the grid size.

Apart from Angle Counterclockwise, you can find various font angles in the Orientation menu. Keep reading to learn how to change the text direction in three different cases from this article.
Case 1: Change Text Direction in the Cell Grid
To change text direction in the cell grids, you can adjust the text orientation style. There is a default Orientation menu to rotate text at different angles. You can simply apply any one of them. Here’s how each Orientation format will make your text look like.
Using Ribbon Shortcuts
If you have to change text directions on a regular basis, use these keyboard shortcuts to get the job done quickly.
Unlike regular Excel shortcuts, you do not have to press and hold all keys together for Ribbon Shortcuts. Meaning, you could first press the Alt key and release it. Then, hit the H key and FQ keys, and so on individually.
Here are the keyboard shortcuts to rotate texts in a different positions.
Angle Counterclockwise: Alt + H + FQ + O
Angle Clockwise: Alt + H + FQ + L
Vertical Text: Alt + H + FQ + V
Rotate Text Up: Alt + H + FQ + U
Rotate Text Down: Alt + H + FQ + D
Format Cell Alignment: Alt + H + FQ + M
From Home Ribbon
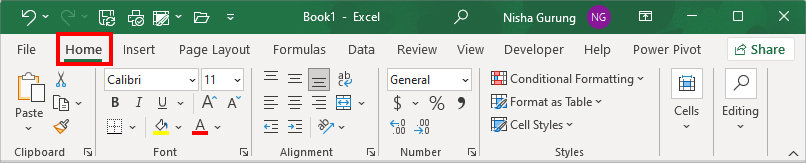
You can always change the text orientations from the Home Ribbon if you cannot catch on to the shortcut keys.
- Select texts and navigate to Home Tab.
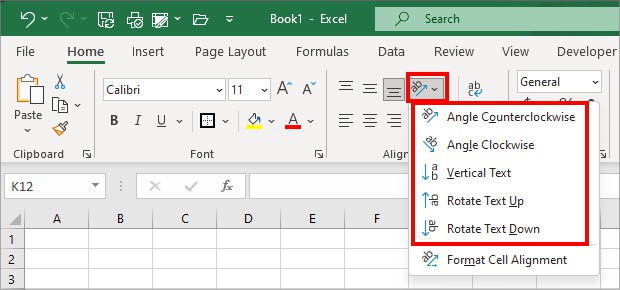
- Hover over the Alignment group and click on the Orientation icon. From the lists, choose an Orientation option to apply.
From Format Cell
In the Format Cells window, there is a default option for Text directions. Use this method if you want to rotate the texts manually at a certain angle from the Orientation degree box.
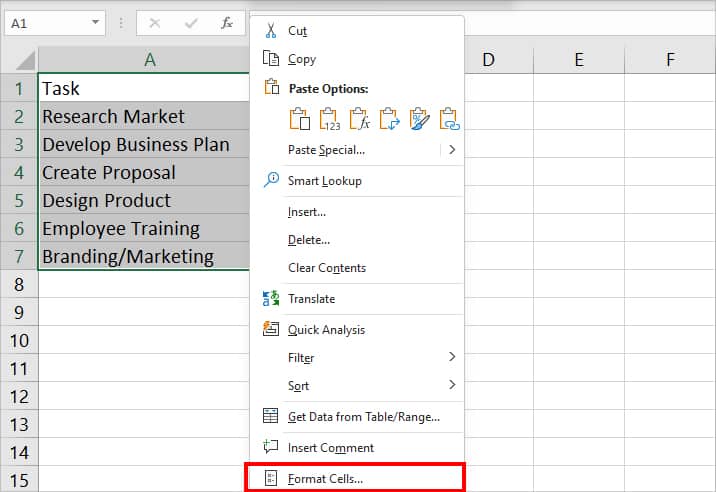
- Select the texts and right-click on them. Pick Format Cells.
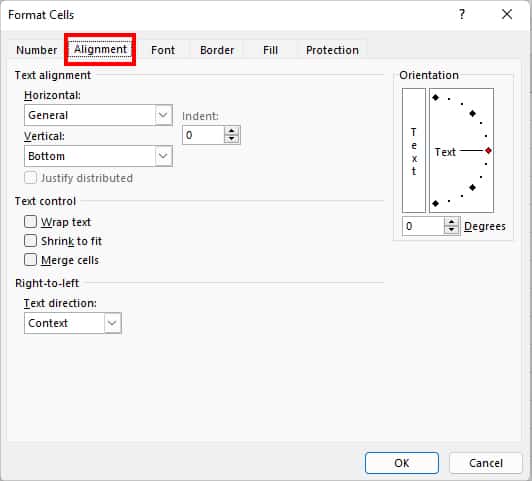
- On Format Cells window, click on Alignment Tab.
- Under Text direction, pick one of the following options:
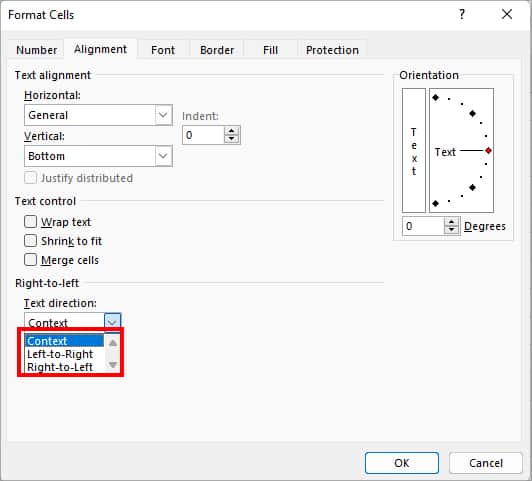
- Context
- Left-to-Right
- Right-to-Left
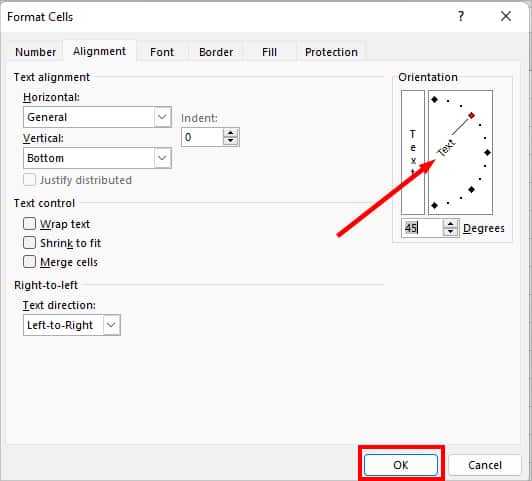
- Now, Under Orientation, drag the Text arrow up or down to rotate texts. Click OK to confirm.
Case 2: Change Text Direction in Charts
By now, you must have learned how to change text directions from the Orientation menu of the Home Tab. You could apply any one of the Orientation styles to rotate the texts in Charts.
But, if you want to manually rotate the font angles, you can do it from the Format Axis menu. Here, you can access more options like Text direction and Custom angle.
- Select the Chart Area.
- Right-click on the Text Axis > Format Axis.

- On Format Axis Panel, go to Text Options > Size & Properties icon.
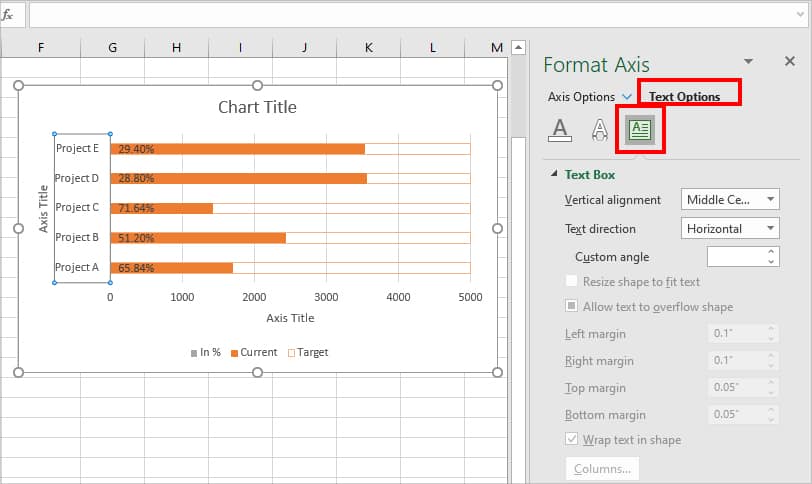
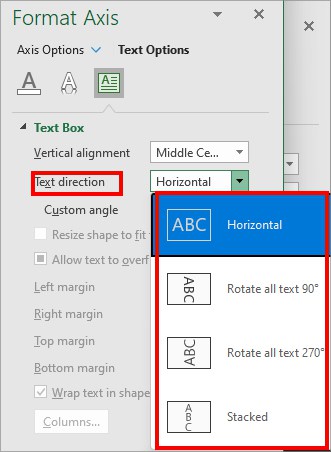
- Expand the Text Direction drop-down menu and pick any one option.
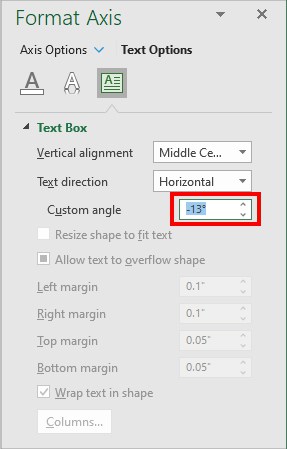
- Under Custom angle, increase and decrease the Degree to rotate the text. (Note that this option is only available for Horizontal text direction)
Case 3: Change Text Direction in Text Box
To change the text angle of a text box, most starters usually tend to rotate the whole text box. But, you can rotate only text directions while keeping the text box in place.
Here’s how you do this.
- Select the Text Box.
- Right-click on the box and pick Format Shape.
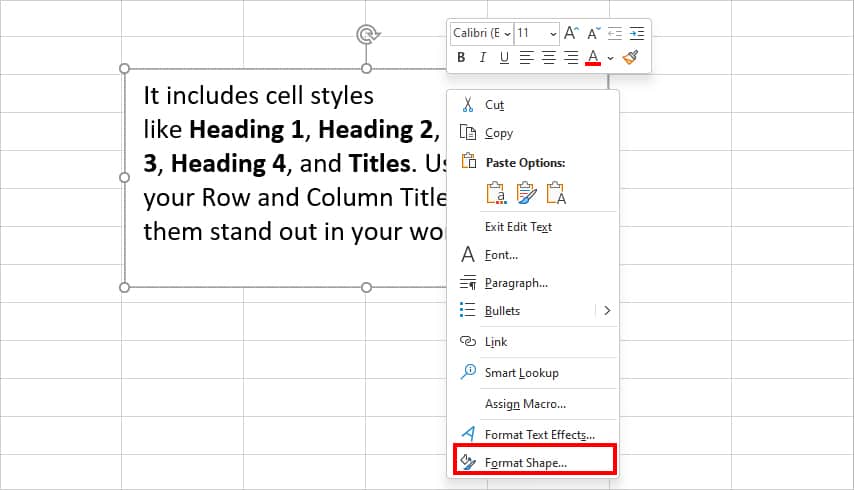
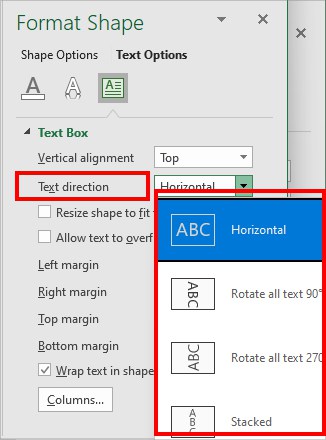
- On the Format Shape box, go to Text Options and click on the Text box icon.
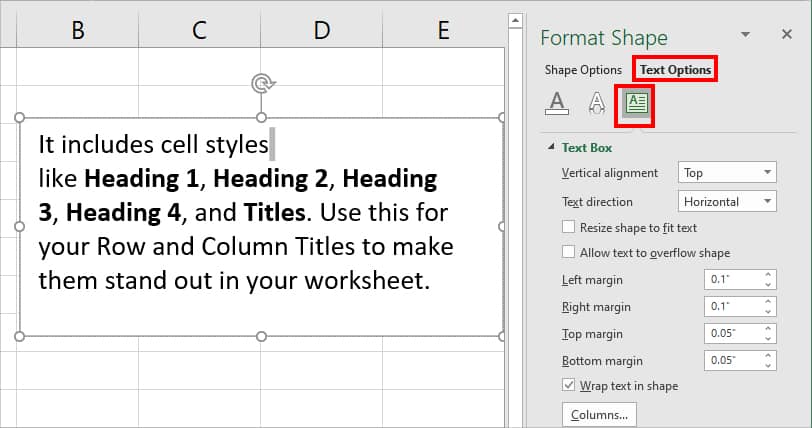
- On Text direction, pick any one option from Horizontal, Rotate all text 90, Rotate all text 270, Stacked for your text.
- On Vertical alignment, choose any one Alignment for your text. (Optional)

How to Change Text Position in Excel?
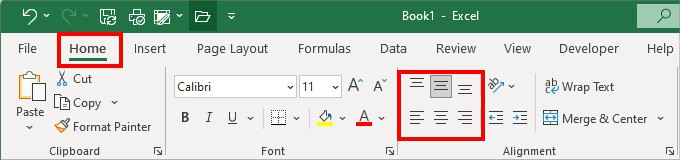
From the above method, we learned how to rotate the entire text orientation. But, if you just want to change the text positions from left to right and vice versa, this method is for you. Here, we will adjust the text alignments from the Home Tab.
All you have to do is select the text or cell ranges. Then, on Home Tab, hover over the Alignment section and click on any one Alignment option. You can find Top Align, Middle Align, Bottom Align, Align Left, Center Align, and Align Right.