As emails start to pile up in your Outlook Inbox, finding junk emails can be quite time-consuming. Instead, it’s better to automatically move emails to the Junk folder.
Outlook contains a built-in option to manage such junk emails. Also, you can set up a rule to filter specific types of emails and move them to another folder such as Junk.
In this article, we will discuss several ways to move emails to Junk—whether that’s coming from a particular sender or a domain.
Using Junk Email Options
As the name suggests, Outlook allows us to configure various Junk email options to automatically move emails to the Junk folder.
On Outlook, you can block a particular email address or an entire domain.
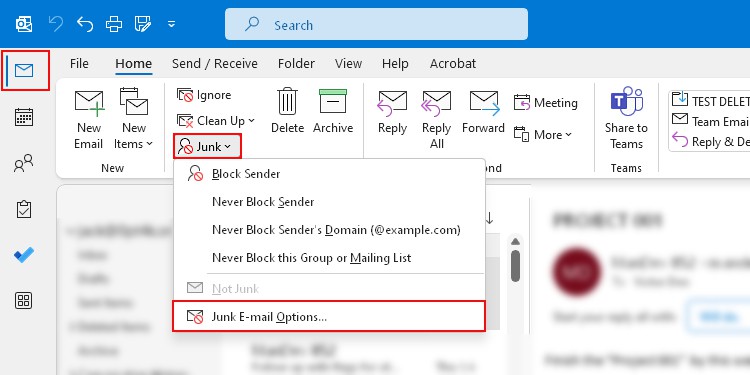
However, if you have just a few emails to block, you can move them (and future emails) to Junk by right-clicking and selecting Junk > Block Sender.
- Open the Outlook app.
- Select the Inbox tab.
- Under the Home tab, select Junk > Junk E-mail Options.
- Now, under the Blocked Senders, click Add to manually enter the email address to the block list. If you already have a list of such emails in a txt file, click Import from File.
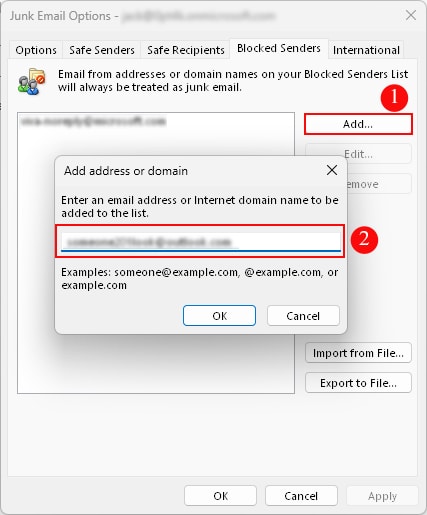
- Alternatively, you can also block an entire domain such as
@quora.com.
You can also use one of the built-in Junk email protection options under the Options tab.
But, note that Outlook could sometimes mistakenly mark some of these emails as spam. In such cases, consider checking the Junk folder for the missing emails that you were supposed to receive.
Using Outlook Rules
Rules are even more powerful and provide several more options to move emails to a particular folder such as Junk.
For instance, you can set up rules to automatically move emails to Junk that contain specific words in the Subject field.
Alternatively, you can mention several other criteria according to your preferences such as messages containing an attachment, message body containing specific words, messages sent only to you, and so on.
- Open the Outlook app.
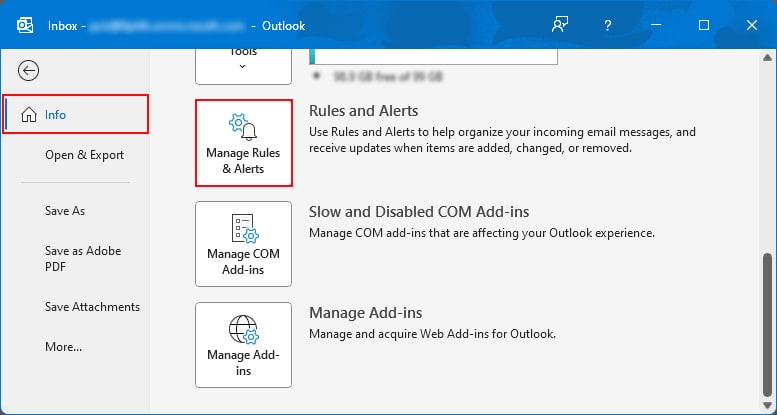
- Click the File menu.
- Then, select Manage Rules & Alerts.
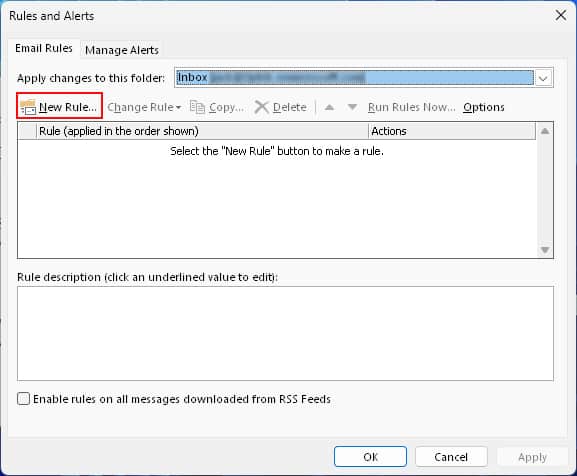
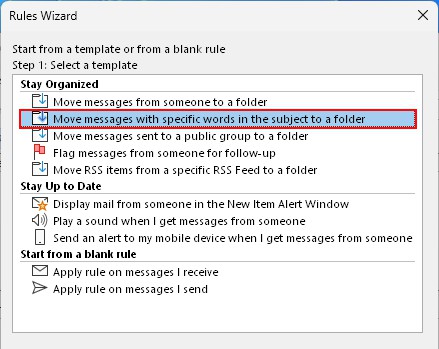
- Under Email Rules, select New Rule.
- Then, select Move messages with specific words in the subject to the folder option.
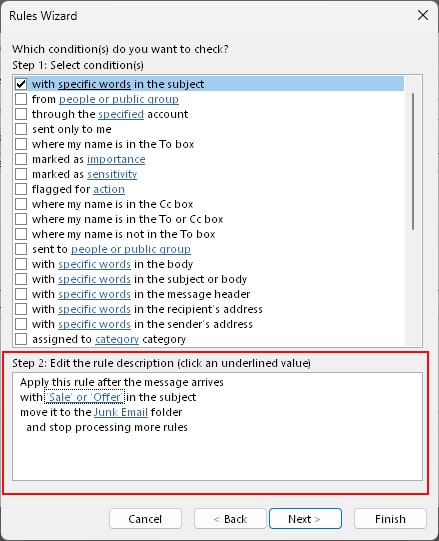
- Click the underlined text below. Then, enter the specific words you want to check in the subject line and select the Junk Email folder.
- Select exceptions.
- Enter an appropriate name. Make sure the Turn on this rule checkbox is enabled.
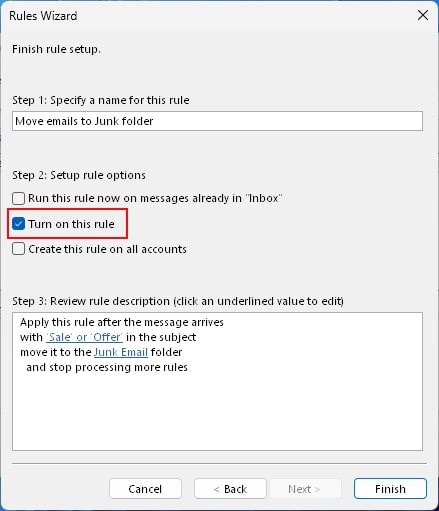
- Enable the “Run this rule now on message already in Inbox” to apply the rule to existing messages that match the specified criteria.
- When done, click Finish.
Related Questions
How to Stop Important Emails from Going into Junk?
While preventing spam/unimportant emails from showing up in the inbox, we definitely don’t want important emails going to the Junk folder either.
For this, you can add trusted emails to the Safe Senders list. Also, check if you have accidentally added someone to the blocked list and unblock such emails.
- Open the Outlook app.
- Select the Inbox tab.
- Under the Home tab, click Junk and select Junk E-mail Options.

- On the next prompt, select the Safe Senders tab.
- Click Add. Then, enter the email you want Outlook to never send to Junk.
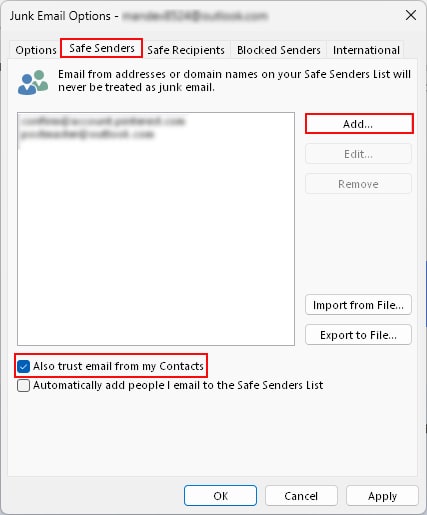
- Additionally, select the Also trust email from my Contacts checkbox to automatically add all your Outlook contacts to the safe senders list.