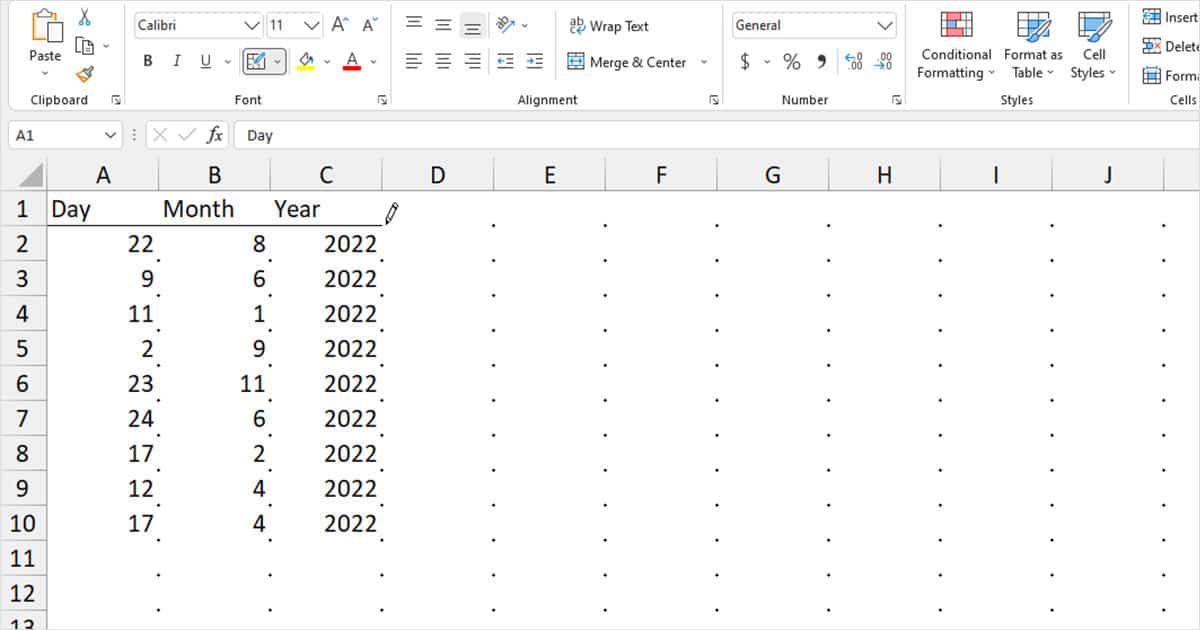
Removing gridlines can give a cleaner look to your worksheet. But this could make it difficult to differentiate the values. Additionally, as excel does not print your worksheet’s gridlines, the data could be even harder to read on paper. To solve this confusion, you could add border to create a clear division.
Adding top and bottom borders can style your data table and make it look more visually appealing. If you’re dealing with a smaller dataset, applying only the top and bottom borders could get the job done as opposed to applying borders on all sides.
Apply Top and Bottom Borders from the Home Ribbon
There are two ways to use tools from the Ribbons. You can either access it using the ribbon shortcuts or by navigating through the ribbon manually from the menubar.
Use Shortcuts
If you’re using Excel on Windows, you can use the Ribbon shortcuts. Ribbon shortcuts are a bit different than regular shortcuts. Instead of holding onto the keys, you have to individually click on the keys to apply the shortcut.
Here are the shortcuts you can use to apply each border:
Top and Bottom Border: Alt, H, B, D
Top and Bottom Thick Border: Alt, H, B, C
Top and Bottom Double Border: Alt, H, B, U
Navigate through Ribbon
All users can use Excel’s ribbon to apply top and bottom borders on their cells. Select the cell or the cell range you wish to apply this format. Then navigate through the Excel ribbons using these steps:
- On the Home tab, locate the Font section.
- Click on the Border icon.
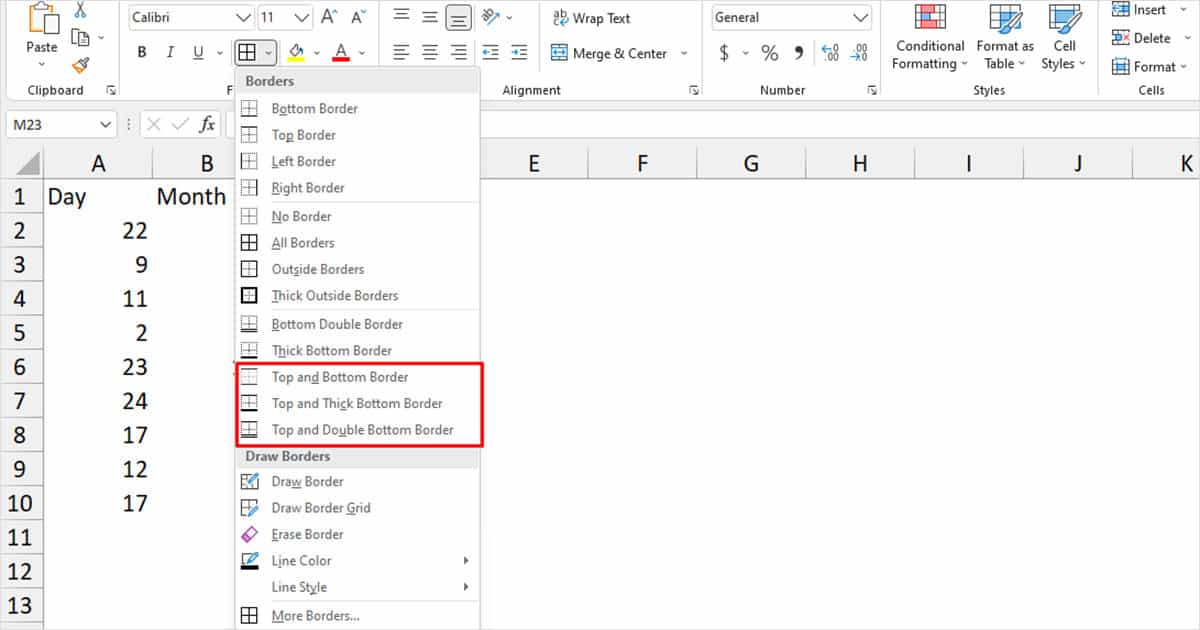
- From the fly-out menu, select one of these options:
- Top and Bottom Border
- Top and Bottom Thick Border
- Top and Bottom Double Border
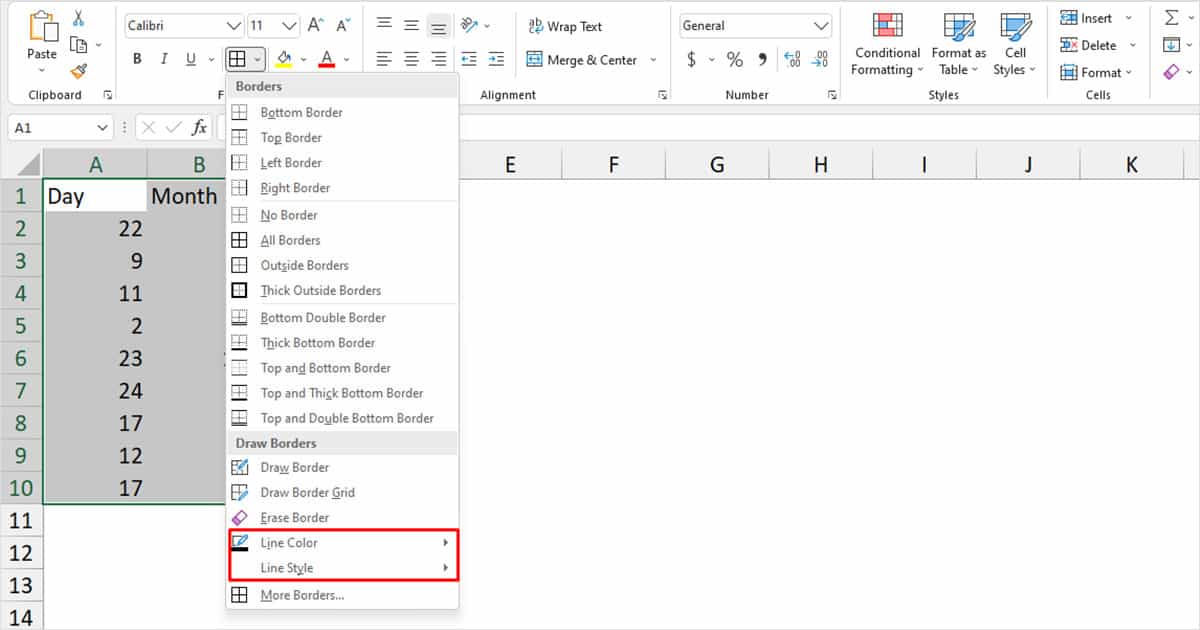
Draw Top and Bottom Borders in your Grid
Excel also offers the feature to draw borders inside your grid. You can use this tool if you’re dealing with multiple data tables that need borders. You can simply position your cursor on the area you wish to apply your border in and click on it.
Let’s draw the top and bottom borders for this data range. I want to apply a top border on top of row 2, to separate the table header from the data and a bottom border in row 10 to mark the end of the data range. Here’s a step-by-step description of how I drew the borders in the spreadsheet:
- From the Home ribbon, select the border icon.
- Customize the color and style from the Line Color and Line Style options.
- Choose Draw Borders.
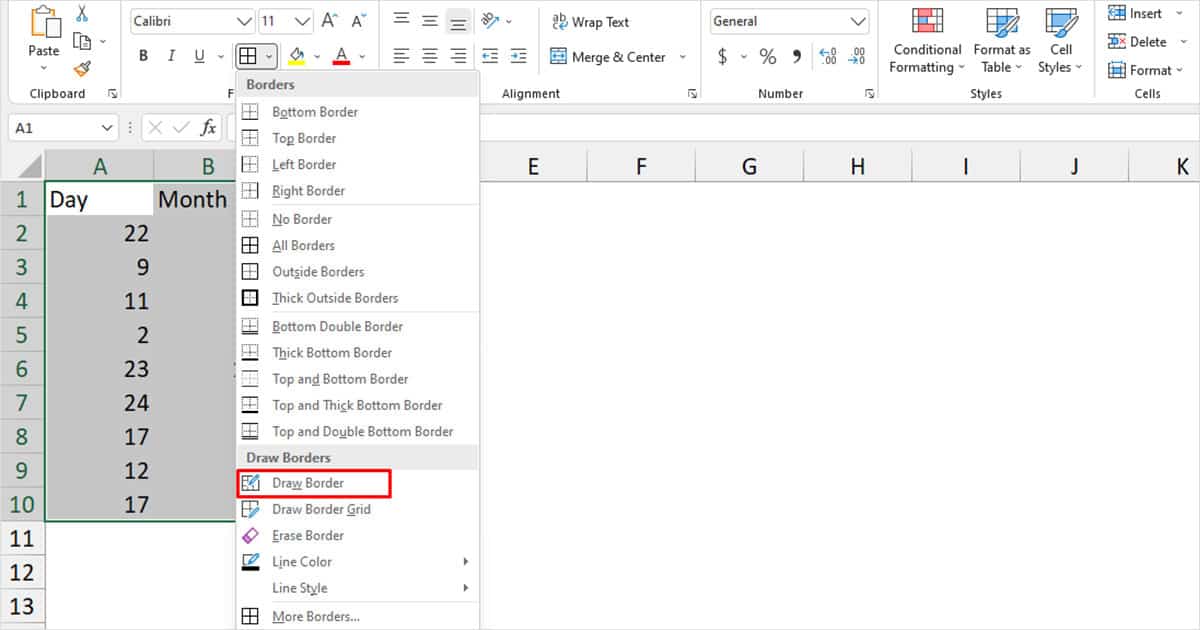
- As I have removed my gridlines, Excel displays dots for easier navigation. Place your cursor where you wish to apply the border.
- Click and drag to the point you wish to apply the border.
Format Cells Window
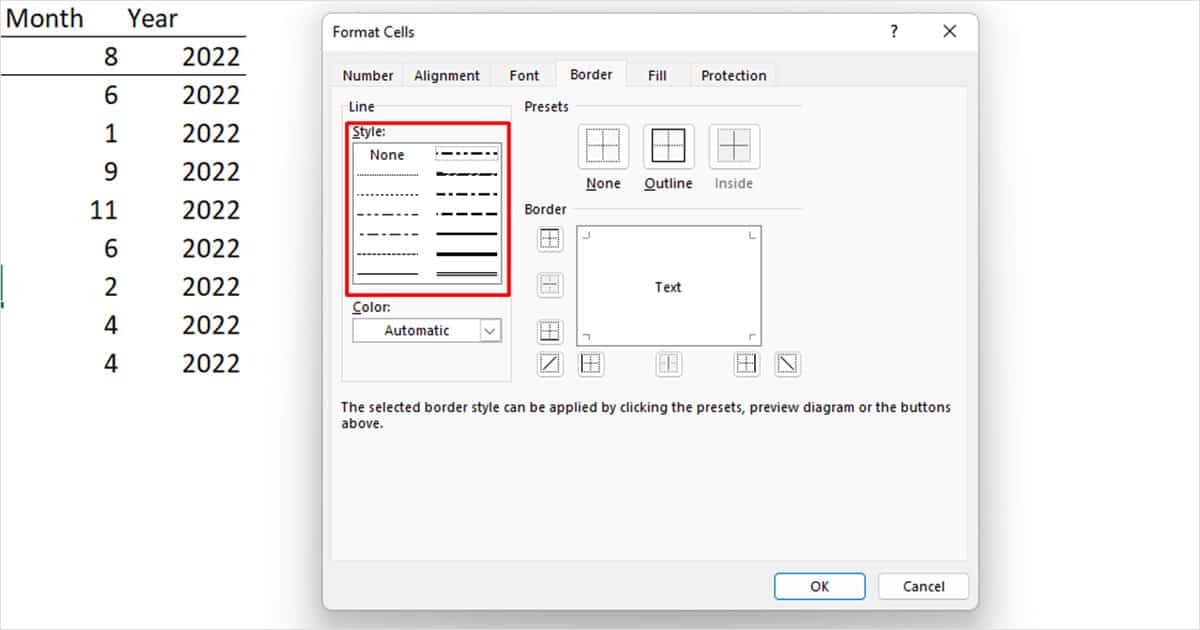
You can also apply borders from the Format cells window. I think this is the quickest and most convenient way to apply the top and bottom borders to your cell/ cell range. What’s best about the Format cell window is that you can preview how your cell is going to look before you confirm the changes.
- Select the cell/cell range you wish to format.
- On your keyboard, hit the Ctrl + 1 keys.
- From the Format cells window, head to the Border tab.
- Select a border under the Style section.
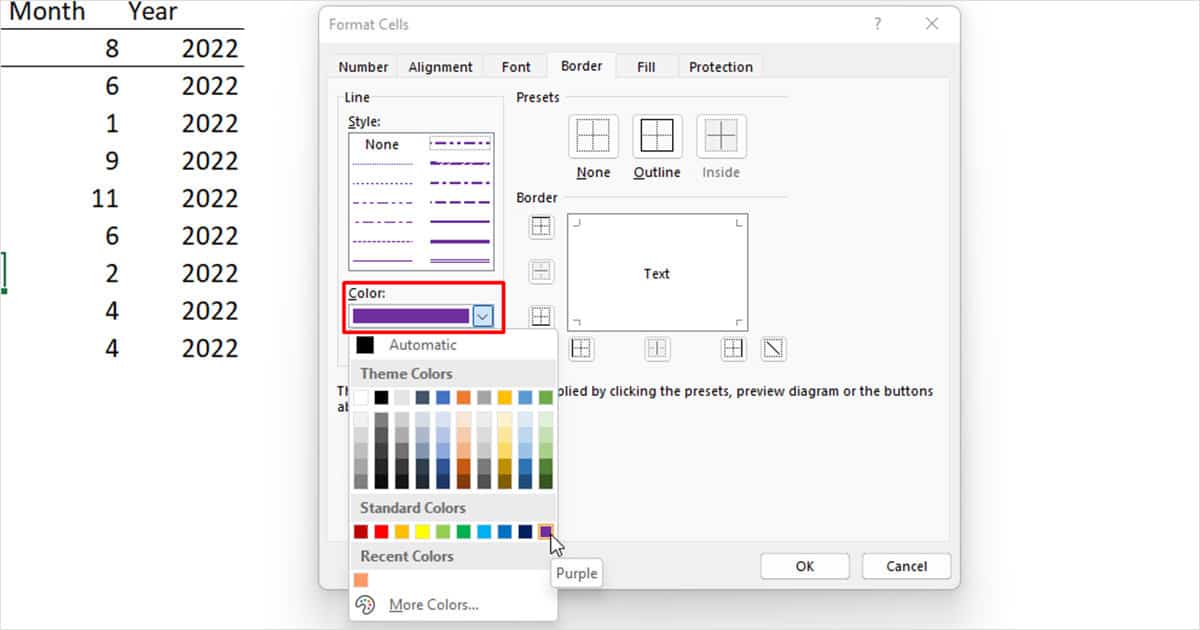
- To choose a color, click on the fly-out menu under Color.
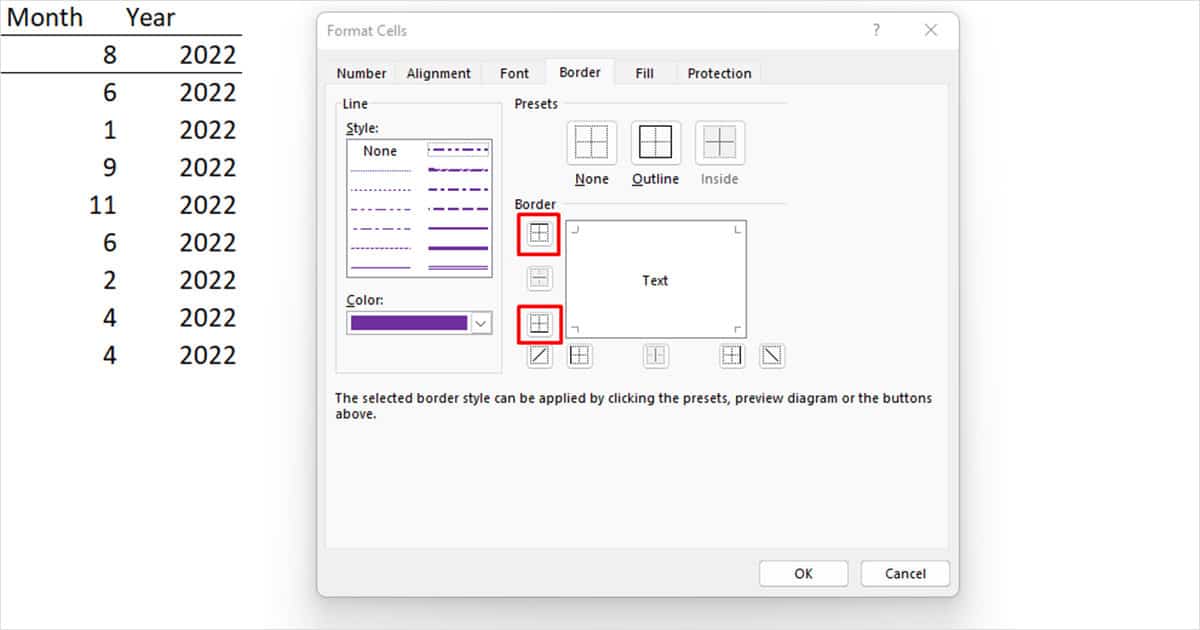
- Under Border, select the first icon to apply the top border.
- To apply the bottom border, select the third icon.
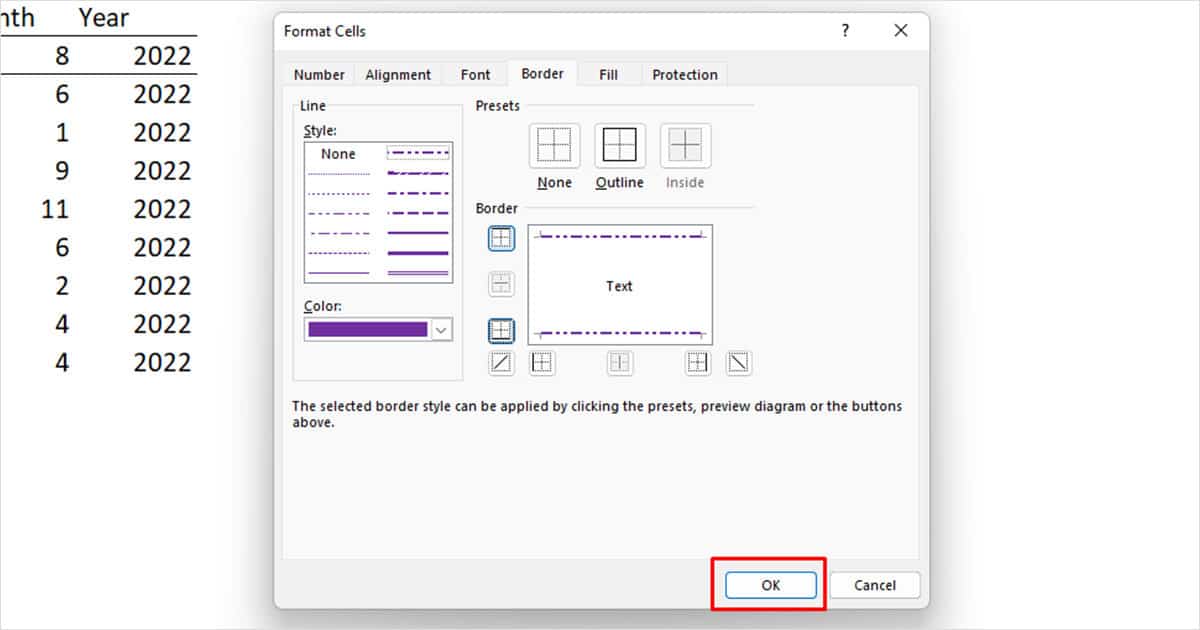
- Select OK.
Cell borders Vs Cell Range Borders
Cell borders look a bit different when you apply them to individual cells or cell ranges. When you apply them onto a single cell, the border is applied on the top and bottom. However, when you apply them to a range, the border is applied on the top section of the first cell, and the bottom section of only the last cell. Excel doesn’t insert borders individually to each cell in the range.