Themes are a great way to decorate your spreadsheet to make them look more presentable. Excel offers numerous themes including Slice, one of the more popular choices among Excel users. When you apply the theme, the theme will be inserted in all the worksheets of your workbook.
The Theme uses Century Gothic as the font type in size 11. The table headers are formatted as Bold. The tables are highlighted alternatively with blue and white with black text. Similarly, the header is filled with navy blue with text in white. This color palette makes the theme an excellent choice for professional use.
How to Apply Slice Theme?
You can apply the Slice theme from the Page Layout section of your Excel program.
- Open your spreadsheet.
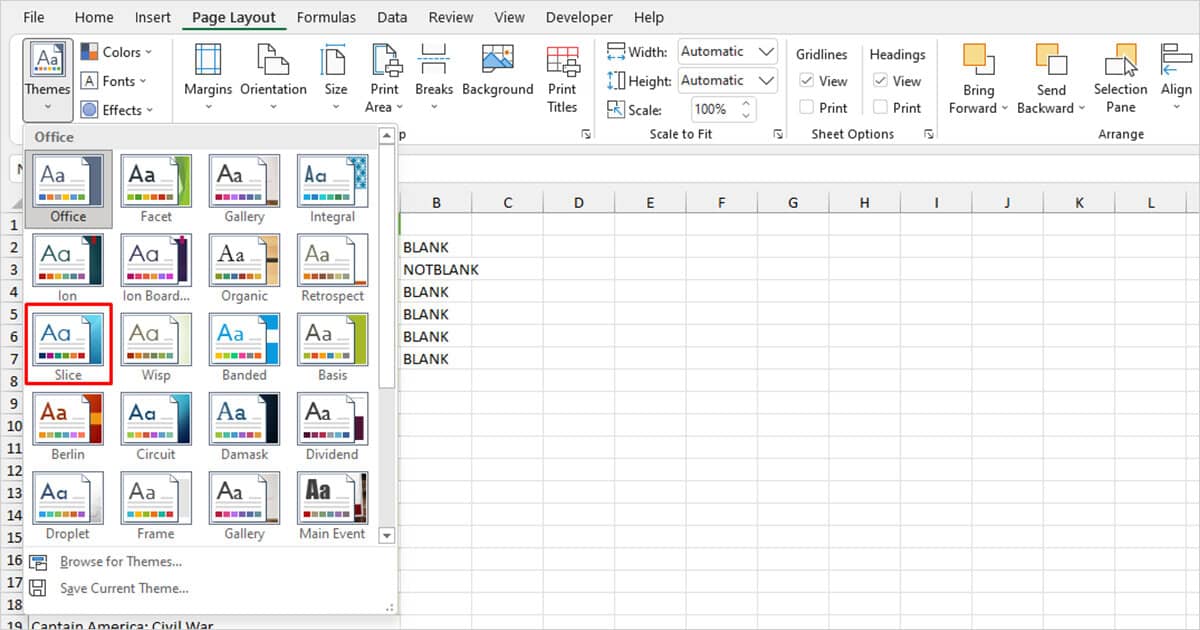
- From the menubar, select Page Layout.
- Locate the Themes section and click the flyout option for Themes.
- On the first column, third row, select Slice.
Customize the Slice Theme
You can change the Colors and Fonts as per your liking. You can use one of Excel’s library presets or create a custom preset.
You can find the option to change these in the Themes section of the Page Layout tab. Head to Page Layout and locate each of these options.
Change Colors
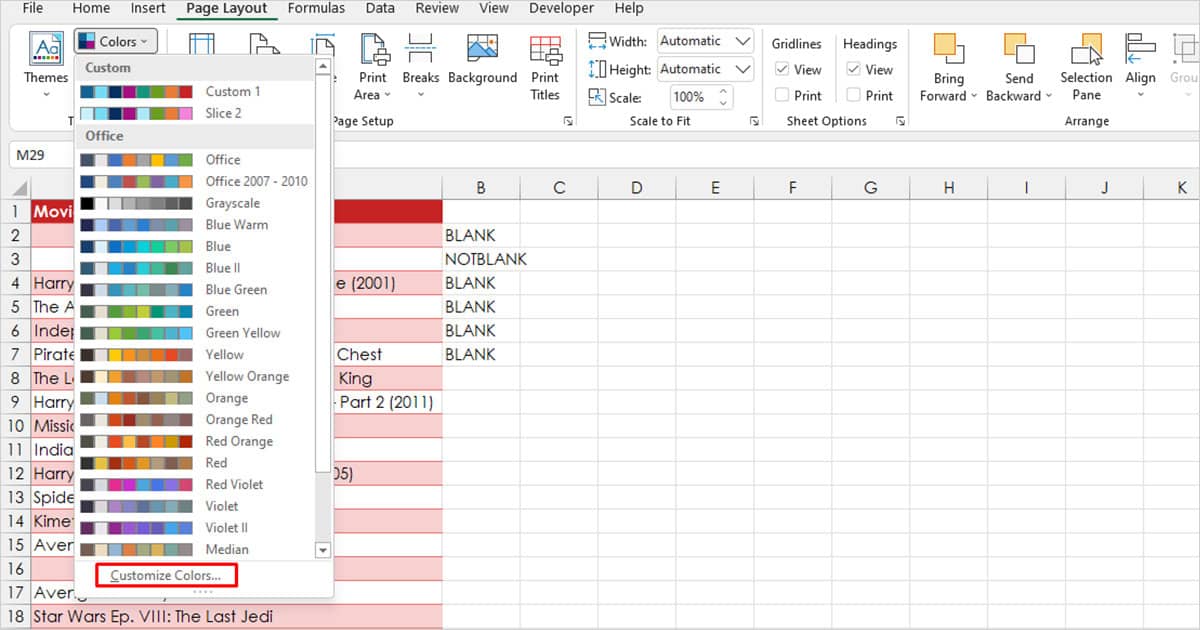
- Select Colors from the Themes section of the ribbon.
- Preview the colors by hovering your cursor on top of them. If you like a color, click on it to apply.
- To create a custom color palette, select Customize Colors.
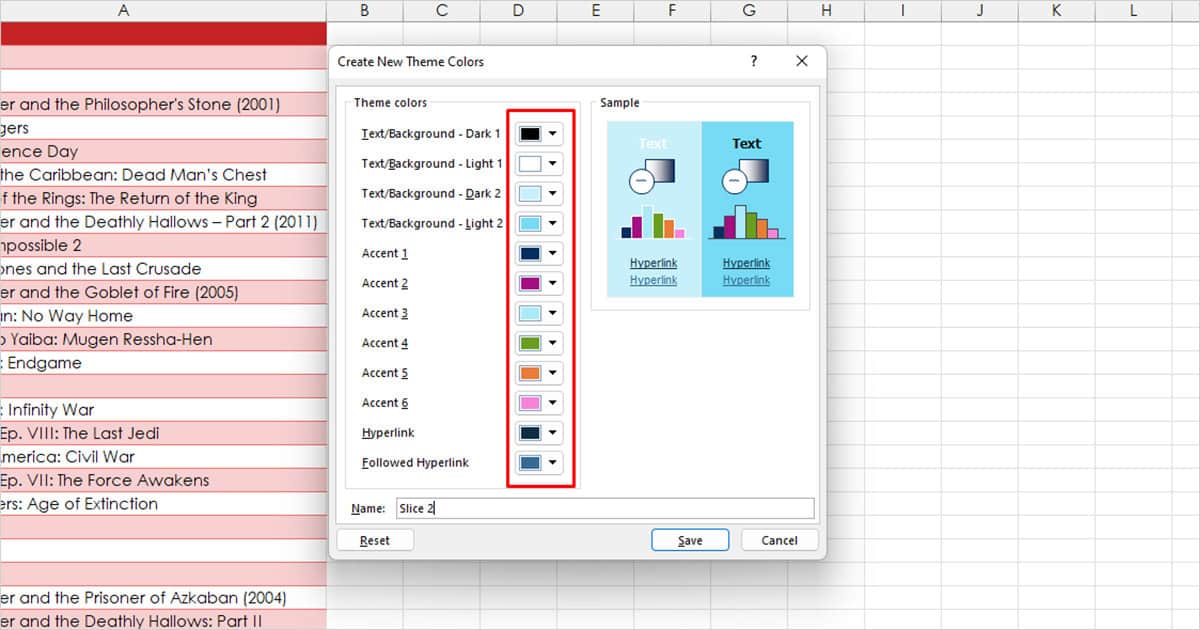
- Under Theme colors, select the fly-out menu next to each option to choose a color.
- If you want more selection, choose More Colors > Custom.
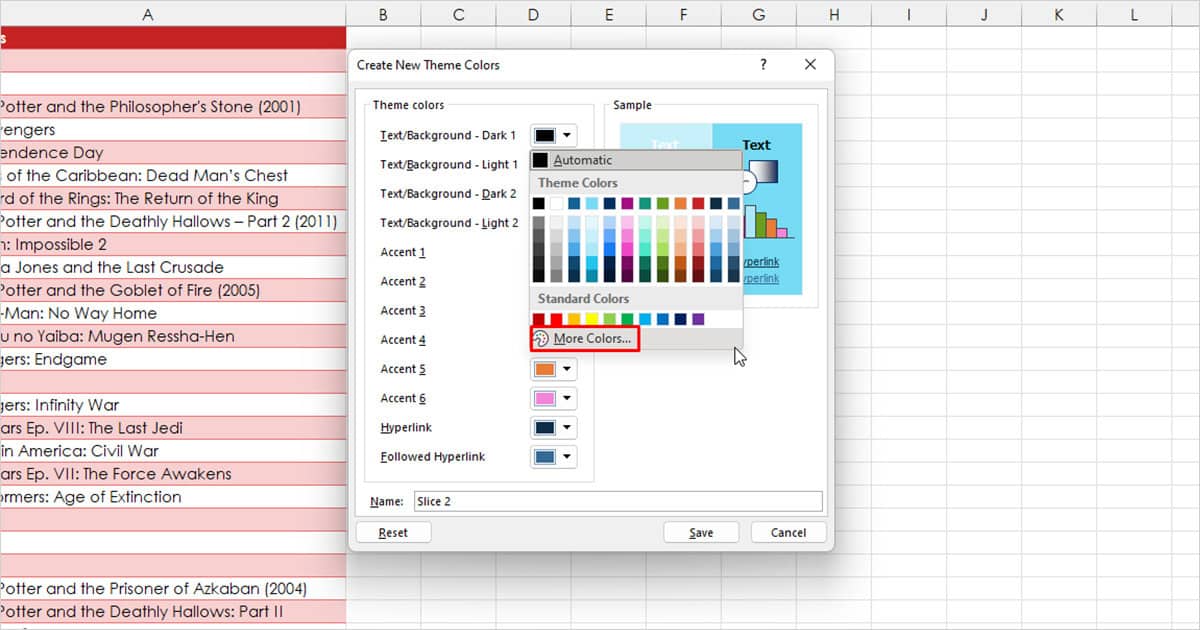
- Choose a color then click OK.
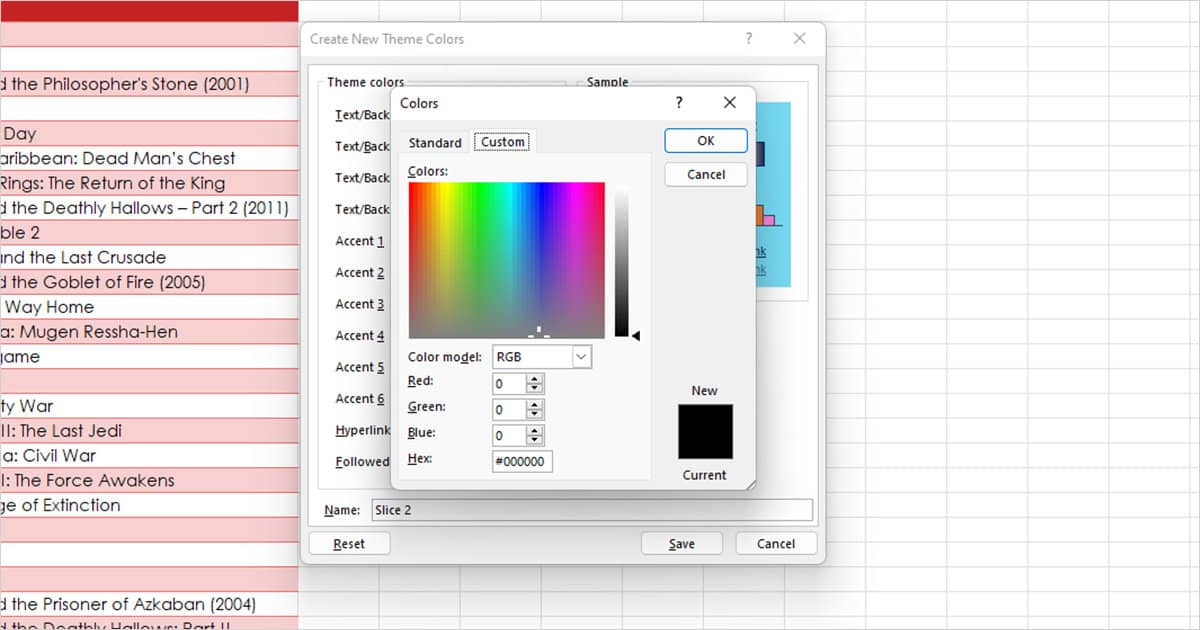
- After you’re done picking all colors, preview your colors under Sample.
- Give the theme a name then, select Save.
Pick Different Fonts
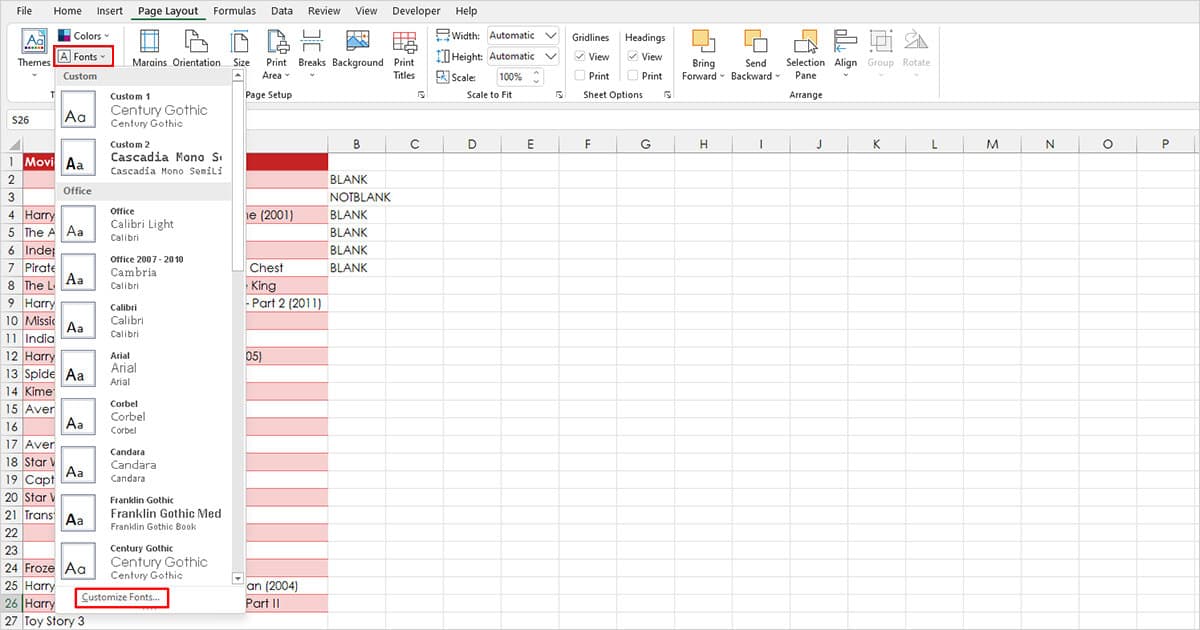
- Select Fonts in the Page Layout ribbon.
- Choose from one of the presets. You can preview them by placing your cursor on top of them.
- If you want more options, select Customize Fonts.
- Choose the heading and body font Latin, East Asian, and Complex script. I left East Asian and Complex text empty because I won’t be using any.
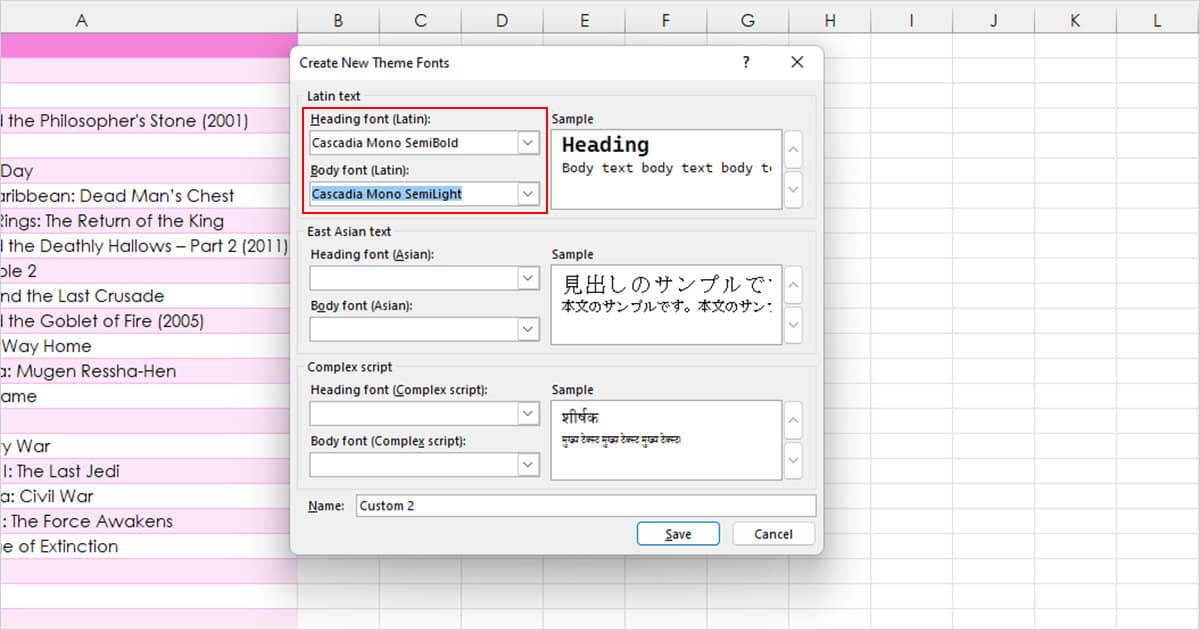
- Give it a name and select Save.
Save the Customized Slice Theme
If you’ve customized the font and color of your theme, you can save the theme for later use as well. This way you will save yourself from the hassle of changing the color and font each time you wish to use the theme.
- Open your spreadsheet and make the necessary changes in the font.
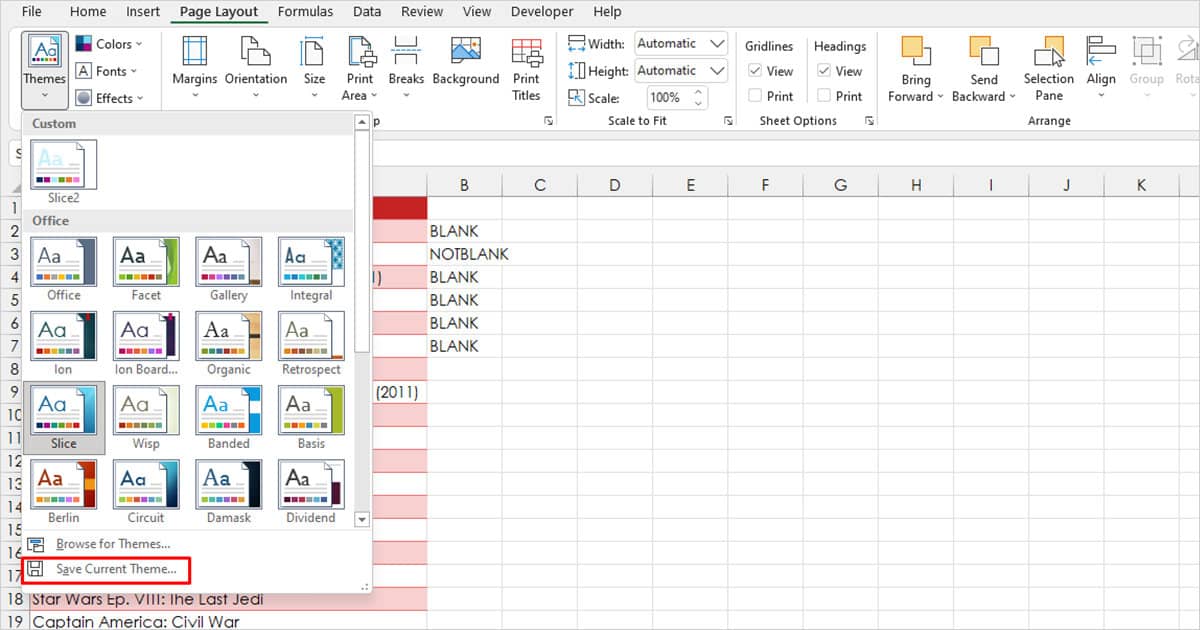
- Select Themes in the Page Layout tab.
- Choose Save Current Theme.
- Navigate to the location you wish to store the theme and select Save.
After you’ve successfully saved your theme, you will see a new section called Custom in Themes. You will find all of your saved themes there.
Can I Change the Deafult Theme to Slice?
Unfortunately, there is no way you can change the default theme of Excel to Slice. However, you can change the default font and size to Century Gothic, and 11 to match the Slice theme.
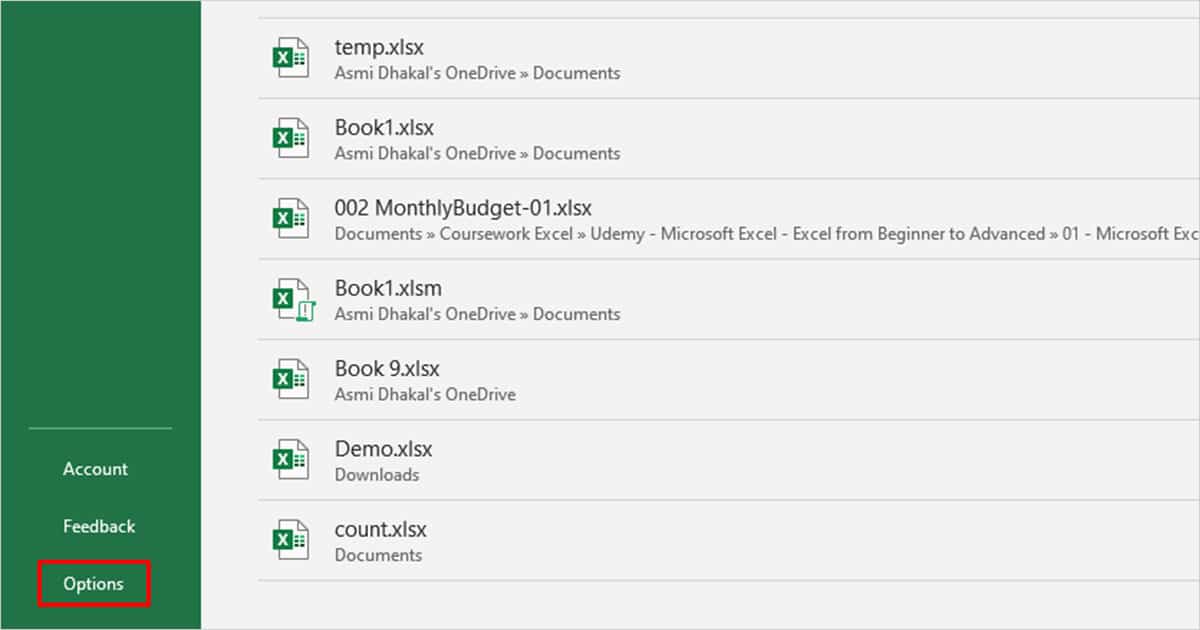
- Head to File from the menu bar.
- Select Options from the sidebar.
- In the General tab, scroll down to the When creating new workbooks section.
- Select the flyout option next to Use this as the default font then choose Century Gothic.
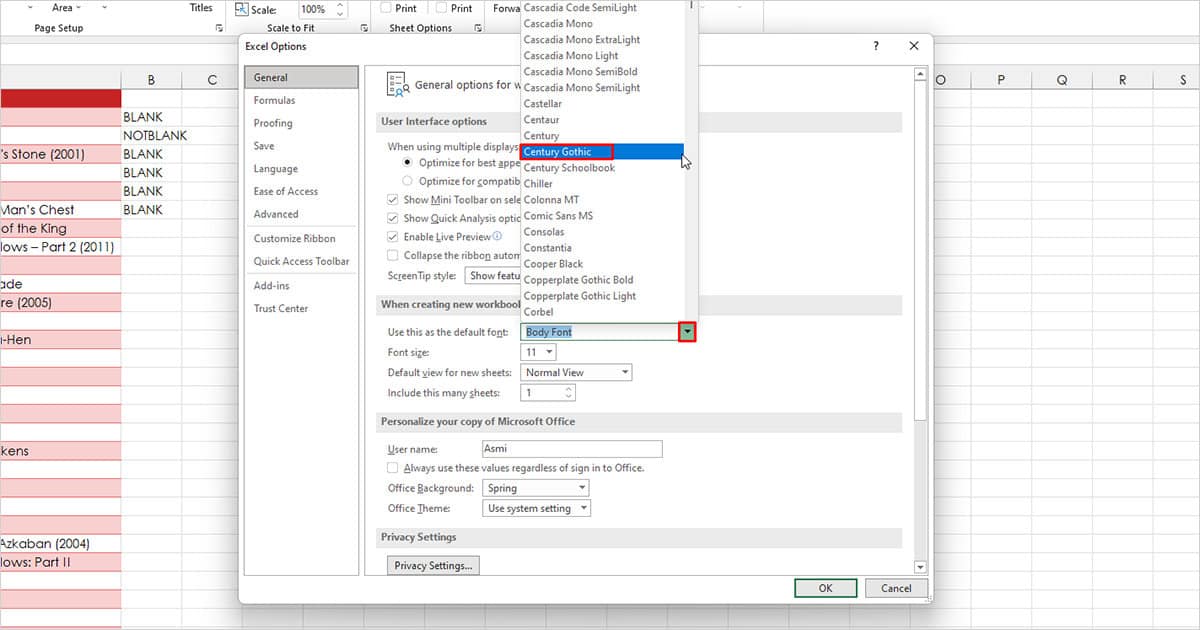
- Next to Font size, choose 11.
- Select OK.