Commas are regarded as universal separators. While you can use commas to separate texts, they are also popularly used as thousand separators in numbers. This may, however, vary according to a system’s number system.
During data entry, you can add commas using your keyboard. However, if you find the need to add commas after you’re done with data entry, manually editing your cells to add commas can be tedious. Instead, you can use Excel’s multiple functions and tools to make this entry for you!
For Text
In this section, I will list out the ways for you to add commas in Excel for texts.
Use the Ampersand Operator
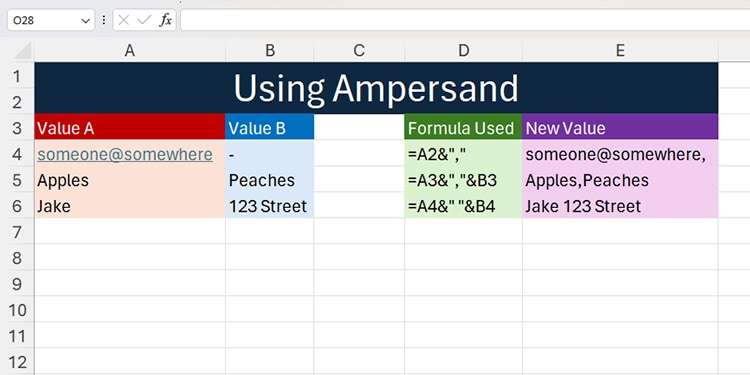
The Ampersand operator (&) in Excel joins texts and references. You can use this operator between the texts and references you wish to merge in a formula.
Here’s how you can use Ampersand to add commas in texts on Excel:
| Formula | Result |
="someone@somewhere"&"," | someone@someone, |
="Apples"&","&"Peaches" | Apples,Peaches |
="Jake"&","&" "&"123 Street" | Jake, 123 Street |
Use CONCAT
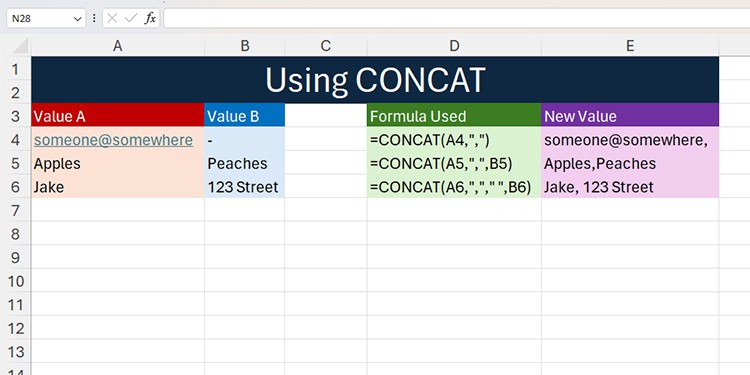
CONCAT is a text function in Excel, used to join text values. You can use this function to add commas anywhere in your text values.
Here is how you can enter the CONCAT function in a formula:
=CONCAT(text1,text2,...)Below, I’ve entered a few examples using the CONCAT function to enter commas:
| Formula | Result |
=CONCAT(someone@somewhere,",") | someone@somewhere, |
=CONCAT("Apples",",","Peaches") | Apples,Peaches |
=CONCAT("Jake",","," ","123 Street") | Jake, 123 Street |
Use TEXTJOIN
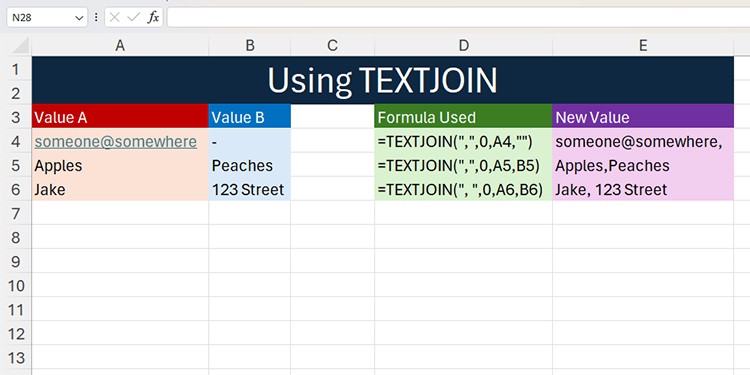
If the data you wish to separate using commas are in two or more cells, you can use the TEXTJOIN function to merge them by specifying a delimiter. Our delimiter in this case will be the comma sign (,). Remember, you must have two or more references to add commas using TEXTJOIN.
Here is the syntax TEXTJOIN follows when constructing a formula:
=TEXTJOIN(delimiter,ignore_empty,text1,...)In the TEXTJOIN function, after specifying the delimiter, you should choose if you want to ignore empty cells. If you do, enter TRUE or 1, and if you don’t, enter FALSE or 0. You can then start inserting your text or references in the remaining sections.
Check out a few of the examples we’ve created using the TEXTJOIN function
| Formula | Result |
=TEXTJOIN(",",0,"someone@somewhere","") | someoneone@somewhere, |
=TEXTJOIN(",",0,"Apples","Peaches") | Apples,Peaches |
=TEXTJOIN(", ",0,"Jake","123 Street") | Jake, 123 Street |
Use SUBSTITUTE
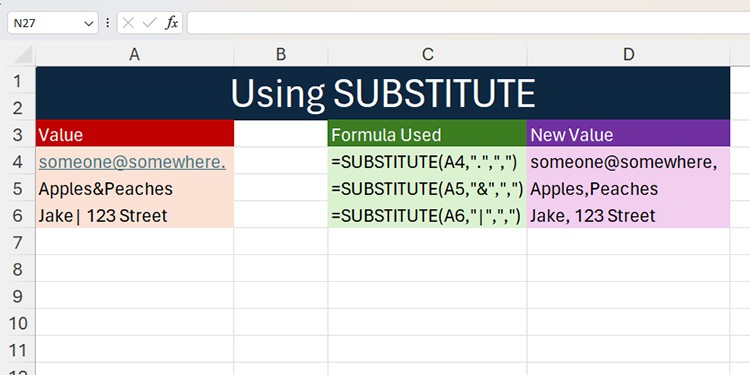
You can use the SUBSTITUTE function if there already exists a character you wish to swap with a comma. The SUBSTITUTE function is a text function in Excel, used to switch characters within the text with new characters.
The syntax for SUBSTITUTE is pretty simple. Here is the format it follows when constructing a formula:
=SUBSTITUTE(“text”,“old_text”,“new_text”,[instance_num])You will have to specify the text or reference as your first argument in the SUBSTITUTE function. Then, you can enter the character you wish to substitute, followed by a comma (,) in the next section. You may also specify the number of occurrences you wish to make this substitution, however, this is optional.
For more context, look at the examples we’ve gathered using the SUBSTITUTE function to add commas:
| Formula | Result |
=SUBSTITUTE("someone@somewhere.",".",",") | someone@somewhere, |
=SUBSTITUE("Apples&Peaches","&",",") | Apples,Peaches |
=SUBSTITUTE("Jake| 123 Street","|",",") | Jake, 123 Street |
Use the Find & Replace Tool
You can also use the Find & Replace tool to switch characters with a comma in Excel. The Find & Replace tool comes especially in handy if your spreadsheet has a lot of data. You can switch the set character with a comma with a mere click.
Let’s take for instance we have used the hyphen symbol (-) to separate our text instead of a comma. We can use the Find & Replace tool to switch the hyphen (-) with a comma (,).
- On your keyboard, use Ctrl + H.
- Next to Find what, enter the hyphen sign (-).
- Enter the comma symbol (,) next to Replace with.
- Select Replace All.

For Numbers
Commas are very important in separating numbers according to the number system. In this section, we have listed the ways you can automate the process of adding commas in numbers in Excel.
Convert to Currency
If the number you’re wishing to add commas to is a type of currency, then you can apply the currency formatting. When you convert a number to currency, Excel will automatically add commas between the numbers according to the currency’s regional number system.
- Select the cell/range with your data.
- Go to the Home tab.
- Select the currency fly-out from the Numbers section > More Accounting Formats.
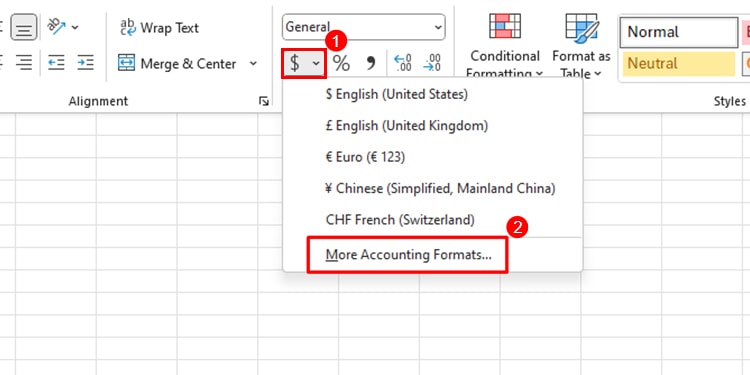
- Click on the fly-out next to Symbol.
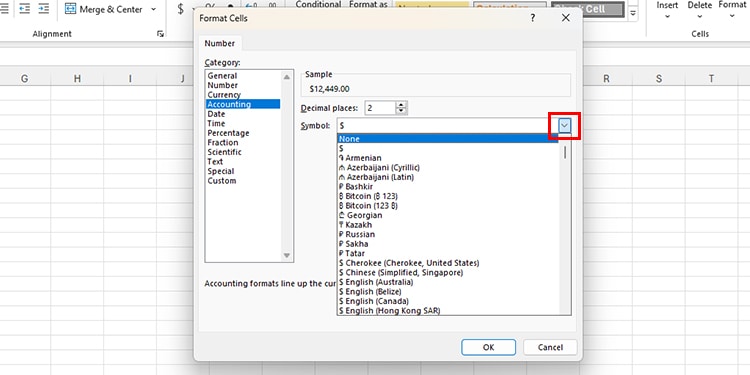
- Choose the type of currency then click OK.
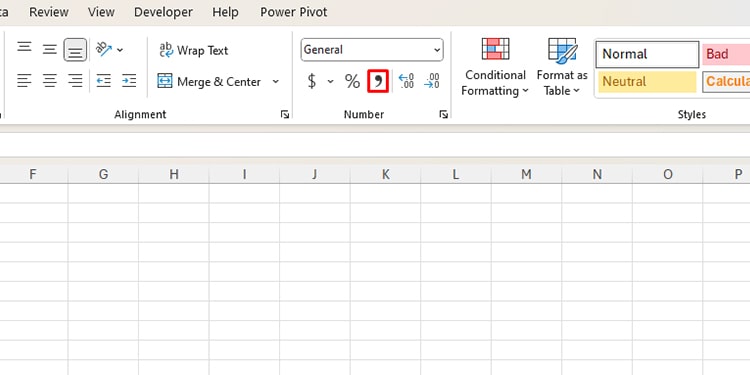
Use Comma Style
You can apply the comma style to add commas in between your numbers. Excel will use your system’s number configuration to determine the position of commas in the numbers.
- Select your cell/range.
- Head to Home from the menu bar.
- Click on the comma symbol in the Number section.
Use Format Cells
You can also format your cell to enter commas as a thousand separator.
- Select the cell or range you wish to convert.
- On your keyboard, use Ctrl + 1.
- In the Number section, check the box next to Use 1000 separator (,).
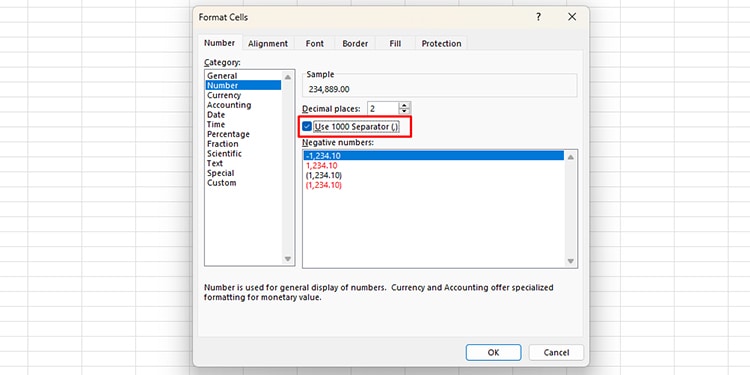
- Click OK.