Adding an image to the signature is the best way to personalize an email. It adds a distinctive and eye-catching element to your signature.
In Gmail, you can add an image of your handwritten signature, a logo, or your visiting card details in the image signature. You can even insert an image of your QR code containing your details or hyperlinked images in the signature to make it more informative.
The Gmail Mobile App doesn’t have the capability to add an image signature, so you will need to use your PC or a web browser.
Step 1: Create an Image Signature
- Open your Gmail in a browser.
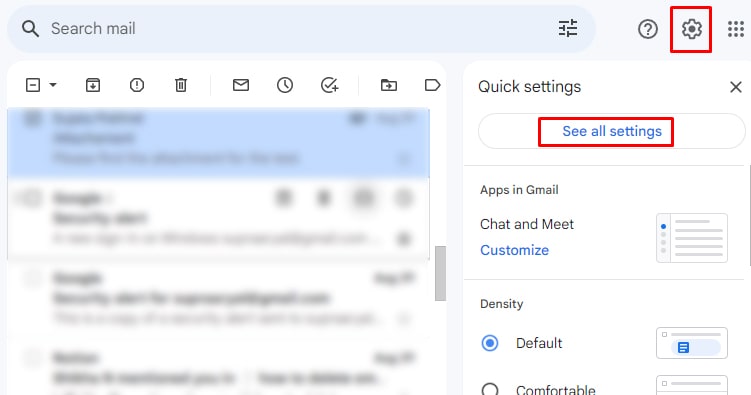
- Click on the Setting icon and select See All Settings.

- On the General option, go to the Signature section. Tap on Create New.
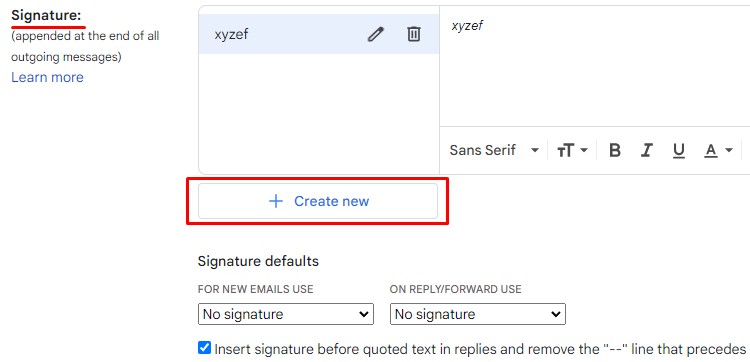
- Give a name to that signature and select Create.

- An edit box appears. Click the Image icon.
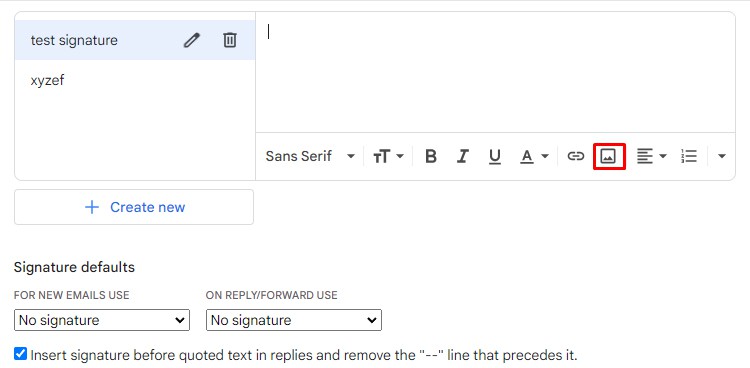
- On the Add an Image dialog, choose a location if you want to upload an image from the Web Address, My Drive, or Device and upload the image.

- Scroll to the end of the page and select Save Changes.

Step 2: Edit the Signature Image
After adding an image to the signature, here are a few changes you can make to the image.
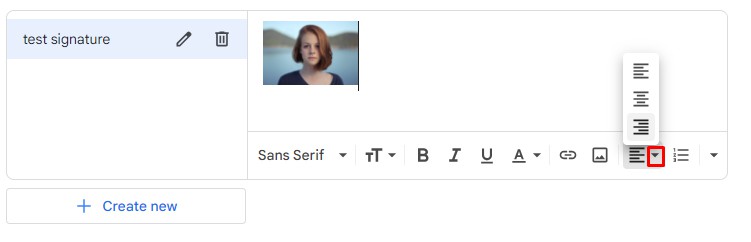
- Resize Image: Right-click on the image. Select a size by clicking on the options. You can choose Small, Medium, large, or Orginal Size.

- Change Indent: Expand the More formatting options button. Select the Less Indent or More Indent option.

- Adjust Alignment: Tap on the Align icon. Choose the Left, Right, or Center alignment icon.
- Add a Hyperlink: You can add a hyperlink to the signature image to give additional information about yourself.
- Select the image to highlight it.
- Click on the Link option.
- Type the signature name or desired text on the Text to Display box.
- Copy-paste the hyperlink for a Web address or Email address.
- Select OK.
After you are done editing, select Save Changes.
Step 3: Insert a Signature
- Go back to your Gmail homepage.
- Click on the Compose button.
- On a new dialog, type the recipient and email’s subject. Compose the email.
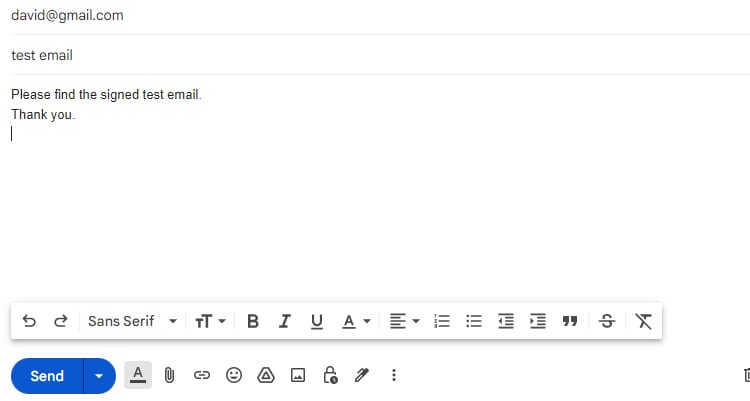
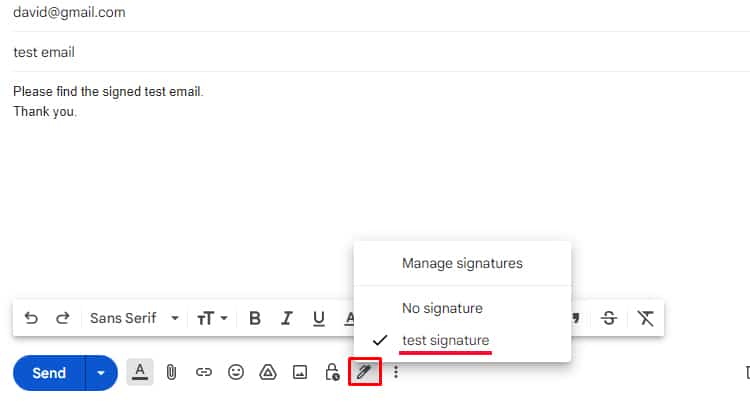
- Click on the Insert Signature icon (pen-like icon) at the bottom. Select the signature name set for the image. Your signature will appear at the end of the email.
- Hit Send.
How to Setup the Default Signature?
If you want to insert the image to the signature you compose automatically, you can set it up as default. Follow the steps below:
- Open Gmail.
- Click on Setting icons and select See All Settings.
- Scroll down to the Signature tab.
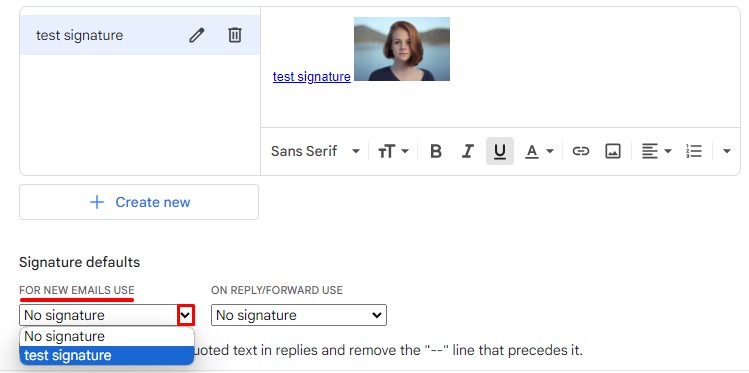
- Go to the Signature defaults section to set up the image as the default signature.
- Expand the menu on FOR NEW EMAILS USE and select the image signature name.
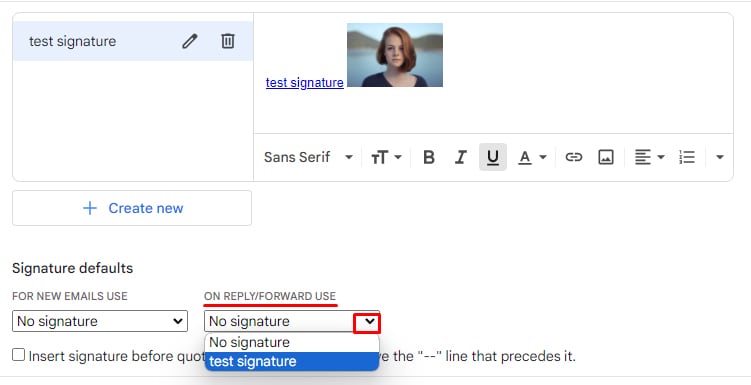
- Click the menu for ON REPLY/FORWARD USE and choose image signature reply emails.
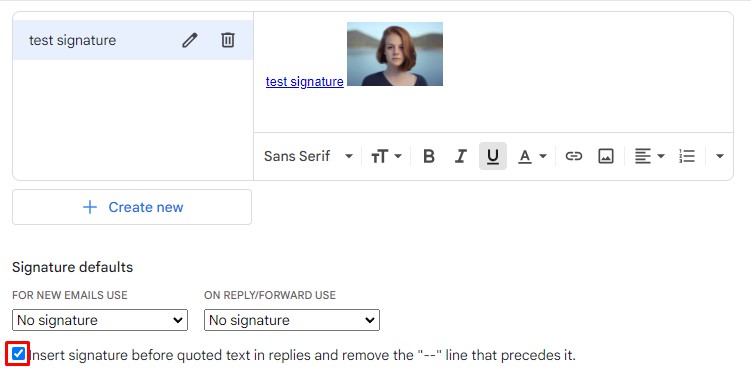
- Tick the box before Insert signature before quoted text in replies and remove the “–” line that precedes it.
- Scroll to the end of the page and select Save Changes.