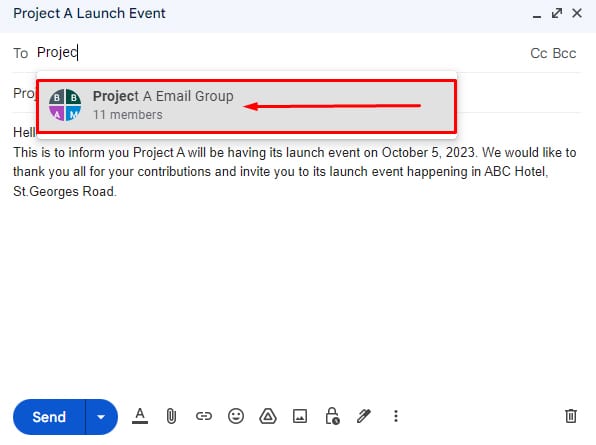
If you frequently find yourself sending emails to multiple contacts, manually sending individual emails to each contact may not be an ideal solution. Instead, you can streamline the process by creating a label and adding contacts to it.
Creating Gmail groups not only keeps your contacts organized but also helps send batch emails to multiple recipients. A standard Gmail account allows you to send an email to 500 contacts per day.
In this article, I will demonstrate how you can create a group in Gmail and send an email to a specific group of contacts.
Create an Email Group in Gmail
In order to send group emails, you will need to create a group first. Here’s a stepwise breakdown of the process to create an Email Group in Gmail.
Step 1: Open Google Contacts
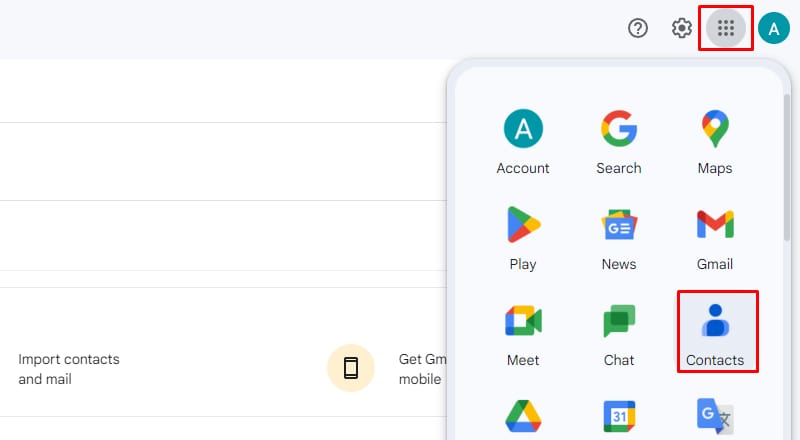
First, log in to your Gmail account and open Google Contacts. You can navigate to Google Contacts through Gmail or by visiting contacts.google.com.
You can now add new contacts here if you don’t have them saved, but if you already have the contacts saved they will appear here.
Step 2: Select Contacts to Add to the Label
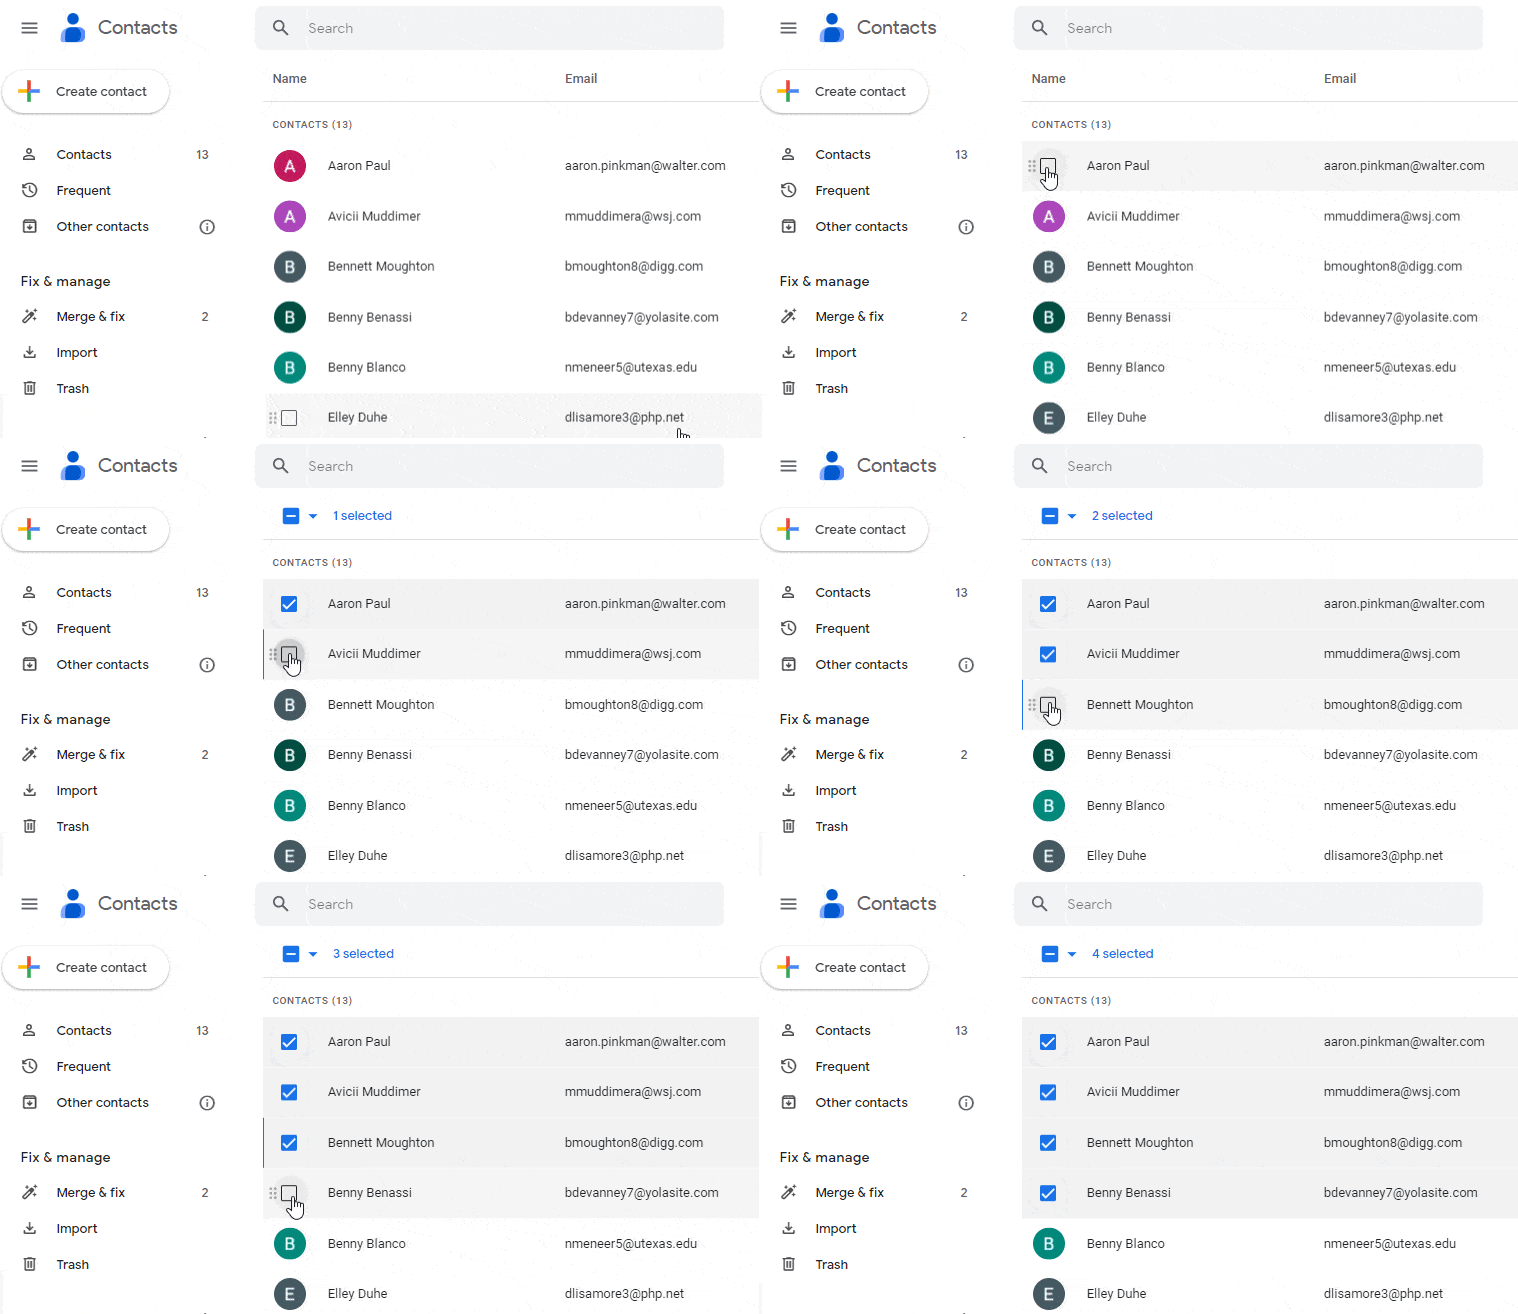
Now, select the contacts you want to add to the group by putting a checkmark in the front of the contact names. You can also use the search bar at the top to filter the contacts easily.
Step 3: Import Contacts Through CSV File (Optional)
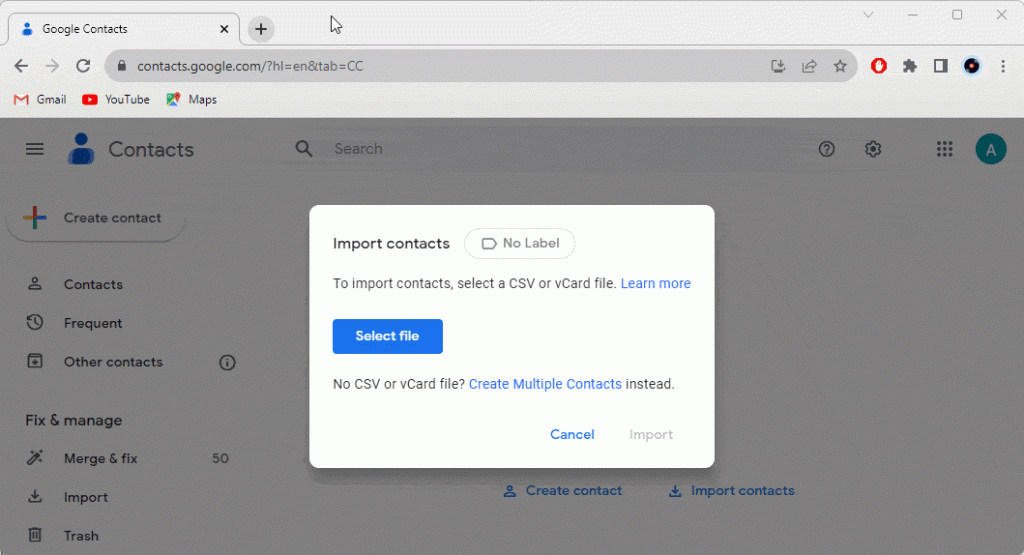
If you have your contact information saved in an Excel Sheet, you can export the file to CSV format. You can then import the CSV file contacts into your Google Contacts.
Step 4: Create a Label Using Manage Label
Now that we’ve selected our desired contacts in the previous step, we will now click on the Manage Labels icon at the top side of the page, which will open a drop-down menu. Then, click on Create Label and name your label.
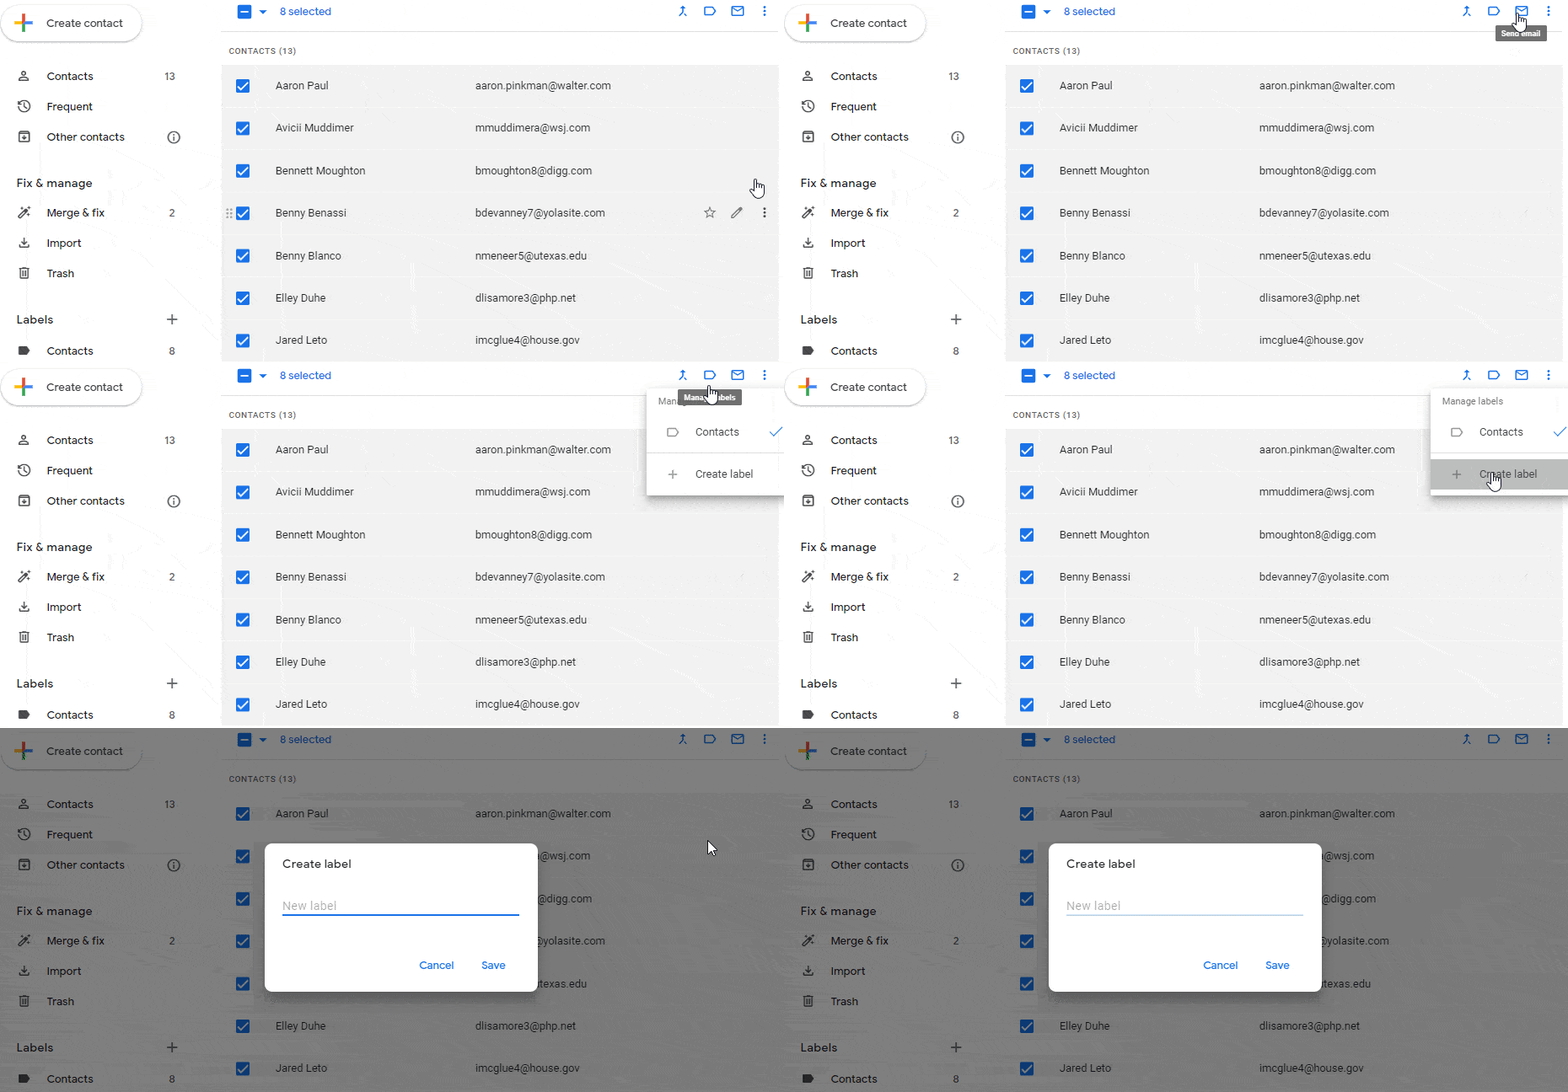
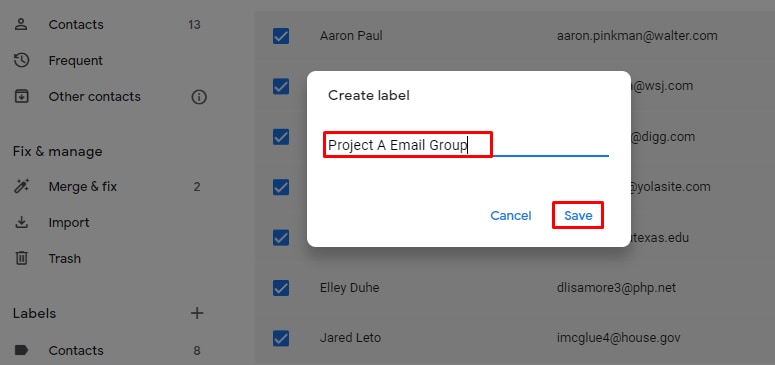
Step 4: Name Your Label/Group
Lastly, name your label and click on Save. Later, you will be using this label to send emails to the contacts from this particular label.
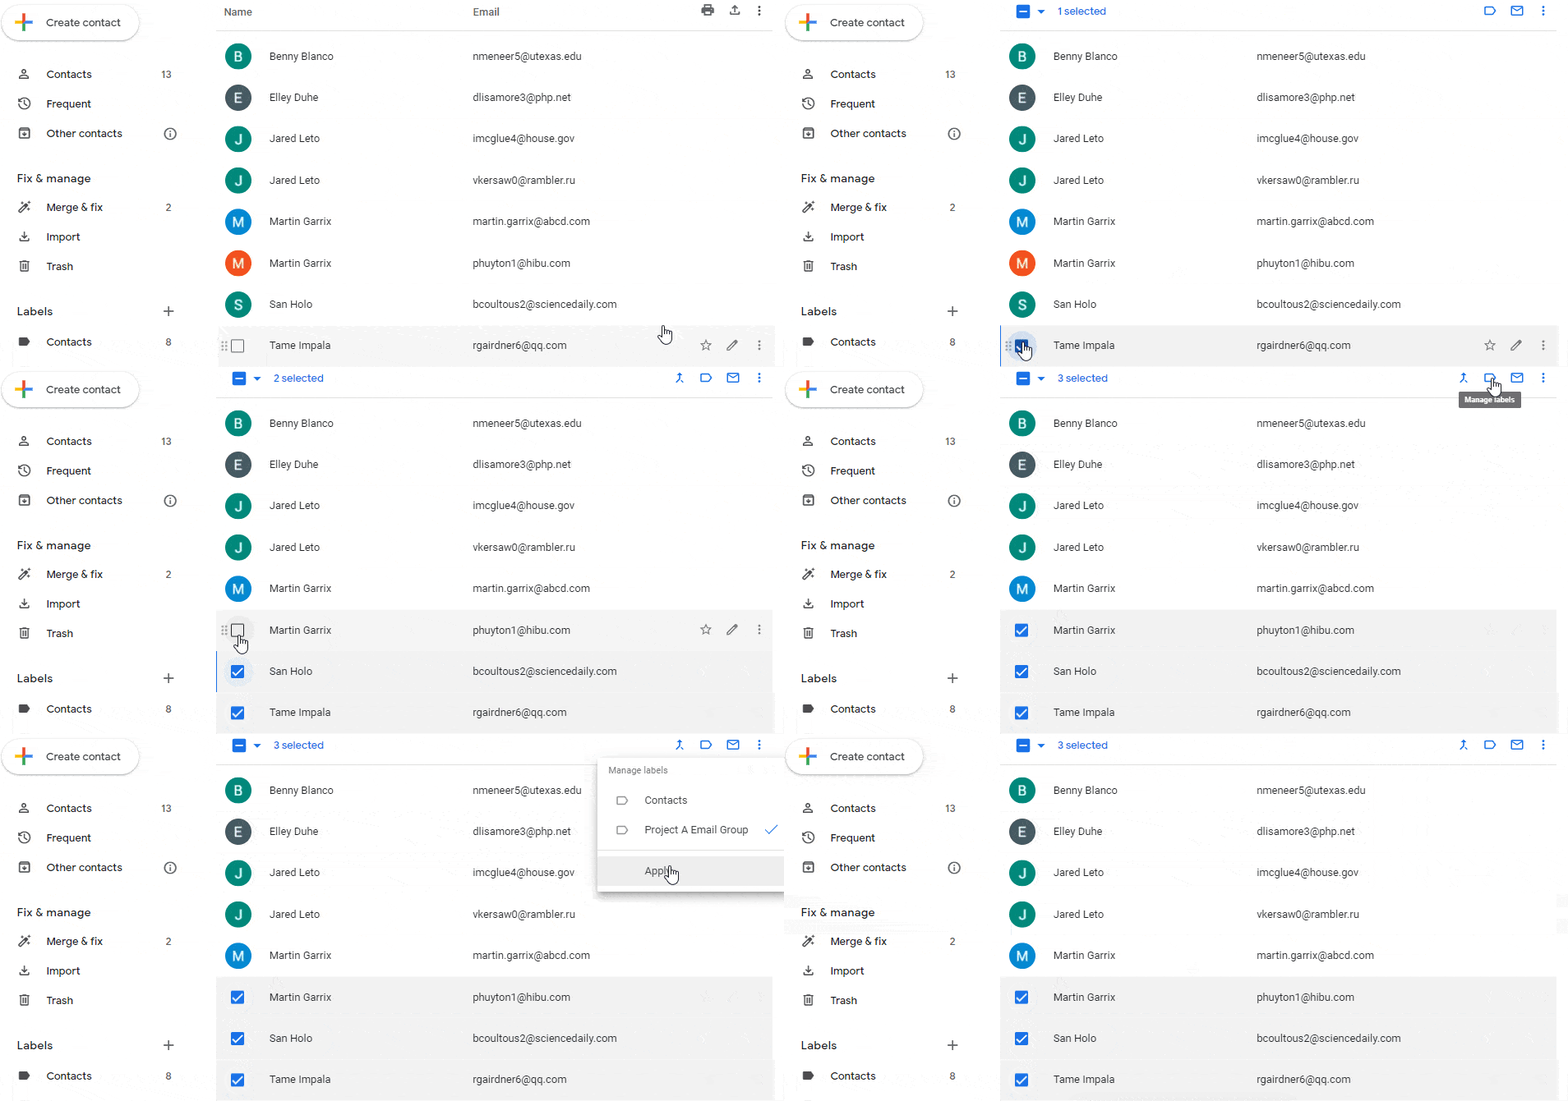
Step 5: Add New Contacts to Existing Label
You might want to add new contacts to your pre-existing labels in the future. To do so, simply select new contacts and click on the Manage Contacts icon.
Here, you will find your existing label. Click on it to add the selected contacts to this label.
Send Email to Groups in Gmail
Now that you have created your personalized group in Gmail, let’s take a look at how to send an email to that group.
Step 1: Compose Your Email
To compose your email, open the Gmail homepage and click on the Compose button at the left side panel of the page.
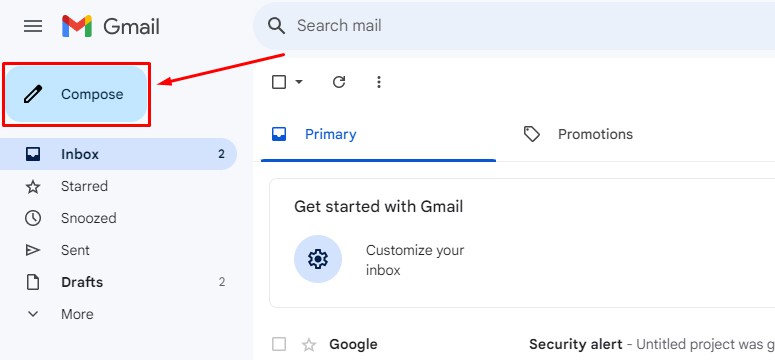
Step 2: Compose Your Email
Insert your attachments if any, and add a subject line to your email before moving on to the next step.
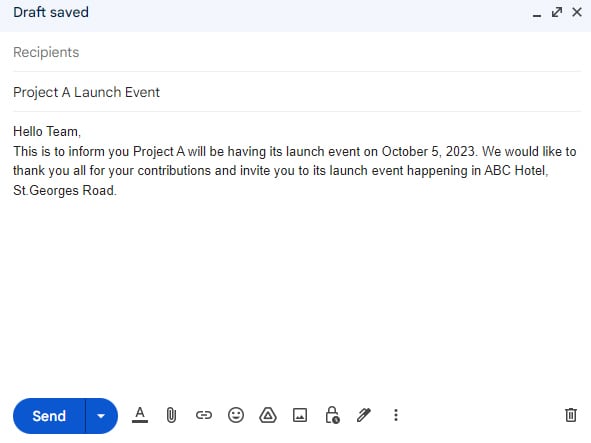
Step 3: Type Your Group Name in the “To” field
Lastly, add the group/label name in the To, Cc, or Bcc field and click on Send. Now, all your contacts from the group will receive the email at once.
