When working with Gmail, you might often need to forward emails to multiple recipients. Gmail offers a built-in feature that allows forwarding to many email addresses at once.
While you can manually type the forwarding emails in the ‘To’ field of the compose dialog for a smaller group, the situation becomes complex for large organizations that need to send an email or a notification message to thousands of employees.
In that case, you can automate the process to ensure that no recipient misses out on important emails.
Manually Typing the Email Address
If you only need to forward emails to a few addresses, you can manually do it by typing email addresses in the ‘To’ section.
- Open your Gmail.
- Choose the label with the desired emails.
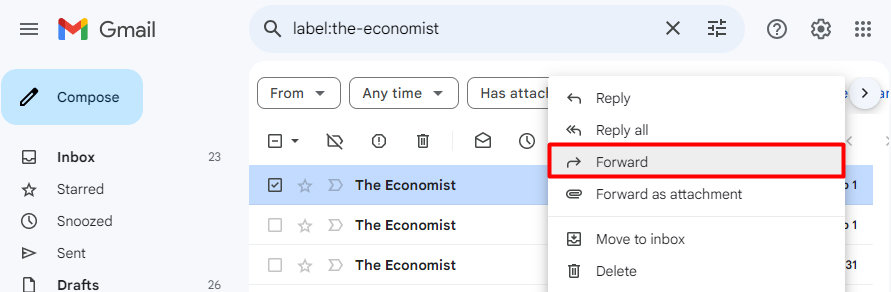
- Tick the box before the email to select the email. Then, right-click on the email and select Forward.
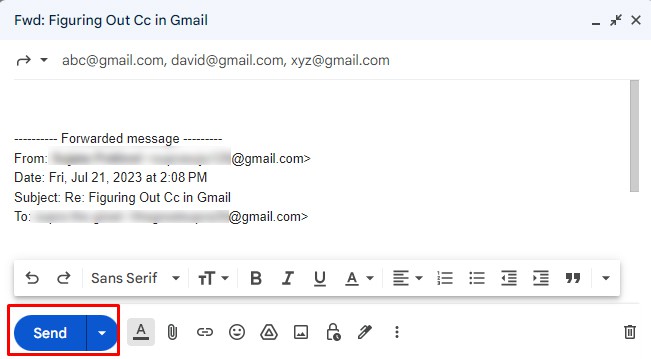
- On the To section, type the multiple recipient’s email address. If required, compose a message and hit Send.
Similarly, if you want to forward the email as an attachment, follow these steps.
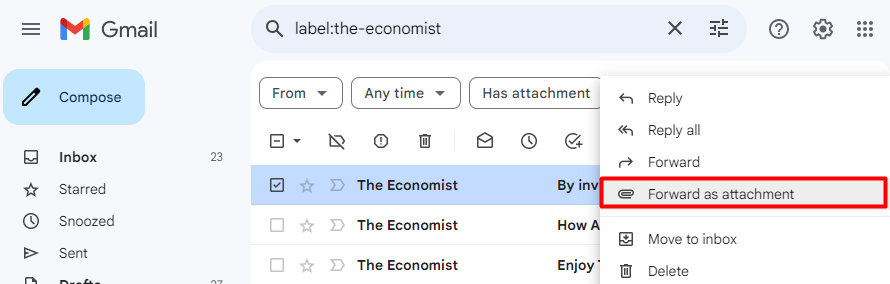
- Select the email and right-click on it as above. Then, click on Forward as an attachment.
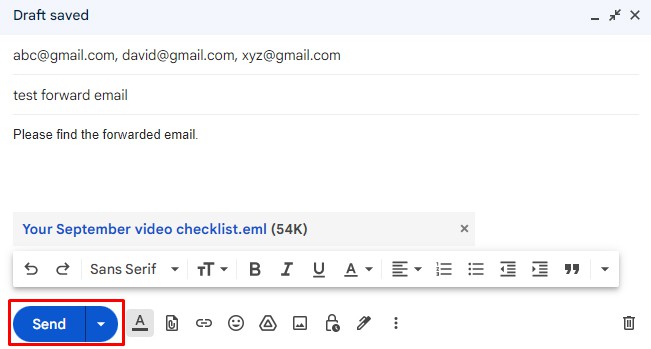
- Click on the To tab, and type the email address.
- Write the Subject, compose the email, and hit the Send button.
Forwarding Emails by Importing Contacts
Sometimes, manually entering all those email addresses can be time-consuming. Instead, you can import contacts and select them at once. Skip step 1 if you have already imported email addresses in your Google Contacts.
Step 1: Create a Label in Google Contacts
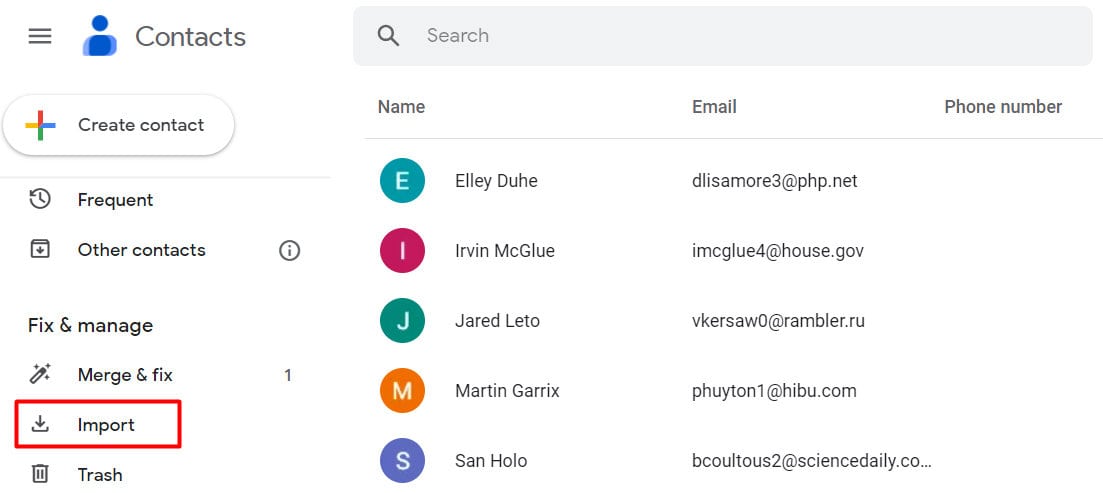
- Go to Google Contacts.
- Click on Import.
- Click on Select File and select the
.csvfile.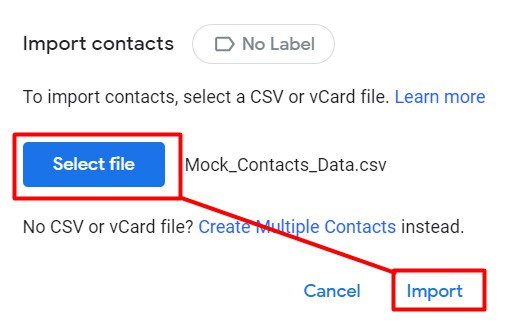
- Click on Import.
- A new label will be created under the Labels section.

Step 2: Forward the Email
- Open your Gmail.
- Choose the label with the desired emails.
- Right-click on the email and select Forward.
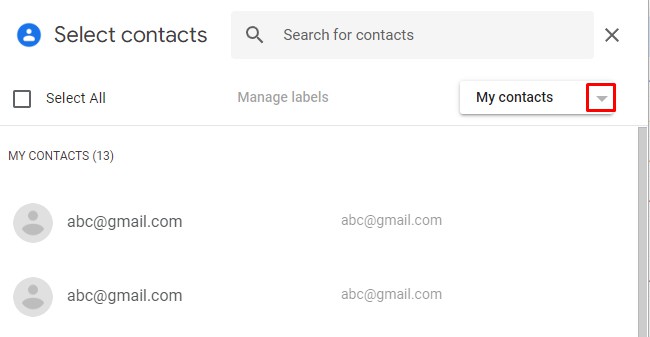
- Tap on the To tab.
- On the Select Contacts dialog, expand the menu on My Contacts.
- Select the contact label.
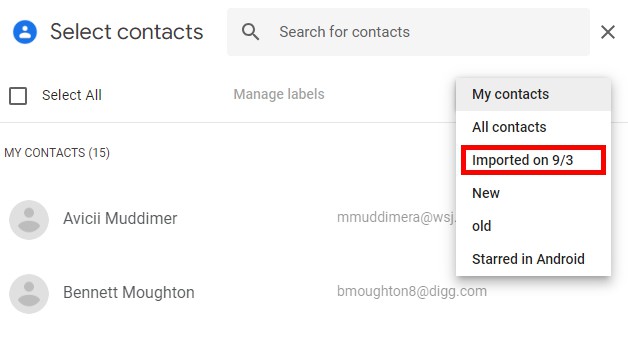
- Tick on the Select All box. Click Insert.
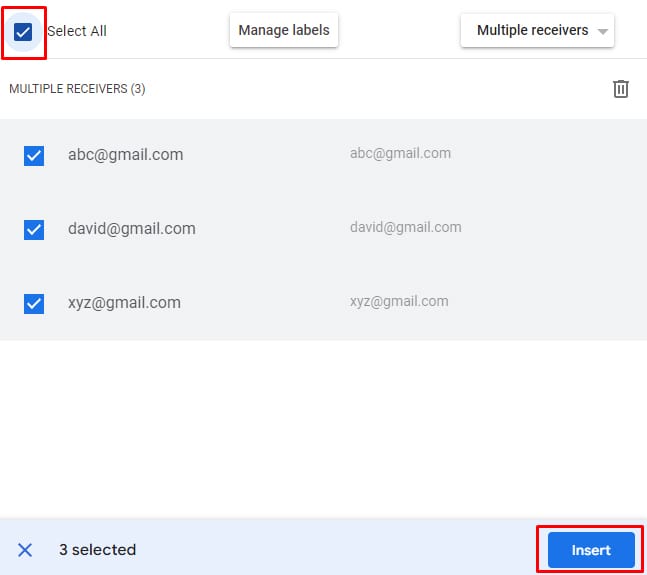
- Write a message on the compose space if required and hit Send.
Auto-Forward to Multiple Emails
With the Gmail filter feature, you can simultaneously forward one or multiple emails to multiple recipients. It also allows you to choose the type of email that you want to forward to multiple recipients.
Once you set up the filter, it will automatically forward every email that matches the provided criteria to the pre-set-up forwarding addresses.
Since users can set only one forwarding address at a time, you would have to reset the filter for every email despite having the same criteria.
Step 1: Add a Forwarding Address
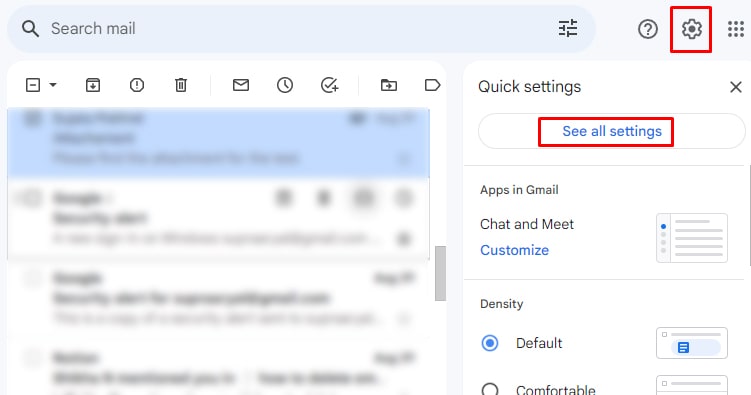
- Go to the Setting icon on your mail and tap on See All Settings.
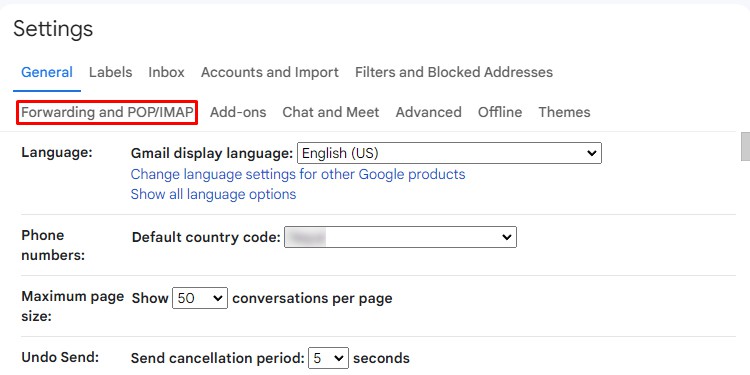
- Click on Forwarding and POP/IMAP section.
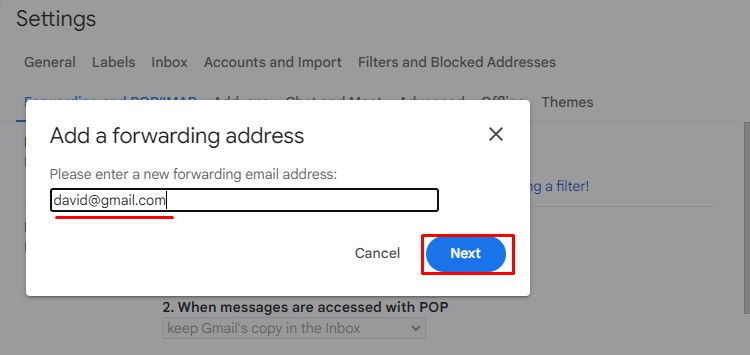
- Select Add a forwarding address.
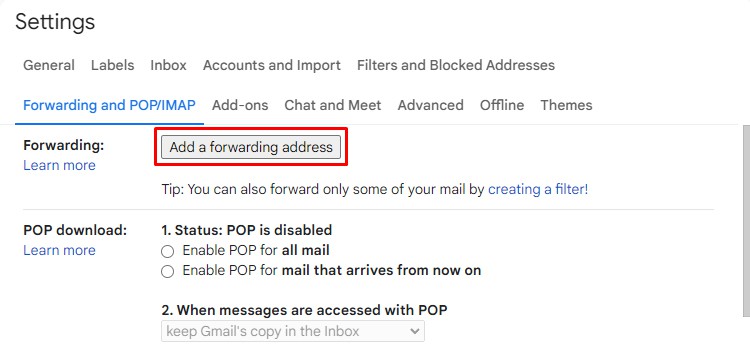
- Enter the recipient’s email and click Next.
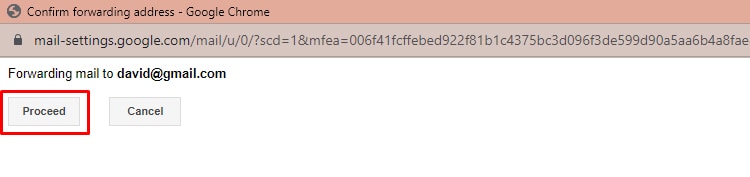
- Select Proceed to confirm the forwarding address. Select OK on the new dialog.
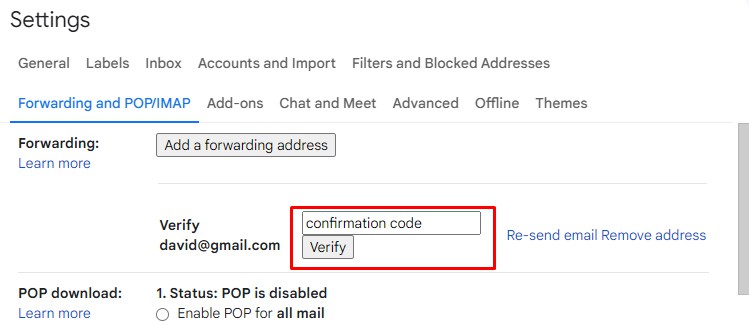
- Ask the recipient to click the confirm request link and tap Confirm. Or you can ask the recipient to send the confirmation code. Enter the code in the Verify section and click on Verify.
Step 2: Choose Forwarding Options
- Once the recipients verify, the email addresses will appear in the Forwarding section.
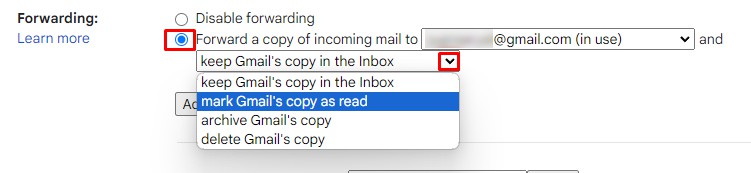
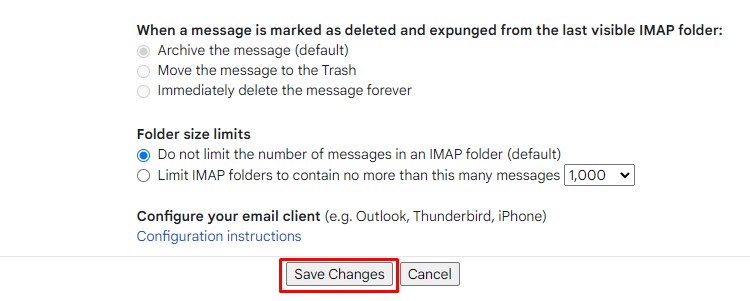
- Click on Forward a copy of incoming mail and select the options:
- Expand the menu on the first box and choose the forwarding address.
- Click on the menu on the second box and choose an action for Gmail’s copy.
- Scroll down and select Save Changes.
Repeat Step 1 and Step 2 for multiple email addresses.
Step 3: Create a Filter
- Click on the Settings on your Gmail homepage. Select See All Settings.
- Tap on Filters and Blocked Addresses. Choose Create a new filter.
- Fill in the following details:
- From: Type the email address of the sender whose emails you want to forward
- To: Type the email address of the recipient whose emails you want to forward
- Subject: Type the Subject of the kind of email to be forwarded
- Has the Words/Doesn’t have: Insert the keyword used in the email to be forwarded
- Size: Choose the size of the email. You can choose lesser than or greater than the specified size and the unit.
- Has attachment: Tick if you want to forward the email with an attachment
- Don’t include chats: If you want to avoid forwarding chats, tick the box
- Select Create filter.
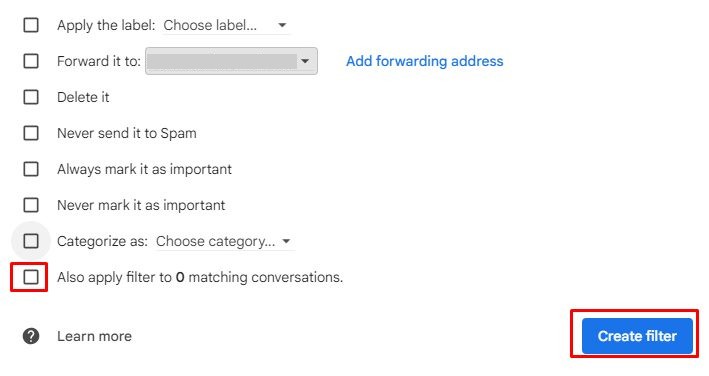
- On a new dialog, tick on the Forward it to option. Expand the menu on Choose an address and select the forwarding email address.
- To forward the existing emails, tick on Also apply filter to ‘x’ matching conversations. Tap on the Create filter.
- Repeat the procedure for all forwarding addresses of your choice.