Over time, your inbox gets filled with unwanted subscriptions, spam, forwarded or cc-ed emails, automatic notifications, and so on. This clutter leaves you struggling to locate the ones that truly matter. While you could do a manual clean-up every now and then, there is a way to automate this process.
With the Auto Delete feature, you can easily get rid of such emails in no time. It allows you to manage subscriptions that are no longer useful and filter out spam emails. Once you create a filter, Gmail will automatically delete undesired emails and free up space.
Auto Delete Emails Via Gmail Filter
The easiest way to auto-delete an old email is to set up a filter to sieve out emails that are no longer functional. You can use multiple types of criteria to describe the particular email and customize the filter. Once you create a filter, Gmail will automatically delete undesired emails and free up space.
Follow the steps to create a Gmail filter for removing unwanted emails automatically:
- Open your Gmail.
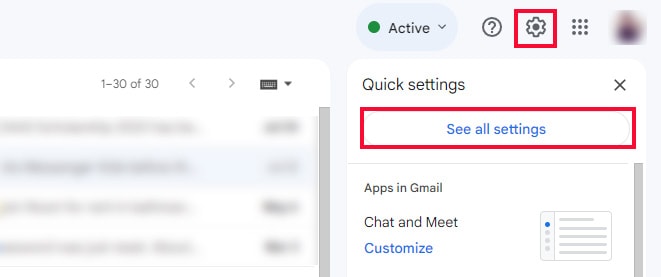
- Click on the Settings icon in the top right corner and select See all Settings options.
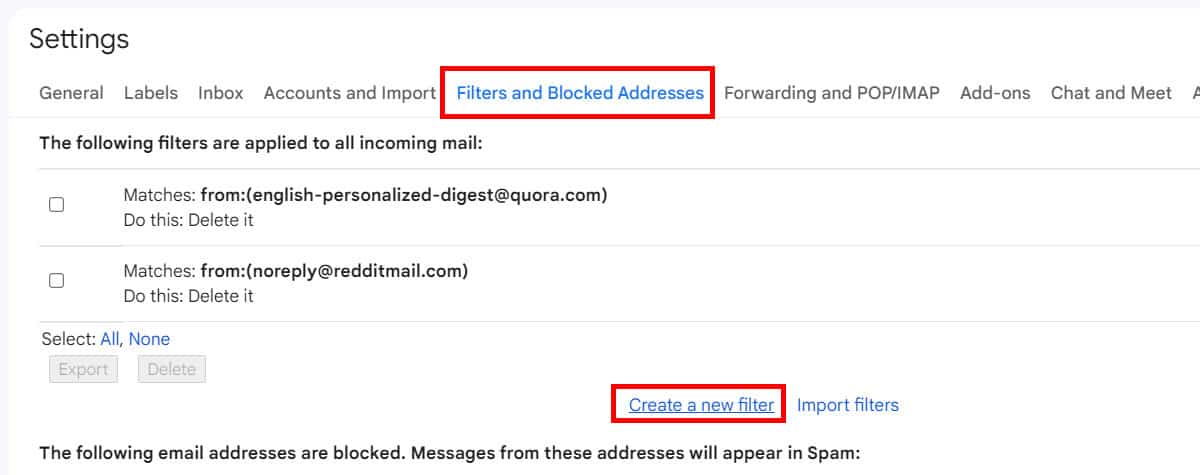
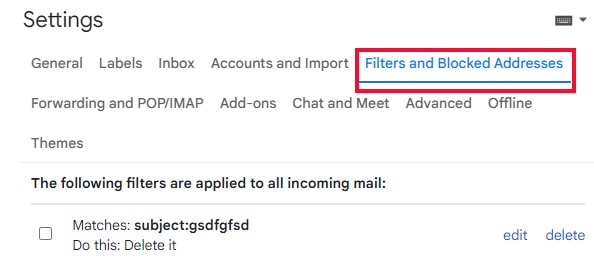
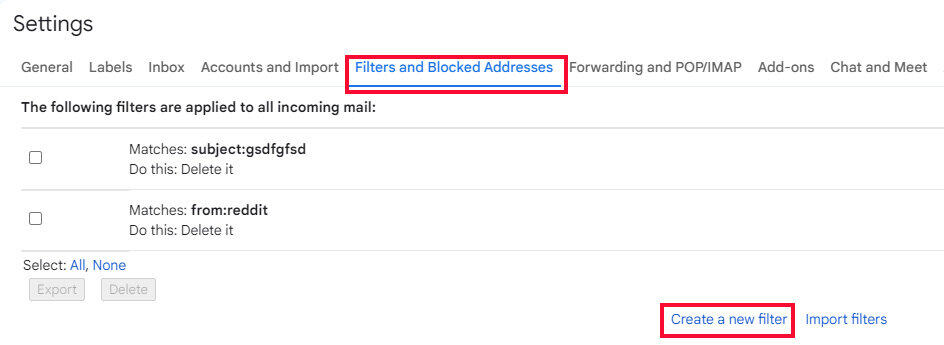
- Go to the Filters and Blocked Addresses option on the settings page and select Create a new filter.
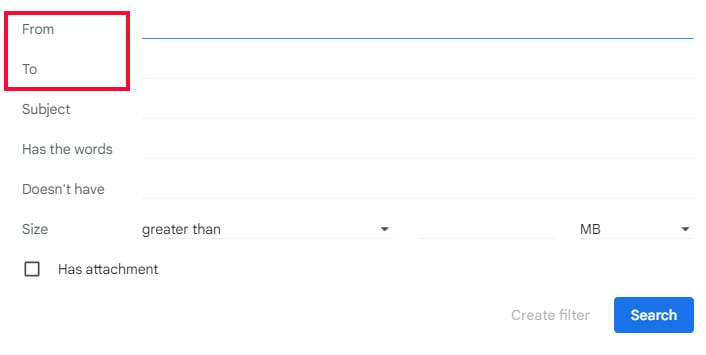
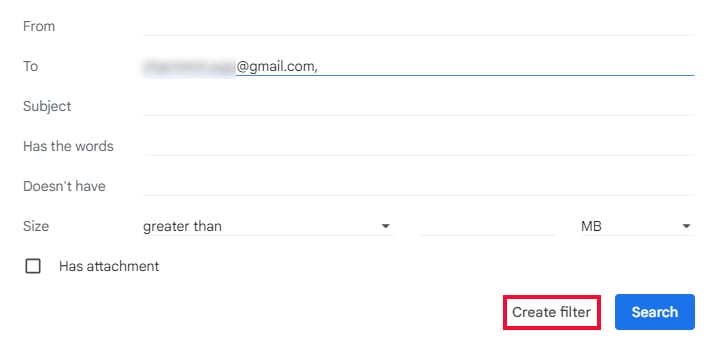
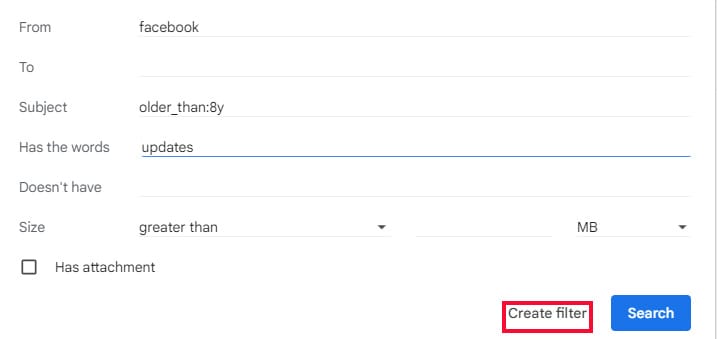
- Fill out the criteria to describe the emails that need to be filtered. Here’s how you can set up each criterion:
- From/To a Particular Address: Type the email address on From or To blank to auto-delete old emails from that sender or the ones sent to that sender.
- A particular time: Go to Subject and type
older_than:time. Useyfor year,mfor month, anddfor day. For example, if you want to delete emails older than 8 years, then typeolder_than:8y. All emails older than eight years in your inbox get deleted.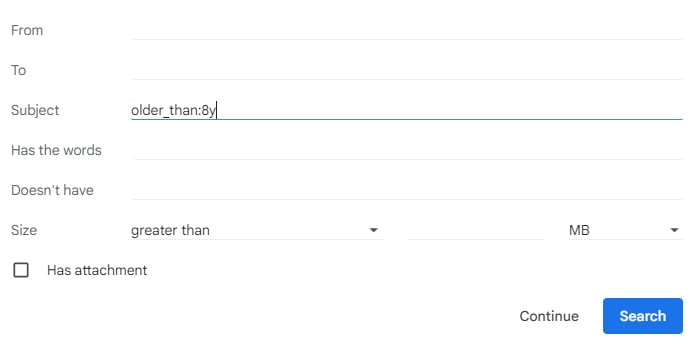
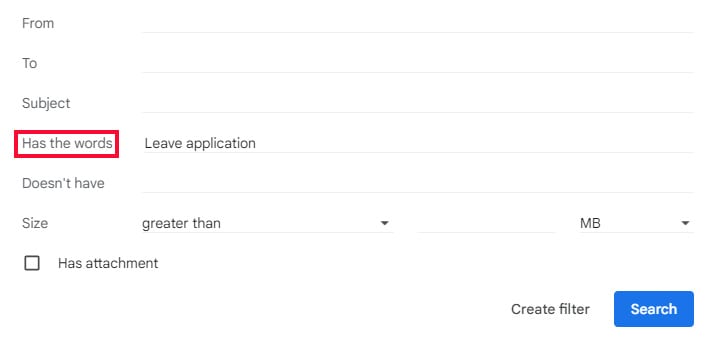
You can also use it to filter emails having a specific subject like leave application.
- A particular keyword: You can also auto-delete old emails having a particular keyword. Type the keyword on Has the Words criteria and create the filter.
However, if you want to keep just the emails with that particular keyword, then type it on Doesn’t have criteria. All other emails will delete automatically except for the ones with that keyword.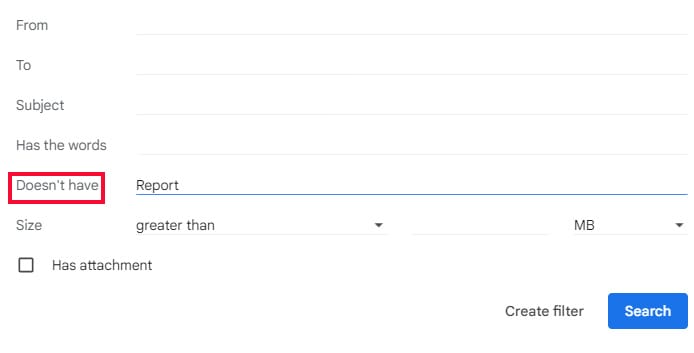
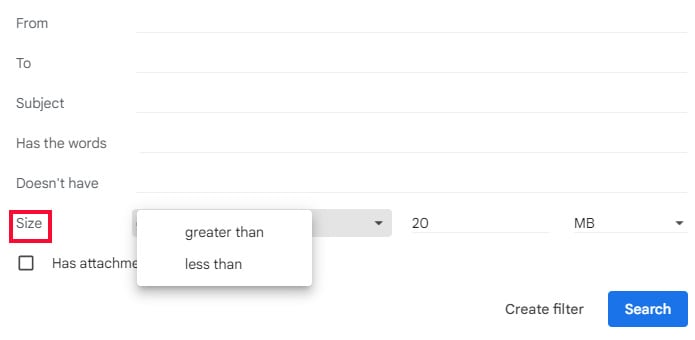
- A particular size: You can set up this filter to avoid bulkier emails or smaller emails. Go to Size and click on the drop-down menu and choose greater than or less than > select the size.
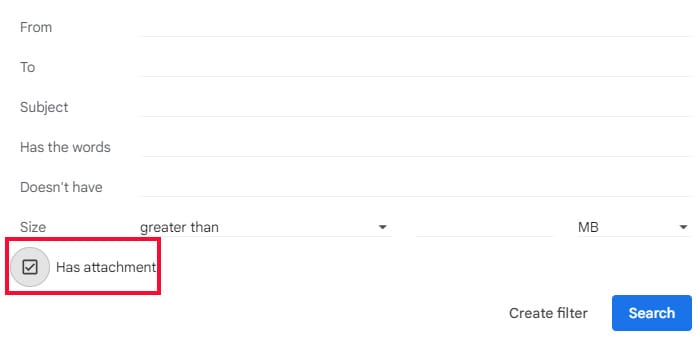
- For attachments: Click on the box next to Has attachment to filter out and auto-delete any emails with attachments.
- From/To a Particular Address: Type the email address on From or To blank to auto-delete old emails from that sender or the ones sent to that sender.
- After selecting desired criteria, Select Create Filter.
- A new activity window pops up. Tick off the Delete it option. To delete existing undesired emails, tick on Also apply the filter to ‘x’ matching conversations.
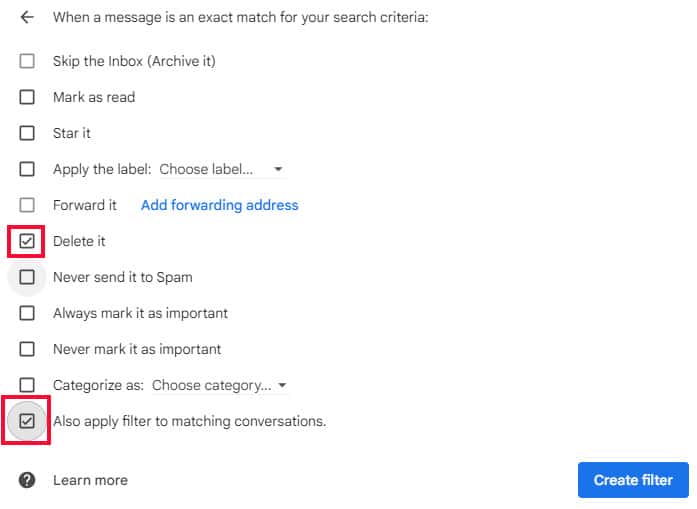
- Select Create filter.
Avoiding Mistakes on Filter
A silly mistake while setting up a filter for auto-delete could lead you to lose valuable information from your Gmail. You can practice the following things to avoid mistakes on Filter:
- Always test your filters on a smaller scale before actually applying them.
- Define the filter criteria precisely.
- Make sure to double-check the condition before implying.
- Avoid overlapping filters. If you use conflicting filters, Gmail might not implement the instructions that you set.
- Make a practice of using Archive instead of Delete as a safety net.
- If you delete an important email, then use Gmail’s Undo feature to retrieve it. Undo feature is applicable only within a limited time. You can set up a time of 5-30 seconds for undo action from General settings in Gmail.
Editing/Deleting the Filter
You can edit the filter on Gmail anytime after creating it. However, if you don’t need the filter anymore, there’s an option to get rid of it as well. Here’s how you can do it.
- Click on Settings on Gmail and select See All Settings.
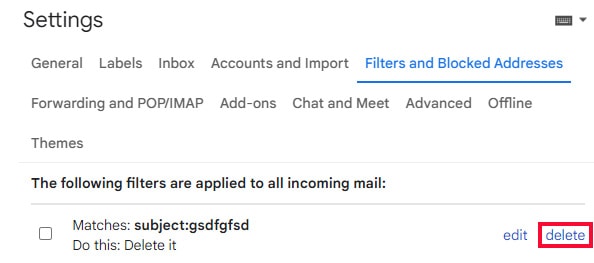
- Hover over the settings menu and tap on Filters and Blocked Addresses.
- Click on the filter that you want to edit and tap on Edit. Make the necessary changes and Update the filter.
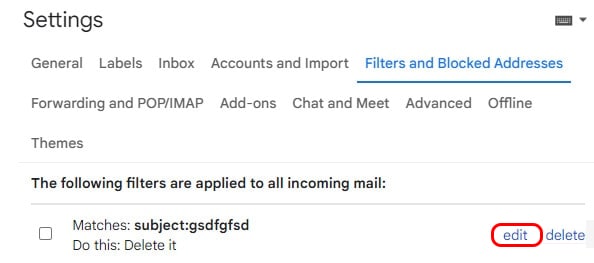
- Click on delete if you want to remove the filter.
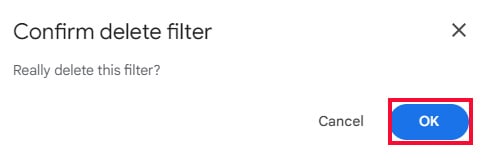
- Select OK on the confirmation dialog.
Archiving Vs Deleting
Although you can auto-delete old emails from Gmail at once with a filter, it can also lead you to lose an important email. If your only intent behind an auto-delete filter is to declutter your Gmail window, then archiving can be a good alternative.
Unlike auto-deleted emails, archive emails stay intact for an indefinite period. You can always unarchive these emails whenever you want to continue the conversations with that particular sender.
Besides, auto-deleted emails stay in the trash for up to 30 days after deleting them. You can go to Trash in Gmail, select the emails, and click Restore to restore them. However, the emails get deleted permanently after 30 days.
Follow to steps to archive unwanted emails in Gmail:
- Go to your Gmail.
- Tap on the Settings icon in the top right.
- Click on See all Settings.
- Select Filters and blocked addresses on the settings page. Choose Create a new filter.
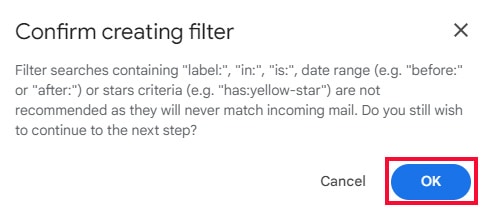
- A dialog box pops up. Fill in the description for the type of email that you want to archive and tap on Create Filter.
- A confirmation dialog appears. Select Ok.
- Tick off the Skip the Inbox (Archive it) option in the list of criteria. Click Create Filter.
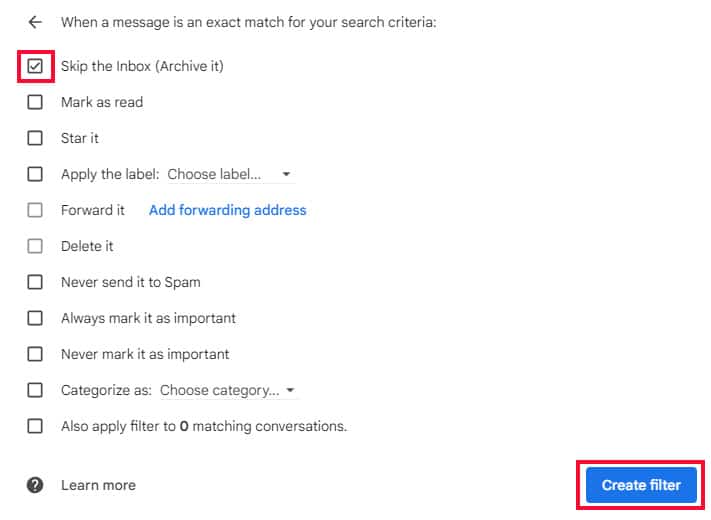
All the emails with the features mentioned above will now go directly to your archive.
Tips to Keep Your Email Clean
You can avoid the chaos of losing important emails in the cluttered Inbox if you keep your Gmail clean. Follow these simple tips:
- Clean your Inbox a regular intervals. Set up reminders for a week or days if required.
- Mute unimportant Gmail threads.
- Make a habit of archiving important emails.
- Unsubscribe to stop email updates from unnecessary senders.
- Organize email using labels to declutter your Inbox.