Sometimes, when you send an email in Gmail, it labels the email as queued and stores it in Outbox instead of sending it.
A queued email basically means the email you are trying to send is stuck, and Gmail will reattempt to send it in a favorable situation.
While most people assume network connectivity to be the issue, other instances may also lead to queue sent emails in Gmail.
- Lack of storage in the device
- An attached file exceeding the size limit of 25 MB
- If you reached the daily limit for sending emails (for free users)
- Service outage from Google servers
- Restriction on Background data usage for the Gmail app
Check the Status of Google Servers
Sometimes, a disruption of Gmail service or a service outage can cause queuing of emails. In that case, you can go to the Google Workspace dashboard and check the status of Google Servers.
- Launch Google Chrome on your device.
- Sign in with your Google account.
- Go to Google Workspace Status Dashboard.
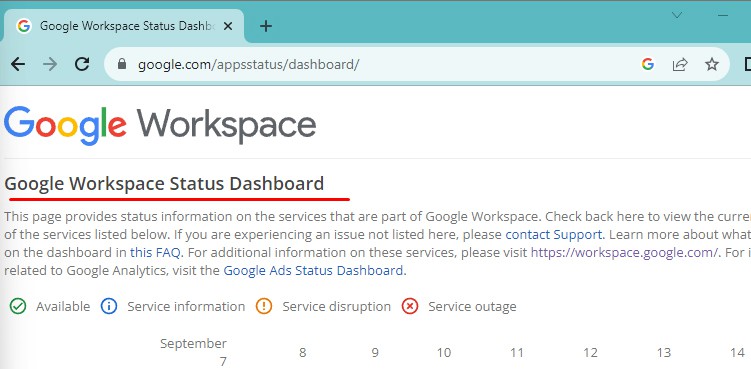
- Scroll down the list and check the status for Gmail.
- Green Tick: It represents the service that is available. If you see this, close the window and look for another fix.
- Orange Exclamation: It marks service disruption. Click on the notification to learn about the issue and the time it is going to take to resolve it.
- Red Cross: It marks a service outage. Wait until the service restarts.
- Green Tick: It represents the service that is available. If you see this, close the window and look for another fix.
Refresh Gmail and Restart your Device
Whenever you see an error in Gmail, the first thing you need to do is refresh the Gmail homepage.
On PC, click on the reload icon.
On the Phone, drag down on the screen to reload the page.
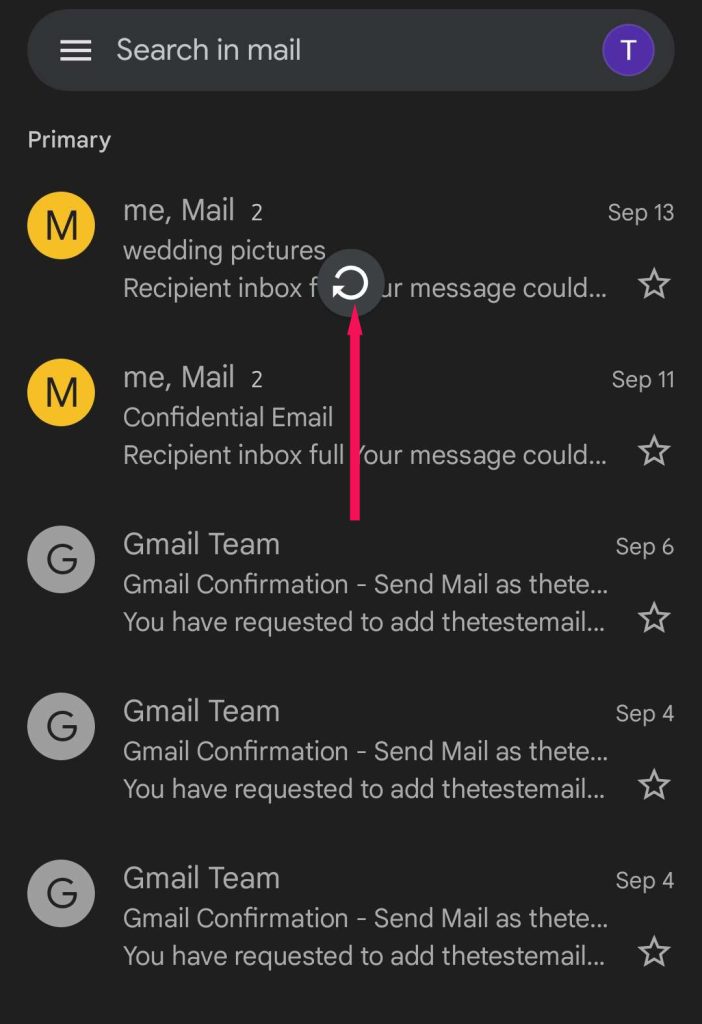
After refreshing, restart your device and check the queued email in your Gmail. If it is still in the Outbox, move on to another fix.
Check Internet Connections
When you receive a notification that your email is queued and refreshing the page doesn’t work, check your internet settings.
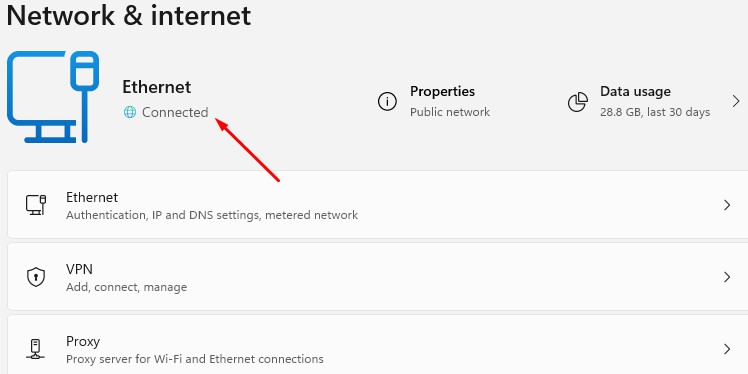
Go to the Network icon at the bottom right corner of your desktop for PC. Right-click on it and select Network and Internet settings.
Check if the Internet is connected. If it isn’t, try reconnecting Wi-Fi/Ethernet.
And if you are using the Gmail app on your mobile device, check for a Wi-Fi/Mobile data connection.
Enable Background Data
If your email is queued despite having perfectly working cellular data, then there might be restrictions on background data. You need to enable the background data or turn off the data saver.
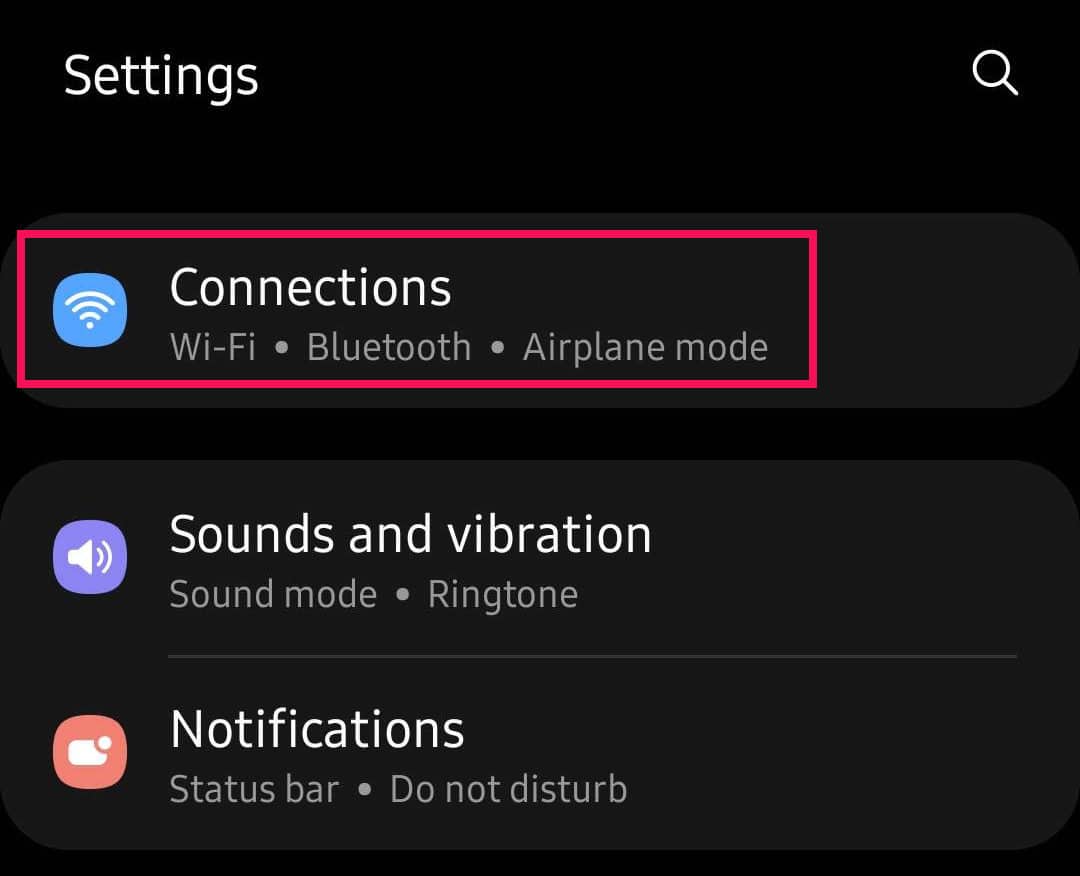
- On Android, go to Settings and select Connections.
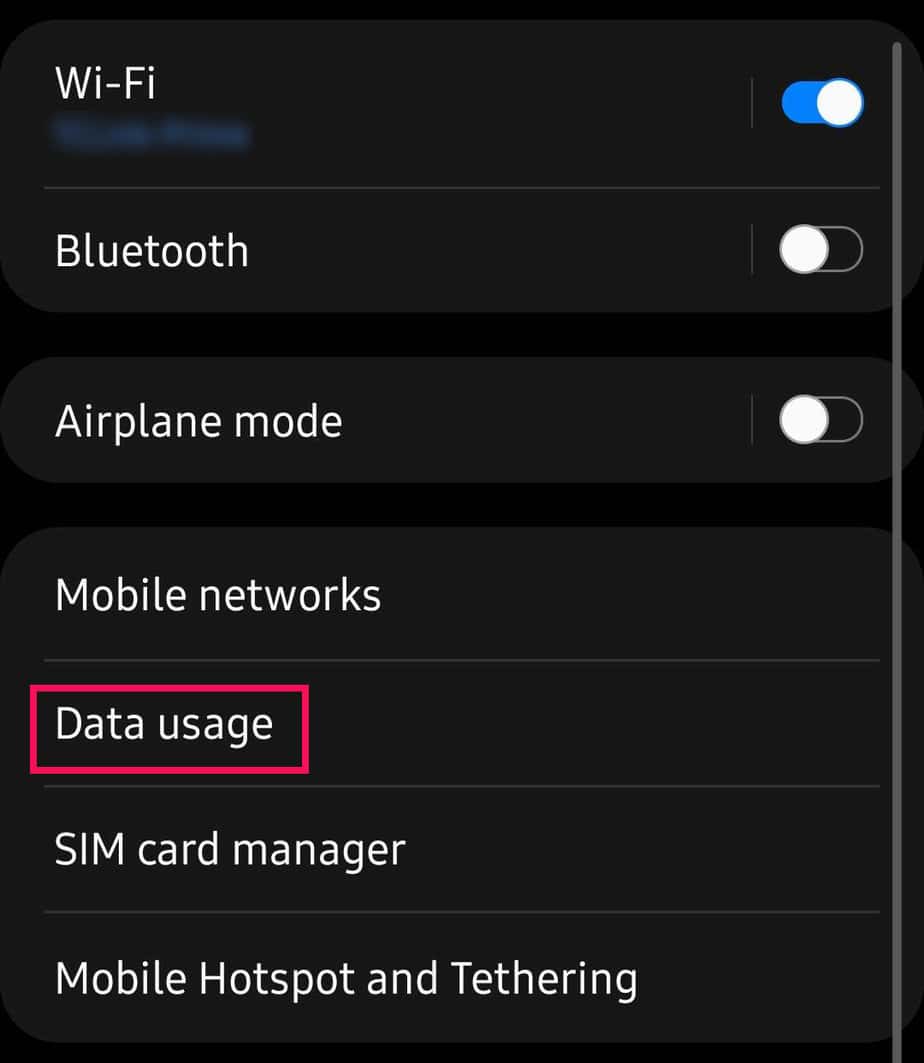
- Tap on the Data Usage option.
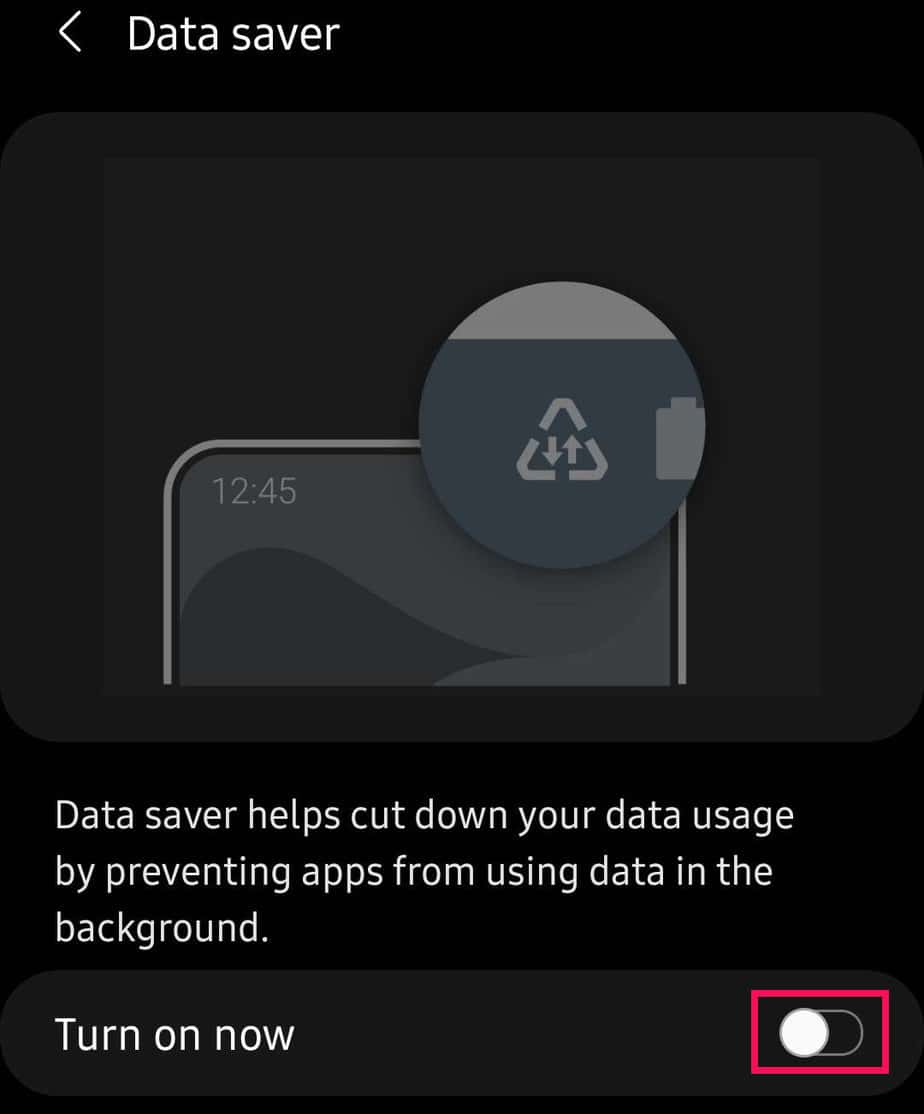
- If Data Saver is on, tap on it.
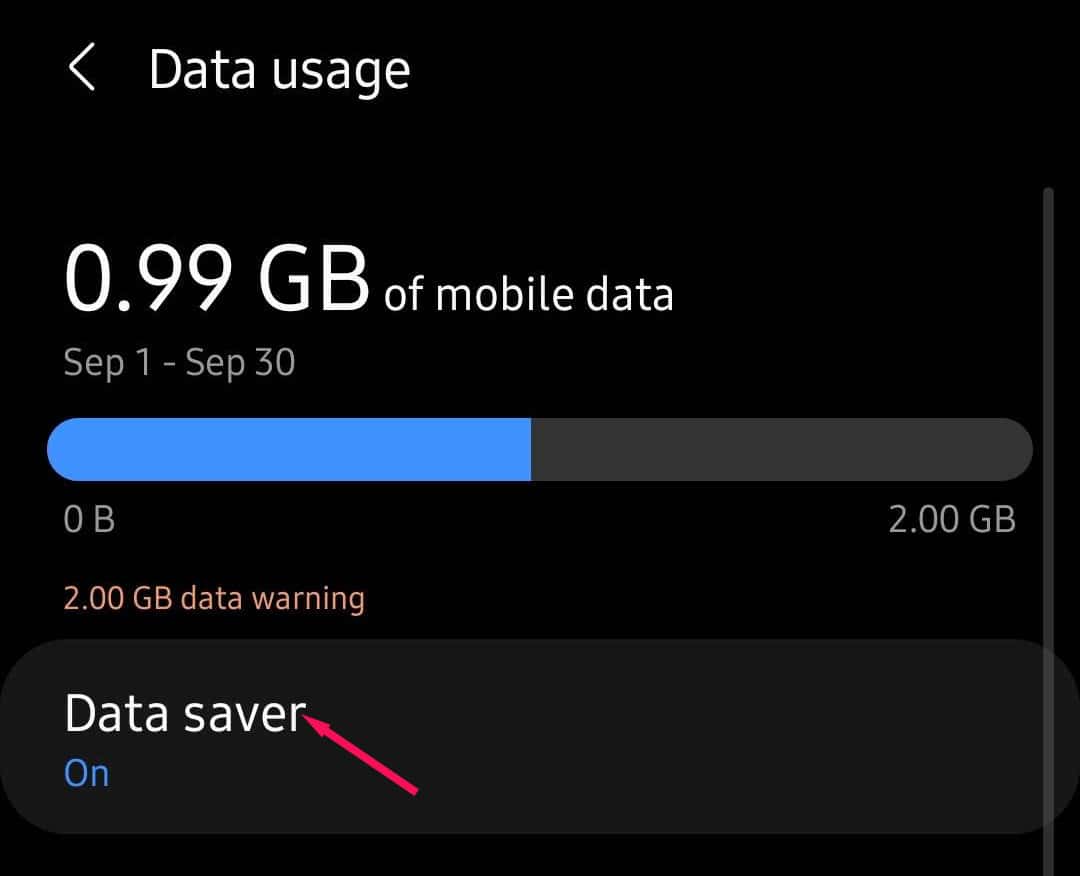
- To turn it off, slide the toggle button to the left on Turn on now.
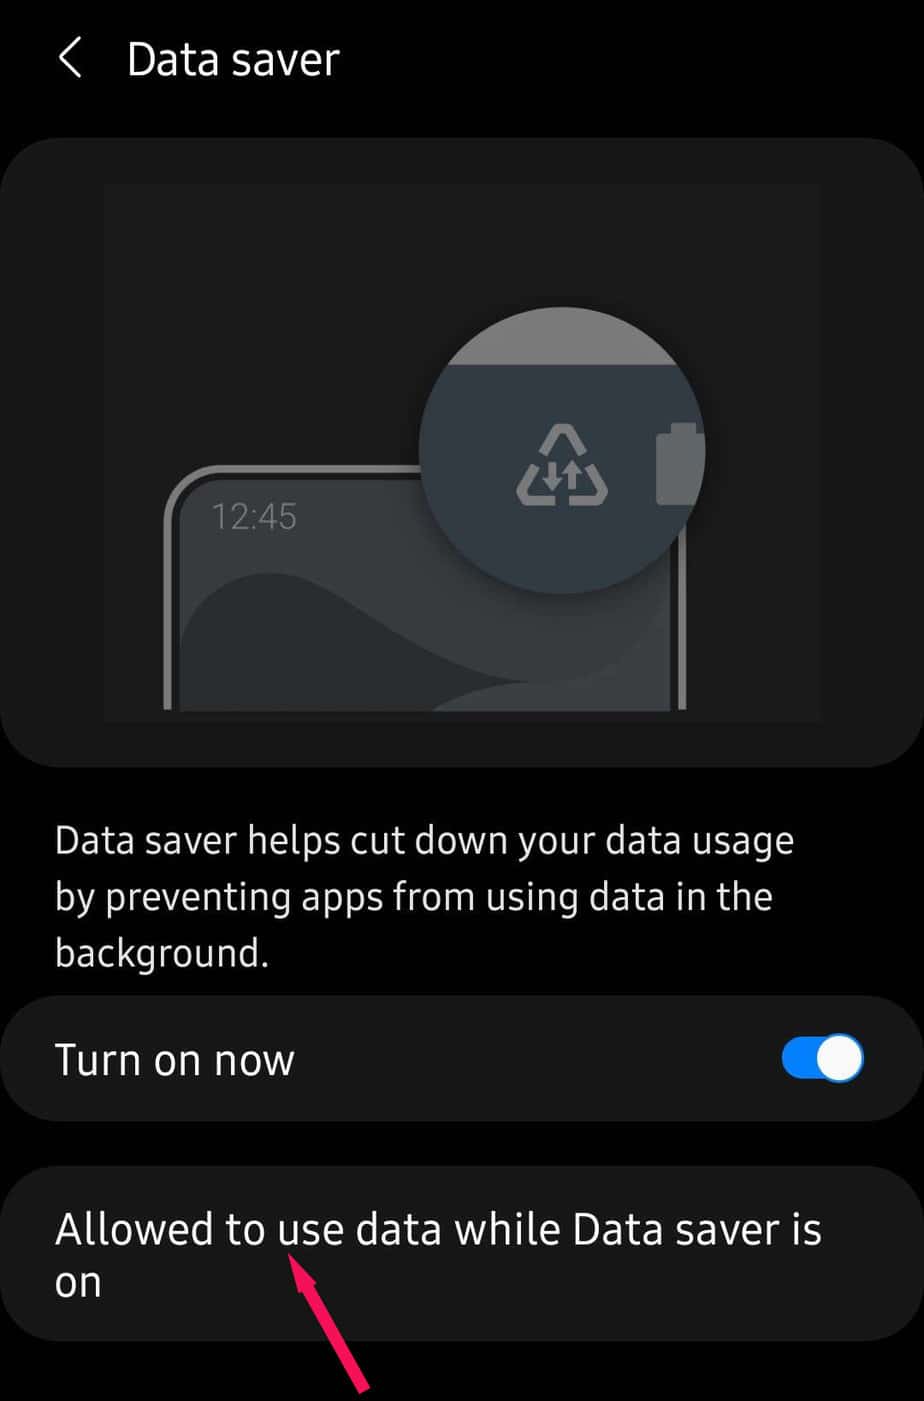
Alternatively, you can turn on the data saver but allow Gmail to still run in the background.
- Tap on Allowed to use data while the Data saver is on.
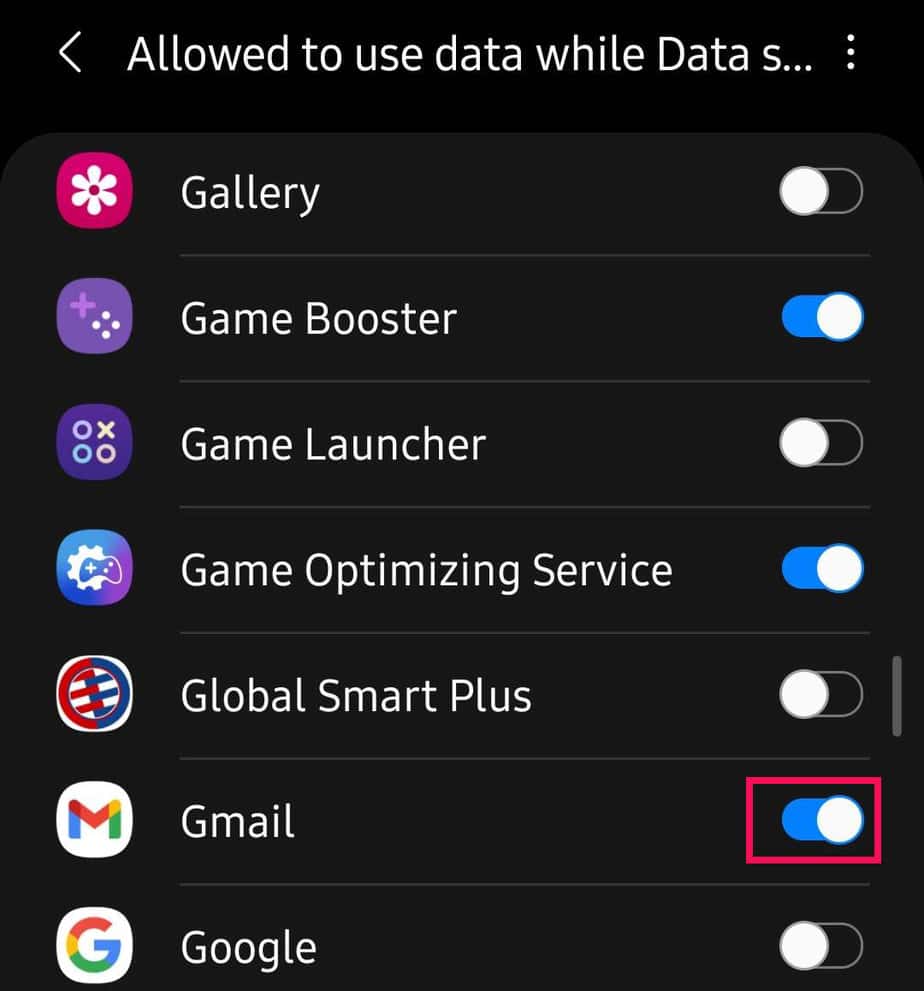
- Find Gmail and turn on the Toggle button.
Uncheck Offline Mode
If the Offline Mode is active on your device, it might also cause your emails to queue up. In that case, you can just simply turn off offline mode and resend the email.
- Open Gmail.
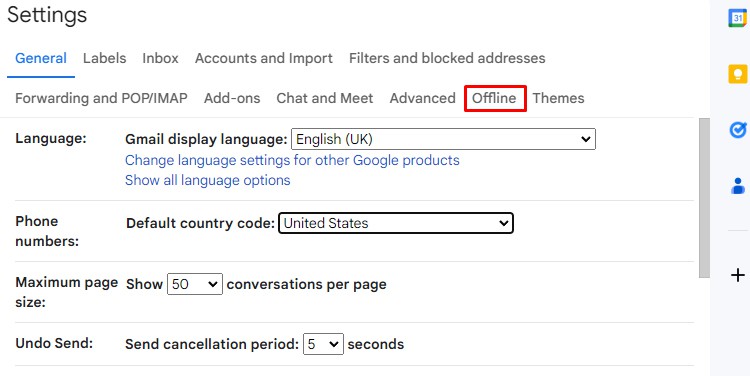
- Go to Settings > See all settings.

- Select the Offline tab.
- Uncheck Enable offline mail.
- Tap on Save Changes.
Clear your Gmail Storage
When your Gmail storage is full, the app is unable to store the emails you compose. In that case, you can use your trash and delete emails in your browser or mobile app.
- Launch Gmail.
- Tick on the box before the emails to select them.

- Tap on the delete icon.
If you want to empty trash, expand More on the left pane of the Gmail homepage. Select the Bin/Trash. Click on the Empty Bin Now link at the top and select OK on confirmation.
Upgrade Your Gmail Threshold
Gmail has set a threshold of 500 emails per day and 2000 recipients per message for free account users. After you reach the limit, you will receive an error message, and your messages might be stirred in your Inbox. Apparently, your message is suspended for 24 hours before you can resume.
However, you can switch to a paid account to upgrade the threshold. The maximum limit for paid accounts is 2,000 emails. If the number is still short, then you can exceed the limit for paid accounts, too.
Unsync and Sync Gmail
If your Gmail is working perfectly fine on your desktop but queuing the emails on your mobile app, there might be an issue with sync settings.
- Launch the Gmail app on your mobile device.
- Tap on Menu at the top left.
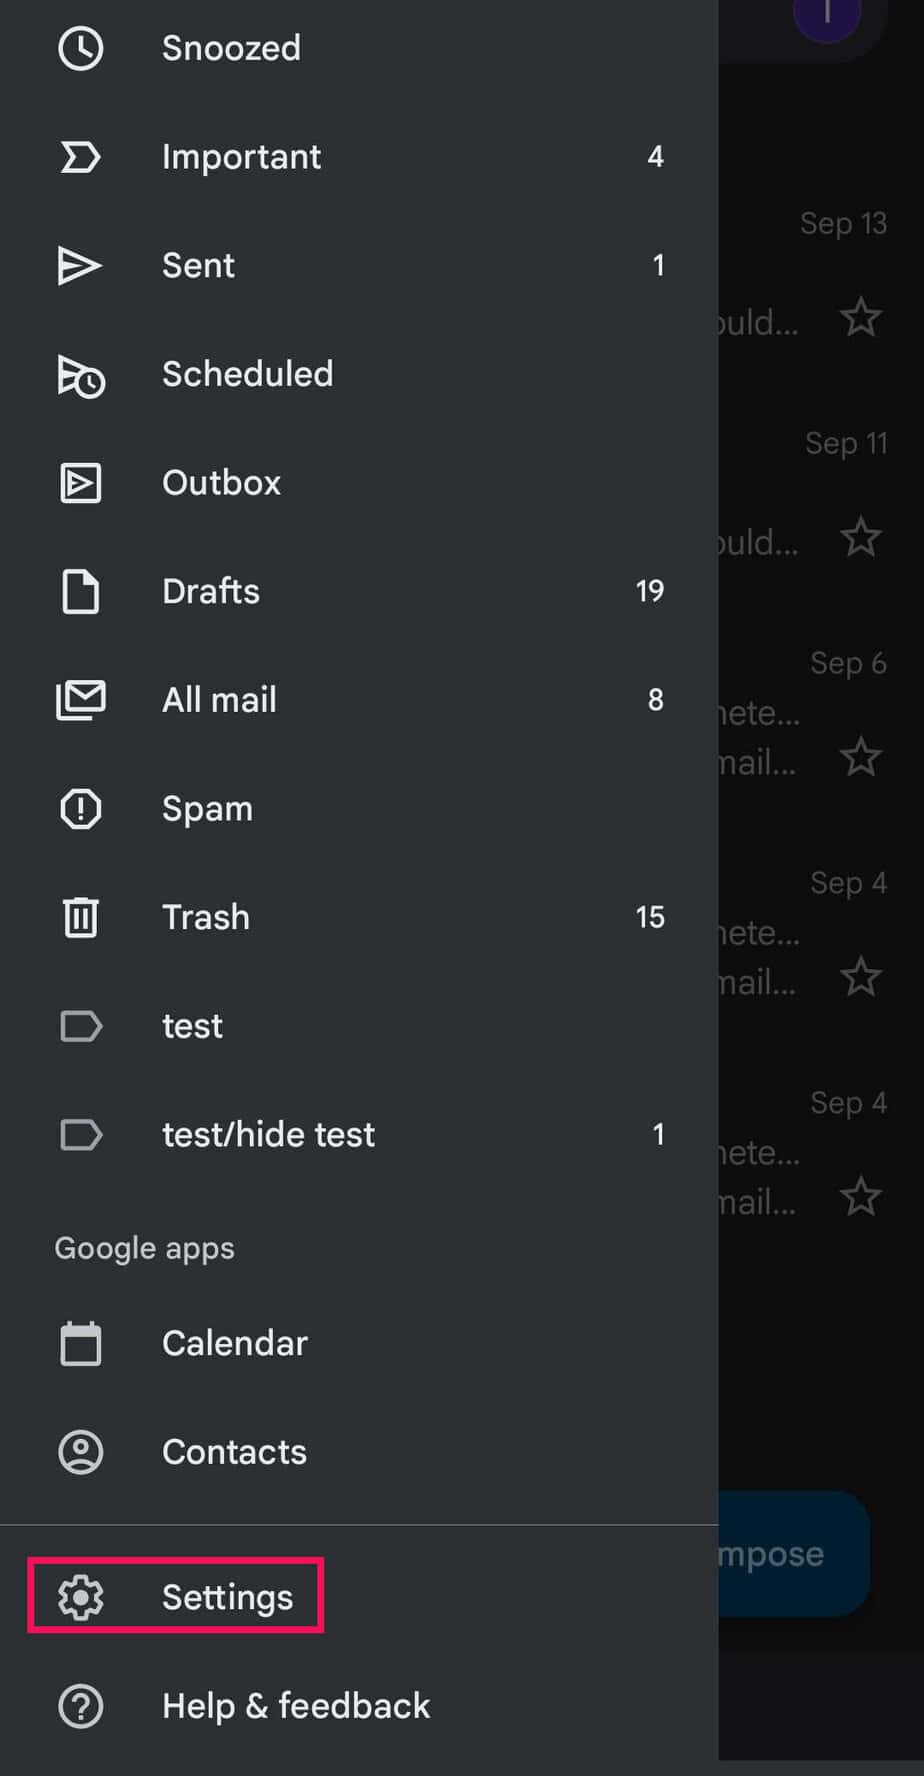
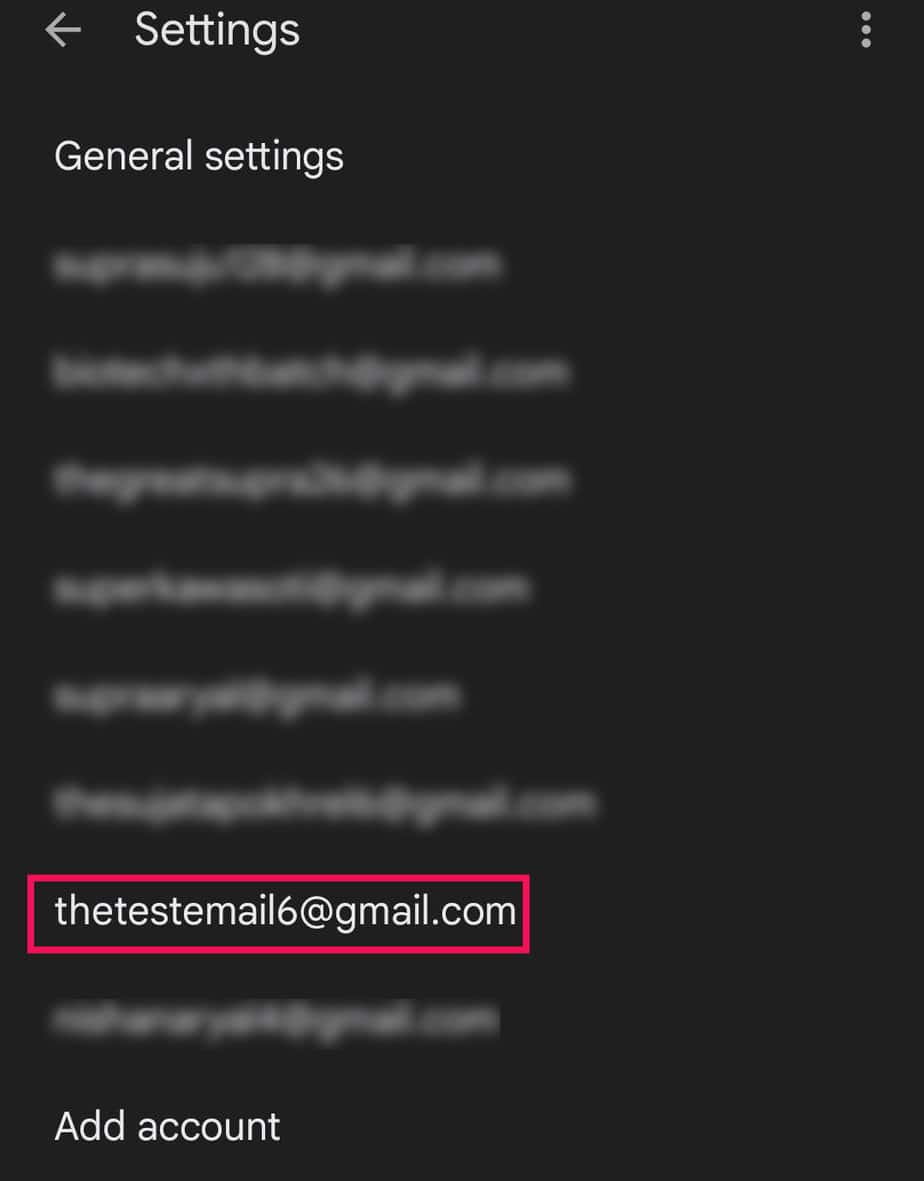
- Select Settings.
- Choose the email address with the queued email.
- Scroll down to the Data usage section and tap on Sync Gmail.
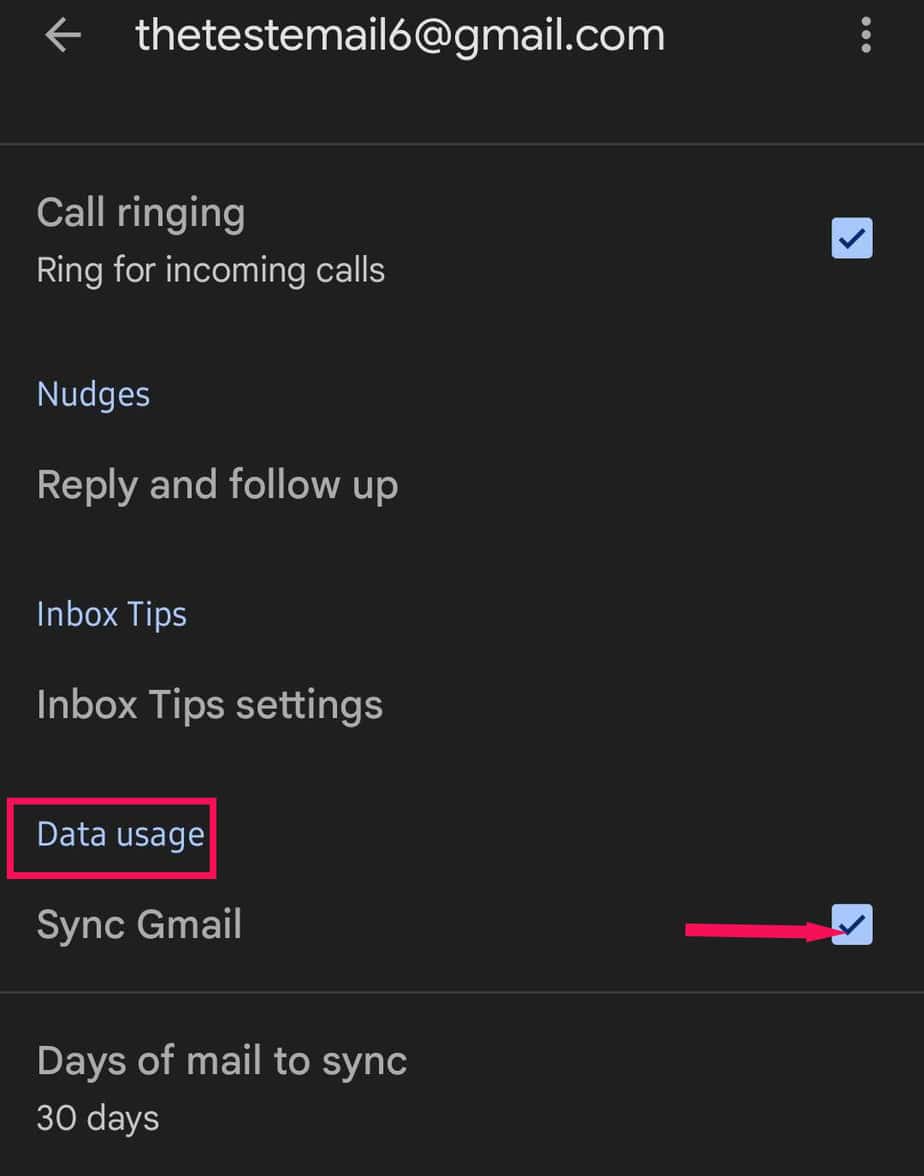
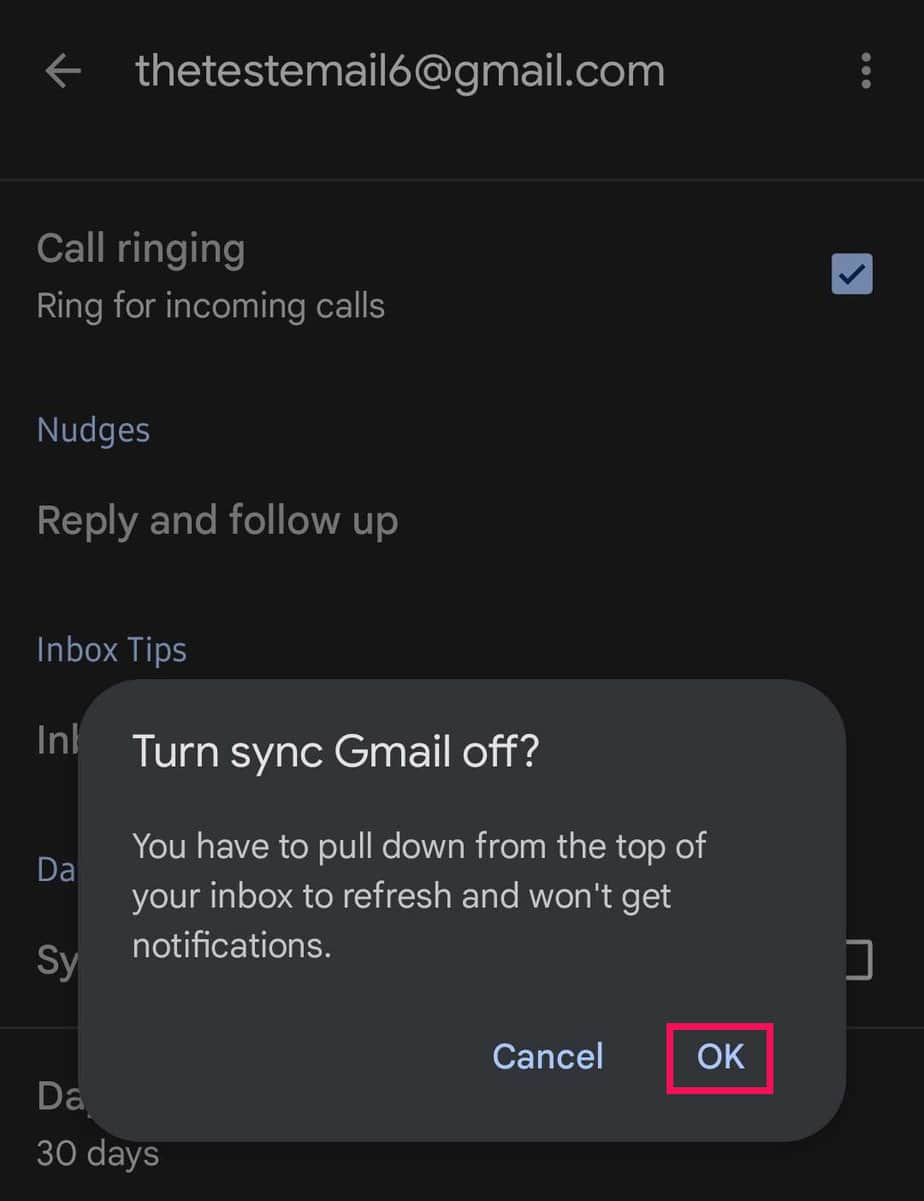
- Select OK to untick it.
- Restart your device.

- Re-launch the Gmail app and go back to the Data usage section.
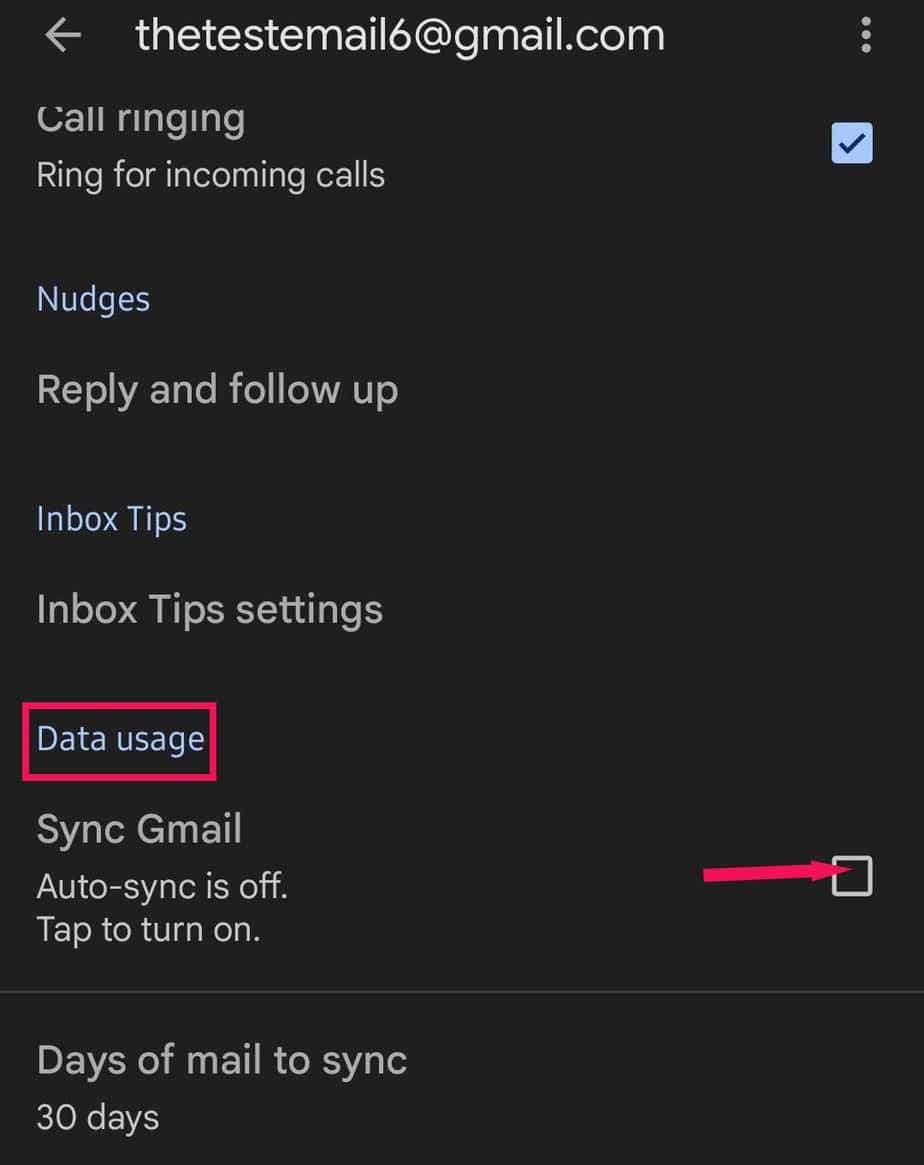
- Tap Sync Email and select Turn on to sync it.

- Now, check your Outbox to see if the queued emails are sent or not.
Clear App Data and Cache
If your Gmail consistently shows a queued email error, force close your Gmail and clear your app data on your phone and PC browser.
Here’s how you can clear the cache on your PC.
- Launch Chrome browser on your device.
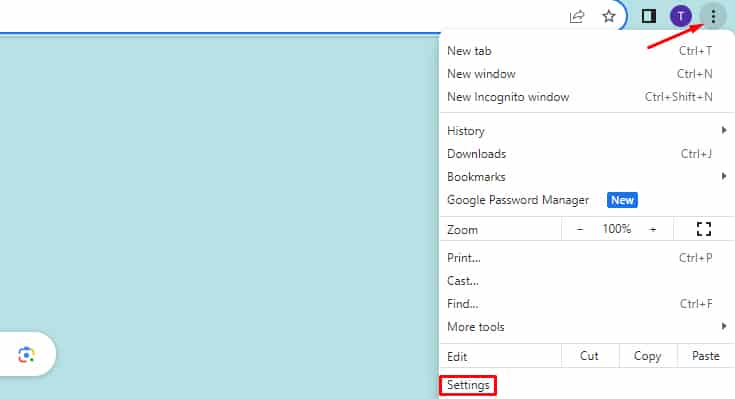
- Click on the More menu on the top right and select Settings.
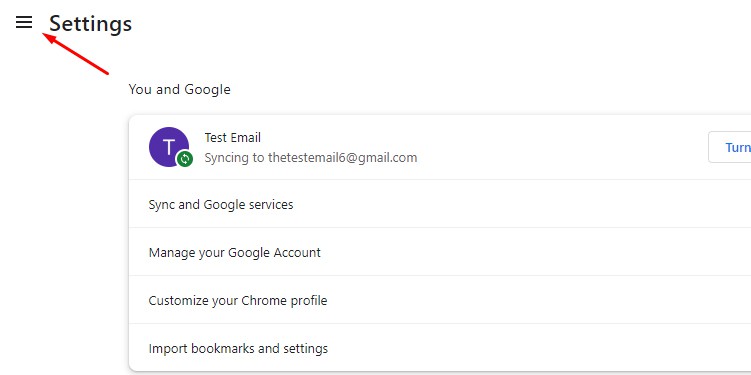
- Tap on Settings Main menu on a new window.
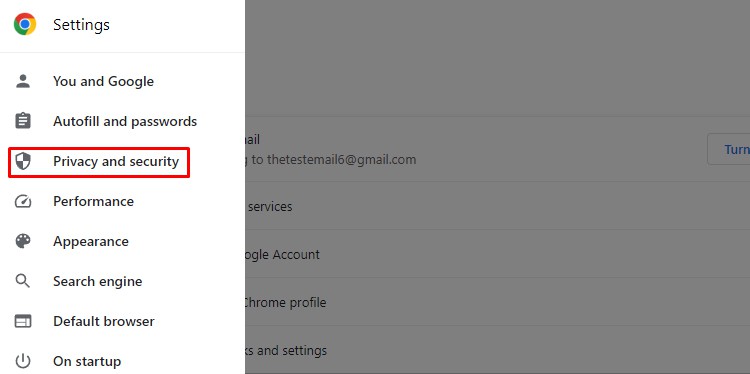
- Go to the Privacy and security section.
- Tap on the Clear browsing data option.
- Tick on Cookies and other site data and Cached images and files.
- Select Clear data.
Here’s how you can clear the app cache on an Android phone:
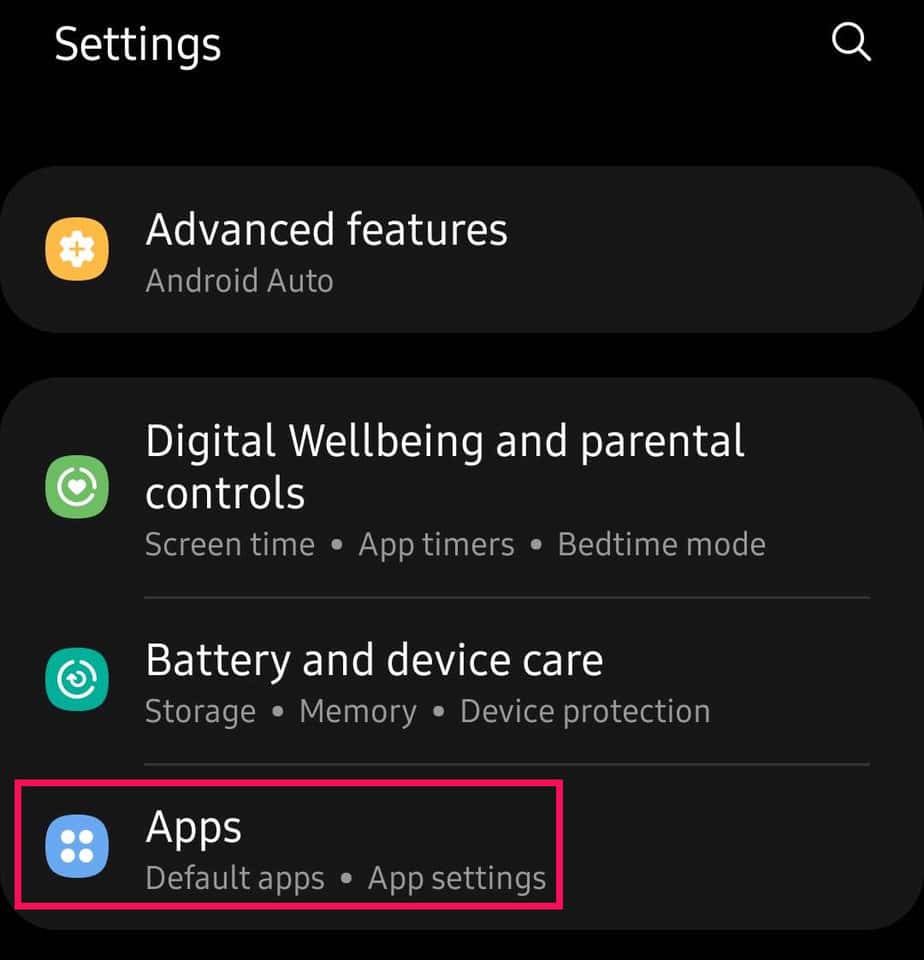
- Go to Settings on your Phone.
- Click on Apps/App and Notifications.
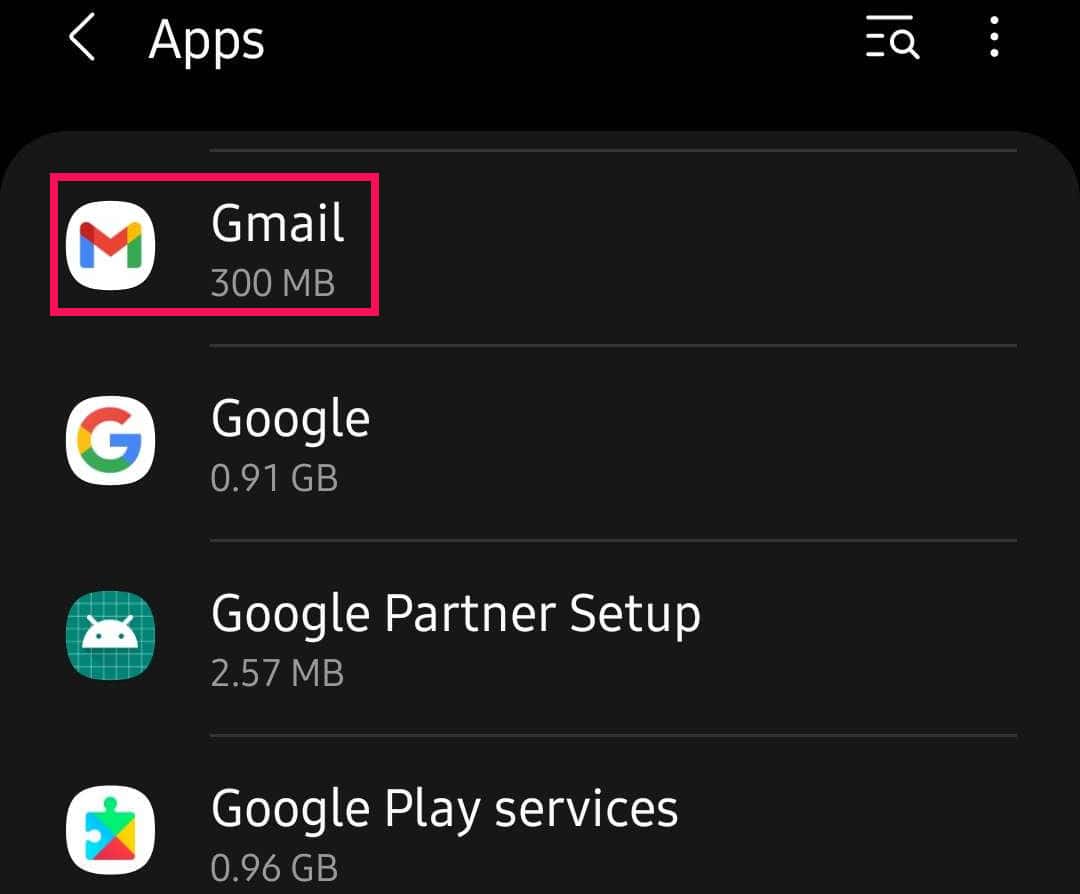
- Scroll down to find Gmail and tap on it.
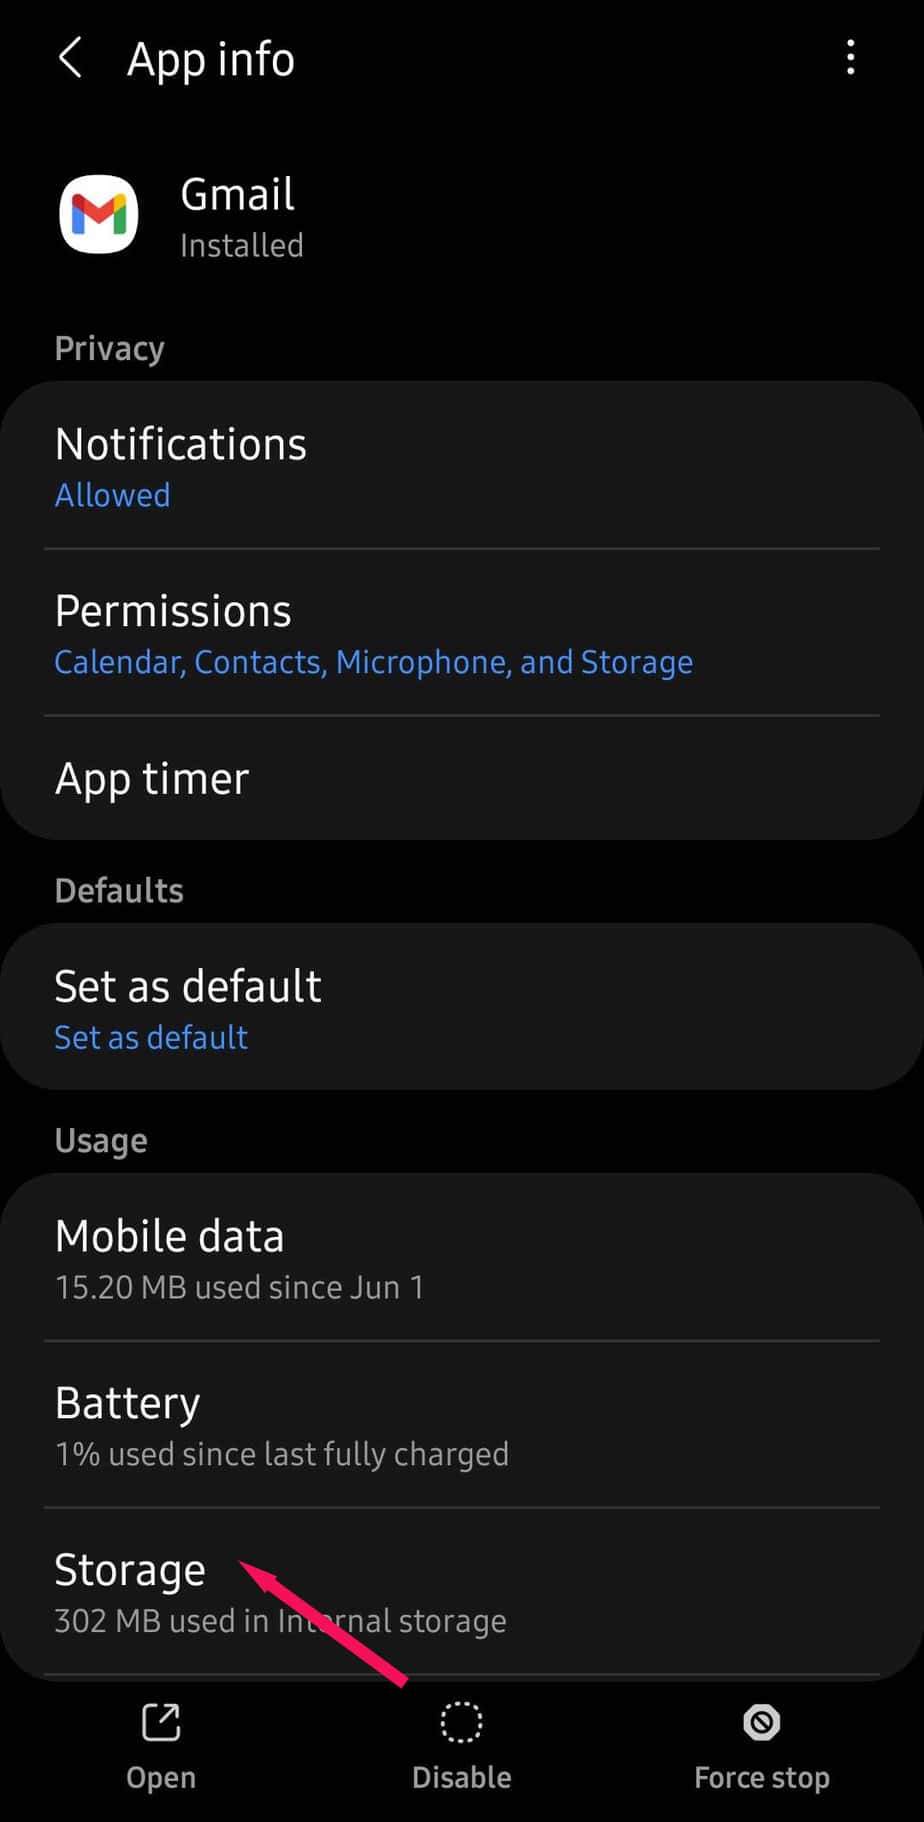
- Select Storage.
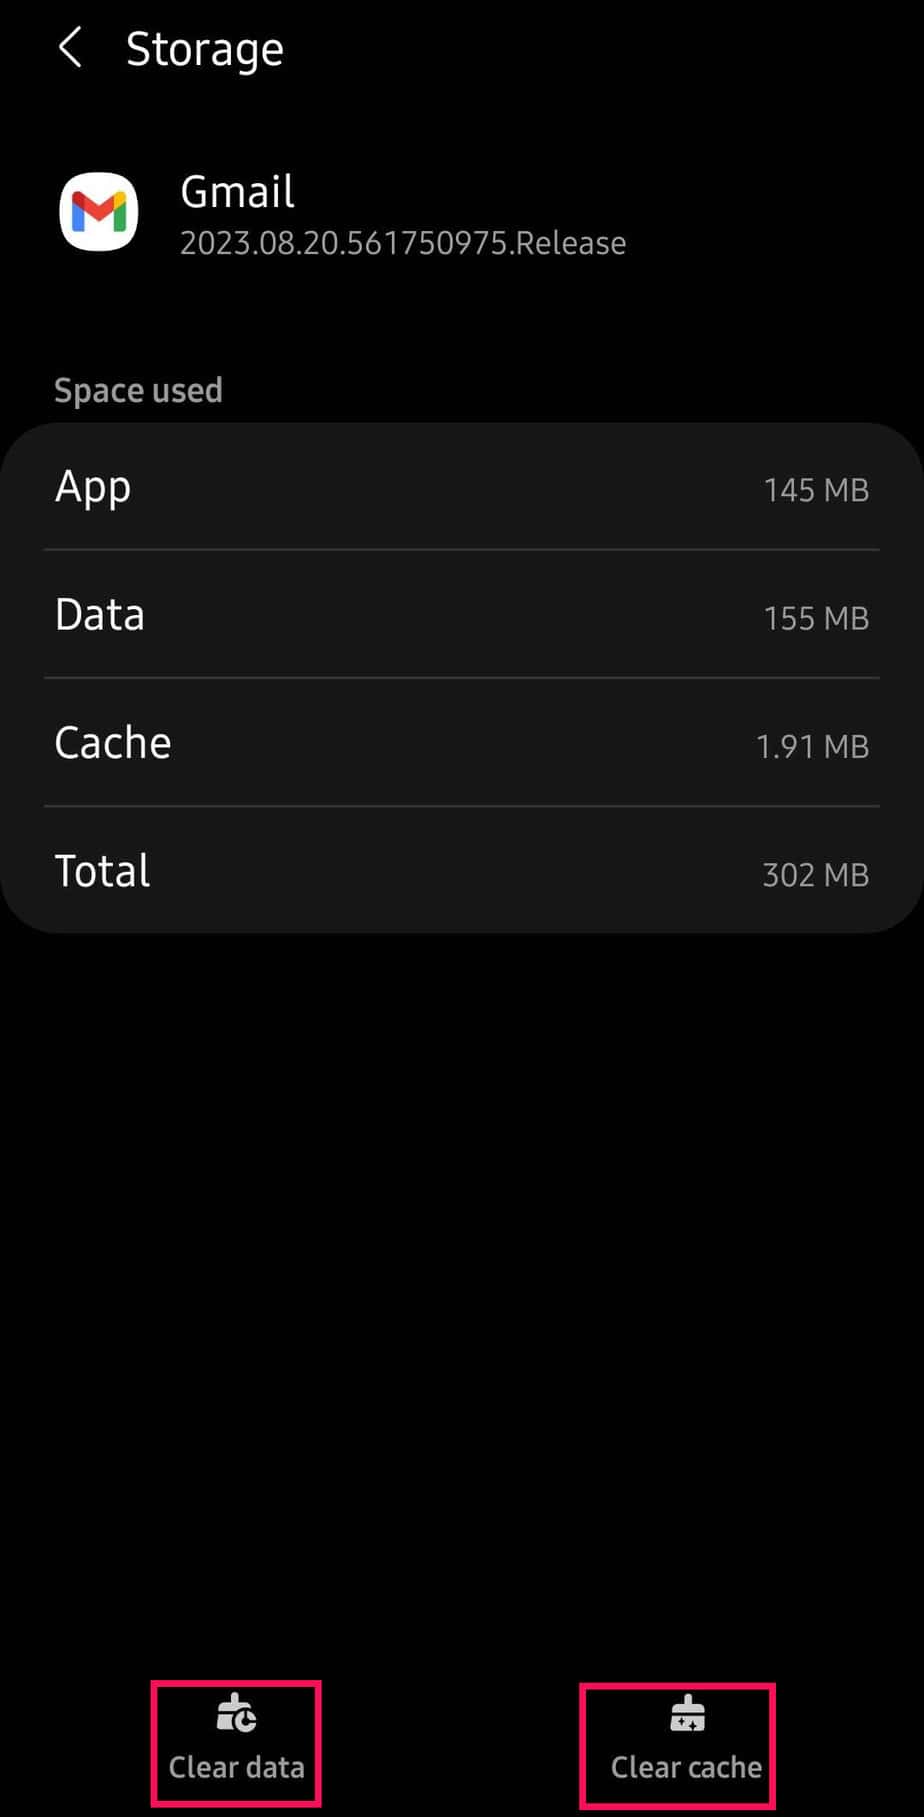
- Click on Clear data and Clear cache.
Since there is no provision to clear app data on your iPhone, you would have to delete and reinstall the app.
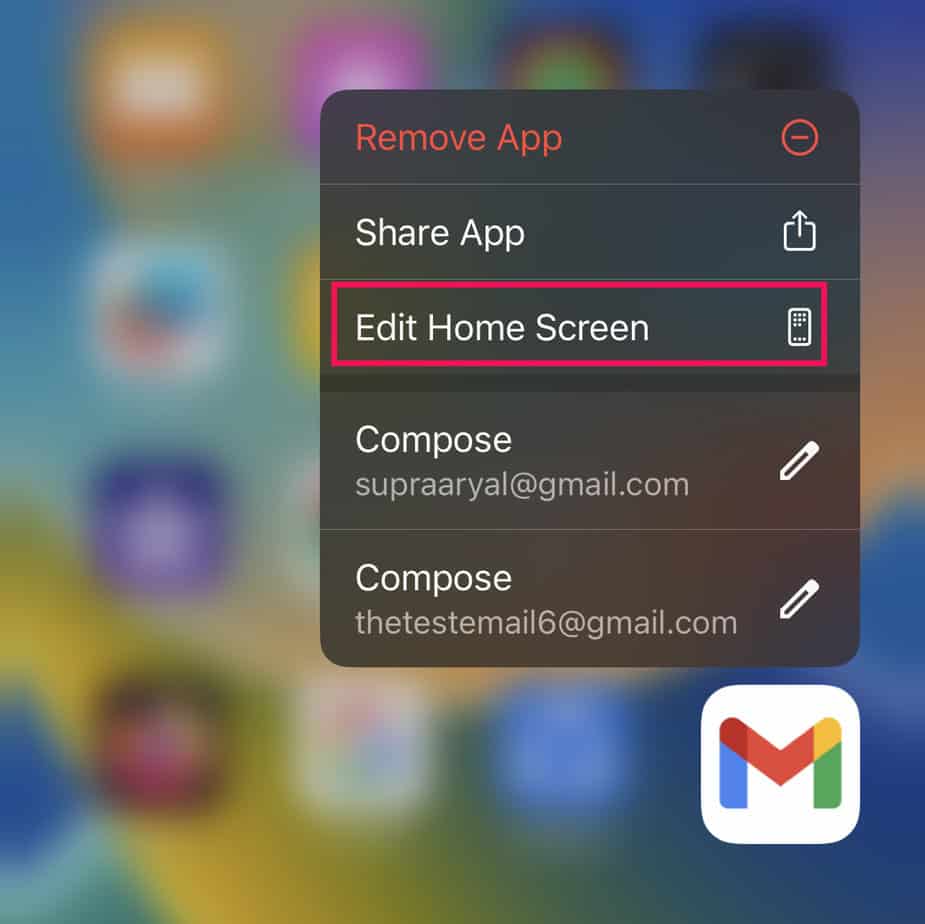
- Tap on the Gmail app on your device.
- Select Edit Home Screen.
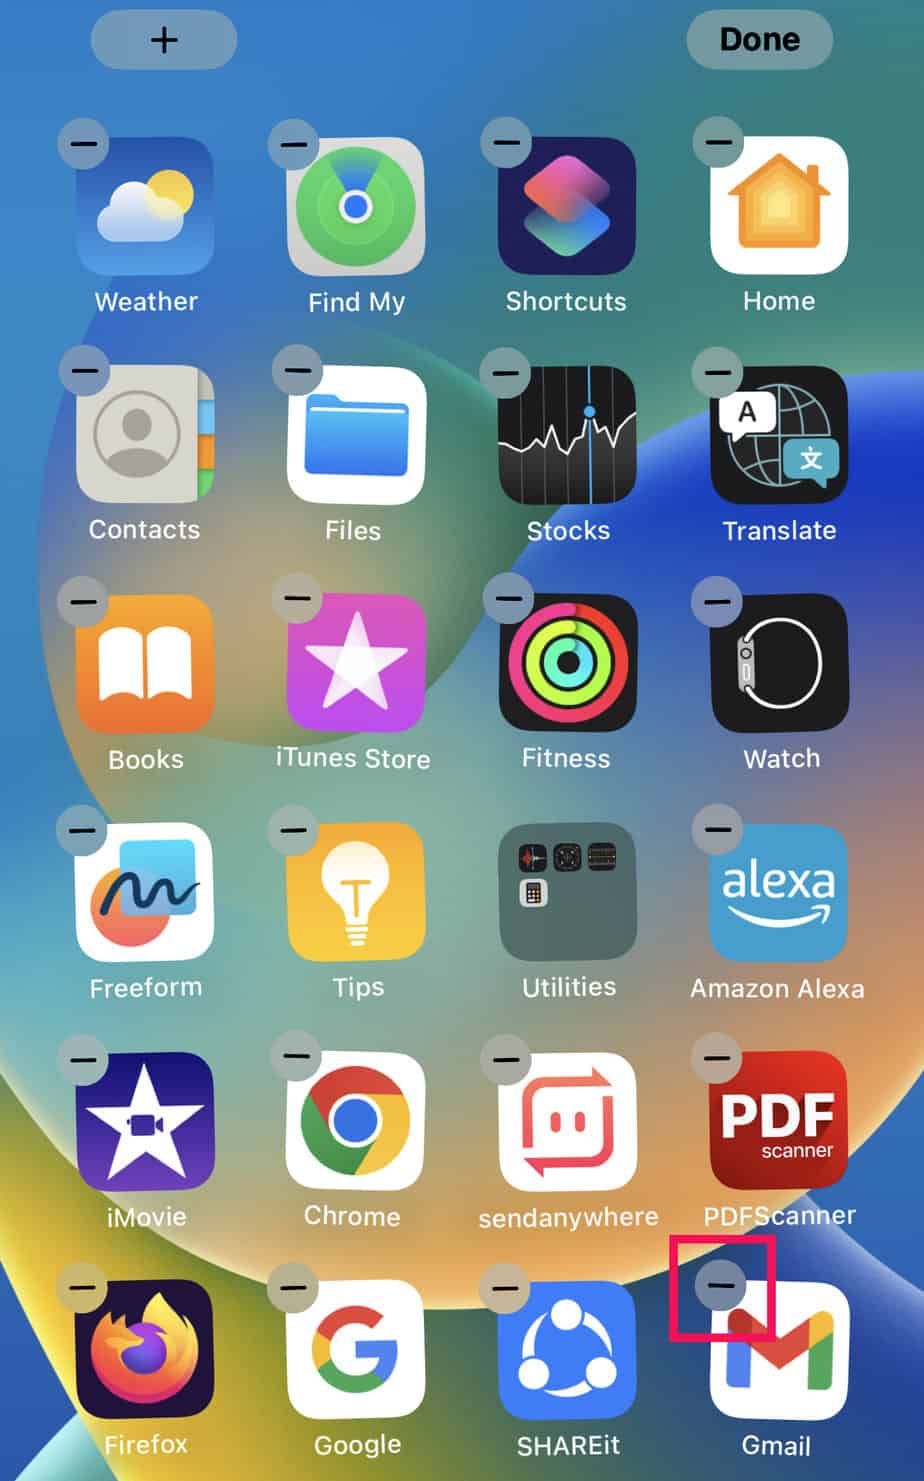
- Click on the minus sign on Gmail.
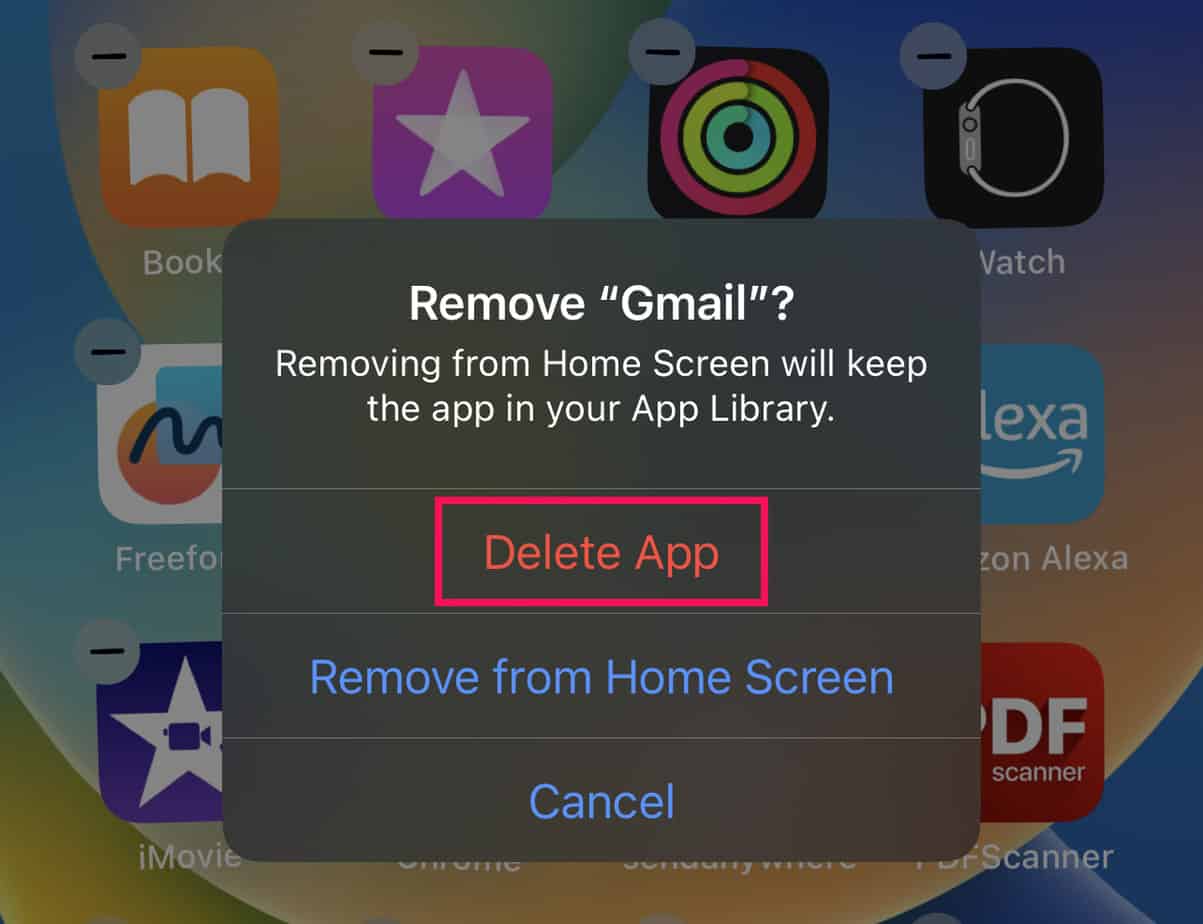
- Choose Delete App on the new dialog.
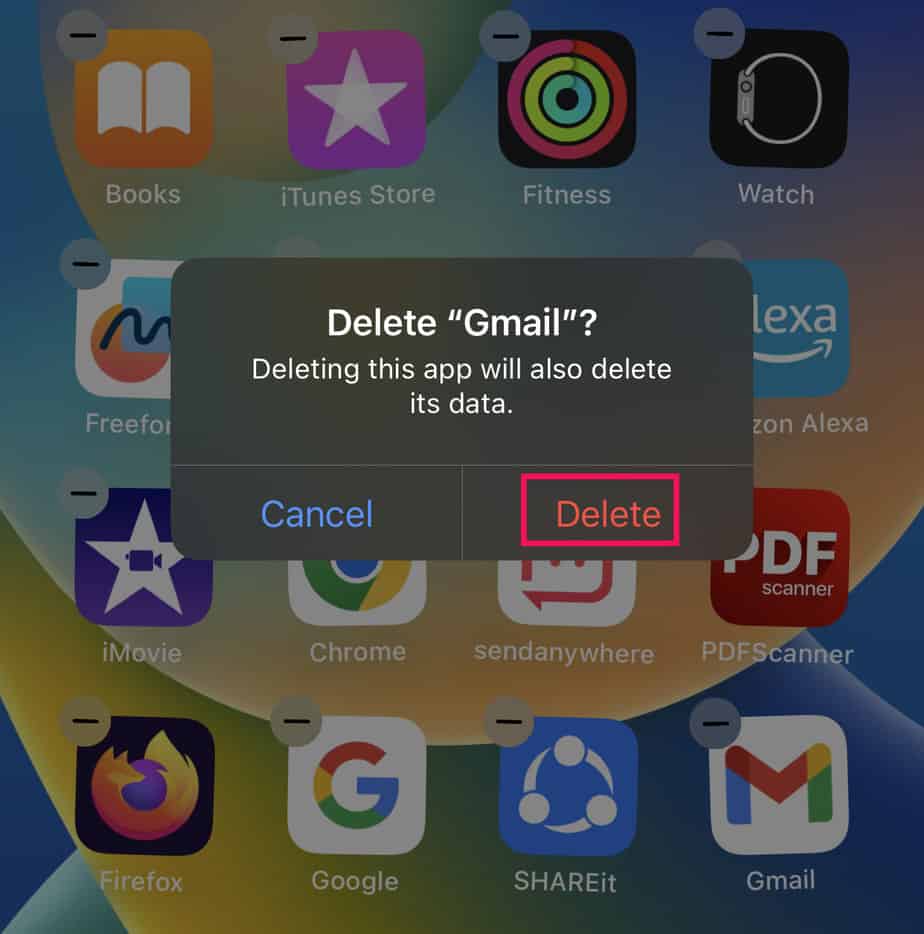
- Select Delete on the confirmation dialog.
Use an Alternate Gmail Account
If none of the fixes mentioned above works, you can use an alternative email address to send email your Gmail. Copy the content and paste it into the new compose dialog of another email address.
Update Your Gmail App
Sometimes, a software issue or a bug in the app could also cause errors in the Gmail app. You can update the app to incorporate improvised features on the app.
- Open the Play Store on your Android phone.

For iOS devices, go to the App Store.
- Type Gmail in the search box and press on the search icon.
- Tap on Update.