Do you find yourself constantly switching between multiple spreadsheets, trying to compare data and information? With Excel’s View Side-by-Side tool, you can streamline your workflow and easily view multiple worksheets simultaneously.
Using this feature, you can view the worksheets in vertical, horizontal, tiled, or cascade window layouts. This eliminates the tedious and time-consuming task of manually switching between sheets to view the document.
Within a single worksheet, you could simply split the data into different individual panes. For this, go to Data tab, you can Split your current worksheet as shown in the picture.
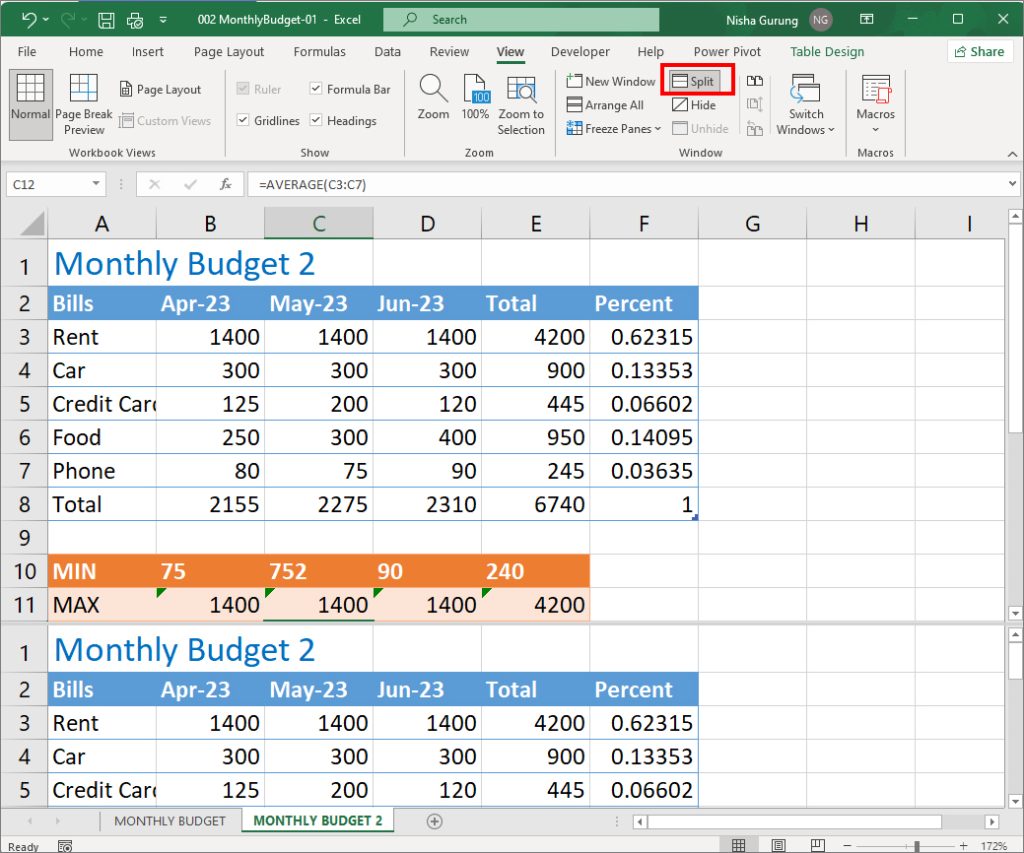
However, for viewing two separate worksheets alongside, you can check out these three simple steps.
Step 1: Create a New Window
First, we will create a new window of a current worksheet to view sheets side by side. For this, enter the ALT + W + N shortcut keys. Alternatively, you can also create one from the Excel ribbon.
- On your Excel worksheet, go to the View tab.

- From the Window section, click on + New Window.

- You should have a New window of your existing worksheet. See the Title Bar to identify the old and new windows.
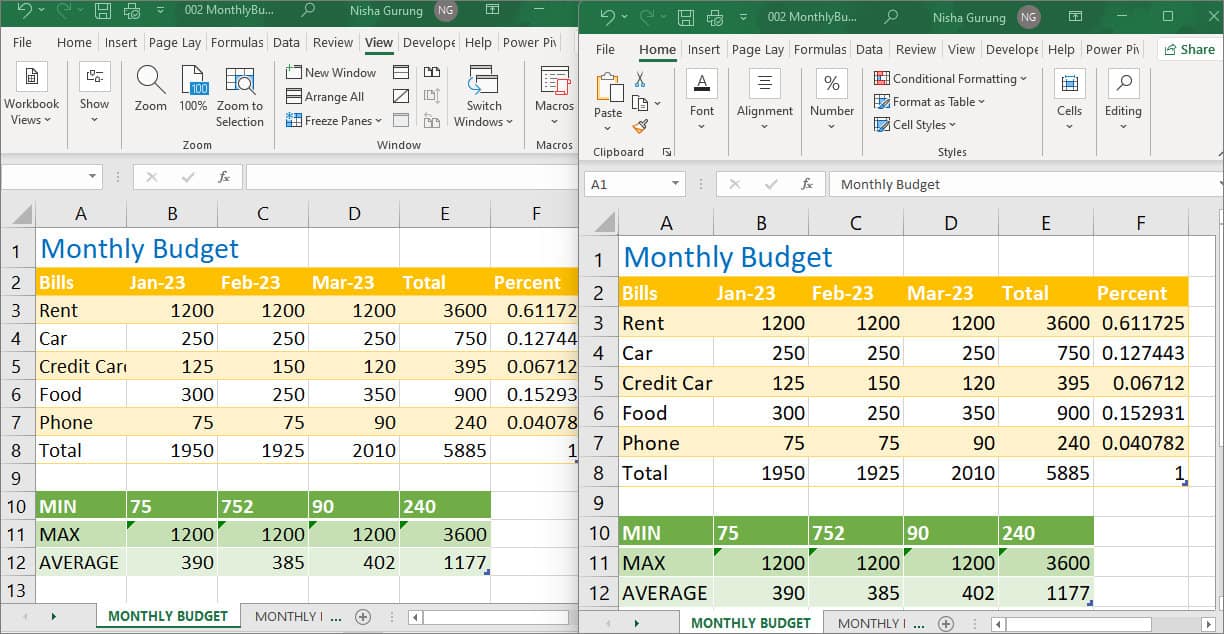
You can use the Alt + Tab shortcut keys to switch between the windows. It comes in handy when your Excel window is on Full Screen.
Note: If you edit the window, the changes will automatically update in another window too.Step 2: Arrange Window
After creating a window, it will most likely be all over your screen. The new window appears in the same size as your original window. For example, if your worksheet is on full screen, it will be the same for a new window.
To have a perfect side-by-side view, you can split the window. For this, press the Windows + Right Arrow key. Then, click on the Excel Window you just created. Note that this is mostly effective to view two sheets.
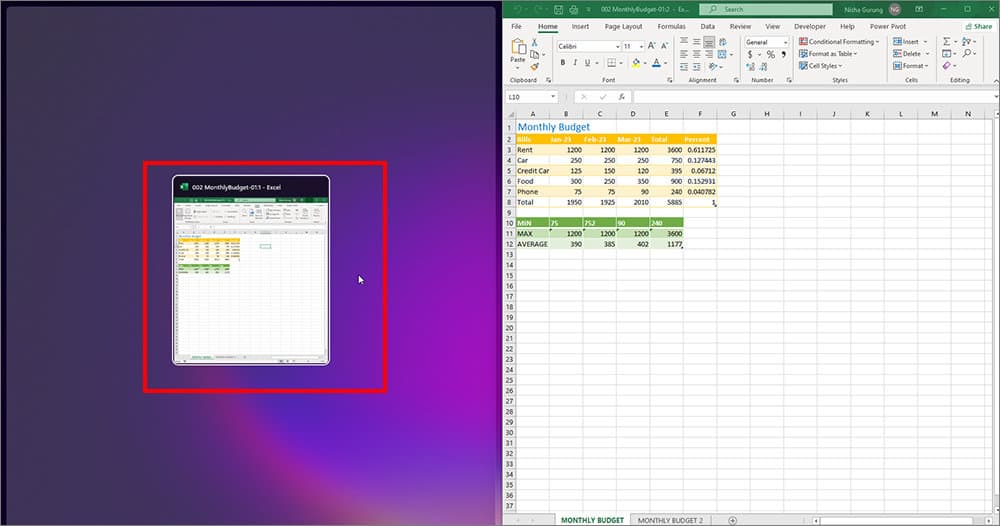
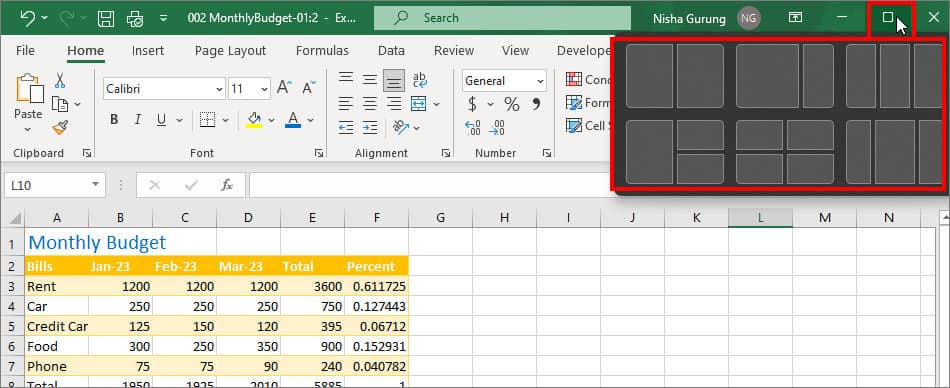
To split the Window for multiple sheets, hover your cursor over the Restore menu at the top-right corner. Choose any one View layout for your sheets and click on your Excel Window tab.
However, if you do not prefer any of the above layouts, you can arrange a window from the View Tab.
- Navigate to View tab and click on Arrange All in the Window section.

- On Arrange Windows, pick any One option and click OK to confirm. You can also check out what each option looks like below.
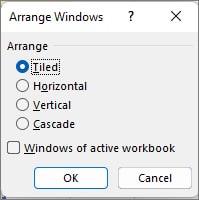
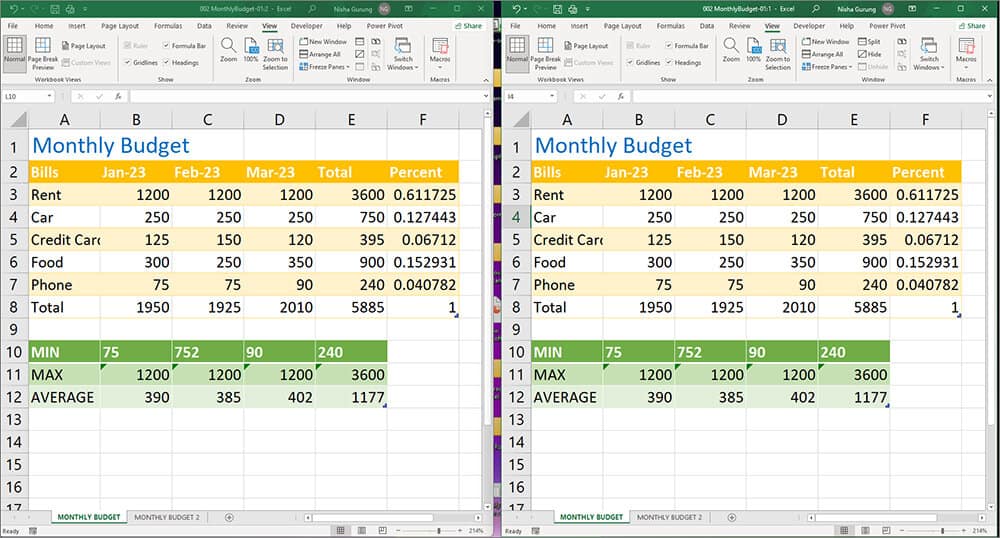
- Tiled: Equal-sized Window View
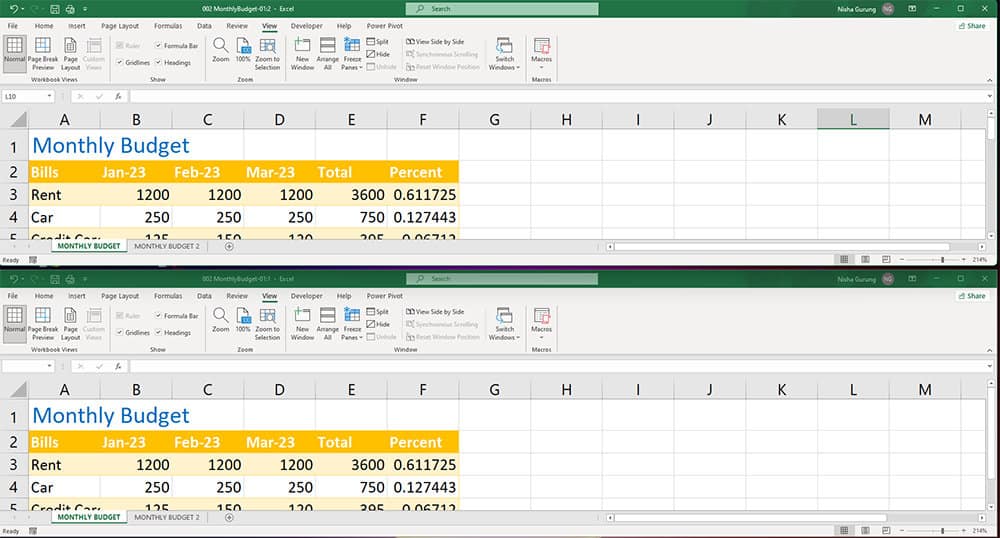
- Horizontal: Horizontal Window View
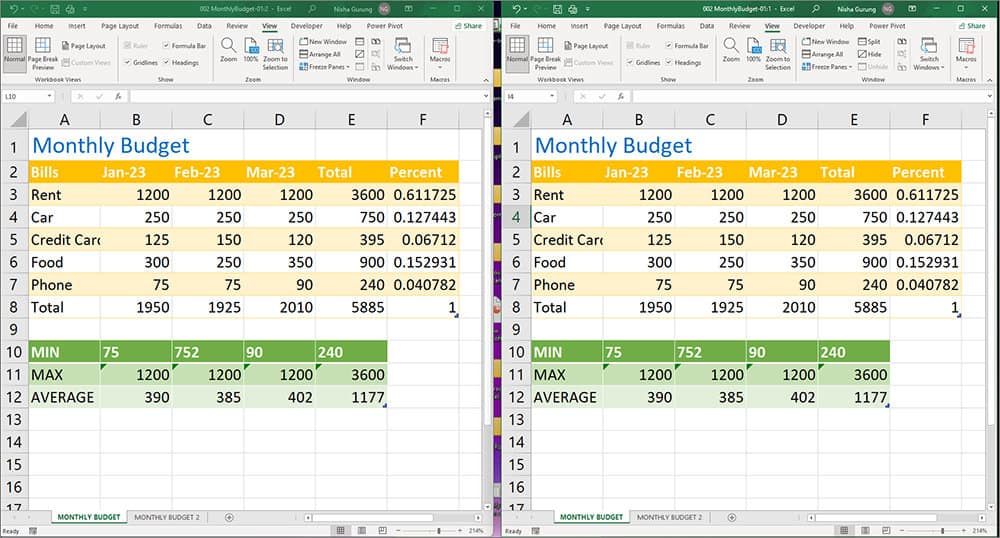
- Vertical: Vertical Window View
- Cascade: Overlapping Window View
Step 3: Turn on Synchronous Scrolling
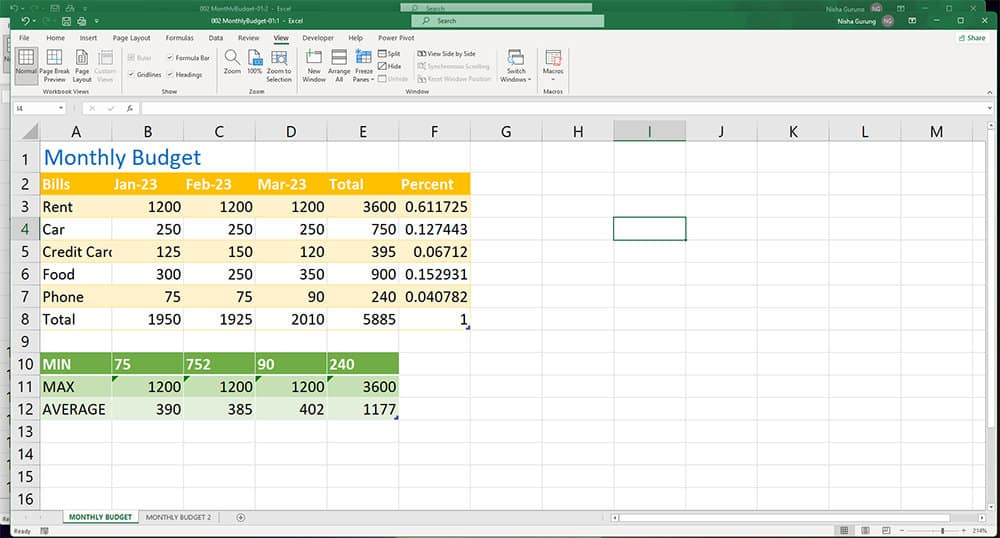
The synchronous Scrolling feature of the View Tab will allow you to scroll the two sheets together while viewing them side by side. You can use this if you have to go through row-by-row to compare the data.
By default, this option is greyed out. To turn it on, follow the given steps.
- On your worksheet, click on View tab.
- From the Window menu, click on View Side by Side. It will automatically enable Synchronous Scrolling.

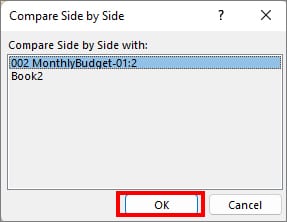
- If multiple workbooks are open, you might be prompted to Pick a Worksheet or Workbook. On Compare Side by Side pop-up, choose an Option and click OK.
Related Questions
Why is my View Side by Side Option Greyed Out?
You cannot use the View Side by Side feature unless you have a new window or existing workbook open. There must be at least one additional Excel window to see windows side by side and compare them. Check out step 1 for creating a new window if you don’t have one.