By default, Outlook doesn’t have a built-in option to change the organizer of a meeting. That said, there’s still a way to work around such an issue.
First, recreate a new meeting invite with the previous meeting details. Then, simply send it from the new meeting owner’s account. Afterward, cancel the initial meeting to avoid confusion about the new organizer.
In case, you want someone else to take charge of your calendar events, you can add him/her as a co-host.
Step 1: Set Up a New Meeting Invite with a Different Organizer
Here, we (as an attendee) basically copy the details of the meeting invite for which you want to change the organizer. Then, use it to create a new meeting invite with you as the new organizer.
Alternatively, you can send these details to the person who is supposed to be the new organizer.
Now, to send the meeting invite with you as the new meeting host, follow the steps below.
On Outlook App
- Open the Outlook app.
- Select the calendar tab from the sidebar.
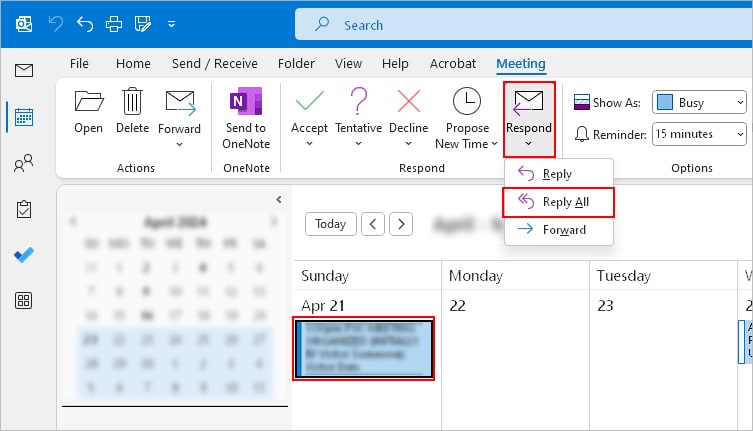
- Then, select the meeting invite that you want to host.
- Under the Meeting tab, select Response > Reply All. Or, simply press Ctrl + Shift + R.
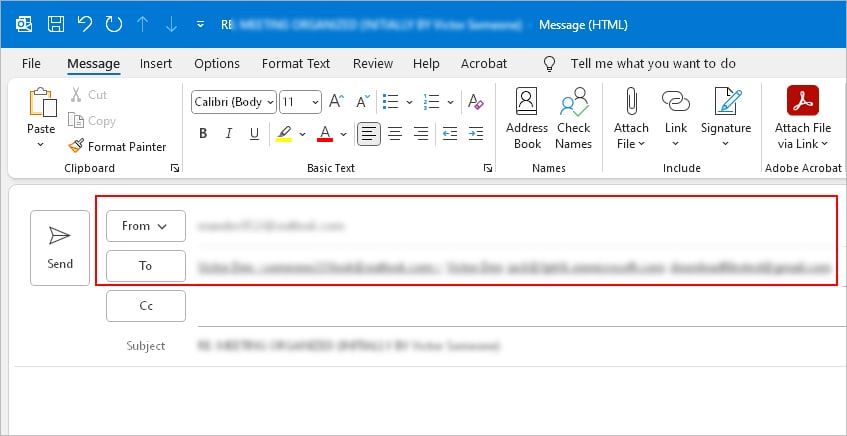
- Copy the meeting details like attendees in the To field and other information to host new meetings with similar details. Store it in a note as you will need it in the steps below.
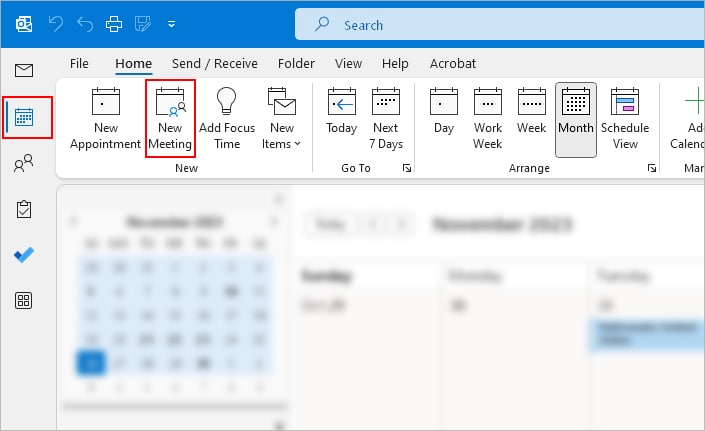
- Select the Inbox tab and click New Meeting to create a new meeting invite.
- Paste the previously copied details to it and make changes if necessary.
- Click Send when done.
On Outlook Web
- Open a browser and sign in to your Outlook account.
- Then, select the calendar tab from the sidebar.
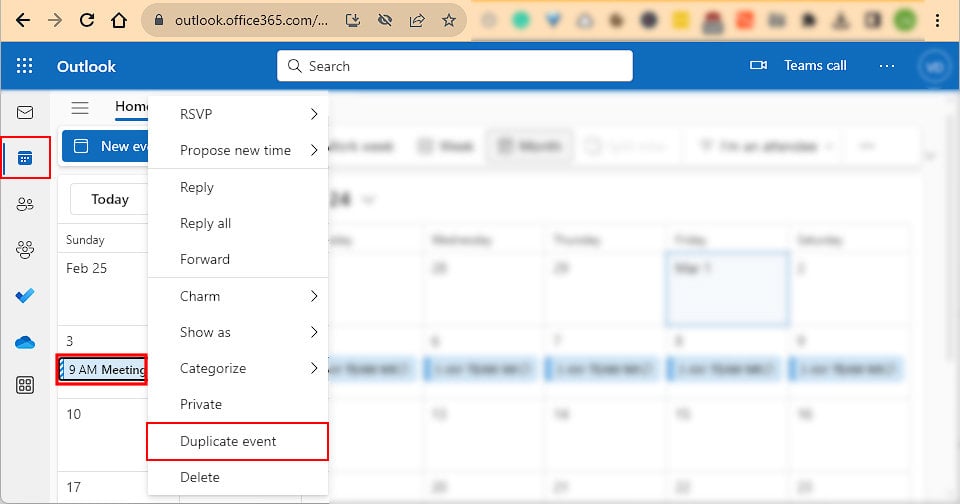
- In the right pane, look for the calendar event that you want to host.
- To quickly find meetings hosted by others, use the Filter option in the top bar above the calendar.
- Now, right-click on the event and select the Duplicate event option.
- In the next window, make the preferred changes to the initial meeting event. Remove yourself from the To field.
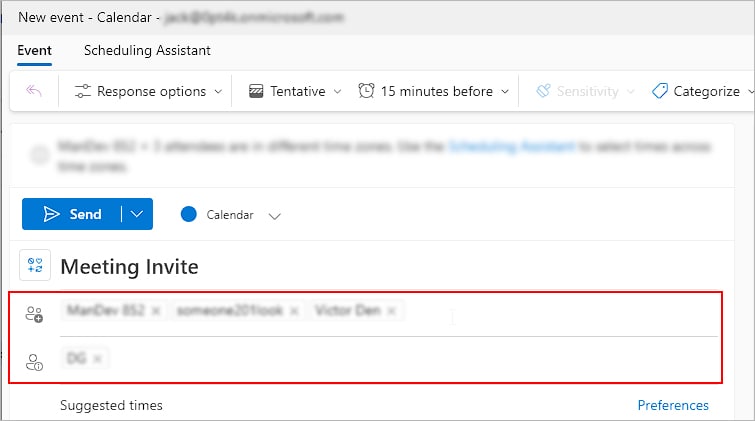
- Click Send to send the meeting invite with you as the organizer.
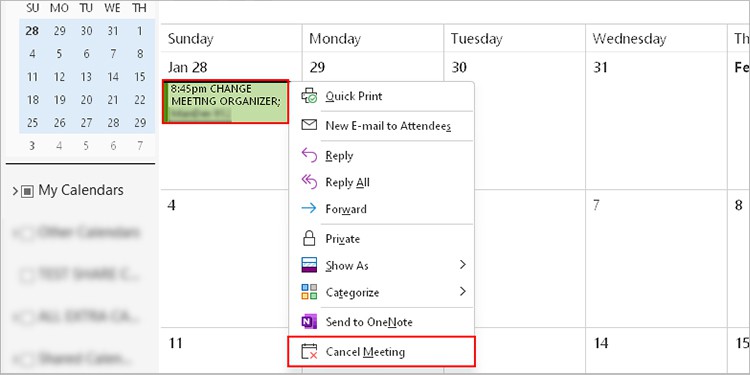
Step 2: Cancel Meeting for Everyone
If you are the organizer, cancel the meeting for everyone. Otherwise, request the original owner to do it.
To cancel a meeting, open the event from the calendar and simply click Cancel meeting.
How to Add a Co-Host to a Meeting?
While you cannot change the organizer (even as the meeting owner), you can add a co-host to the meeting by providing the delegate access.
That way, he/she can view or edit all the calendar events, create or cancel events, and even respond to meeting events on your behalf.
However, note that the recipients will know when the meeting invite is sent by a delegate on the owner’s behalf.
You can provide the delegate access to your calendar as follows.
On Outlook Web
- Open a browser and log in to your Outlook web account.
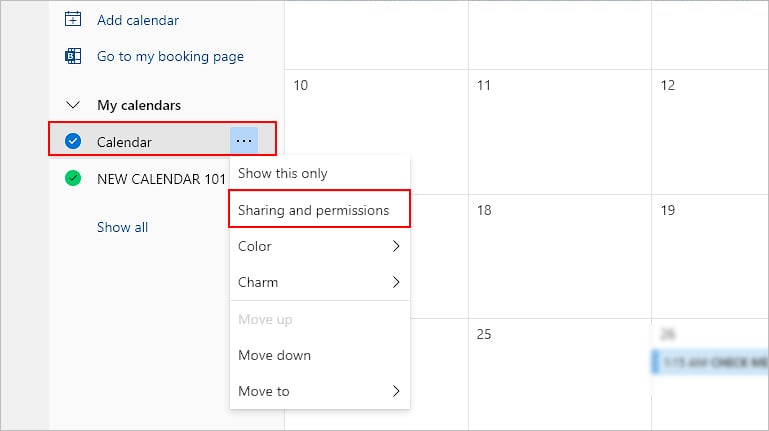
- Select the calendar tab from the sidebar.
- Expand the My calendars section. Then, right-click on the calendar you want to share and select the “Sharing and permissions” option.
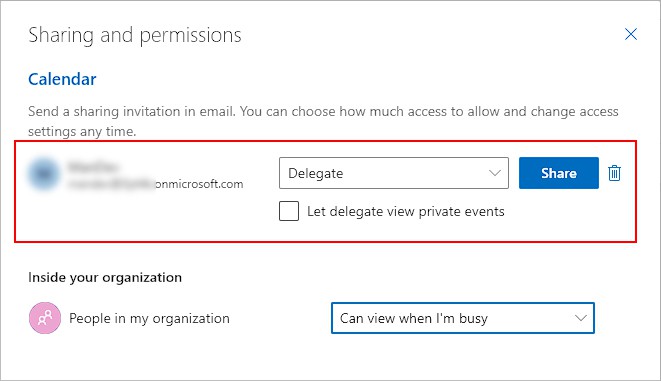
- Enter the email address of the person to whom you want to provide delegate access.
- Now, select the Delegate option next to the email and click Share.
- Alternatively, choose the Edit option if you want others to create meeting events on your calendar. However, unlike a delegate, they will be the owner of such events.
On Outlook Desktop
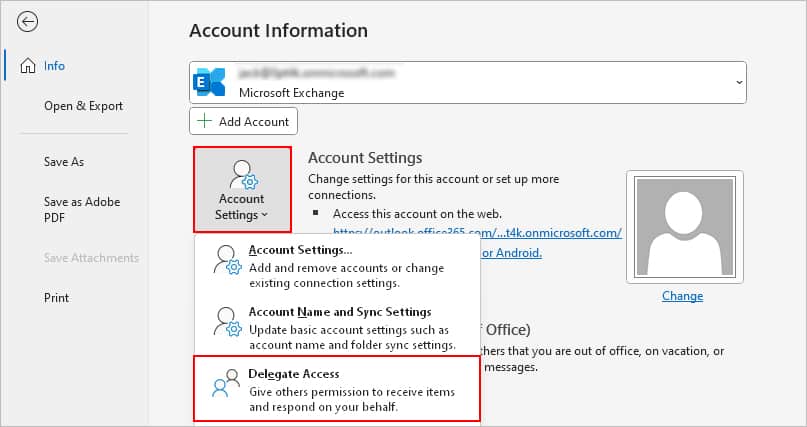
- Click the File tab.
- In the right pane, select Account Settings > Delegate Access.
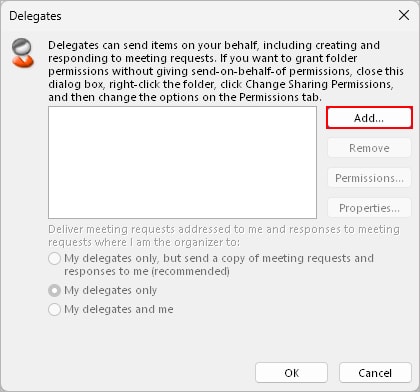
- On the next window, click Add.
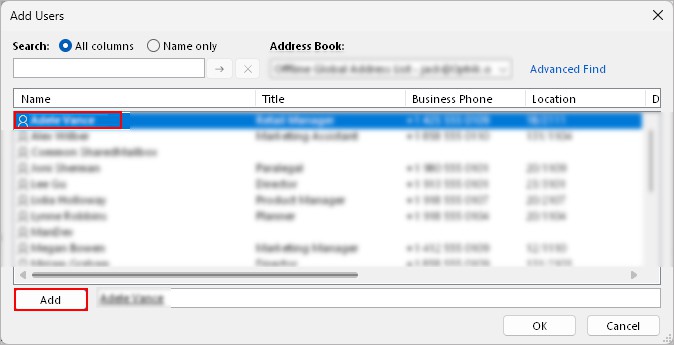
- Then, double-click to add the person from your Global Address List and click OK.
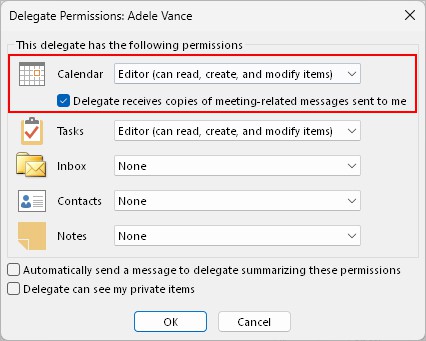
- On the Delegate Permissions window, make sure Calendar permission is set to Editor. Also, enable the Delegate receives copies of meeting-related messages sent to me checkbox.
- Click OK.
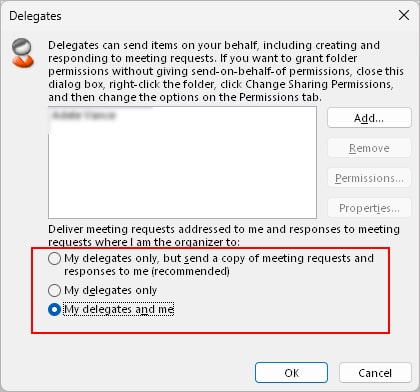
- On the Delegates window, select who (delegate, you, or both) receives the meeting requests and responses sent to you.
- Click OK when done.