Whenever you draw a shape on Google Slides, it comes out as an opaque object that blocks any content placed behind. To prevent that, you can change the opacity of the shapes in Google Slides.
Besides, if your slide consists of multiple elements, adding a semi-transparent shape can make it visually appealing.
Go through the article to learn how to make a shape completely transparent or customize the opacity.
Make Shapes Completely Transparent
If you want the shape to appear as an outline of a text, image, or another element on slides, it’s better to make it completely transparent.
Follow the steps to know how.
- Go to the Google Slides.
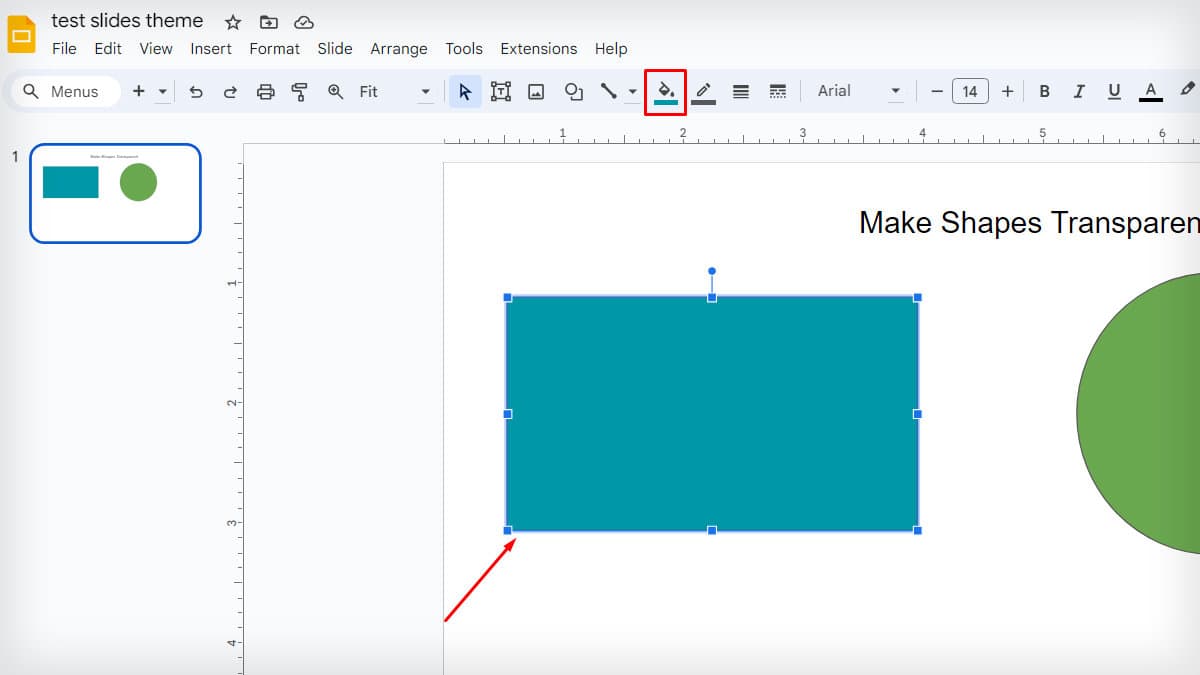
- Select the shape that you want to make transparent.
- Click on Fill color symbol on the toolbar.
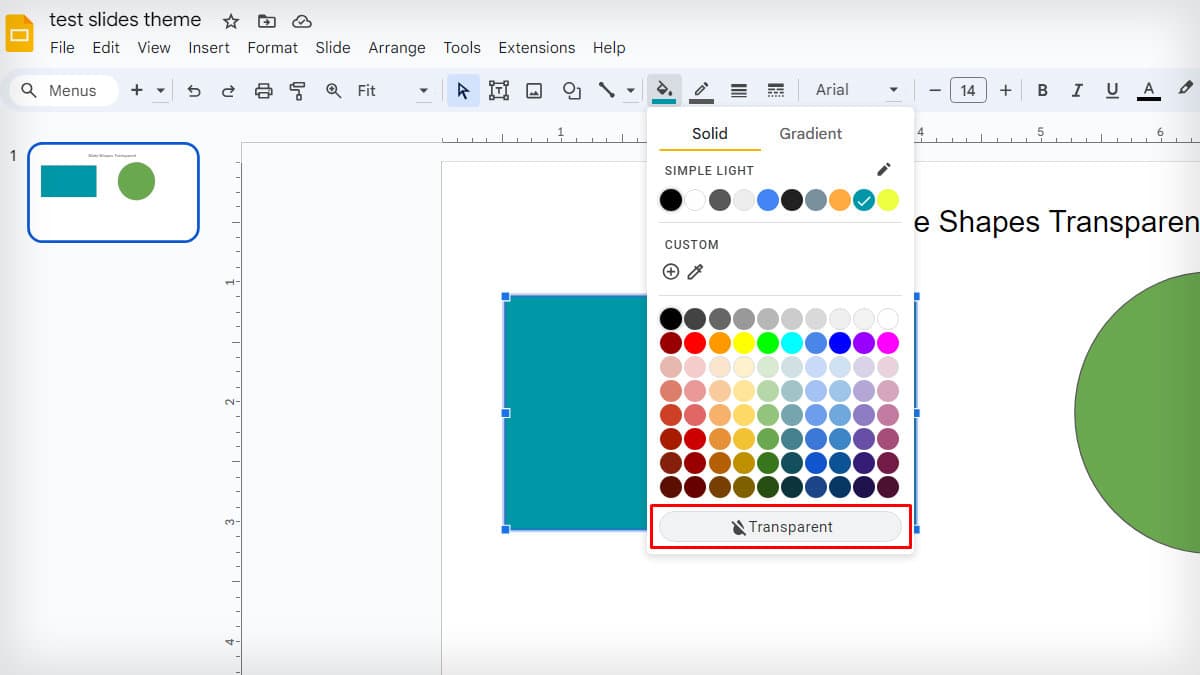
- Tap on the Transparent option at the bottom.
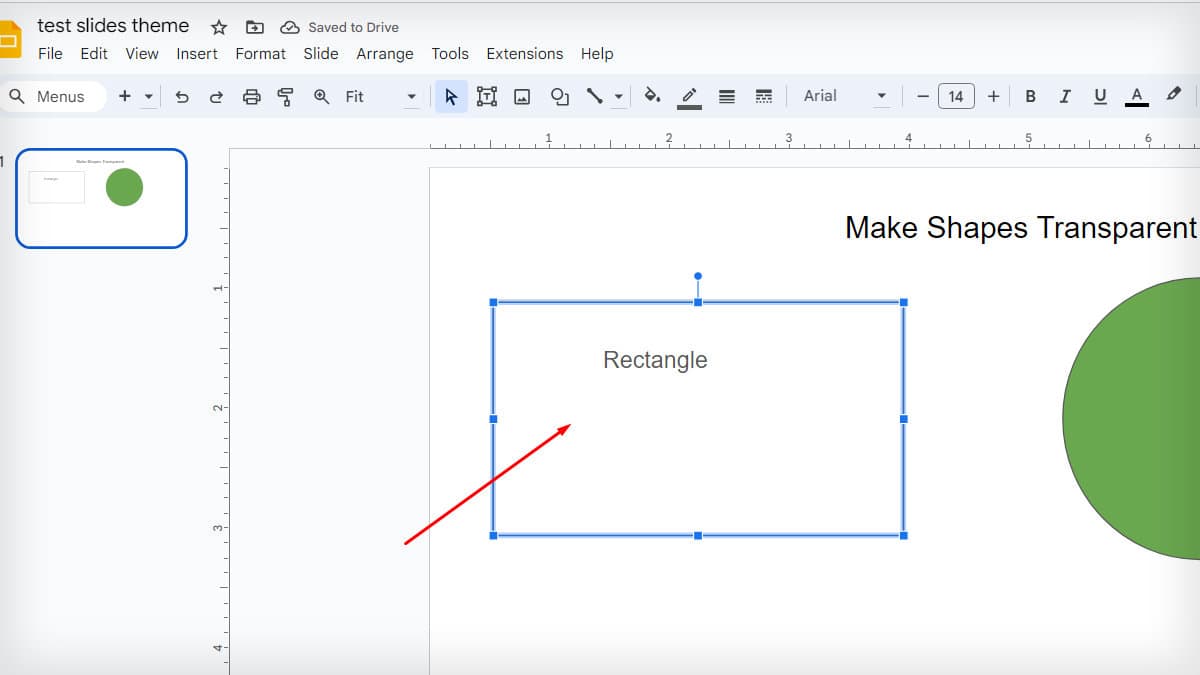
- The object will be clearly transparent.
Customize the Opacity of Shape
Sometimes, we use colorful shapes to give a background effect to text and images. In that case, you can customize the opacity intensity based on your preference.
- Open Google Slides and go to the slide containing shapes.
- Click to select the Shape that you want to edit.
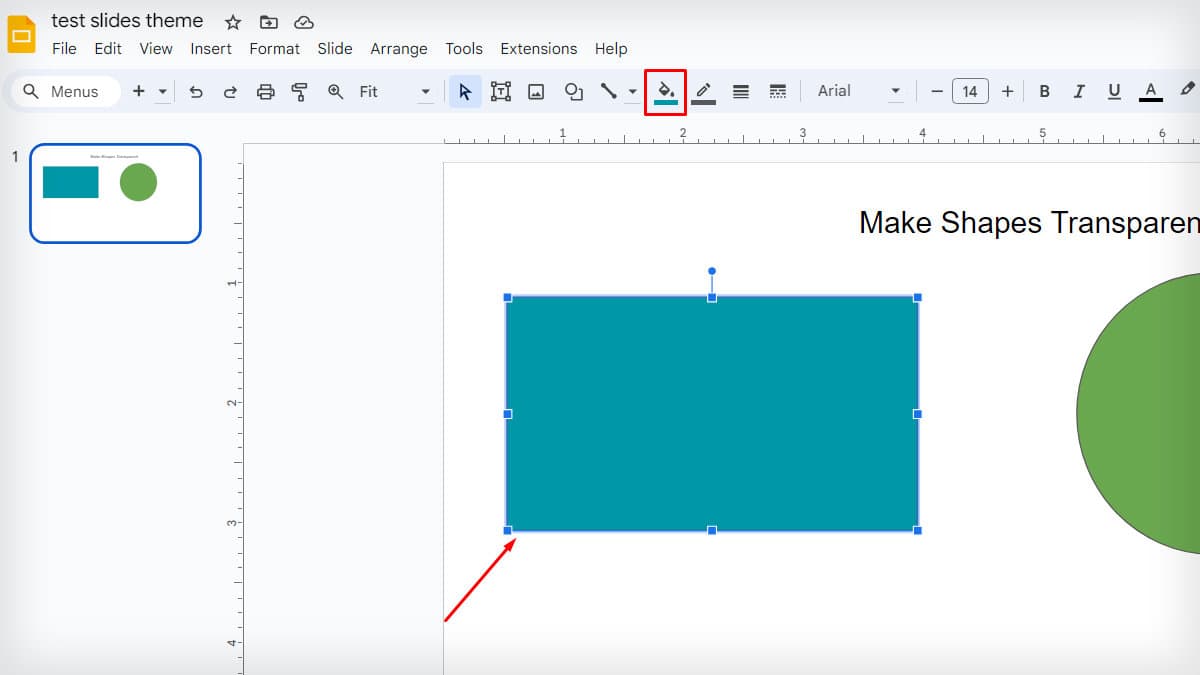
- Hover over to the toolbar and tap on the Fill color icon.
- Select Custom.
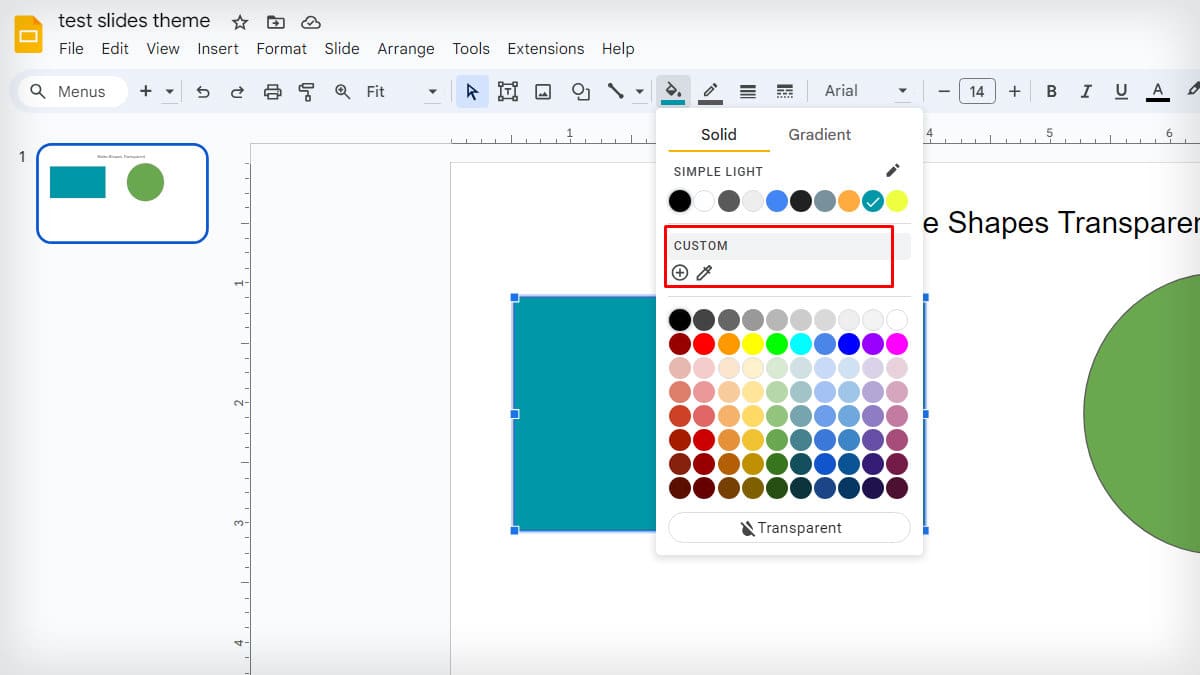
- Click and shift the transparency slider to adjust the opacity. You can visualize opacity on the sample and set it accordingly.
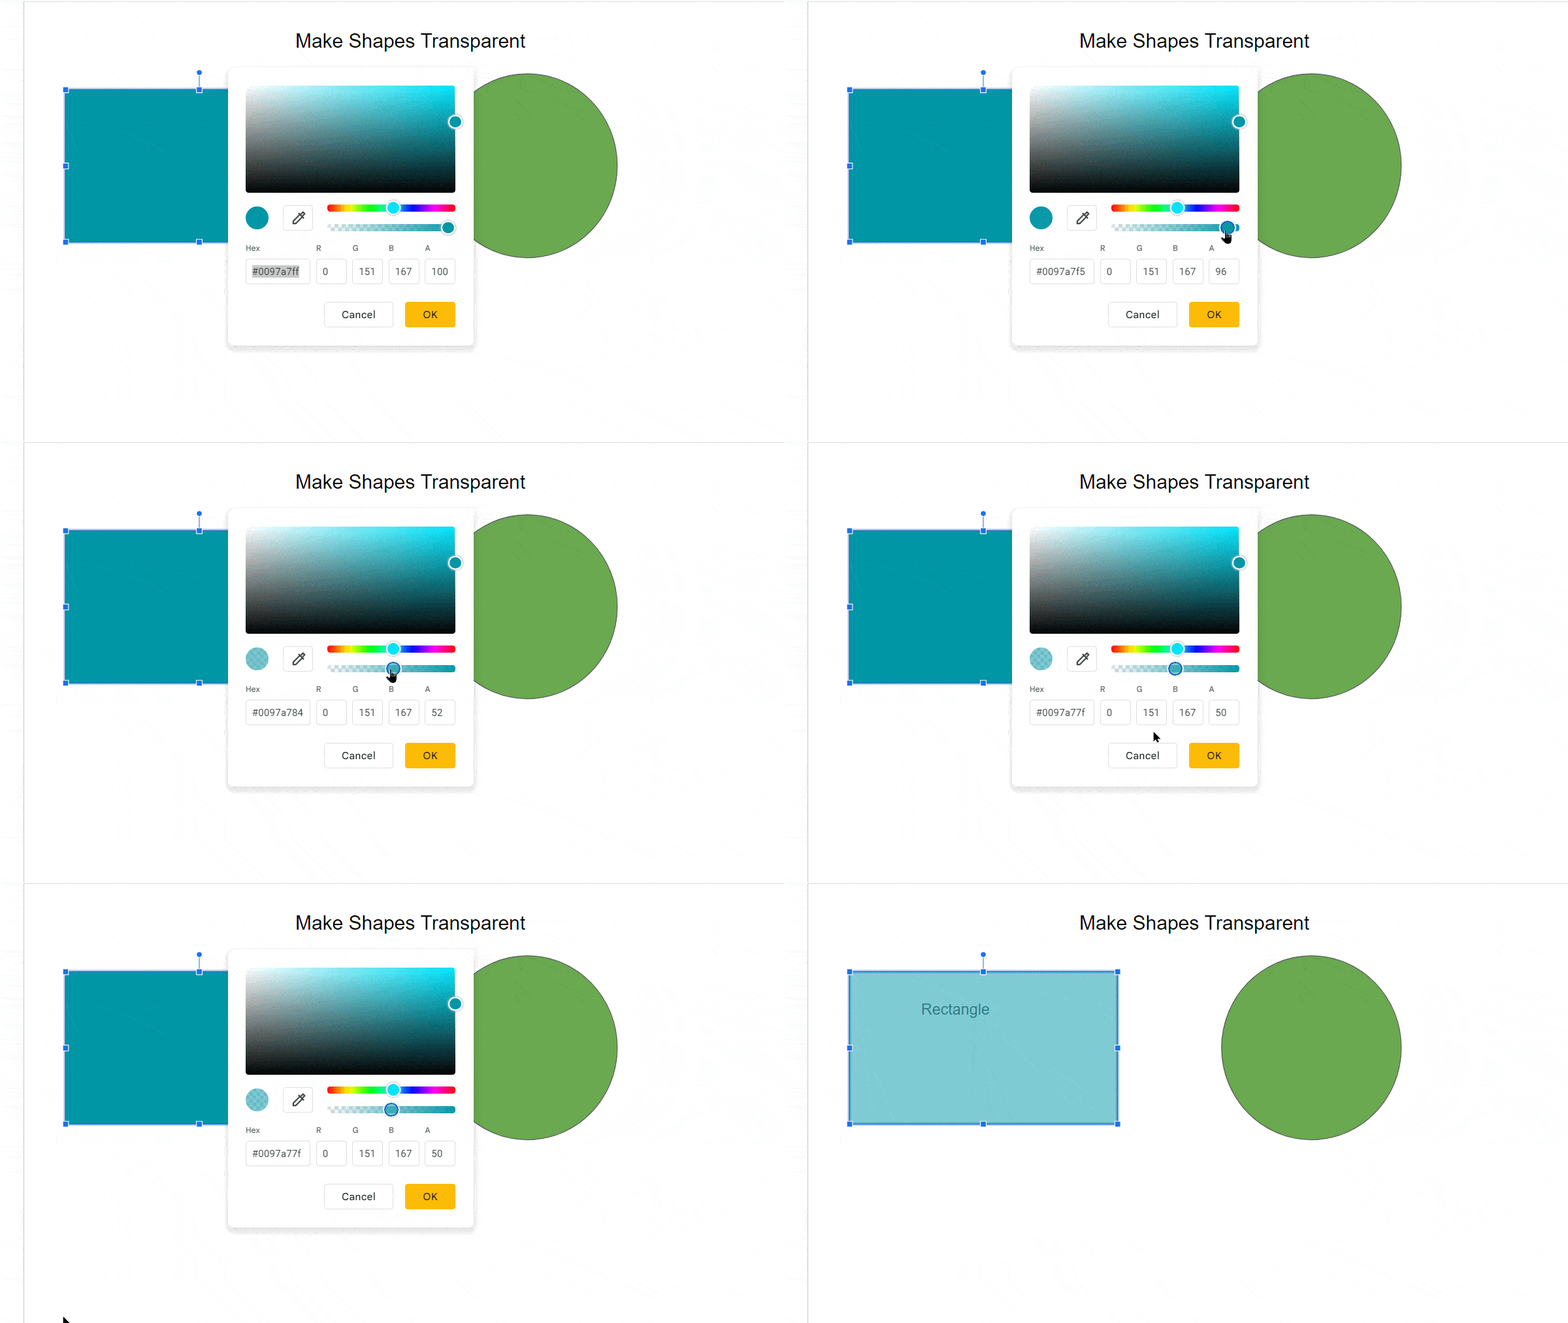
- Choose OK.
How to Change Opacity of Shape in Google Slides App?
You can also change the shape’s opacity in the Google Slides mobile app. However, it has no option to customize the opacity but just to make it transparent.
- Launch the Google Slides app.
- Double-click on the preferred slide to enable editing.
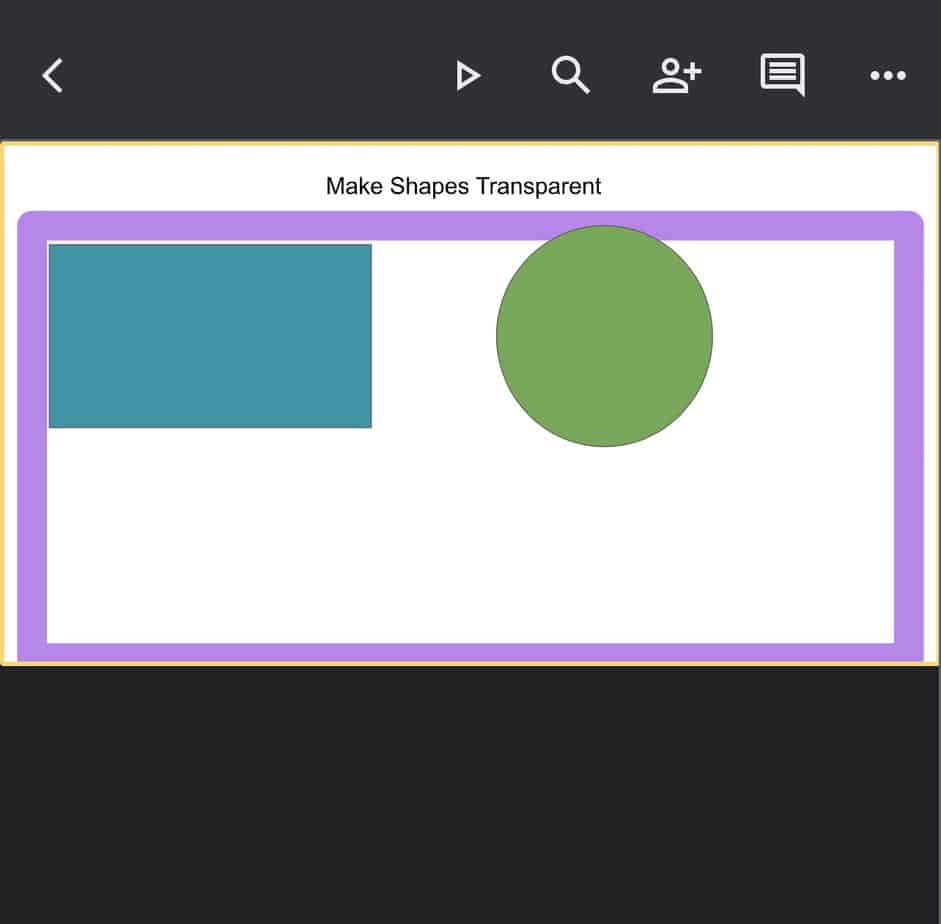
- Select the shape that you want to make transparent.
- Click on the Fill color icon at the bottom.
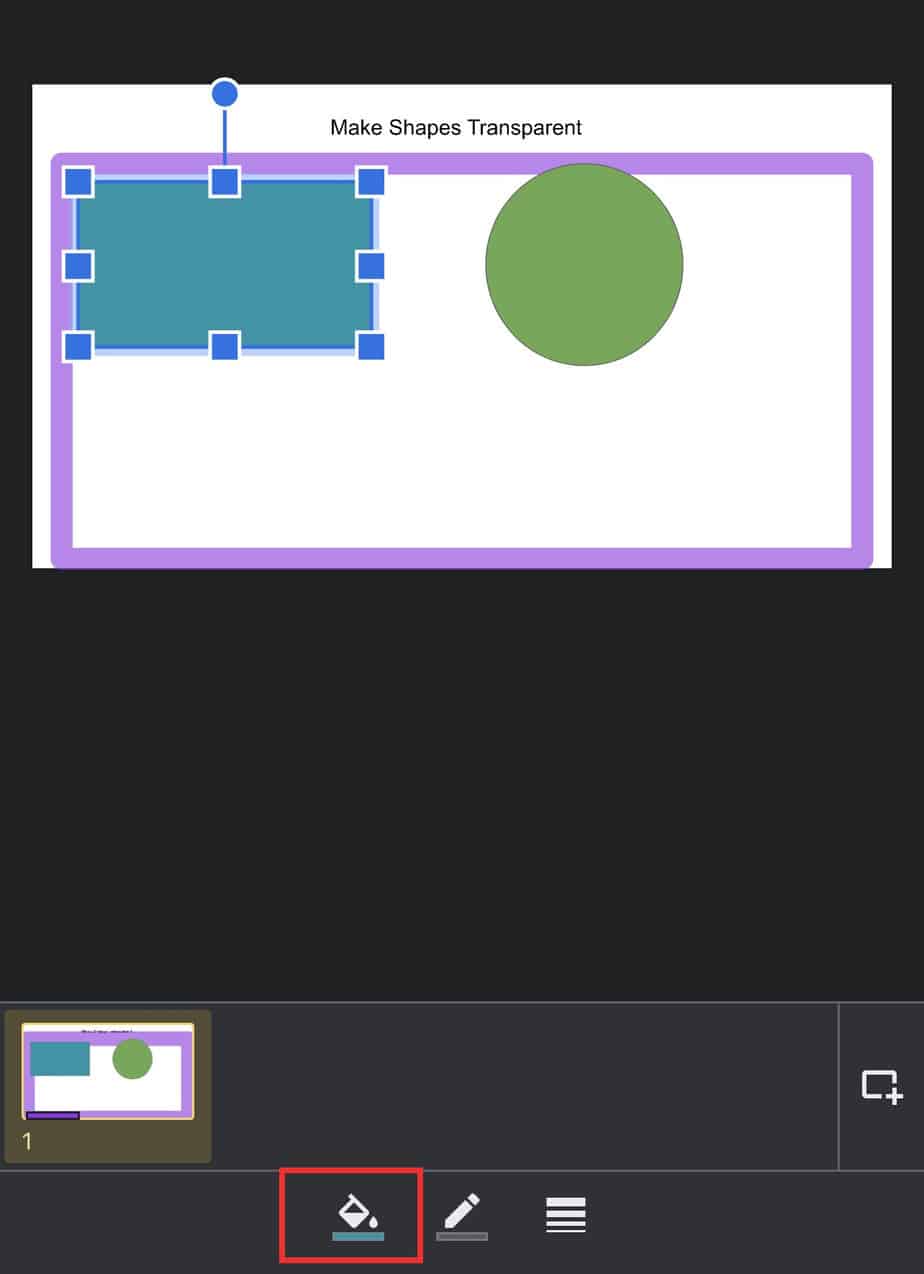
- Tap on the No color option. This option is available for both Solid and Gradient colors.
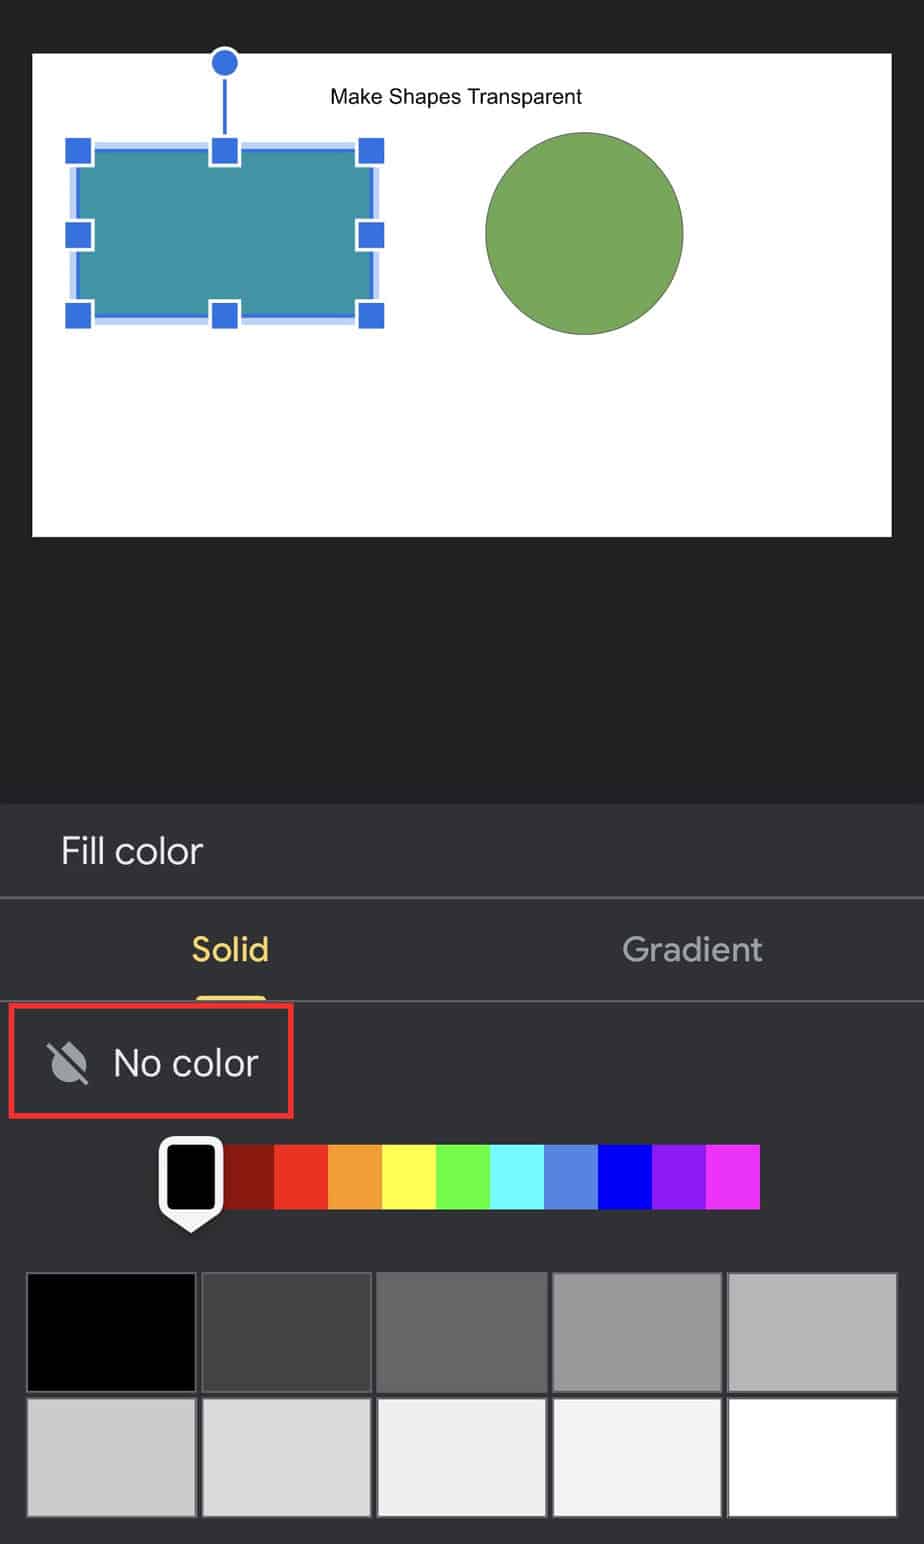
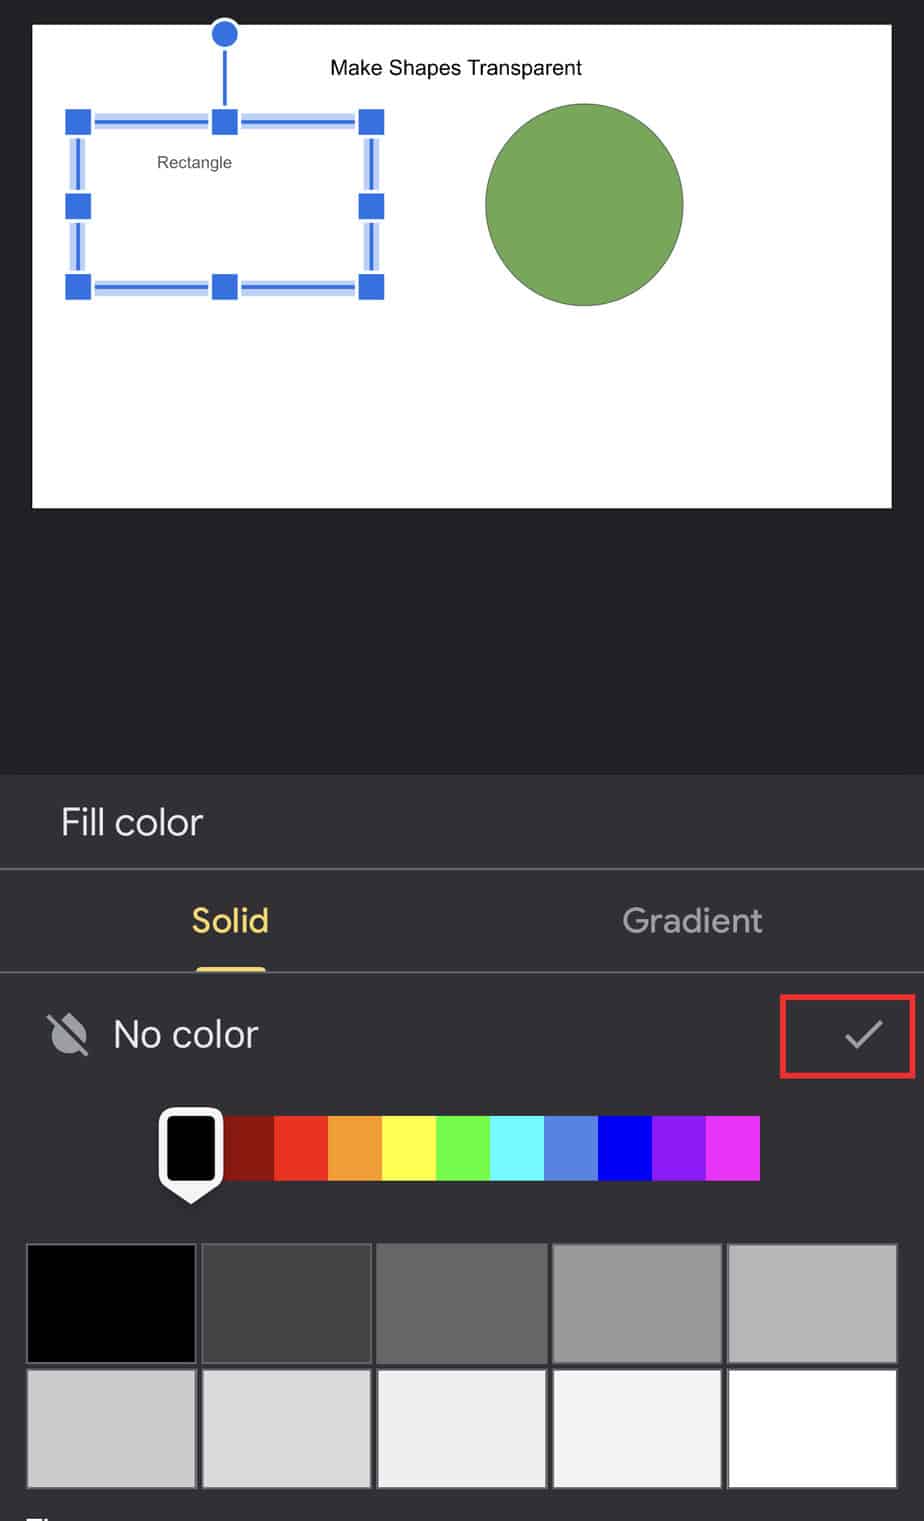
- Click on Tick sign to close the window.
- On Android, click on the Transparent option.
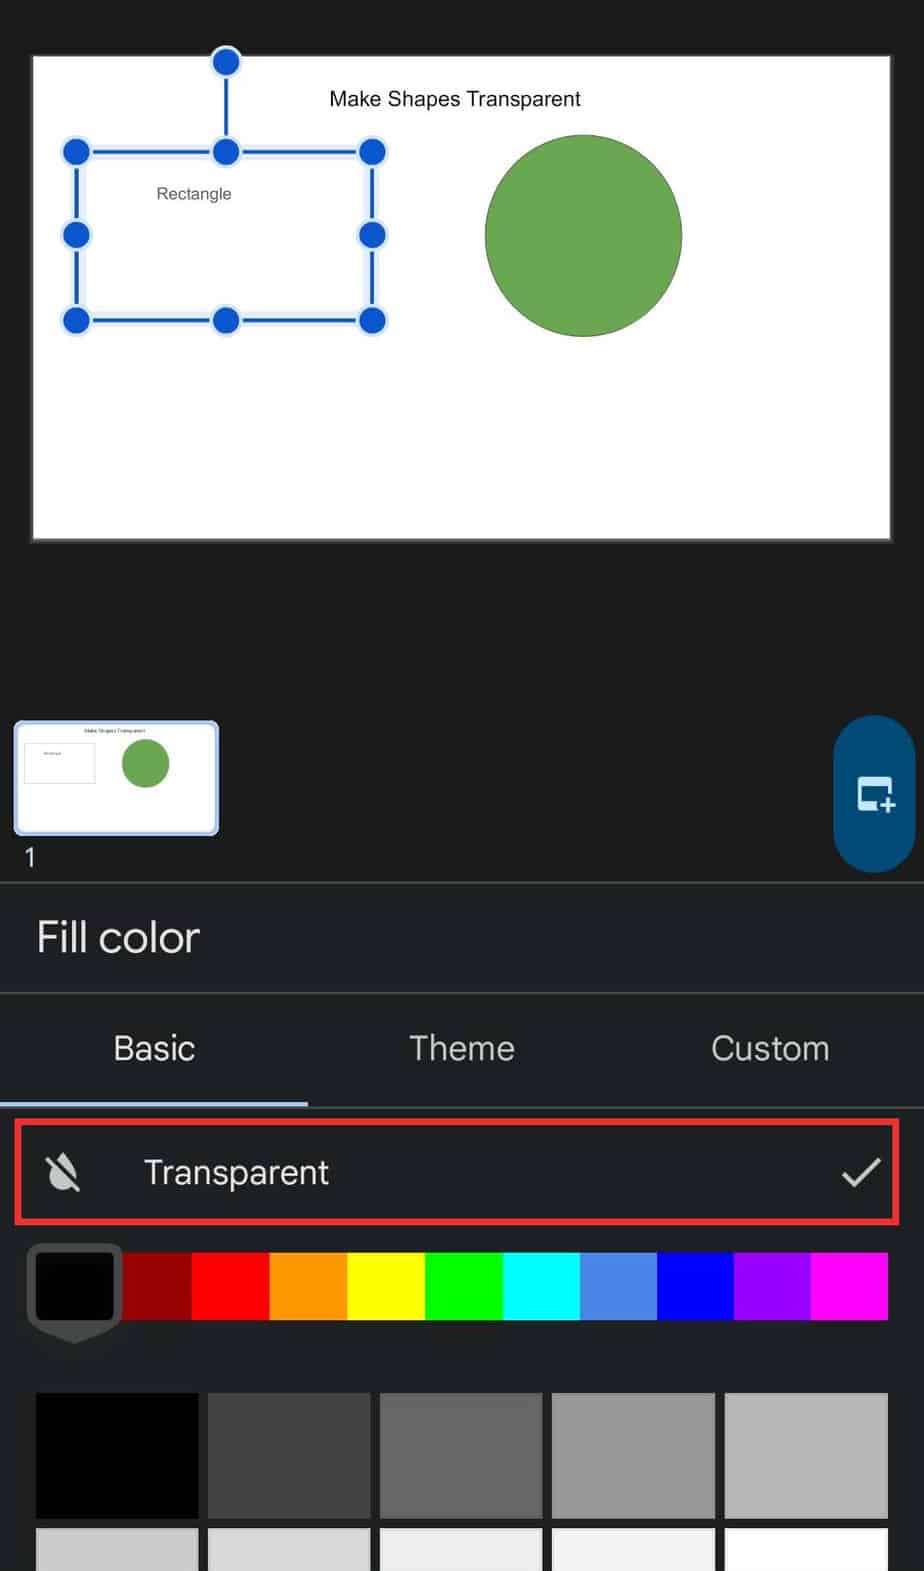
- The shape will become transparent. Tap on Tick sign.