Your document has a power to leave quiet an impression on your reader. A clever word, clear fonts and format can go pale if you don’t have strong visuals. Simply by selecting a proper background in Google Docs, you can convey your message with clarity and impact.
In this article, we’ll show you on how can use backgrounds in google docs to advantage and transform the overall feel of the content.
Inserting Background in Google Docs
Using Watermark Feature
Watermark is a relatively new feature introduced in Google Docs. Comparing all the types of backgrounds based on functionality, Watermark stands out the most. What makes it useful is that all the pages of your document will have the same watermark, which in turn, saves you time.
Being a background element, the watermark on your document will not interrupt your writing or when you add any new format. You can insert two types of watermarks—Image and Text. But for a typical background, we’ll only be focusing on the image form of a watermark.
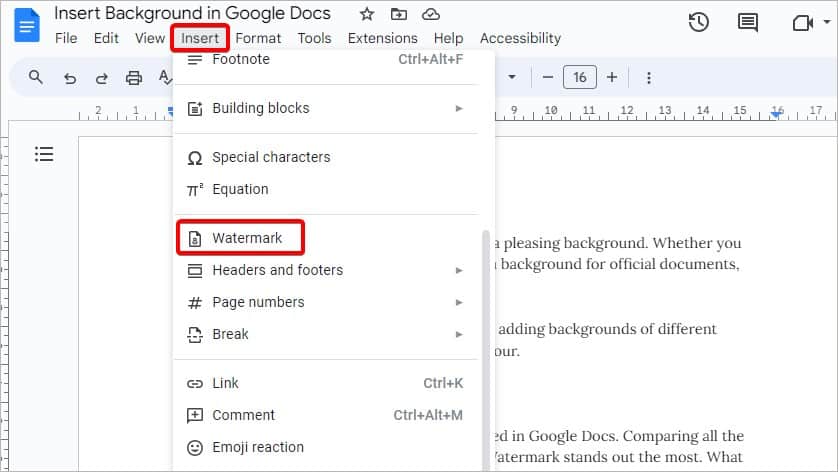
- On your document, go to the Insert tab.
- From the drop-down menu, click on Watermark.
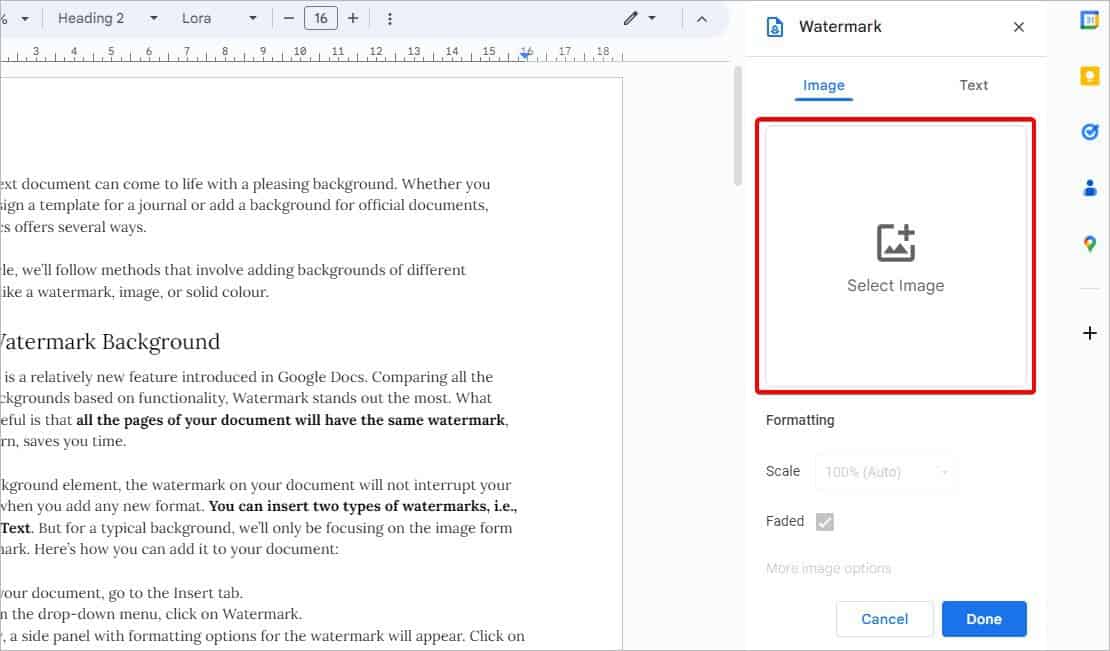
- Now, a side panel with formatting options for the watermark will appear. Click on Select Image from the Image tab.
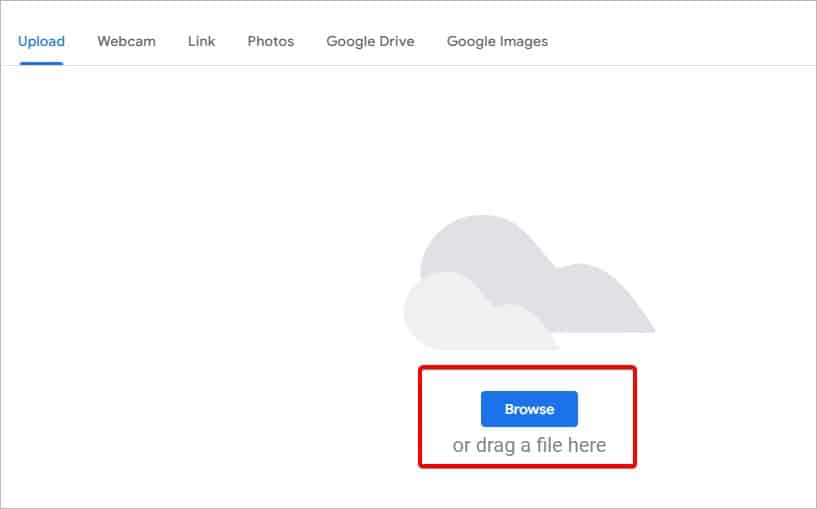
- Click on Browse in the new prompt. Then, select your image file.
- Once the image is uploaded, it’ll appear as a background on your Doc page. By default, the selected image has a low opacity.
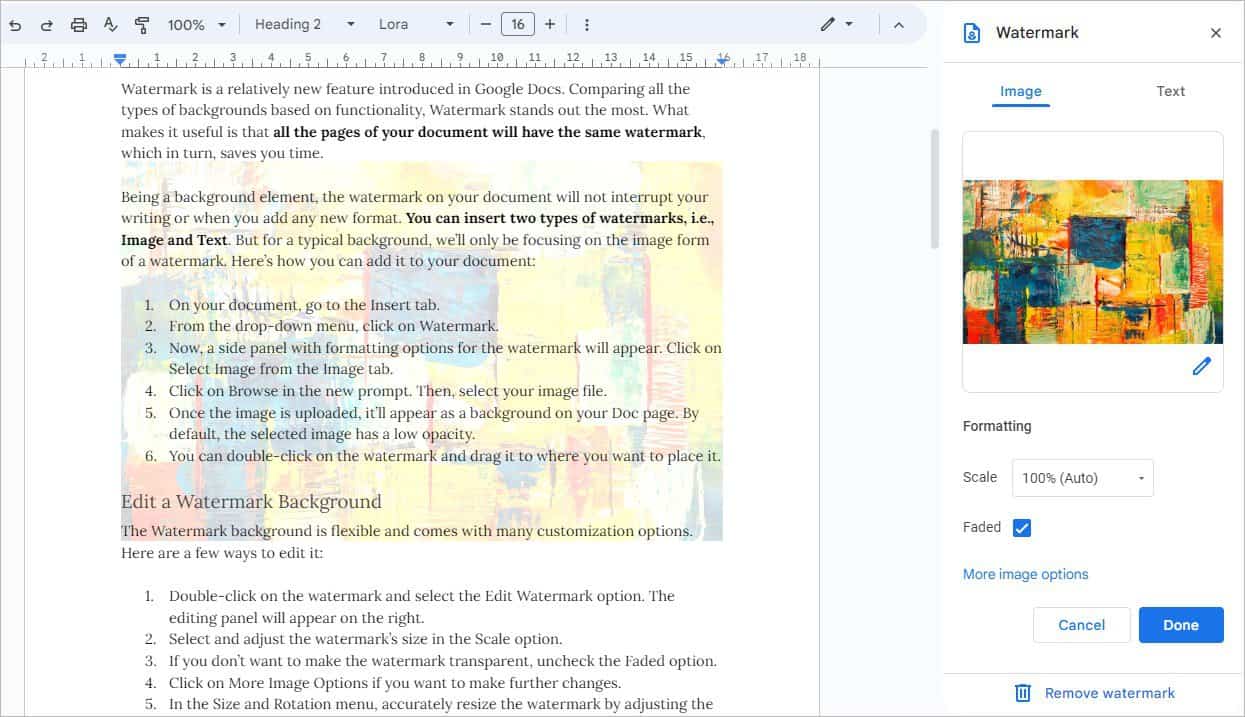
- You can double-click on the watermark and drag it to where you want to place it.
Add an Image as Background
If you only want a background for a single page on your document, you can import an image. When you normally insert an image as an object, it takes up space on your page. But, to use it as a background, we can reposition the image to make it work similarly to a watermark. This method is suitable if the content on each page of your document is unique.
- Click on the Insert tab and select Image.
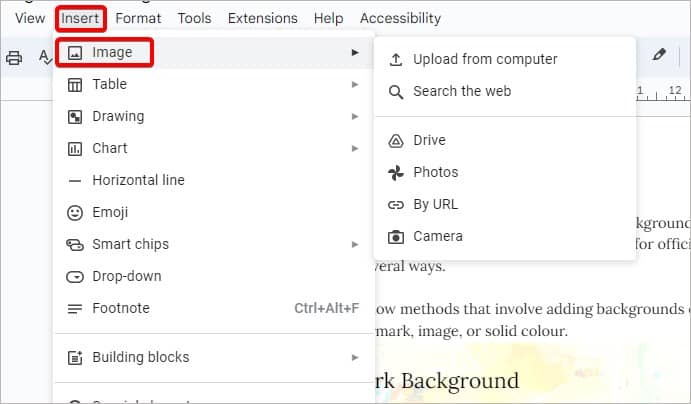
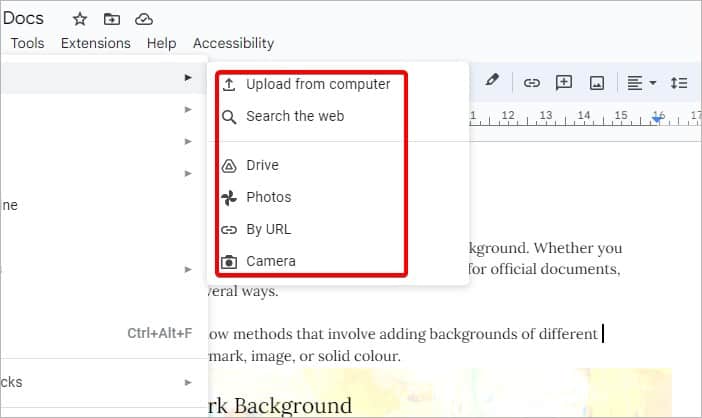
- Select a source, i.e., Upload from computer, web, URL, camera, or more.
- Once you have the image on your page, right-click on it and go to Image Options. This is where you can find the editing options.
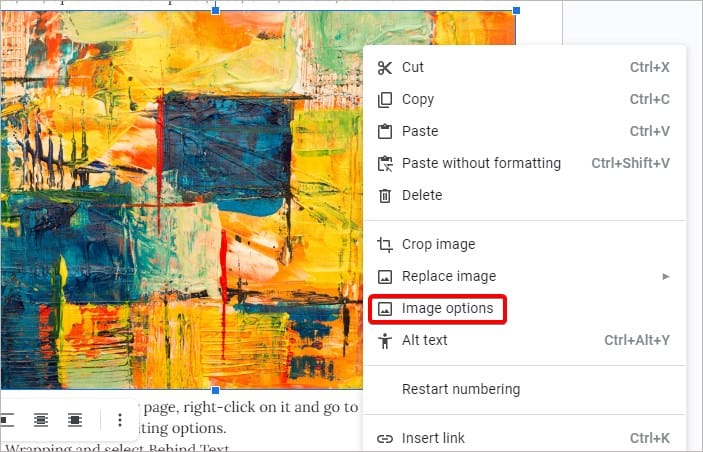
- Click on Text Wrapping and select Behind Text.
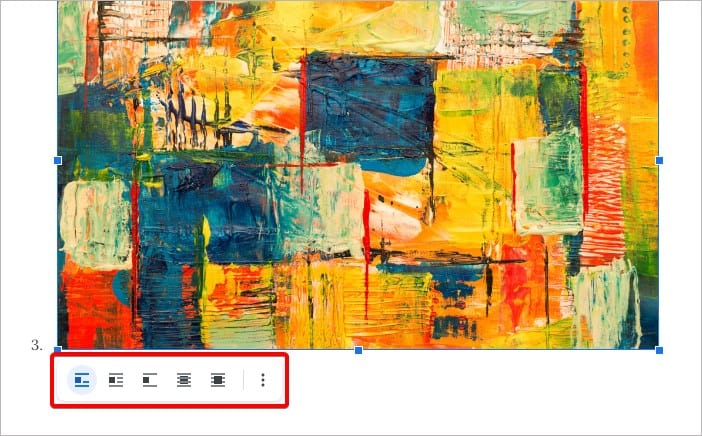
- Now, your image acts as a background.
- To resize the image, click and drag the corners.

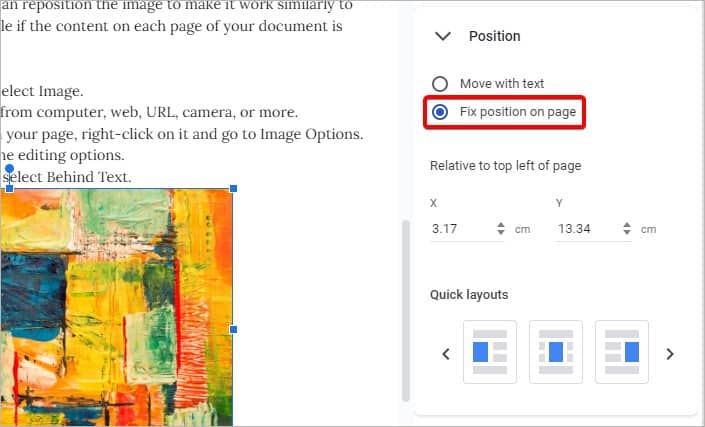
- Go to the Positions menu and check the box for Fix position on page.
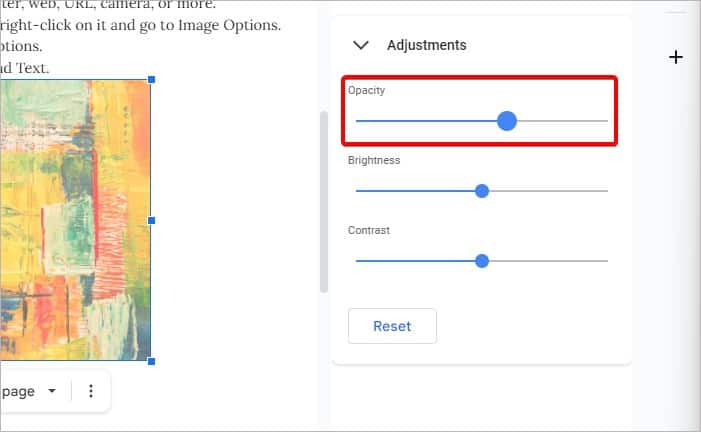
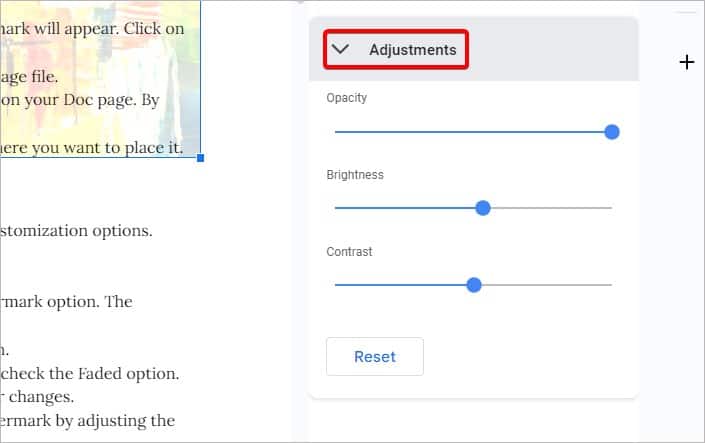
- To make the image have a faded filter like a watermark, go to Adjustments and slide the button to adjust Opacity.
You can also repeat the process if you want to add multiple images for your background. If you want a full-page background, you can click and drag the corners of the image to the edges of the page.
Add a Solid Color Background
If you don’t want to add any elements to your document and want a plain background, you can change the page color. Doing so sets the same color background for all the pages on your document.
- Click on File and select Page Setup at the bottom of the menu.
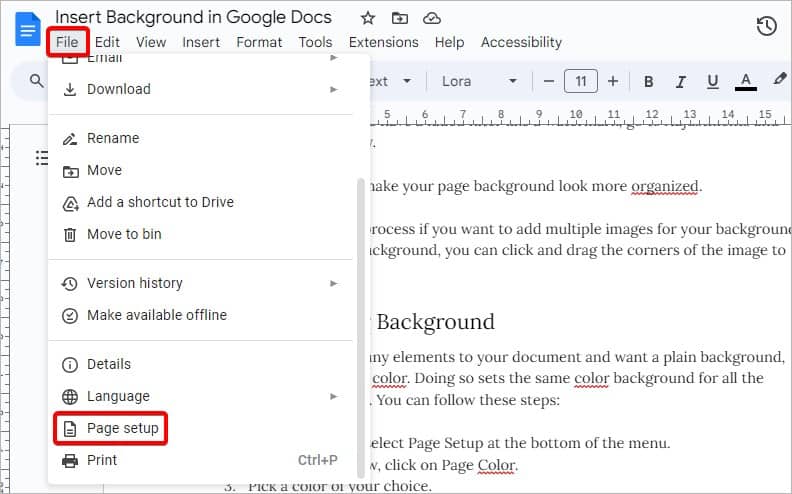
- Now, click on Page Color and pick a color of your choice.
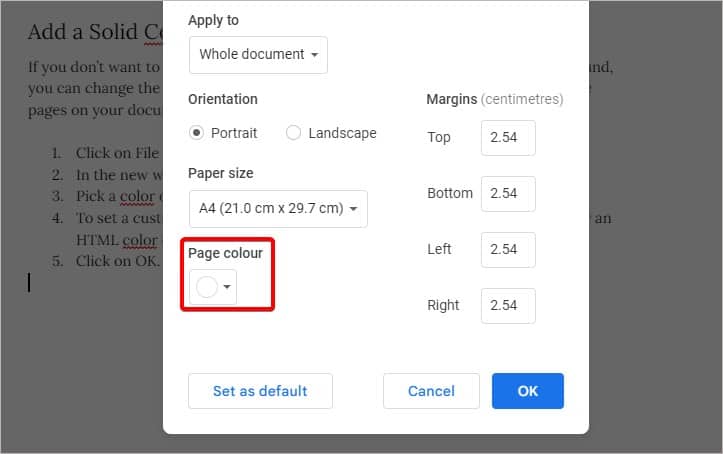
- To set a custom color, click on the (+) icon below Custom Color. Select a color from the swatch or enter the Hex/RGB value manually.
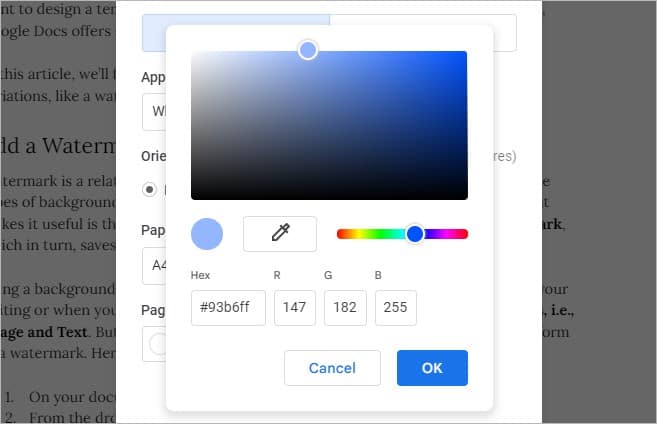
- Click on OK to apply changes.
- Your pages are now a different color.

Customizing a Watermark Background
The Watermark background is flexible and comes with many customization options. Here’s how you can edit it:
Double-click on the watermark and select the Edit Watermark option. The editing panel will appear on the right.
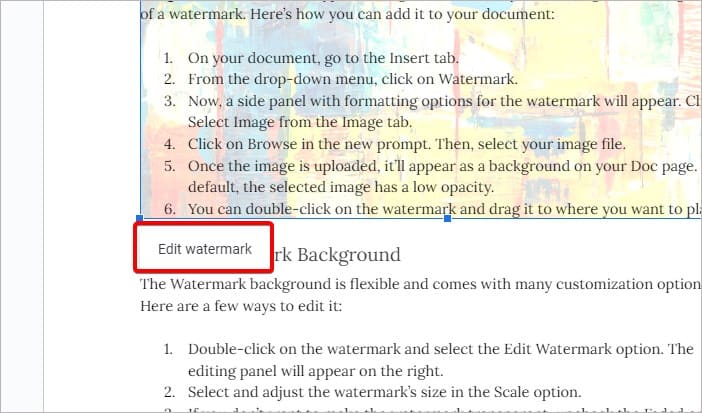
You can select following option to edit the watermark:
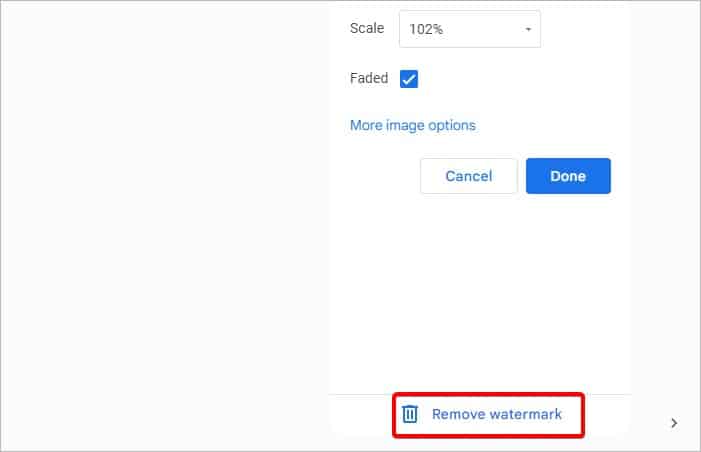
- Scale: Select and adjust the watermark’s size this option.
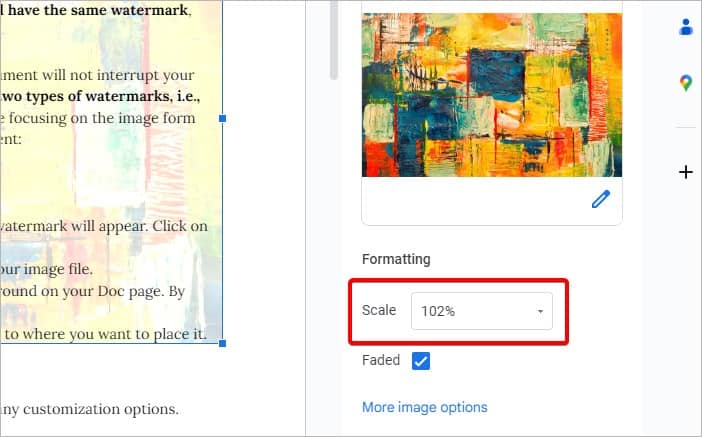
- Fade: If you don’t want to make the watermark transparent, uncheck this option.
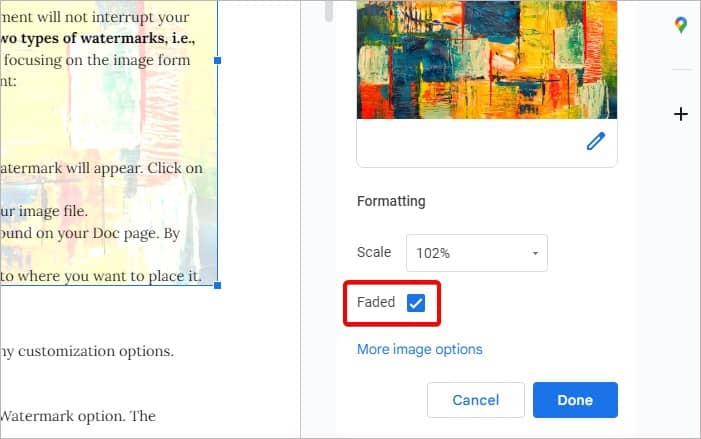
- Click on More Image Options if you want to make further changes.
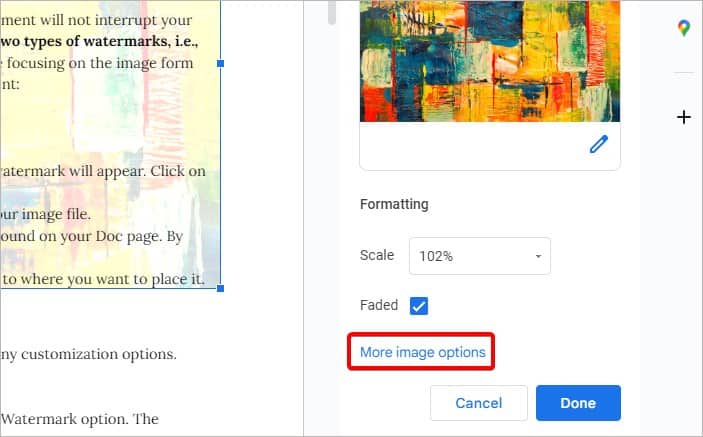
- Size and Rotation: Accurately resize the watermark by adjusting the measurements in the height and width fields.

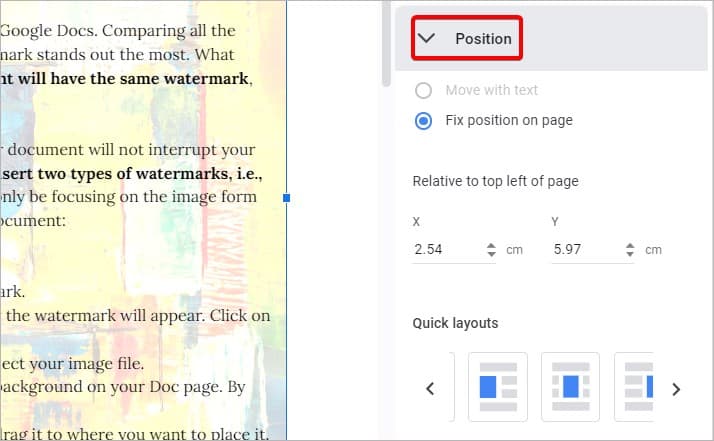
- Position: Click on the available layouts to reposition your watermark.
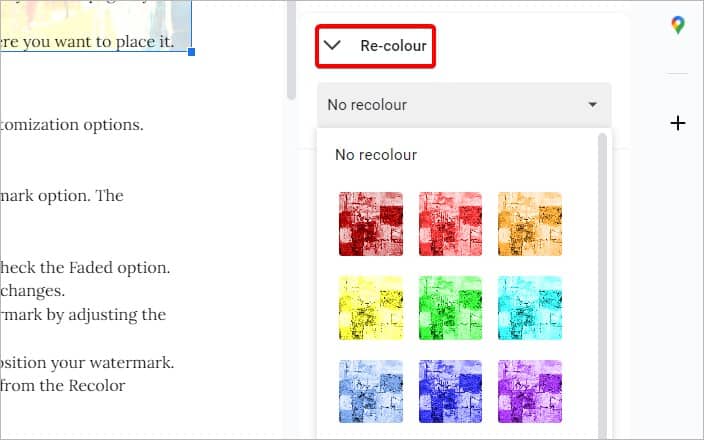
- Recolor: To change the color of your watermark, select any theme from the Recolor section.
- Adjustments: Click and drag the cursor to adjust the brightness and contrast of the watermark.
- Size and Rotation: Accurately resize the watermark by adjusting the measurements in the height and width fields.
Click on Done to confirm edits. To delete your watermark, click on Remove Watermark at the bottom of the sidebar.
