Wrapping text inside a Google Slides is as easy as it gets. That’s because it automatically wraps texts upon resizing the text box.
That said, resizing works perfectly for wrapping text around images with regular shapes like squares or rectangles. However, to wrap text around irregular images, you have to insert the line break manually.
So, let’s get going and see all the right ways you can wrap texts for your Google Slides presentation.
Using the Text Box
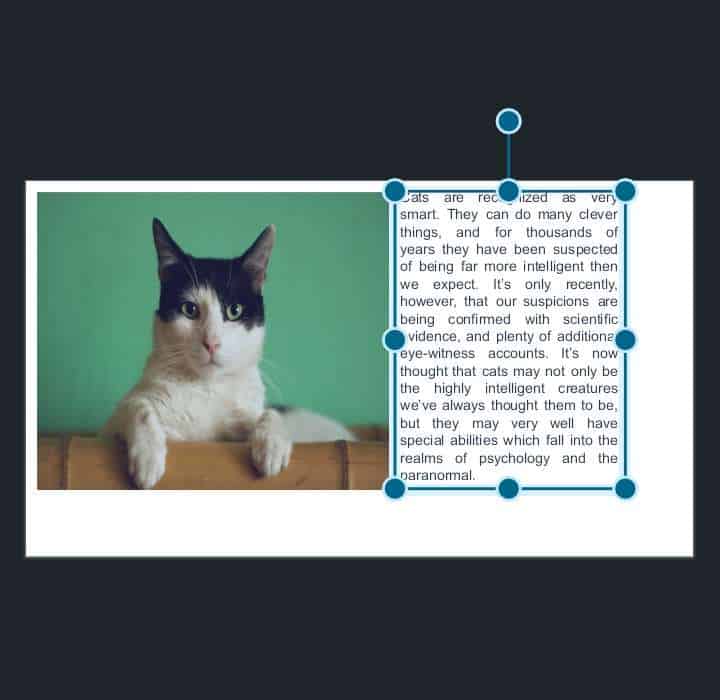
Using the text box is a great way to wrap text on Google Slides. If you are trying to wrap text around an image, this method works best if such images have uniform edges, like a rectangle or a square.
Follow the steps below to resize the text box on your slides.
- Open a new or existing Google Slides presentation.
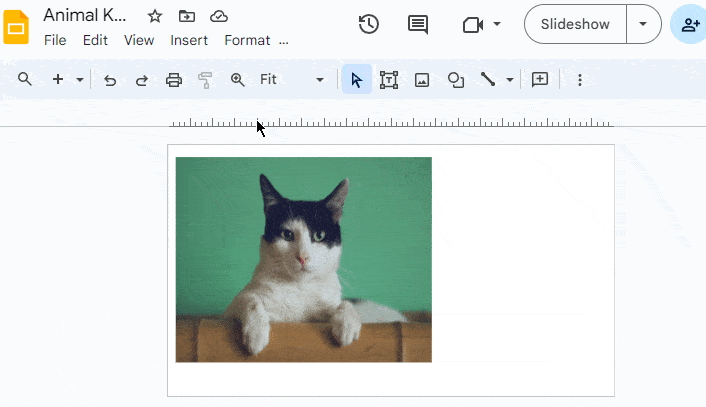
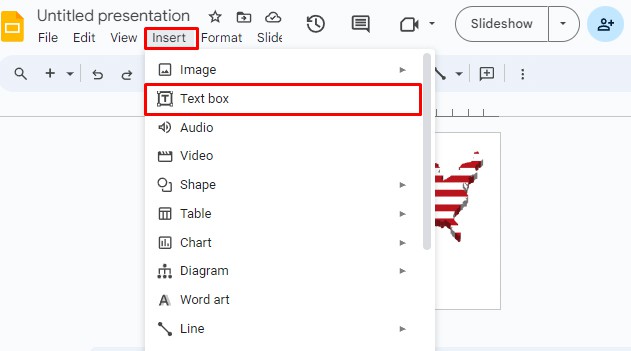
- If you already have the image, skip to the next step. Otherwise, upload the image into the slide using one of the options after selecting the Insert > Image option.

- After inserting the image, move it to the preferred place on the side. Select the image and drag the corner handles to resize it.
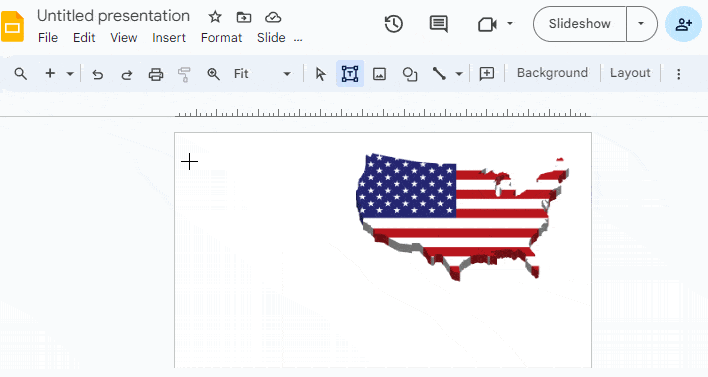
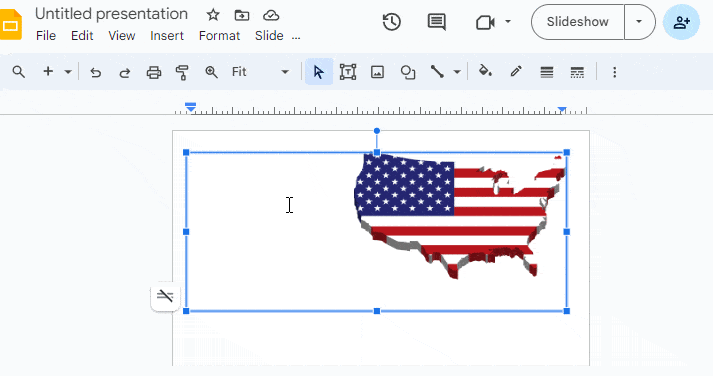
- Select Insert > Text Box from the menu bar. Hold and drag to insert the text box next to the image.
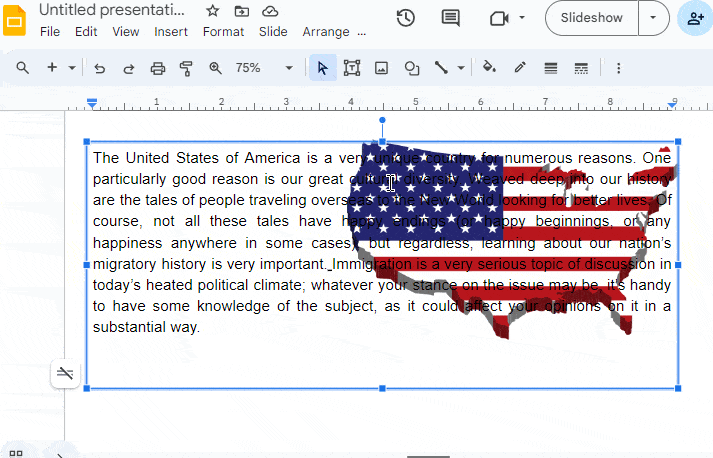
- Paste the text inside the Text box.
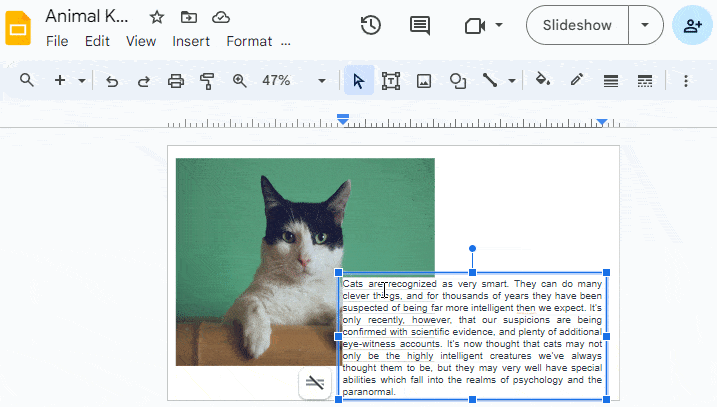
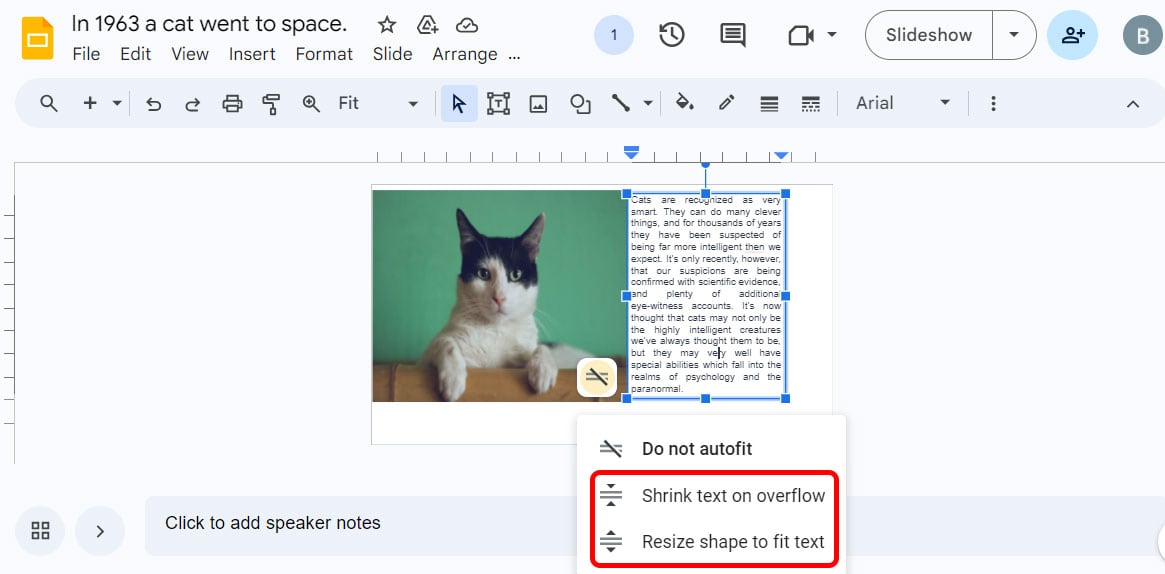
- If the text goes beyond the text box, use the Shrink text or Resize shape option.
- From the toolbar option, you can use text alignment features such as line, paragraph spacing, font size, and style to alter the text positions.

Manually Insert Line Breaks
If the text overlaps the picture, you can simply use the Enter key in the place where the word is touching the image. You can opt for this method for images that have an inconsistent shape.
- Create or open a Google Slides presentation.
- Insert the image into your presentation as above.
- Then, select Insert > Text box.
- Once the plus icon appears, drag it to create a text box. However, make sure you create it such that it includes the image within it.
- Write or paste the desired text inside the Text box.
- Now, place the cursor at the end of the word that’s close to the image for that line. Then, press Shift + Enter to insert a line break.
- Repeat the above step for each line of the text.
How to Wrap Text Around Multiple Images on Google Slides?
Wrapping texts around multiple images could get a little tricky. So here’s how you can achieve that perfect wrap text while working with two images.
- Create or open a Google Slides presentation.
- Click Insert > Image from the top menu bar. Then, select the preferred location.
- After adding the images, properly place the image by dragging its corners.
- Use the existing text boxes or delete them. Then, click the Insert option from the menubar and select the Textbox. Then, create a box by dragging the cursor. Make sure the textbox is overlapping the image.
- Now, copy and paste text into the Text box.
- Now, apply the previously discussed mentioned methods i.e., resizing the text box or manually pressing the Enter key to wrap text around the image.
How to Wrap Text in Google Slides on Mobile?
Similar to the web browser, Google Slides allows you to easily create a presentation on your mobile device.
- Open the Google Slides App.
- Tap the plus icon at the bottom right corner to create a new Google Slides presentation or open an existing presentation.
- Write or paste the text on the existing text box.
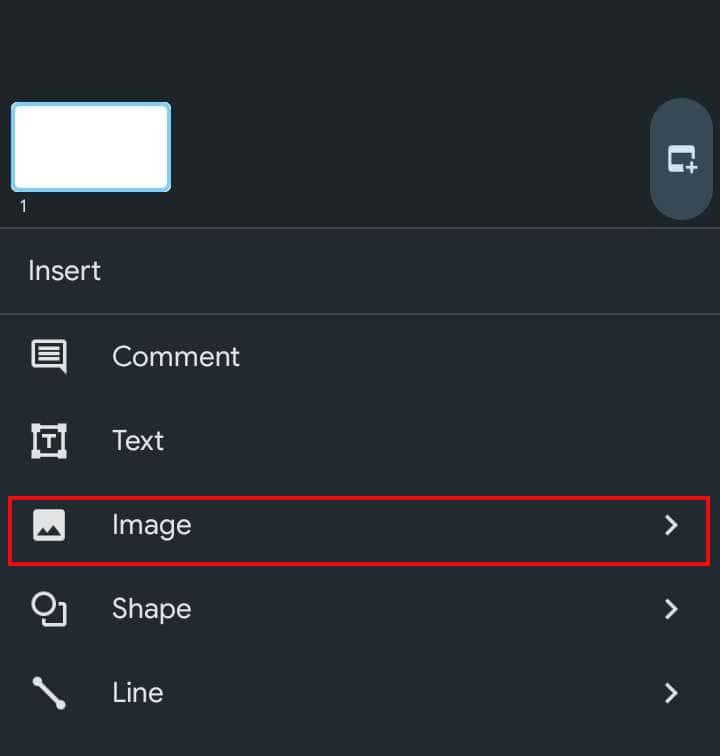
- To insert an image, tap the plus icon at the top.
- On the bottom popup menu, select Image and use a preferred medium to upload the photo.
- Tap to select the image and use the corner handles to resize it.
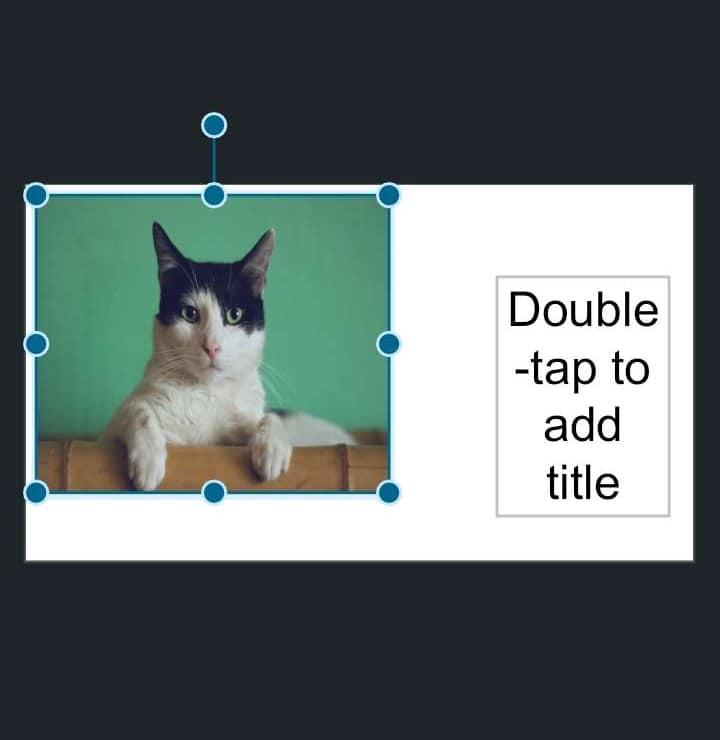
- Tap and place the image/text one at a time and move them to the preferred position in the slide.
- Now, select the text box and resize it. Then, the text should automatically wrap around the image.