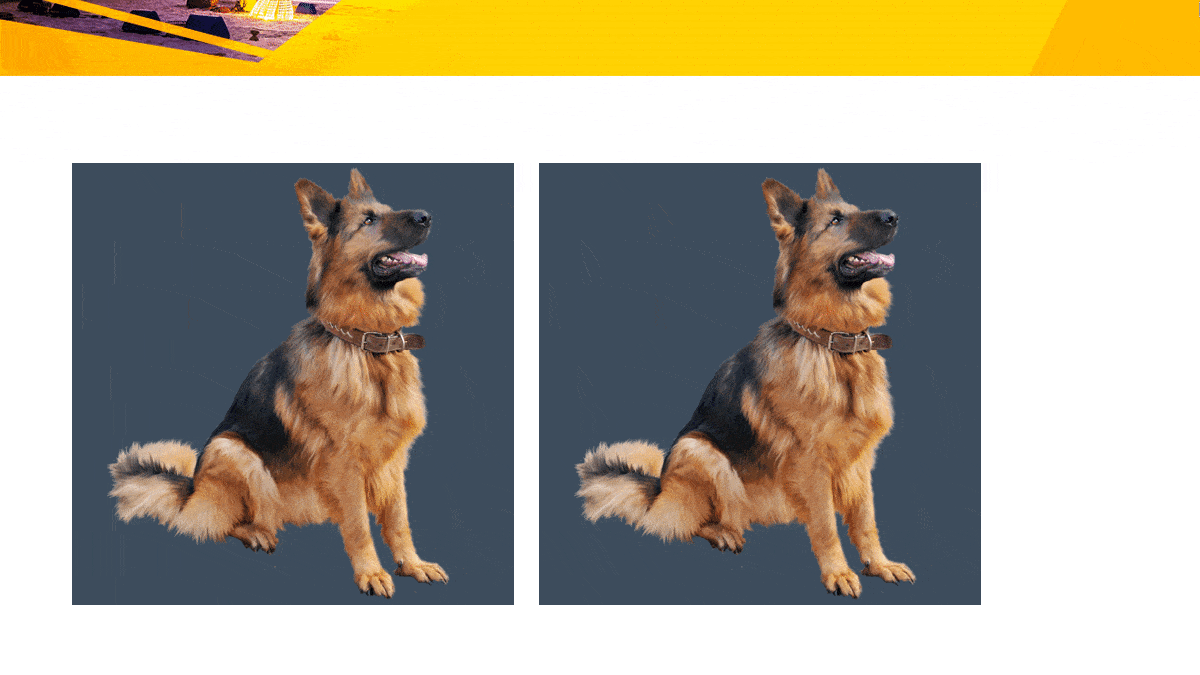
Whether you are creating educational slides or your project presentation, flipping images gives a symmetrical effect that can make it more visually appealing.
If you intend to create a mirrored effect on your images, you can flip the image horizontally or vertically. You can do so manually by dragging the anchor point, using the Picture formatting tool or 3-D rotation options.
You can also add flipping animation to your images amid a slideshow to make the presentation more interactive and engaging.
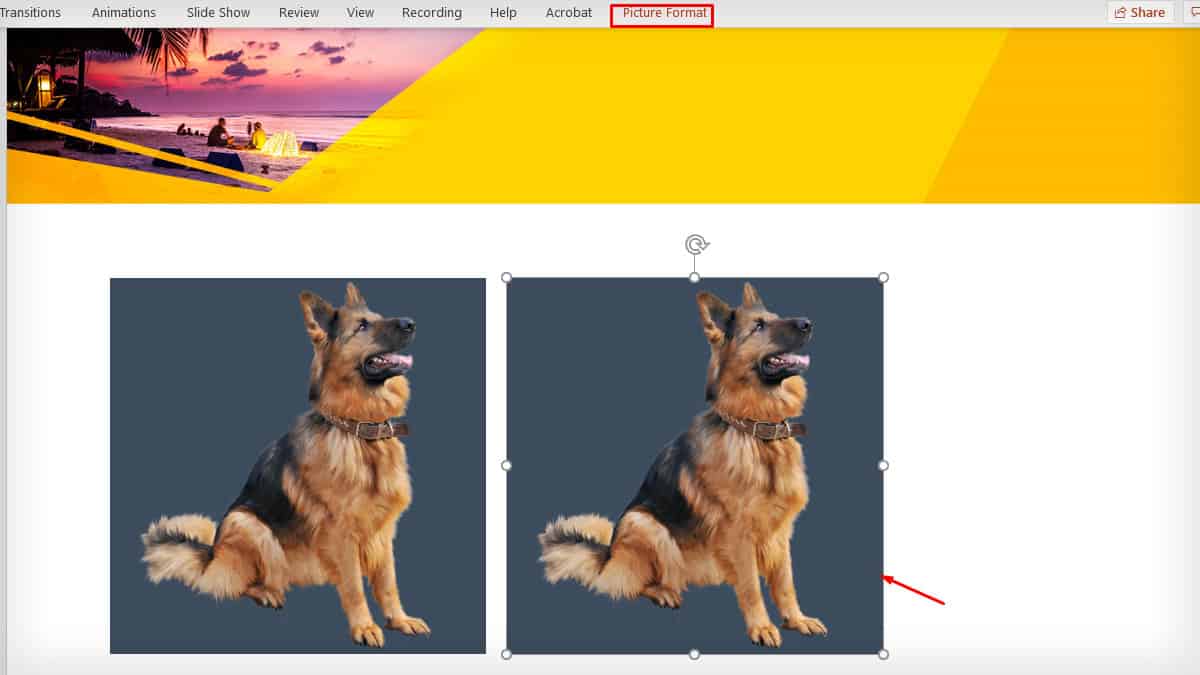
Flip an Image Using Anchor Point
You can manually flip your images by dragging the anchor point on PowerPoint. Here are the steps.
- Open your presentation slide with the image.
- Click and select the image.
- Left-click on any corner of the image until the Anchor point appears.
- While holding the left mouse button, drag the anchor point to the opposite side.
- Release the left button after you achieve the desired flip.
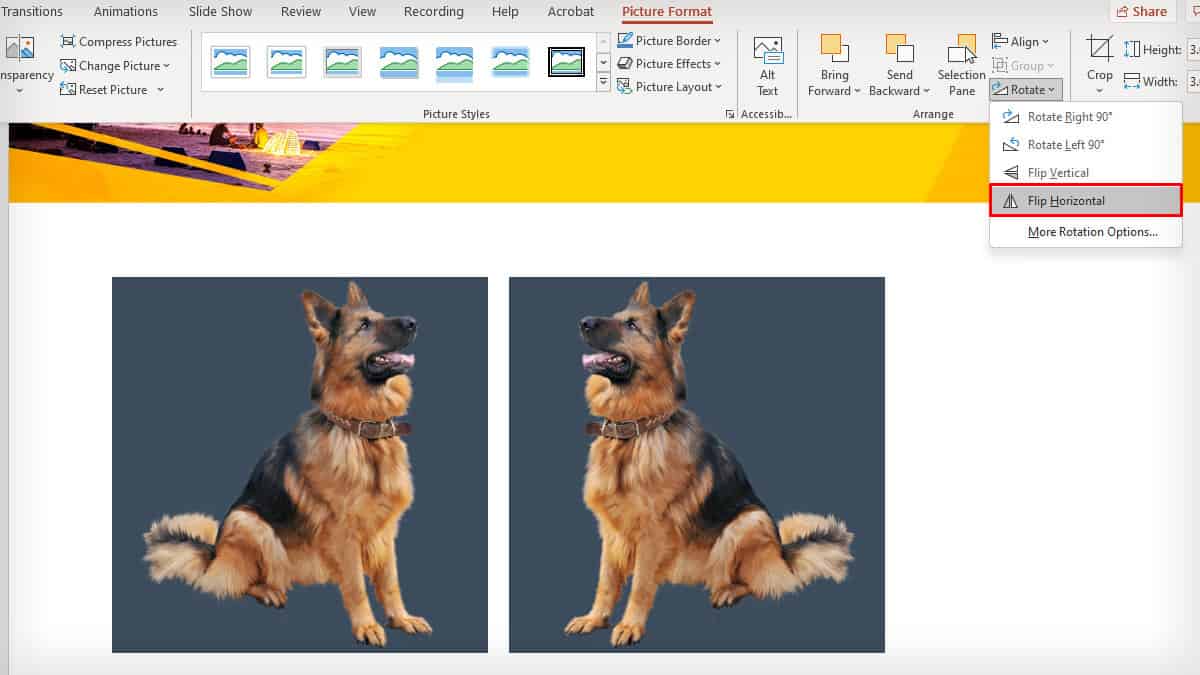
Flip an Image Using the Menu Bar
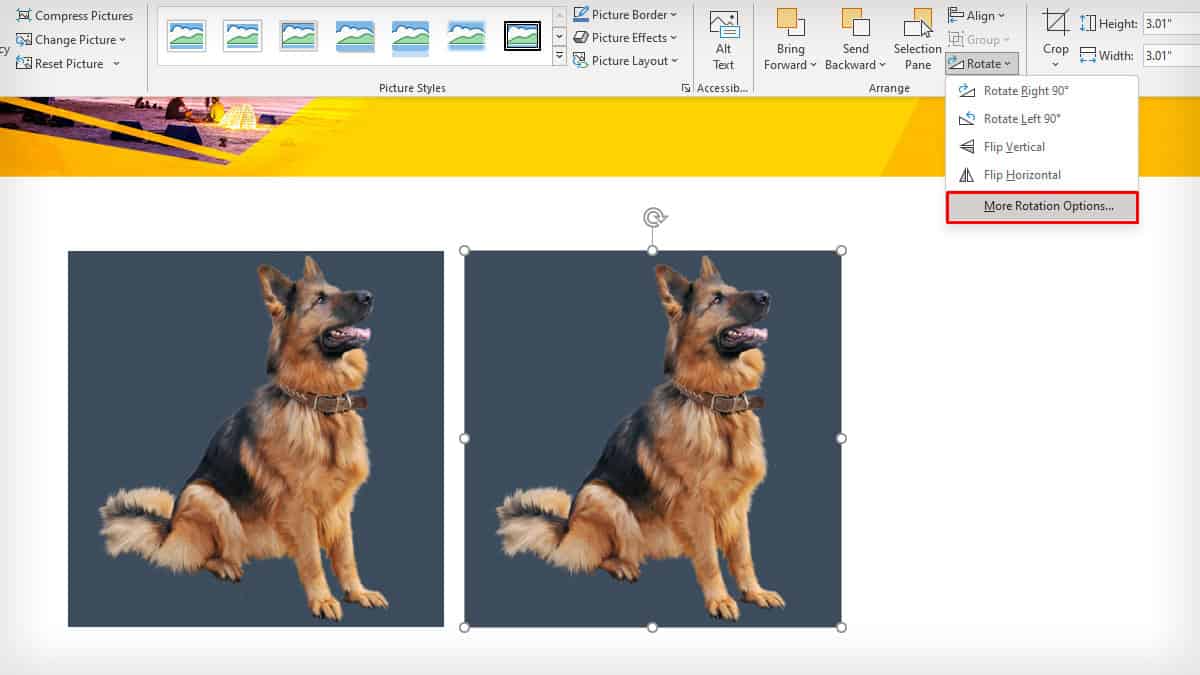
There are flipping options on Picture formatting options, too. It allows you to flip the image on vertical and horizontal axes.
- Launch your PowerPoint slides.
- Click on the image that you want to flip.
- Go to the Picture Format tab.
- Tap on Arrange and expand Rotate.
- Select Flip Vertical or Flip Horizontal.
If you want to flip multiple images at once, you can press the Shift key on your keyboard and click to select the images one by one.
Once all the images are selected, hover over to the Picture Format tab and follow the same steps.
Besides, make sure to keep the proper spacing between images so that they do not overlay while flipping multiple images at once.
Flip an Image Using 3-D Rotation Option
Alternatively, you can also flip images by using 3-D rotation images. You will have to set the image rotation angle for the preferred axis, and then the image will flip to the other side.
- Open up your presentation slides in PowerPoint.
- Click to select the image.
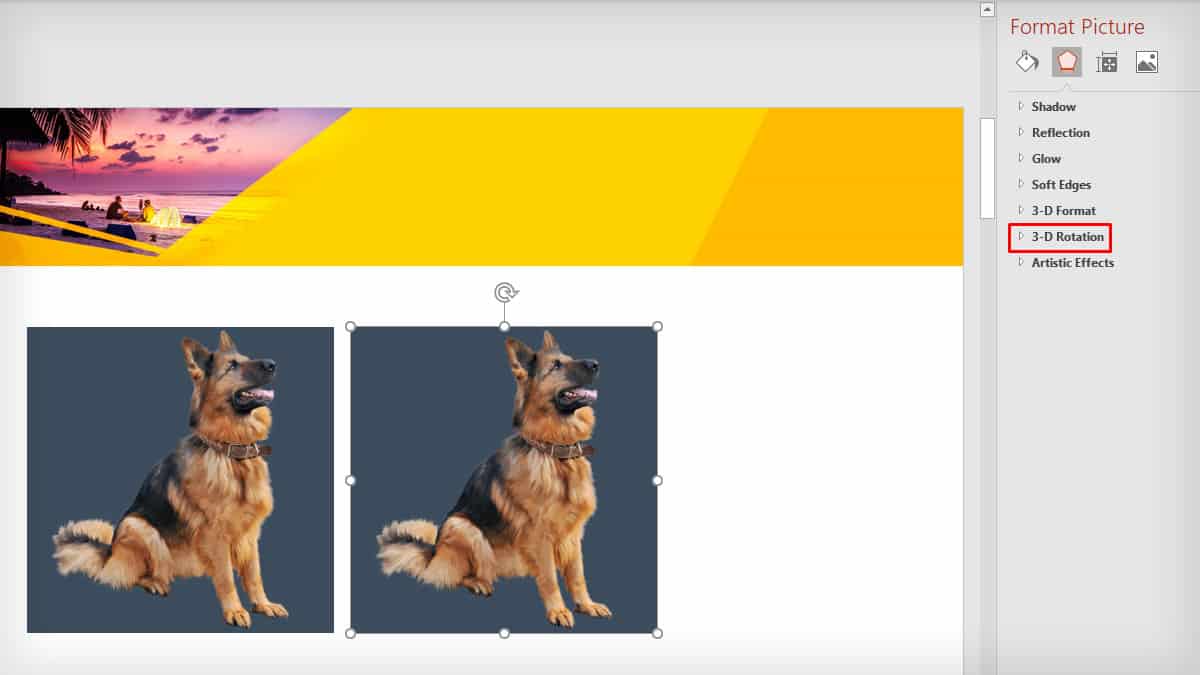
- Right-click on the image and select Format picture.
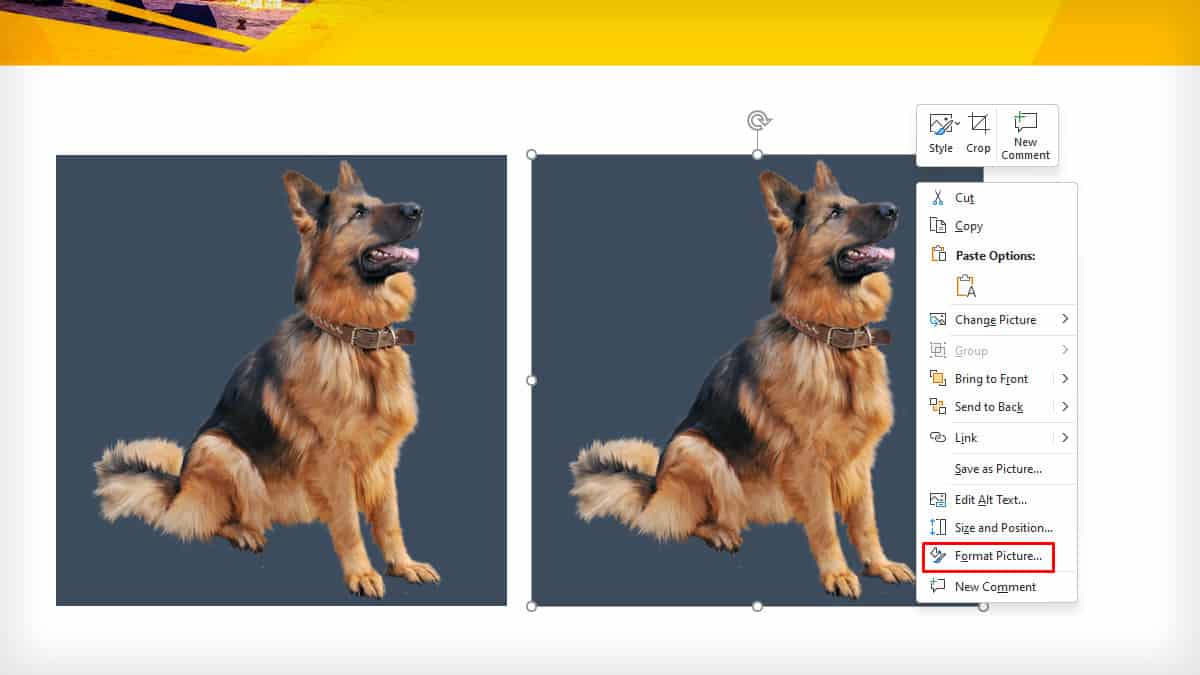
- You can also click Picture Format on the menu bar. Expand the Rotate option on the Arrange section and choose More Rotation Options.
- Expand the 3-D Rotation menu.
- Go to X-rotation and input 180° in the box.
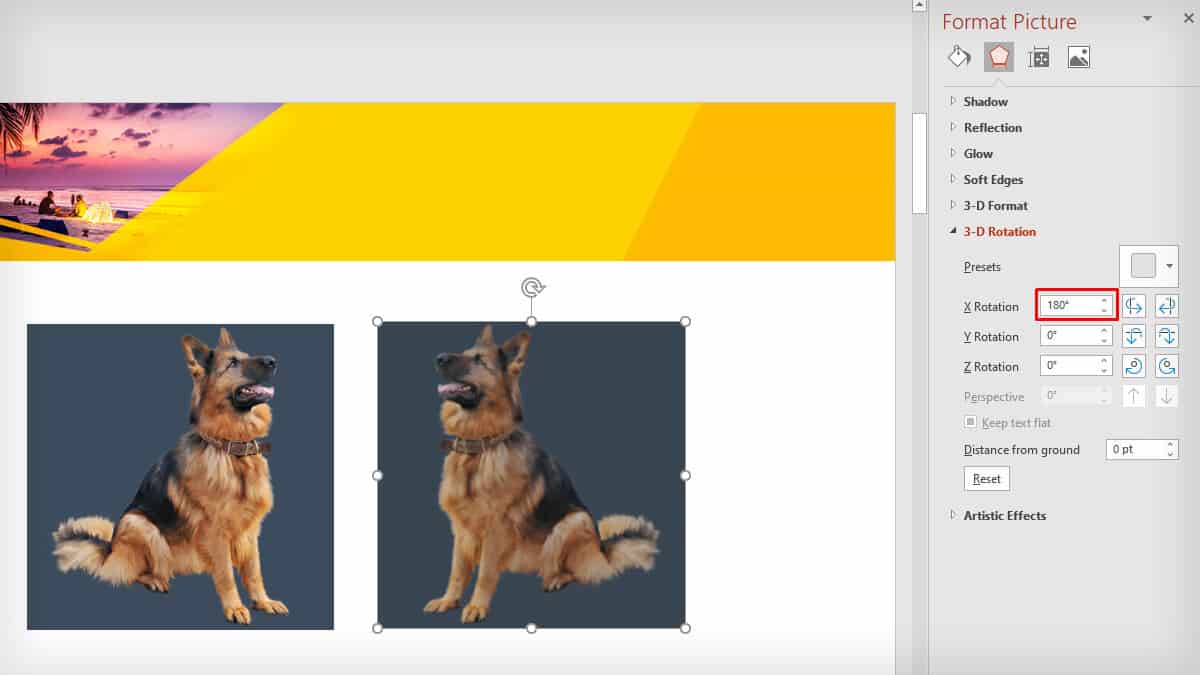
- The image will flip. Save the change by pressing
Ctrl+S.
How to Insert an Image Flip Animation in Power Point?
Users can also insert flip animation amid the slideshow for the object placed in their PowerPoint slides.
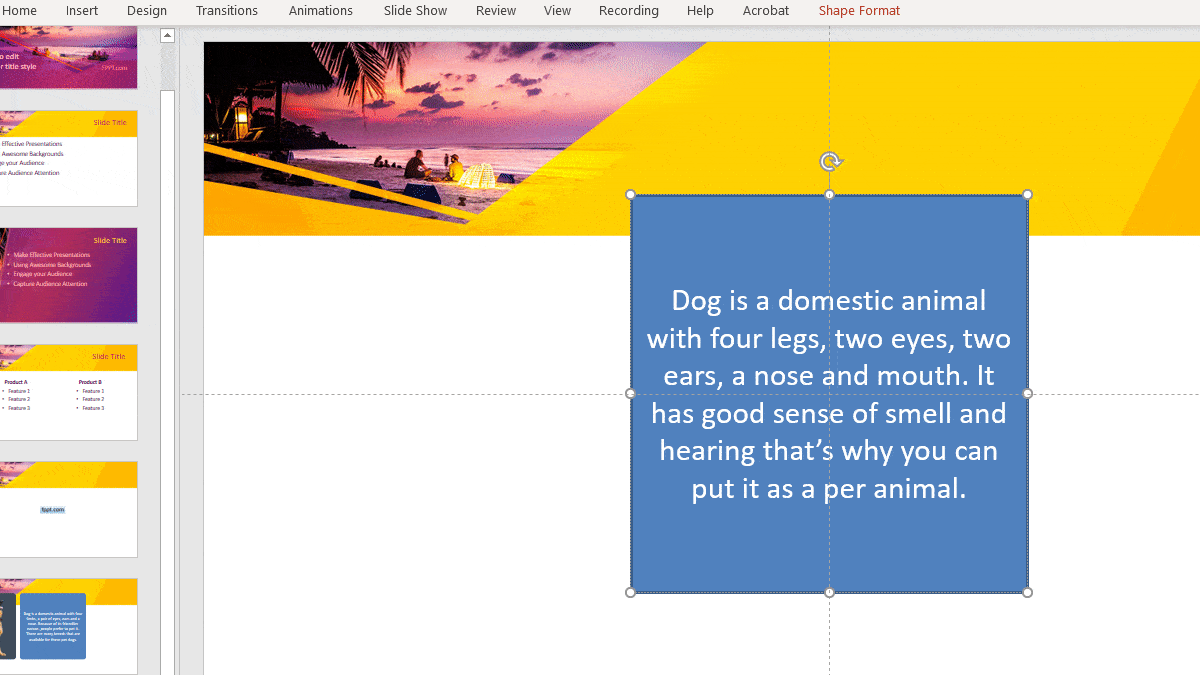
It is useful when you want to place text behind the representative images to make your presentation visually appealing and interactive.
Follow the steps below to learn how.
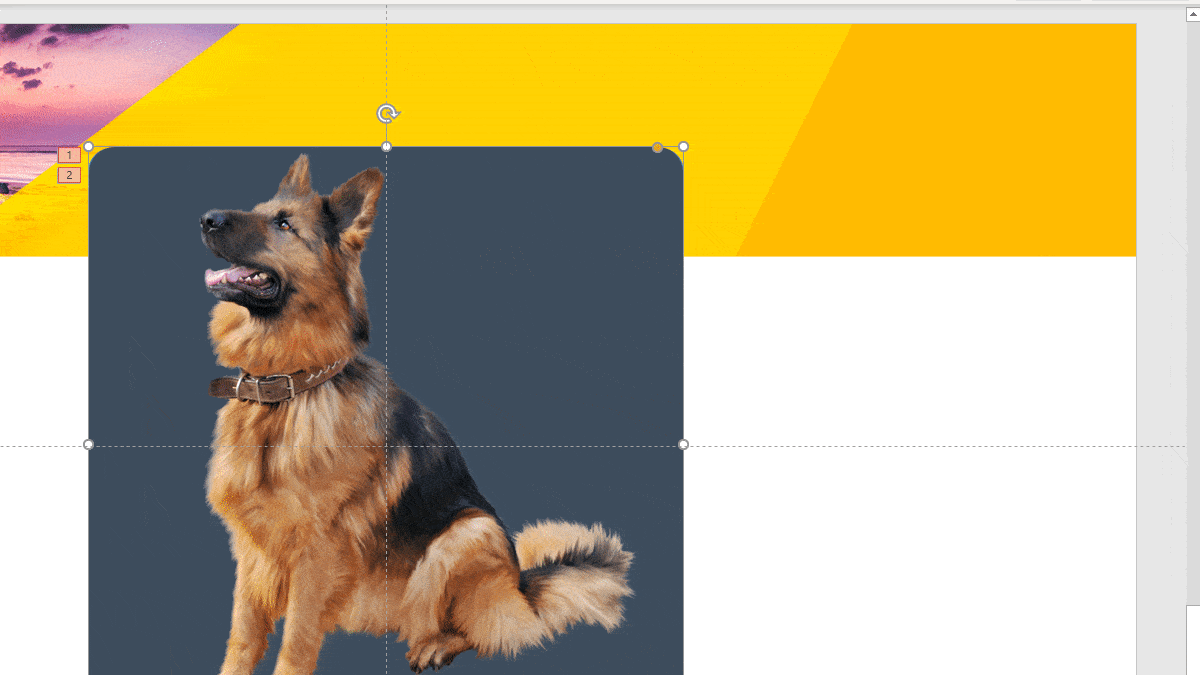
Step 1: Create the Image and its Backside
- Open your desired presentation slides.
- Expand the View tab and select Guides.
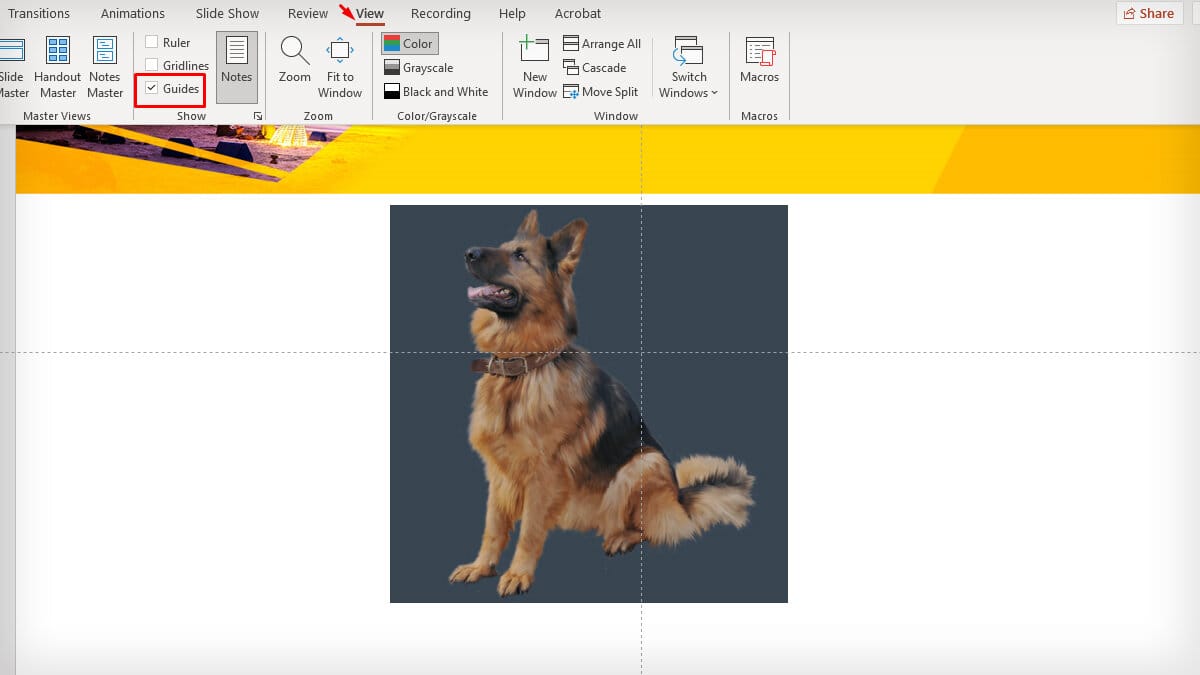
- Now, click to select the image.
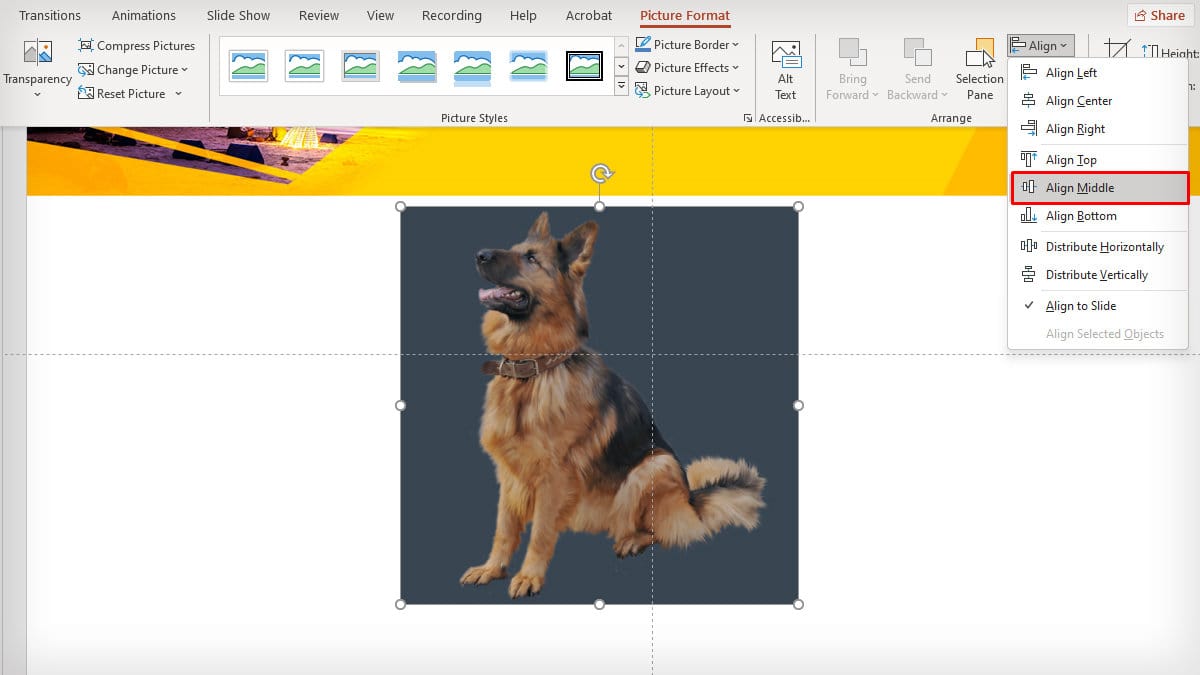
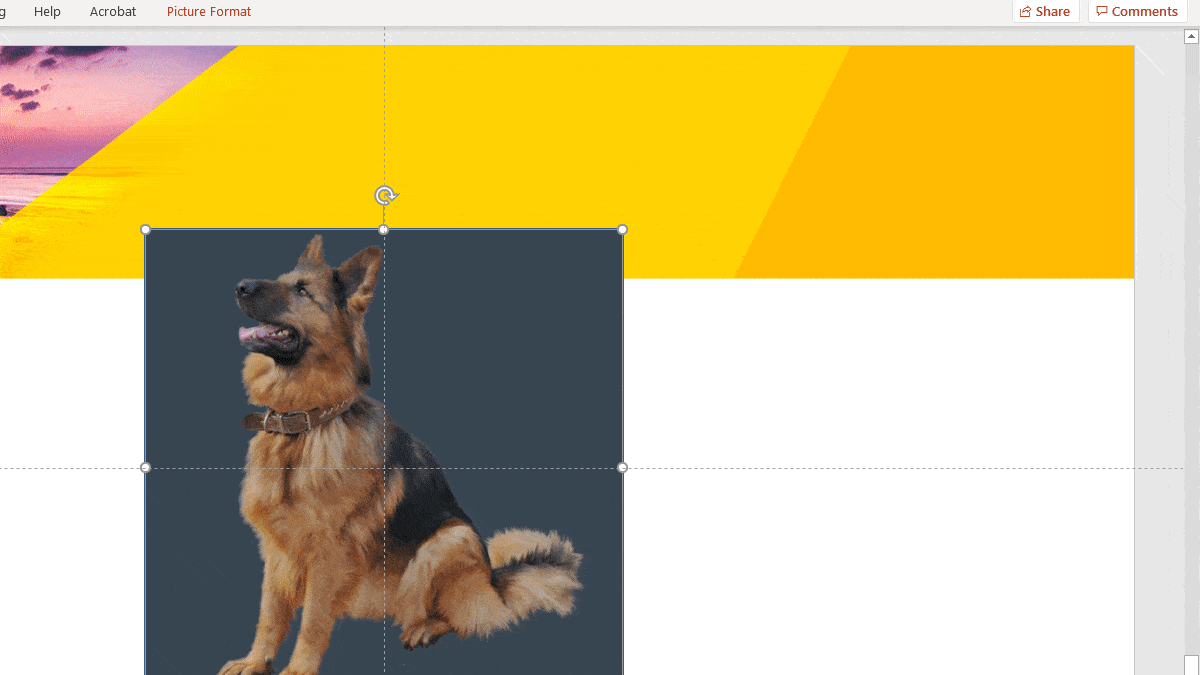
- Go to the Picture Format tab > Arrange > Align. Select Align Middle.
- Tap on Home and select the same shape as the image.
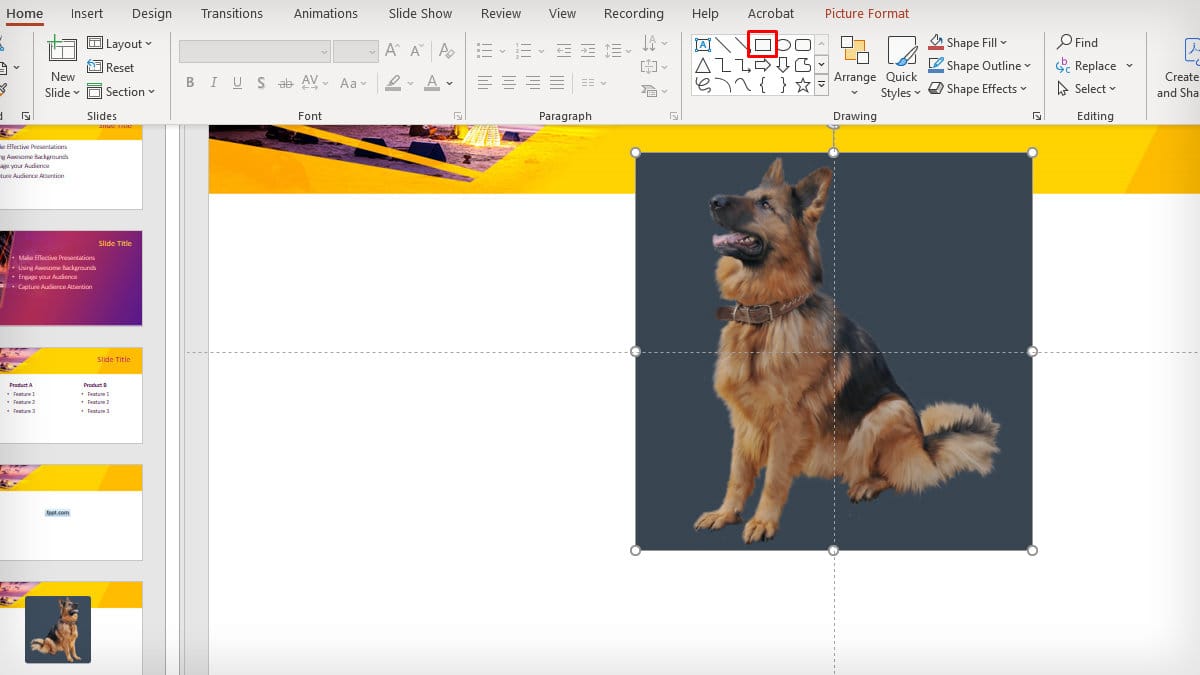
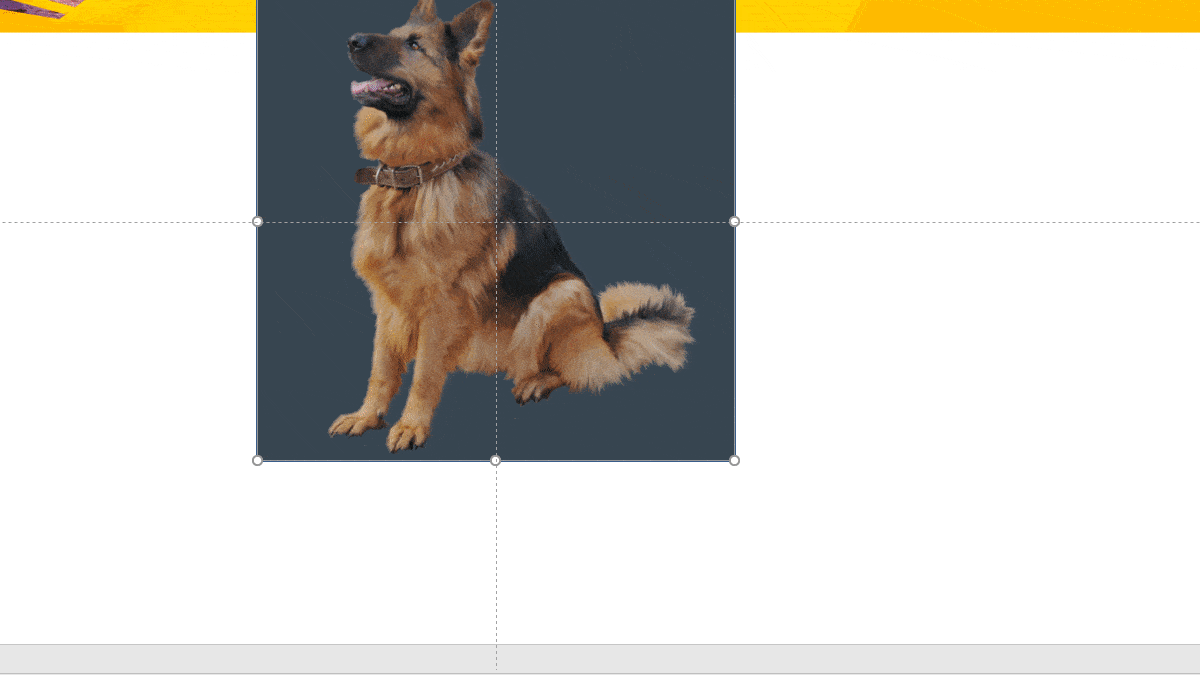
- Place the cursor on the intersection and draw the image. Press Ctrl to ensure the image expands symmetrical to the image.
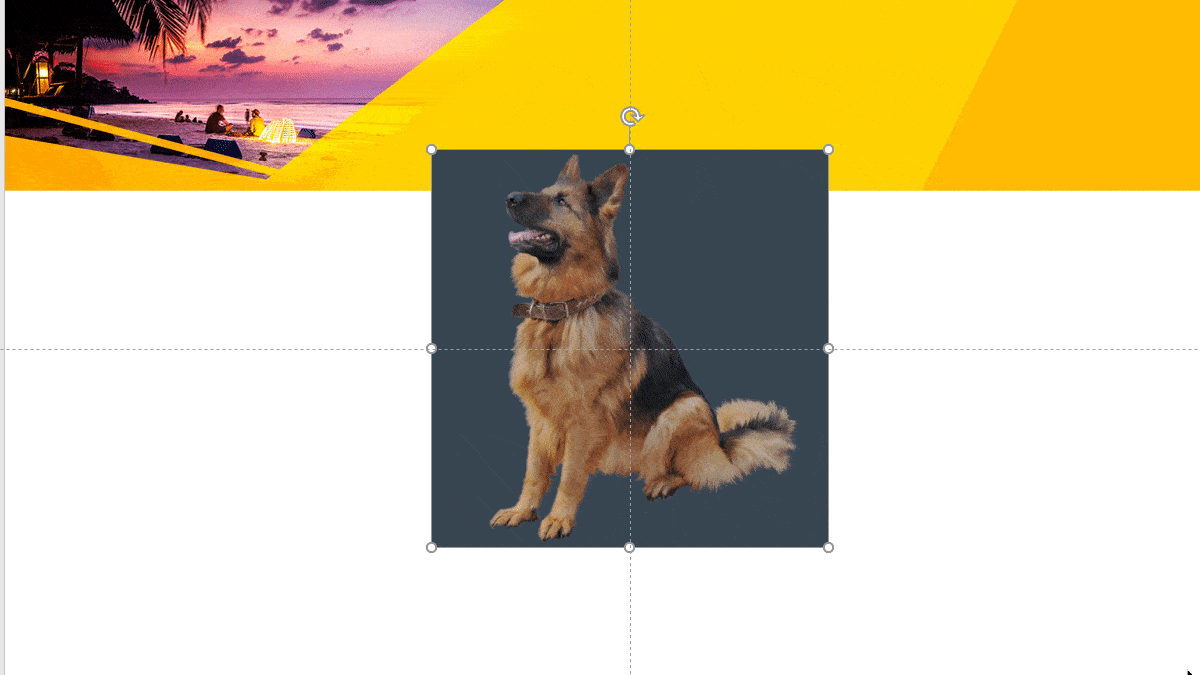
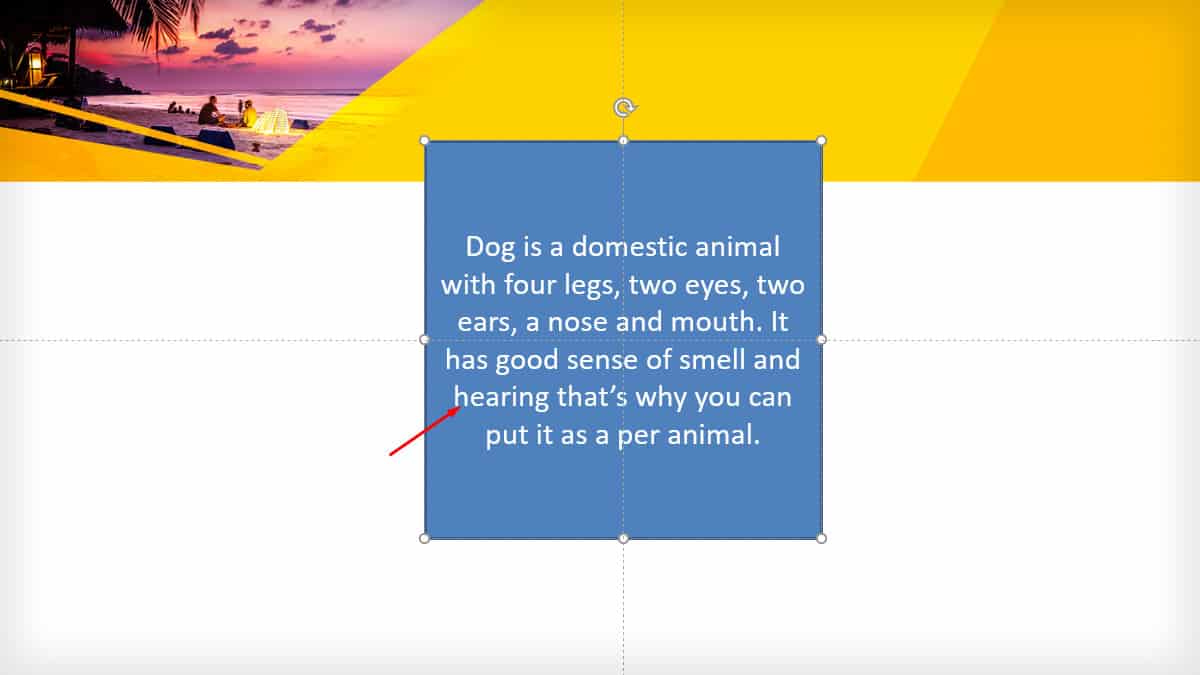
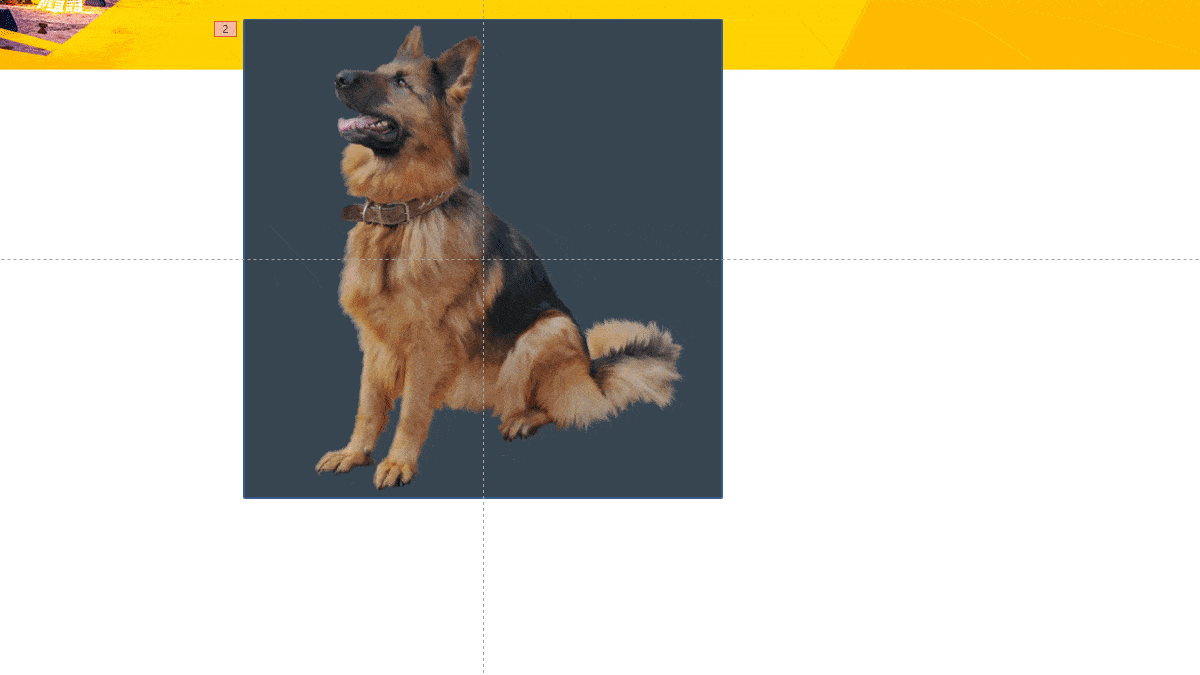
- Insert text or another image that you put on the side.
- If you insert a text box or other shape on the back, make sure to group the objects.
Step 2: Add Animation
- Before adding animation, click on the Arrange option in the Home tab. Select Send to Back.
- Click on Animation and select any animation option for the front side.
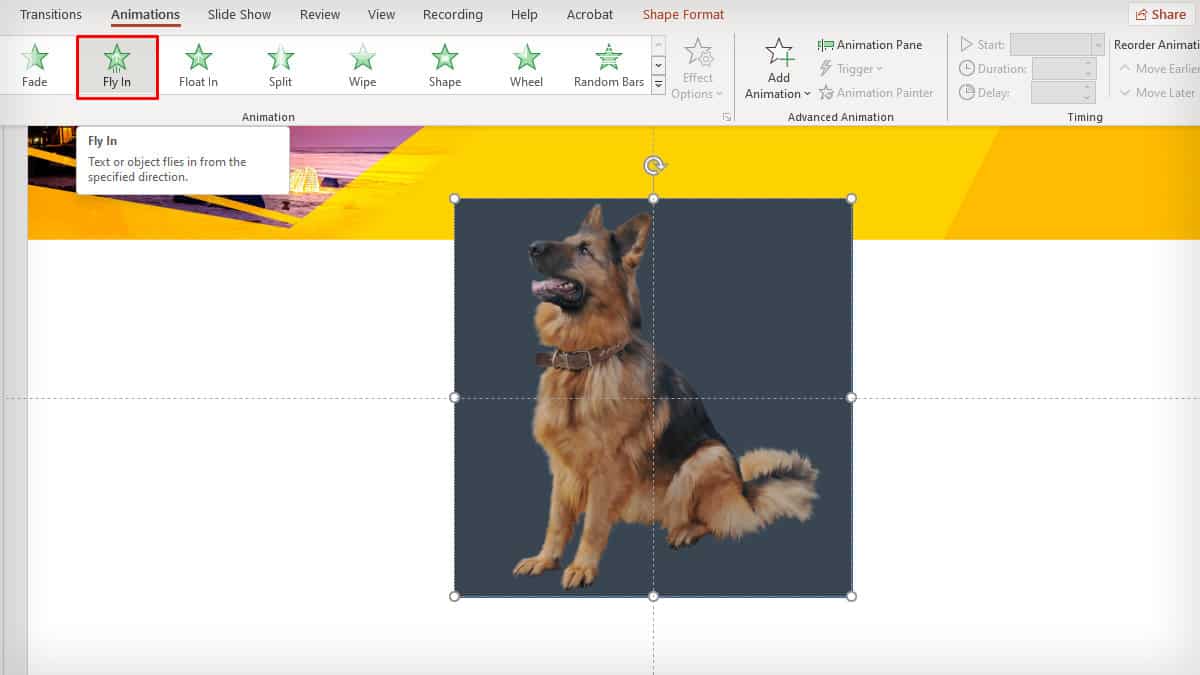
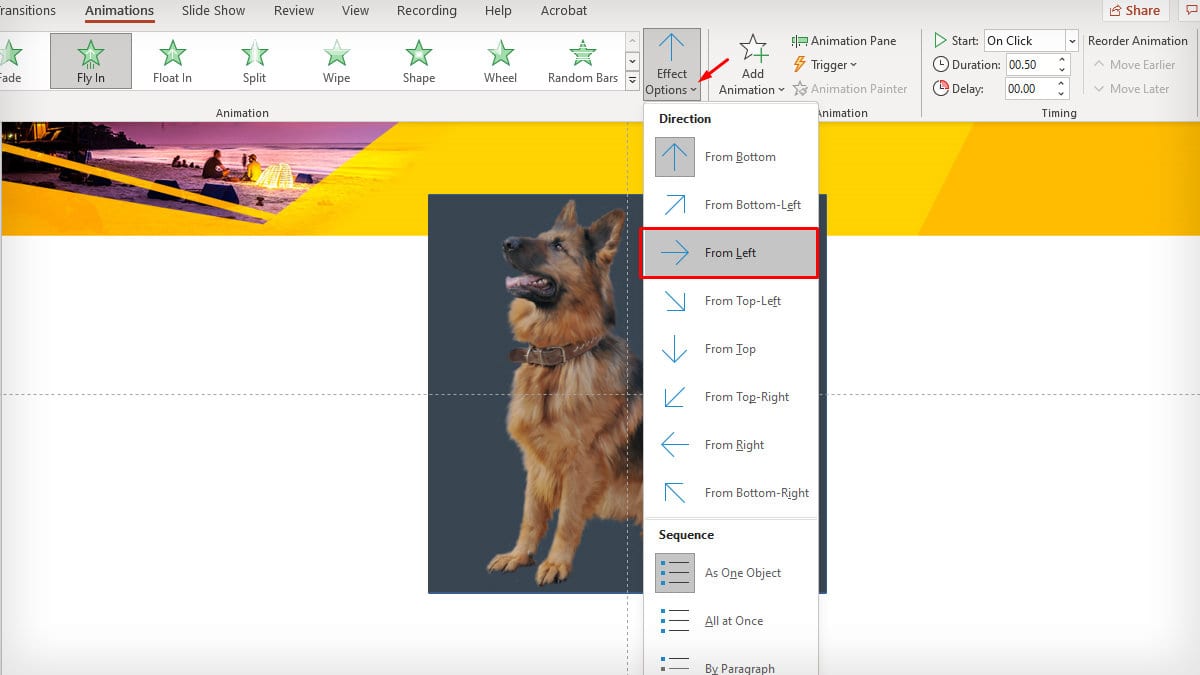
- Expand Effect options and select how you want the animation to enter the slide.
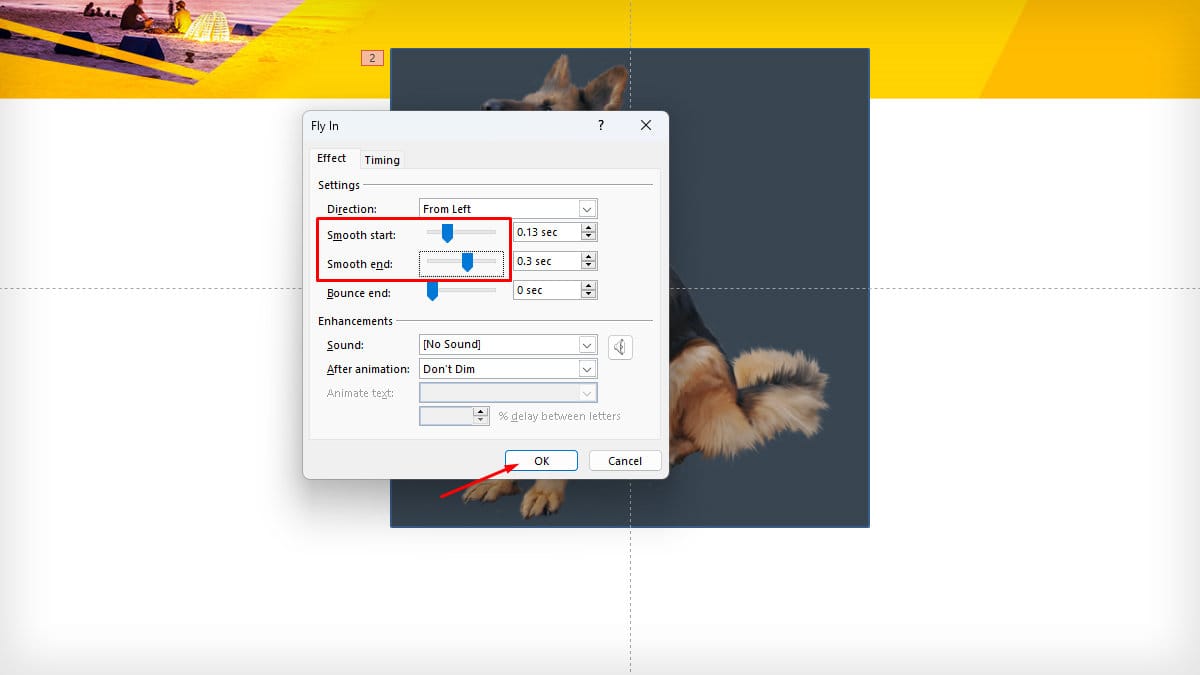
- If necessary, you can click the Smooth end option by clicking the Animation pane.
- Tap on the Animations tab and expand Add Animation.
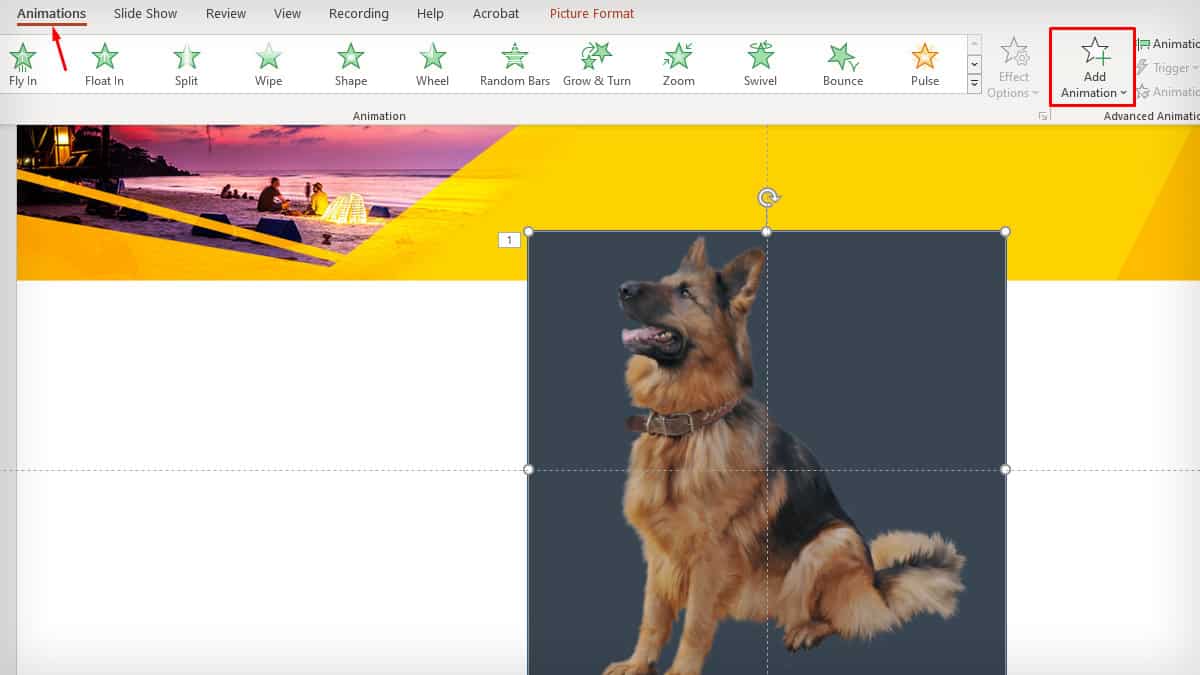
- Now, click on More Exit Effects > Contract > OK.
- Go to Picture Format tab > Selection Pane. Hide the front side to edit the other side.
- Simiarly, go to Add Animation. Select More Entrance Effects > Expand > OK.
- Click the drop-down menu for the Start on Timing section to choose how you want to continue the animation. Choose the duration.
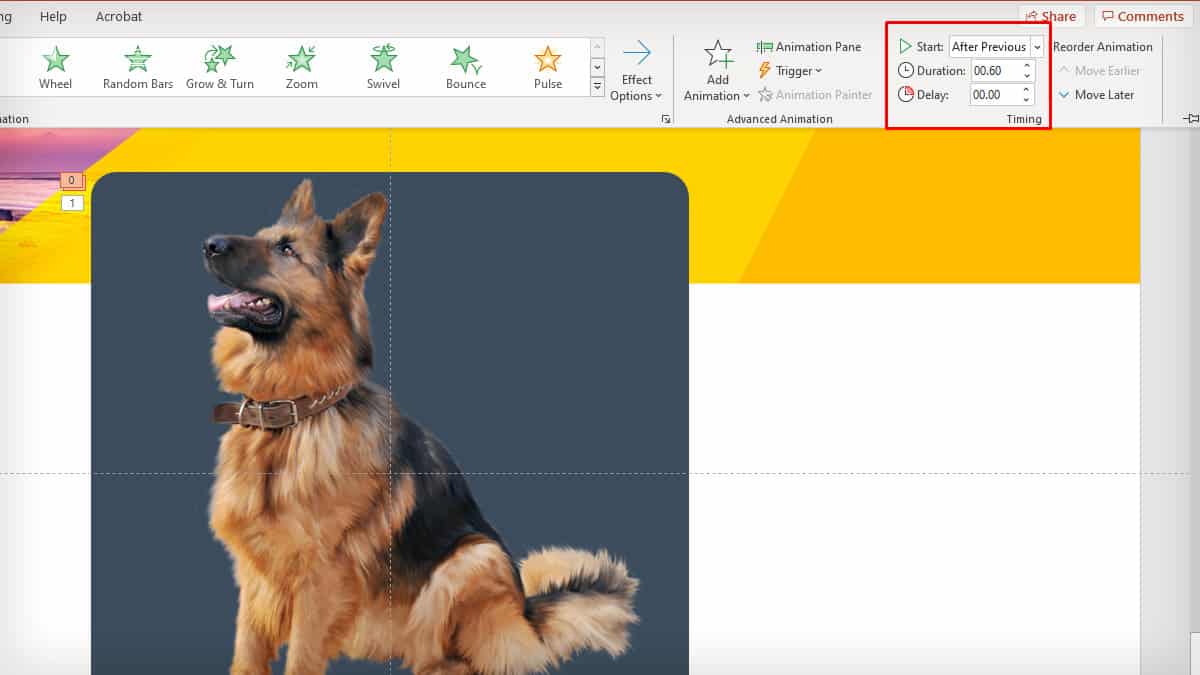
- Click on Animation Pane. Play the animation to check and save it to the slide.
Also, check out our other article on flipping an image on Microsoft Word.