A background image can elevate the aesthetics of your Word document. It can also be crucial in presentations, brochures or projects as a visual element in your texts. Some organizations require employees to insert the same background images in all documents to maintain a standard.
There are multiple ways to add a background image to a Word document. You can apply a background image on the entire document or a single page. To learn more about adding background images, keep reading.
Via Page Colour
The Page color option allows users to customize the page color, texture, and include images in the background of a Word document.
- Open the Word Document.
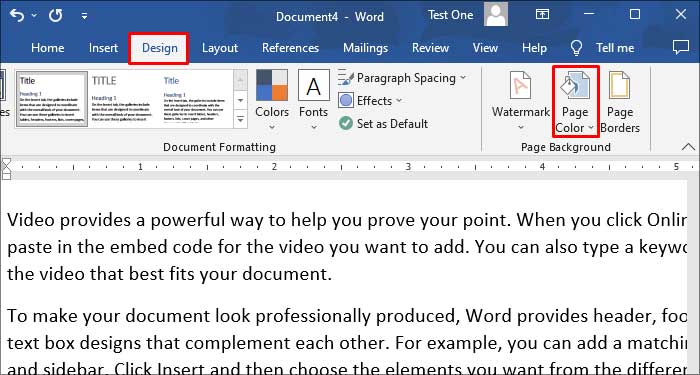
- Switch to the Design tab.
- Select Page Color on the rightmost corner of the Ribbon.
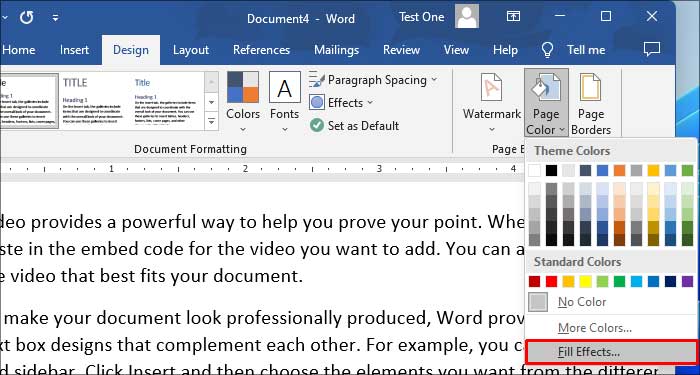
- Choose Fill Effects.
- Switch to the Picture tab and click on Select Picture.
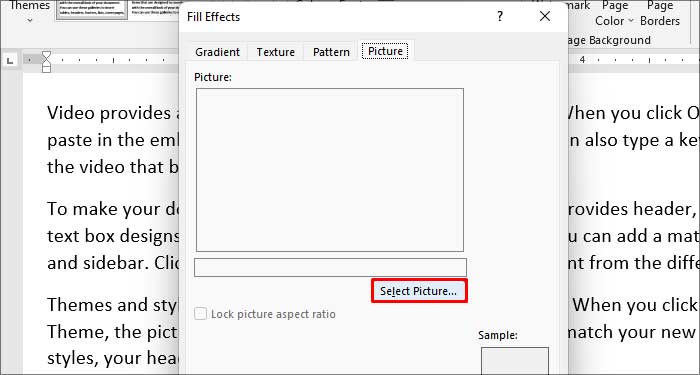
- Click on From a file.

- Navigate to the file location and double-click the image.
- Click on Ok.
Via Watermark
You can add your background image as a watermark on your Word document.
- Open the Word document.
- Switch to the Design tab.
- Click on Watermark to open a pop-up and select Custom Watermark.

- Select the Picture Watermark radio button.
- Click on the Select Picture button.
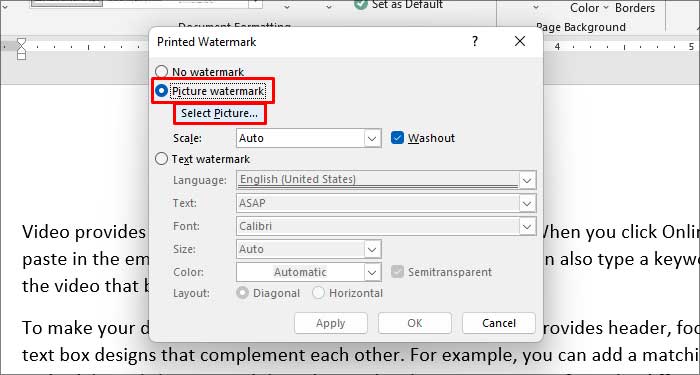
- Choose the From a file option.
- Navigate to the image location and double-click the image.
- Use the Scale dropdown to either zoom in or out the image.
- Tick the Washout check box to apply a transparent filter on the image.
- Click the Apply button, then press Close.

How to Add a Background Image for a Single Page?
For this method, you will need to insert an image on the document. After placing the image, you need to reposition it behind the text of the document.
Via Insert Picture
You can convert the standard image into a background image by adjusting the Wrap text option.
- Open the Word document.
- Switch to the Insert tab.
- Click on Picture, then select This device.

- Navigate to the image location and double-click on it.
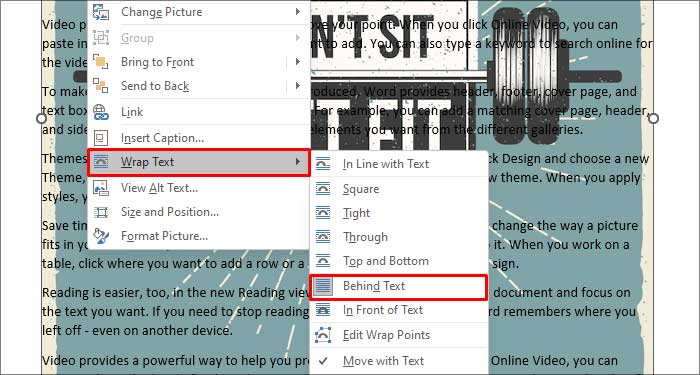
- Right-click on the image to bring out a list of options.
- Expand the Wrap text option and select Behind text. This will position the image behind the text.
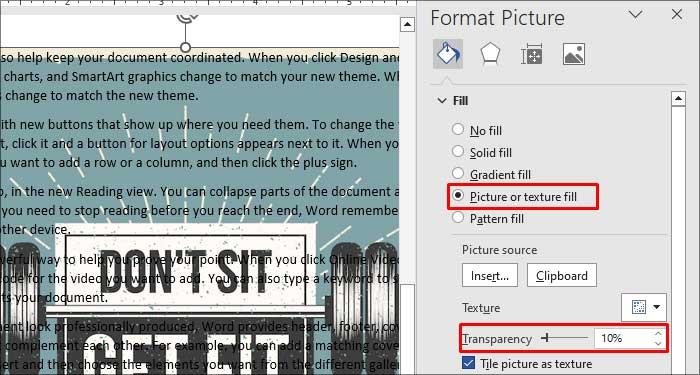
- Right-click on the image and select the Format Picture.
- Expand Fill and select the Picture or texture fill radio button.
- You can adjust transparency from the Transparency slider given under the Fill option.
Via Shape
In this method, you will need to insert a shape on your document and then fill it with an image. Later, you can resize the image to fit the size of the document.
- Launch Word and open the document.
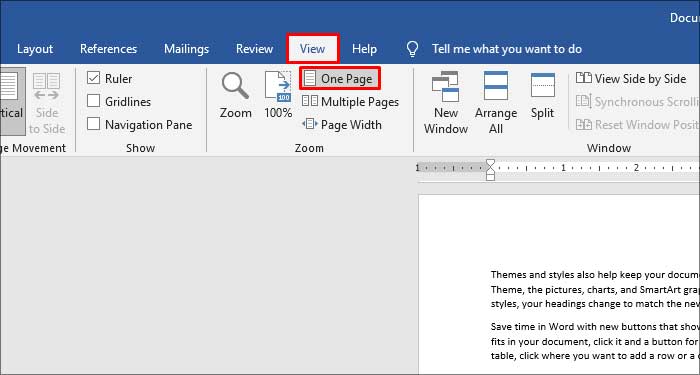
- Switch to the View tab and click on the One Page option.
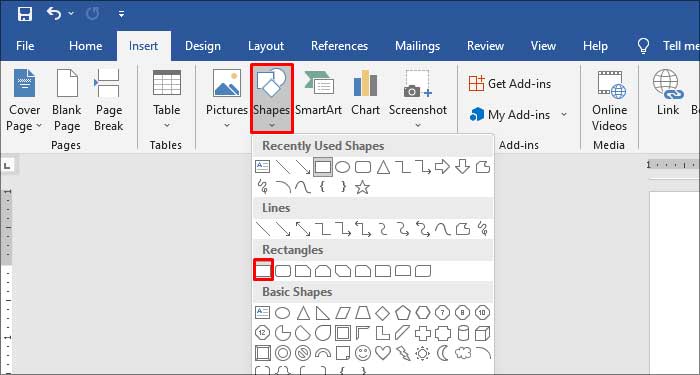
- Switch to the Insert tab.
- Click on Shapes and select a rectangle.
- Draw the shape on the document.
- Click the Layout Options icon beside the shape and select the Behind Text option.

- Right-click on the shape and select the Format Shape.

- Expand the Fill drop-down menu and click on the Picture or texture fill radio button.
- Click on the Insert button.

- Choose the From a file option.
- Browse to the image location and double-click on the image.
- Adjust the transparency with the Transparency slider under the Fill option.