Google Docs is a convenient cloud-based word processor, ideal for anyone who wants to create, edit, and share documents on a regular basis.
Whether you are a student working on a group project or a working professional collaborating with others, it offers a real-time collaboration feature that allows multiple users to work on a single document simultaneously.
In addition, it incorporates features such as voice typing, templates for documents, and an autosave function.
If you are just getting started with Google Docs, this guide will cover all the basics as well as some advanced features to help you get used to Google Docs.
First, Sign Up for Google
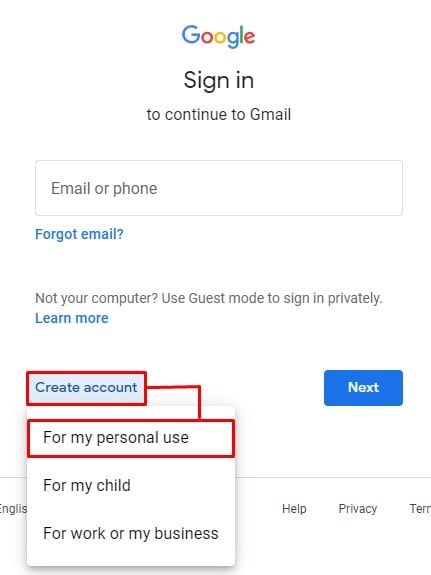
Having a Gmail account is a requisite to gain access to the Google Docs feature. Therefore, make sure you have signed up for a Gmail account and are logged in to it before moving forward. Here’s how you can sign up for Gmail:
- Open Gmail.com on your web browser.
- Click on Create Account > For my Personal Use.
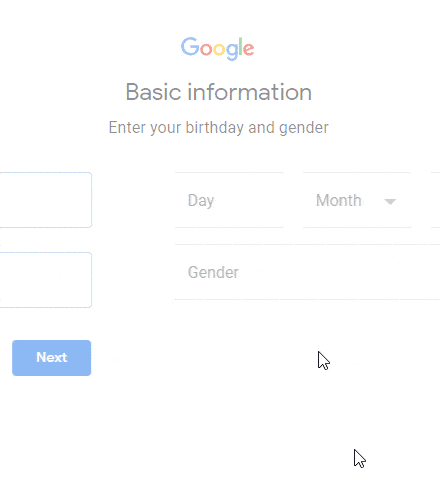
- Add your Name, and click Next. Then, add your Personal Information.
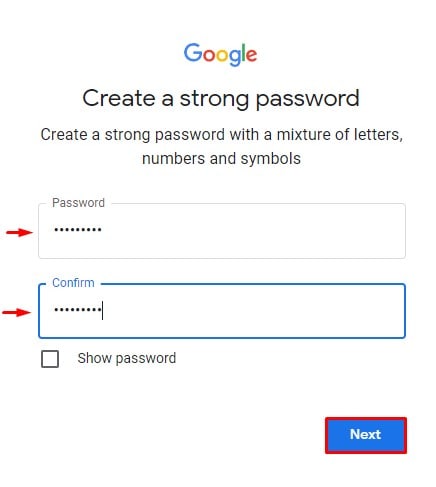
- Add your username and click Next.

- Set your password and click Next.
- Add or skip your recovery email address.
- Add your Phone Number and click Next.
- Click on I Agree to Google Terms and Conditions.
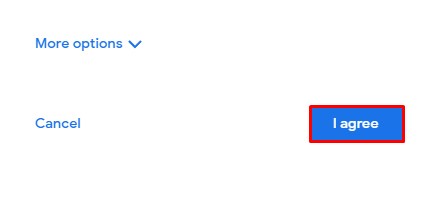
Your Email is now been created.
Opening and Creating a Google Doc
First things first, how do you open a Google Doc? There are a bunch of ways to open a Google Doc.
Open your web browser and type docs.new or go to https://docs.google.com/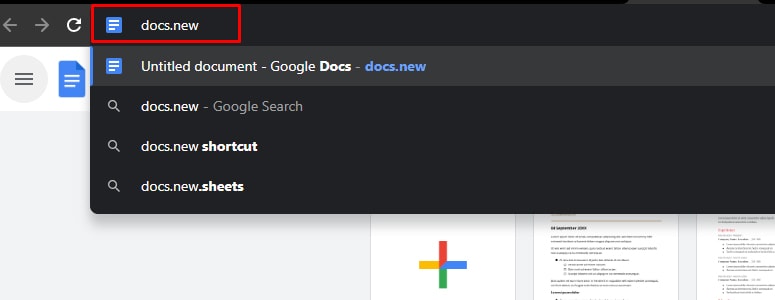
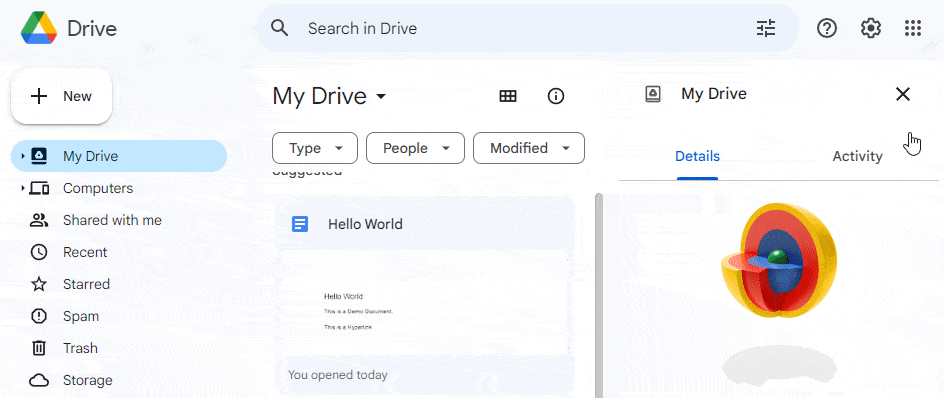
Alternatively, you can also open Google Docs through Google Drive.
Once we’ve created your Google Docs, the first thing that we do is title the document, which is named Untitled document by default. After naming the document, the file gets saved automatically to your Google Drive.
Adding Content to Google Docs
You can simply type in your document once you’ve created it, or you can copy and paste data manually. Google Docs also offers you a voice typing feature, where it will automatically type for you based on your narration.
Google Docs also provides a bunch of templates ranging from resume templates and project proposals to meeting notes and many more. Here’s how you can access the templates:
- Open Google Docs Homepage.
- Click on Template Gallery.
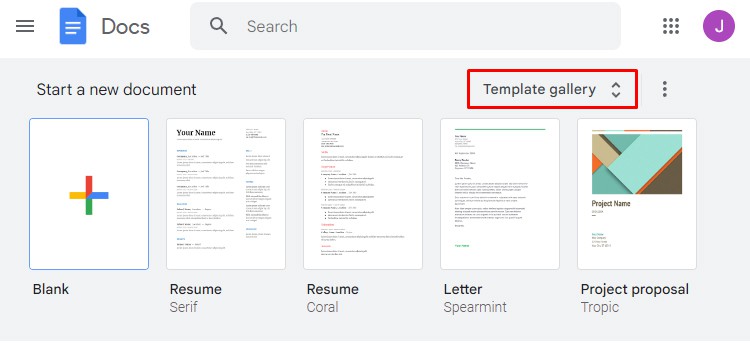
- Browse through your desired template and select a template.
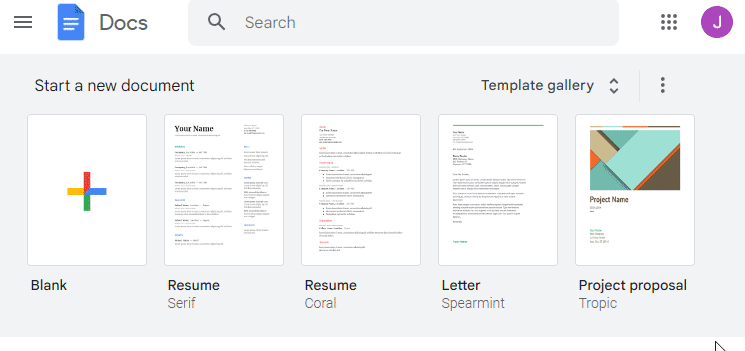
- Edit the data in the template to your needs.
Editing Your Document
Google Docs contains a toolbar at the top of your document, similar to the one in MS Word. You can perform multiple actions through the toolbar, such as changing the font style and size, font color, text alignment, line spacing, etc., and many more. Let’s see each of them in detail.
Text Formatting
Text Formatting can be done through the option in the menu toolbar. You can select your desired text font and its size.

Additionally, you can choose to bold, italicize, or underline your text through the same menu.
Assigning Proper Headings
You can set headings, titles, or normal text through the menu toolbar, which is set to “Normal Text” by default.
Structuring Paragraphs—Alignment, Bullets, Line-Spacing, Indents
When it comes to structuring your paragraphs, you can choose from a variety of options in Google Docs.
From setting line alignments, adding bullets, and line spacing to managing indents, everything is available in your Docs toolbar.
Inserting Headers and Footers
You can add headers and footers to your document through the Insert menu. Here’s how:
- Open your Google Doc.
- Go to Insert.
- Scroll down to Headers and Footers.
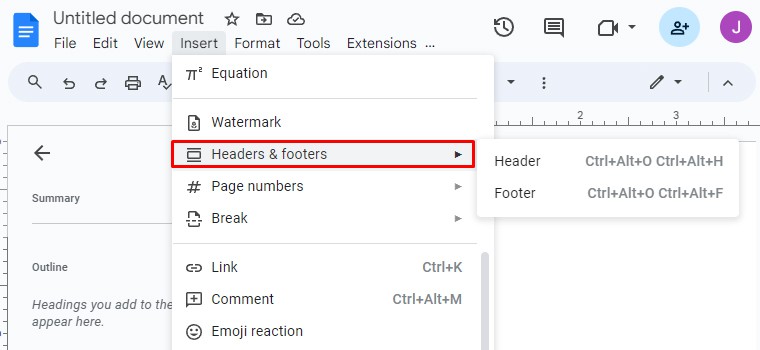
- Click on Header or Footer to add it.
Checking Spelling and Grammar
To ensure there are no grammatical and spelling errors in your document, Google Docs has a built-in feature to check for such errors.
To enable this feature, Go to Tools > Spelling and Grammar and click on spelling and grammar check. This will identify all the possible spelling and grammatical errors. 
Adding Images
There are a couple of ways by which you can add an image to your document. You can find an Insert Image icon on your Google Docs toolbar to add an image to your Google Docs, or you can copy the image from your hard drive using CTRL + C and paste it into your document using CTRL + V.
Here’s how you can add an image to your document.
- Open Google Docs.
- Click the Insert Image icon option on your menu.
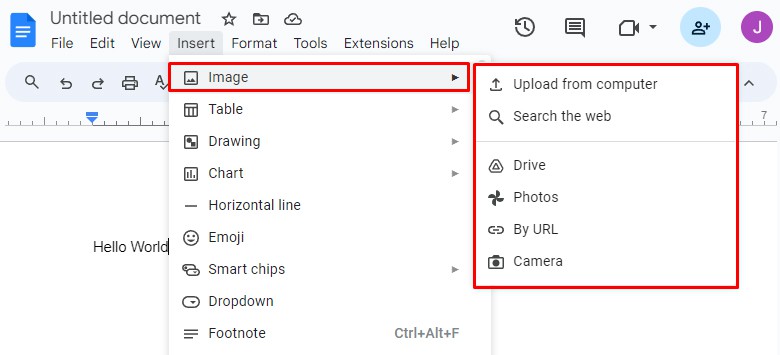
- Choose your preferred method to add an Image. You can upload an image through your hard drive, Google Drive, Google Photos, by URL, or by your Camera.
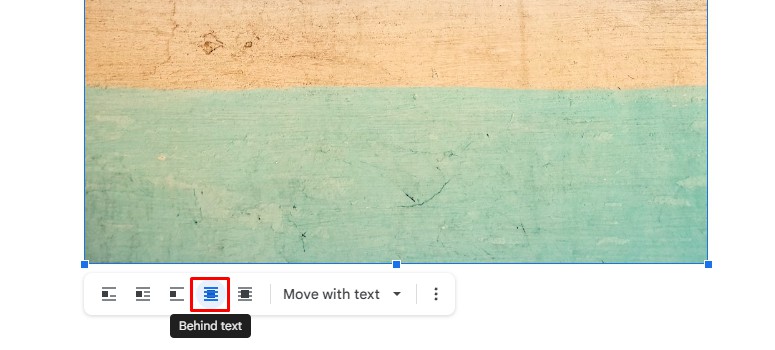
If you want to set an image background, you can proceed with the following steps.
- After inserting an image, click on the image. It will display a few options at the bottom.
- Click on Behind Text. Then adjust your image dimensions and press ESC on your keyboard.
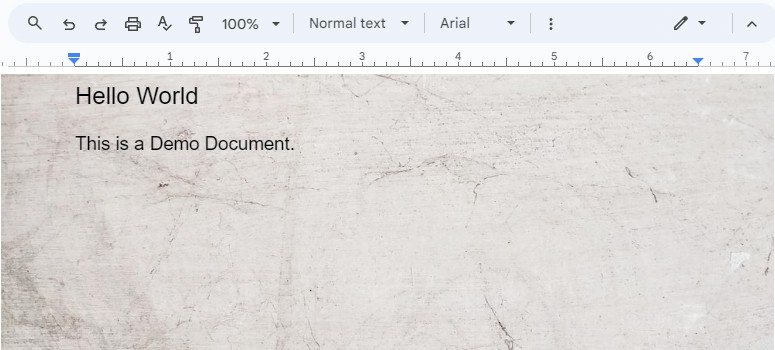
- Now you can start typing, and the image will be set as a background image for your document.
Drawing on Google Docs
Apart from writing and adding images, you also have a feature that allows you to draw on Google Docs.
You can insert shapes, lines, images, and scribble into your drawing. To access this feature, go to the Insert tab > Drawing. You can either create a new drawing or use a pre-existing one.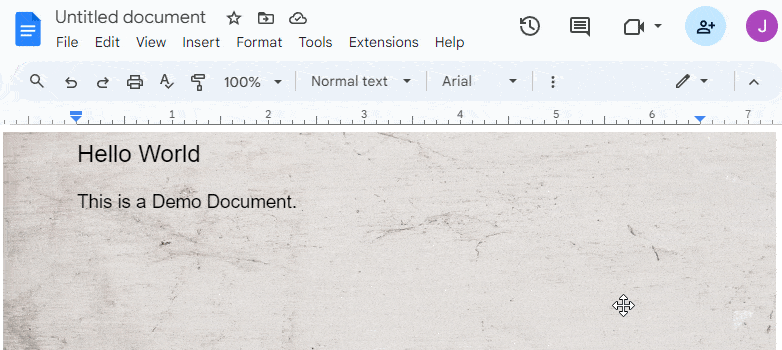
If you’re using a tablet or a smartphone that supports a stylus pen, you can create precise and creative drawings.
You can also refer to this comprehensive guide on how to draw on Google Docs.
Adding a Table of Contents
To ease the navigation for the user, you get to add a table of contents in Google Docs. It is a great feature that provides readers with a quick overview of the contents of the document.
To add a table of contents, go to the Insert tab and click on Table of Contents. Then, choose your desired format. 
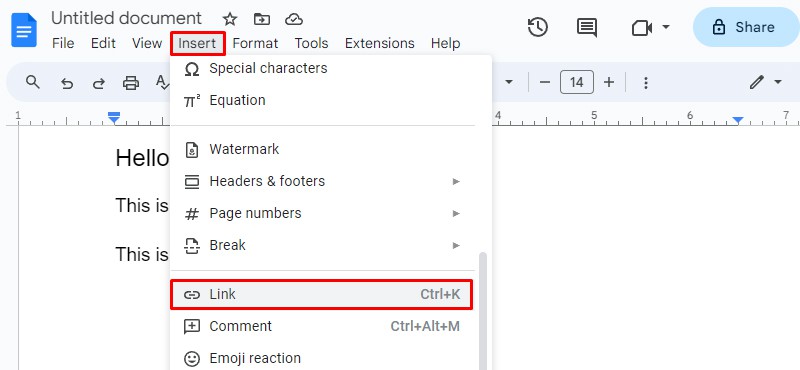
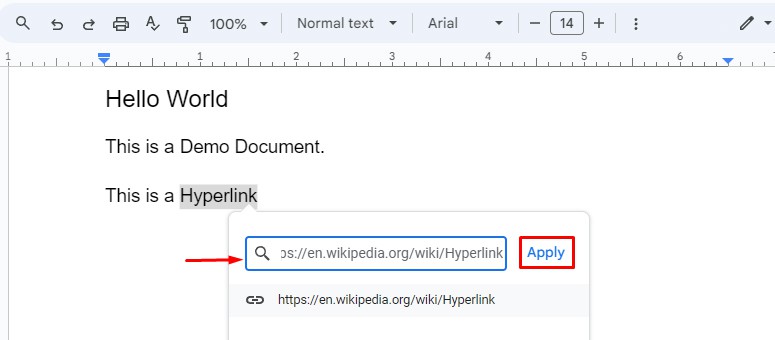
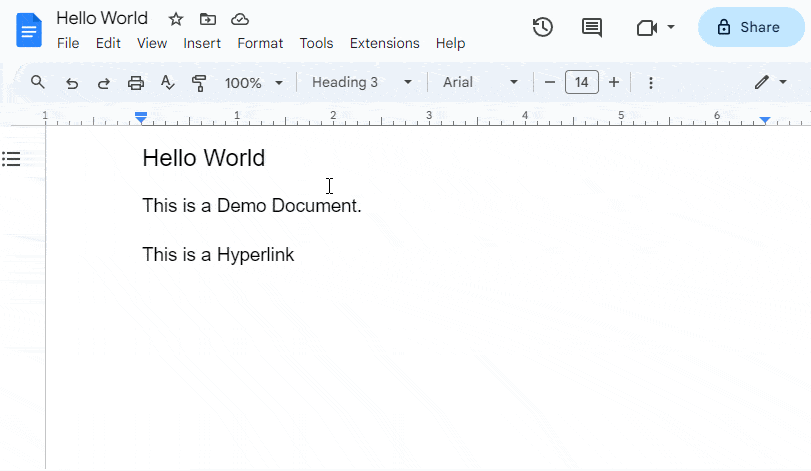
Adding a Hyperlink
Google Docs allows you to insert a link to words in your document. Here’s how:
- Open Google Docs.
- Select the word or paragraph you want to attach a link to.

- Go to Insert > Link or press CTRL + K on your keyboard.
- Paste your link and click Apply.
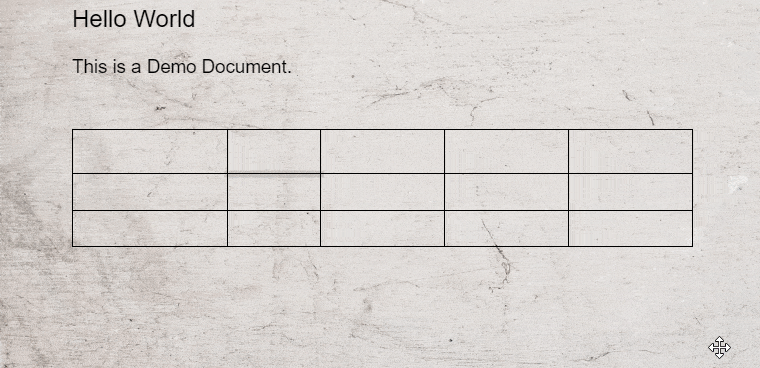
Adding Tables & Charts
Your Insert menu provides you with the option to add both tables or charts along with several other items based on your needs. Here, we are going to show you how to add a table and a chart to your document.
Here’s how you can add Tables.
- Go to the Insert Menu.
- Click on Table and select your dimensions. (This can be modified later.)
- You can adjust the height and width of the table by pointing your cursor to the lines of the table.
- You can Right-click on the table to access additional features.
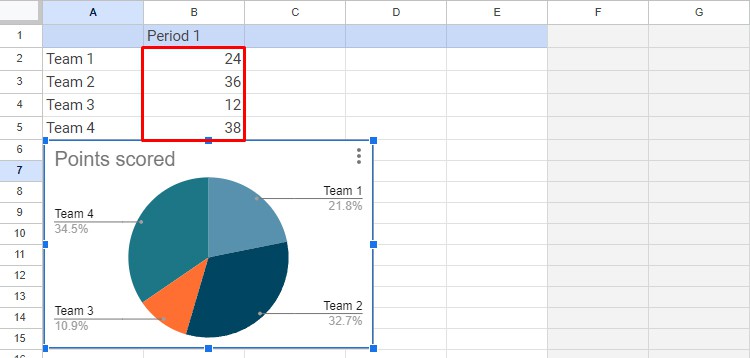
Here are the steps to add charts.
- Go to the Insert Menu.
- Click on Chart.
- Select your preferred chart from the provided options. If you already have a chart on your Google Sheets, Click on Chart > From Sheets and select your chart.
- To edit the data, click on the chart. Then, click on the three dots icon and select the Open Source option. It will take you to the Google Sheets page.
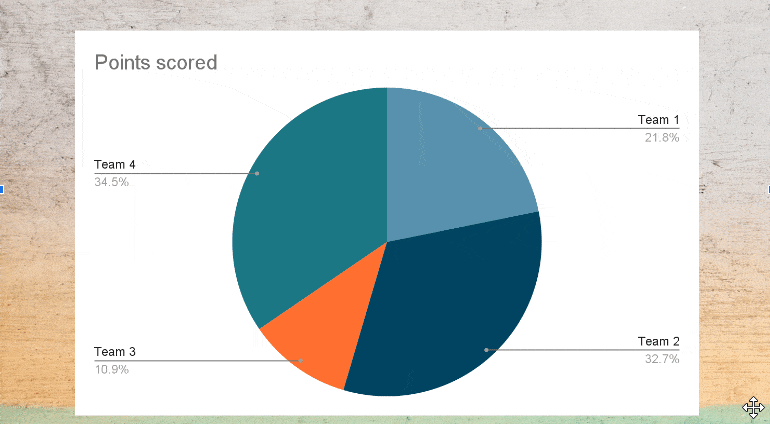
- Here, edit your data.
Collaborating on Documents with Others
Google Docs has significantly streamlined collaboration by allowing you to share your docs with your friends or colleagues with just a few clicks. Instead of having to pass files back and forth among two or more parties, the shared parties can make suggestions and edits to the same document.
Here’s how you can share your document:
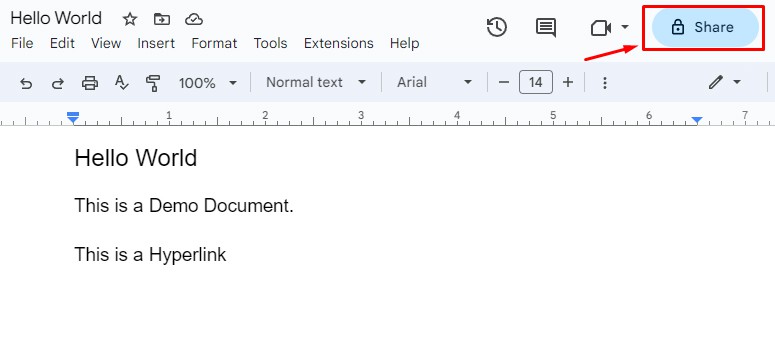
- Open your docs file.
- On the top right section, click on Share.
- If you don’t have the contact saved, type in the email address in the add people and groups box.
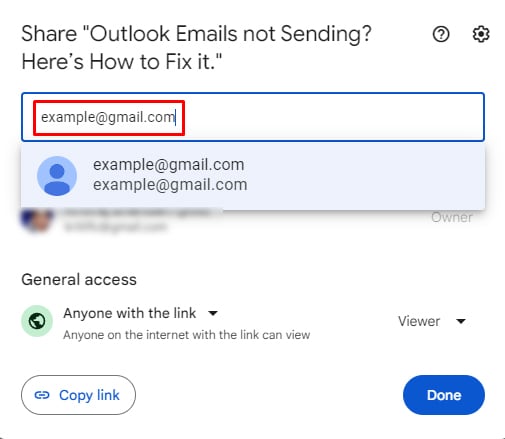
- Then, pick up a role:
- Editor: It allows the receiver to make changes to your Docs.
- Viewer: The recipient will only be able to view the file.
- Commenter: It allows the receiver only to add comments to your Doc.
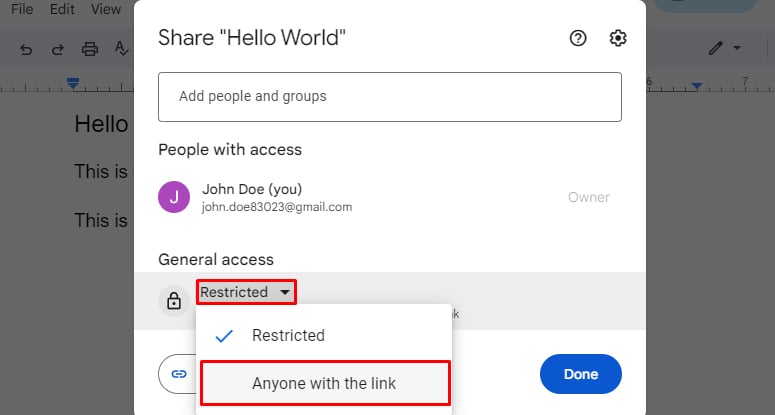
- In General Access, click and change Restricted to Anyone With the Link. This allows the person with the link to access the file.
- You can also choose what role you want to assign to the people you’ll be sharing it with.
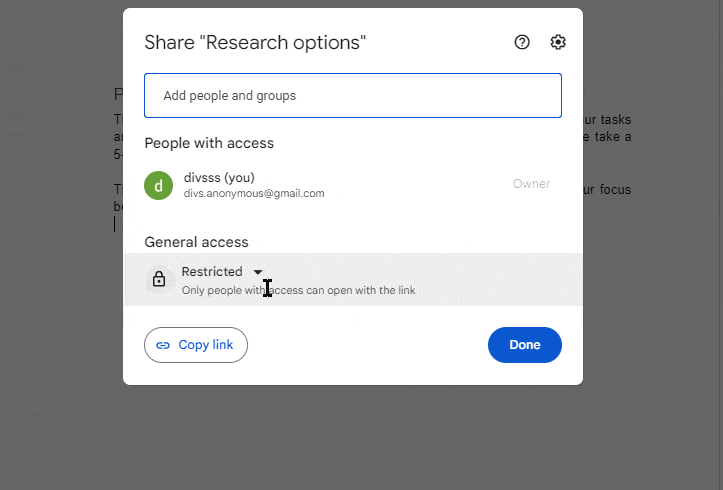
- Now copy and send the link to the people you want to share the docs with.
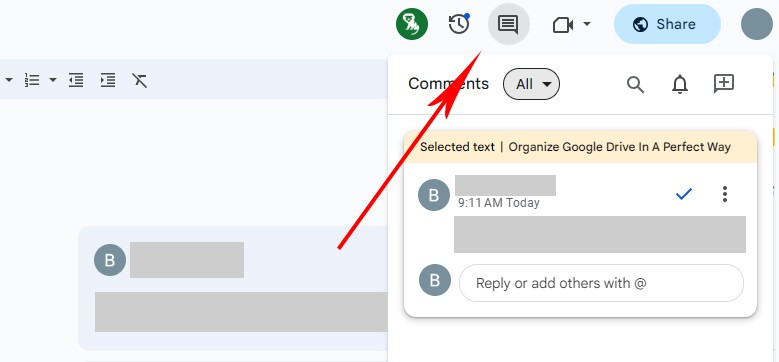
Checking Comments and Suggestions
Once you’ve granted permission to add comments to other users, the comments are highlighted in yellow by default. The highlight disappears once you’ve clicked on the resolved button.
Check Revision History
You might have made several changes to your Docs before finalizing it, meaning you could have possibly deleted some sections. With Google Docs, you are able to backtrack all your changes at any time using its Version History option.
First, open Google Docs. Then, click on the Clock icon on the top right. Now, all your version history will be displayed.
Duplicating Google Docs
You can duplicate a Google Doc by simply copying its data and pasting it to a different page or a blank document. However, if you want to duplicate it, including all the comments and suggestions, copying and pasting it won’t do it.
Here’s how you can duplicate Google Docs, including comments and suggestions:
- Go to File and select Make a Copy.
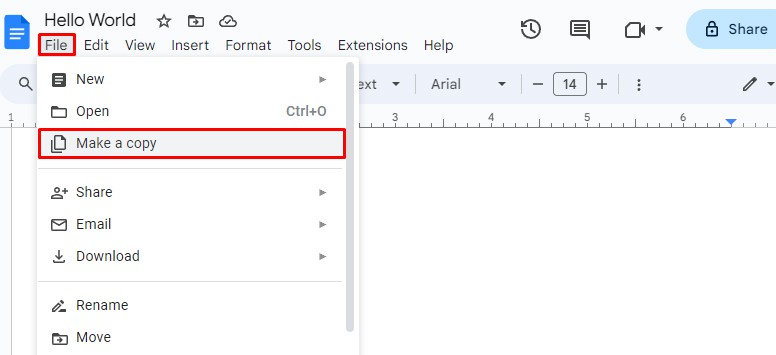
- Rename the doc if you want and select the location. Then, checkmark all the boxes and click on Make a Copy.
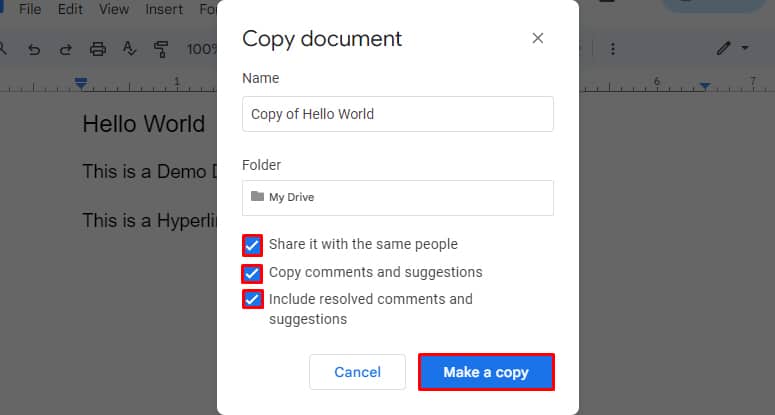
Your copy of the current document will be saved in your Google Drive.
Printing Your Document
The printing option is provided at the top left of your menu toolbar. You can either click the Print icon or use CTRL + P on your keyboard as a shortcut.

Exporting Google Docs
You can Export your Google Docs to various formats .docx, .otd, .pdf, .txt, etc. To export your document, follow these steps:
- Open your document in Google Docs.
- Go to File > Download.
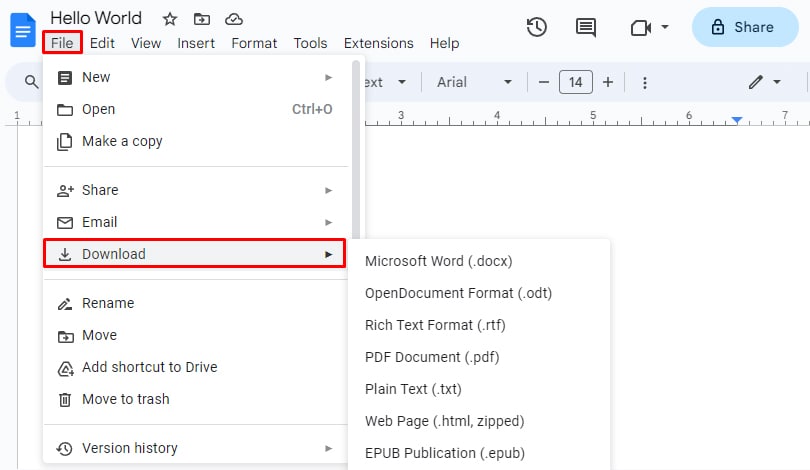
- Choose any format and click on it.
- Your document will be saved in your downloads folder on your hard drive.
Additional Google Docs Features
So far, we’ve covered all the major features of Google Docs to get you started. Here are some of the additional features it offers.
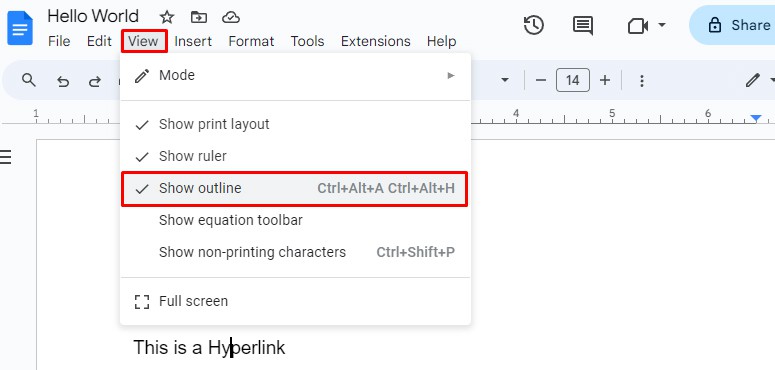
Show Outline
Google Docs outline is an interactive feature that works like a table of contents. The document outline is located on the left side of your Docs by default. If it is not visible, here’s how to make it work.
Go to the View tab on your Google Docs and click on Show Outline.
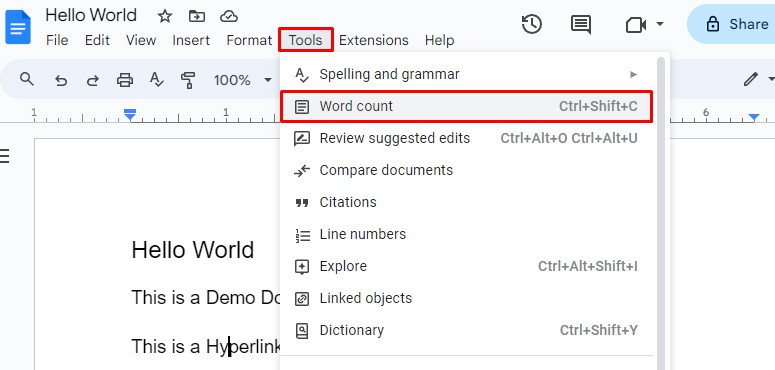
Show Word Count
If you want to view the word count of your document, simply press CTRL + SHIFT + C on your keyboard.
Alternatively, if you want to view it manually, then:
- Click on Tools on your menu toolbar.
- Click on word count on the drop-down menu.
View Page Setup
The Page Setup option can be used to change and modify your document’s orientation, size, margins, and color.
You can access Page Setup by clicking on the File option, which will load a dropdown menu. You will find the Page Setup towards the bottom of the menu.
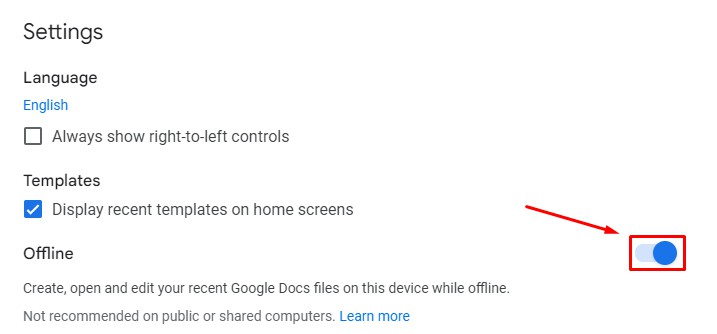
Use Docs Offline
You might not have access to an internet connection on certain occasions, and although Google Docs is a web-based service, you can still use it offline.
To use it offline:
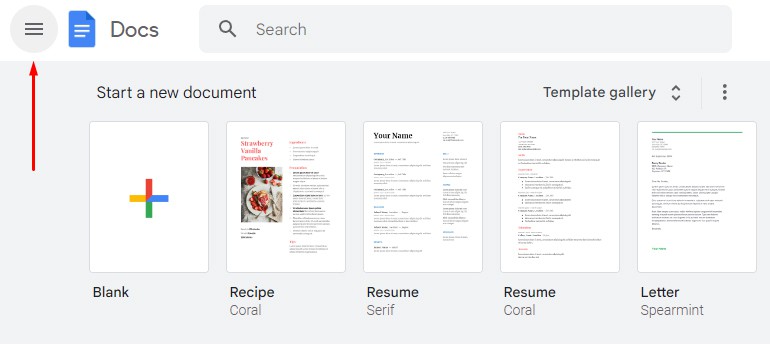
- Go to the docs homepage
- Click on the three-line icon on the top left of your webpage.
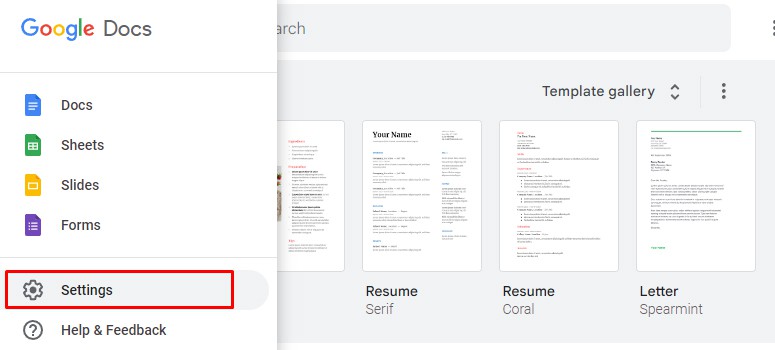
- Click on Settings.
- Toggle on Offline Mode.
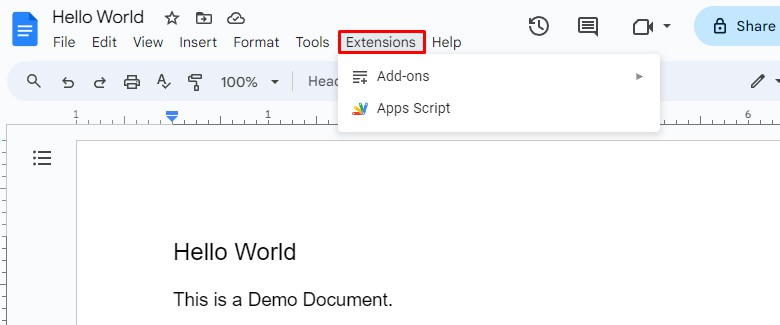
Using Extension in Google Docs
Extensions are used to provide extra features on your application that are not available in the default version. Likewise, Google Docs offers a variety of extensions that help to ease your work.
Follow these steps to use an Extension in Google Docs:
- Open Google Docs.
- Click on Extensions on your Docs toolbar.
- Go to Add-ons > Get Add-ons.
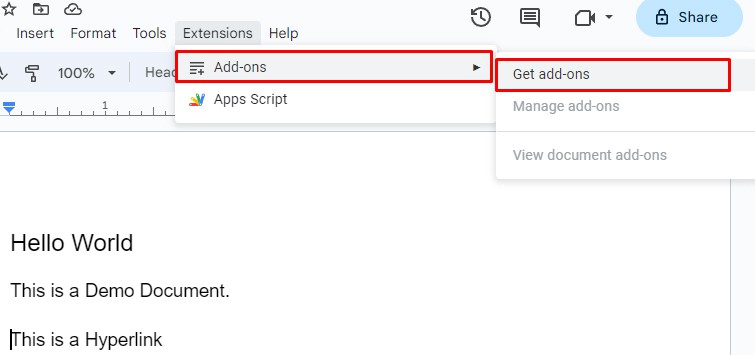
- You will be taken to the add-on store after this.
- Select your preferred add-on and click Install.