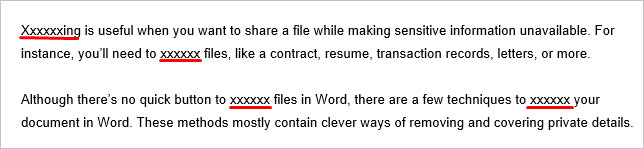
Redacting is useful when you want to share a file while making sensitive information unavailable. For instance, you’ll need to redact files, like a contract, resume, transaction records, letters, or more.
Although there’s no quick button to redact files in Word, there are a few techniques to redact your document in Word. These methods mostly contain clever ways of removing and covering private details.
Before You Redact Documents
Here are few pointers you must know before going through the redacting process.
- Once you redact the documents, the data is lost. So, you need to prepare a copy of the original document and then redact the new copy.
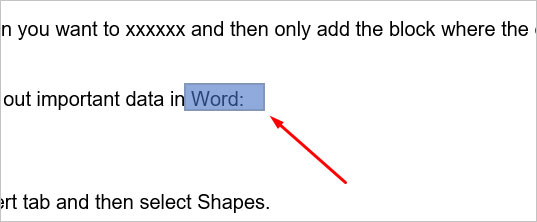
- Changing the font color of your personal information won’t work as anyone can edit it later.
- Anyone can use third-party tools or techniques to reveal confidential information. So, always ensure it’s completely removed from the redacted copy.
- Be careful of how you save your documents. Make sure they’re protected and non-editable afterward.
- Make sure to delete any metadata, like author, history, and such.
- Instead of redacting, directly deleting the confidential information in your document may not work or can ruin the formatting.
Redact Using Find and Replace
One of the easiest and more secure forms of redacting your documents is using the Find and Replace tool. Here, we’re only replacing the valuable text with “X” characters. Hence, the important information is removed and can’t be edited. Along with that, the formatting style will also remain intact. So although it may be time-consuming in case of a lot of data to replace, it’s worth it.
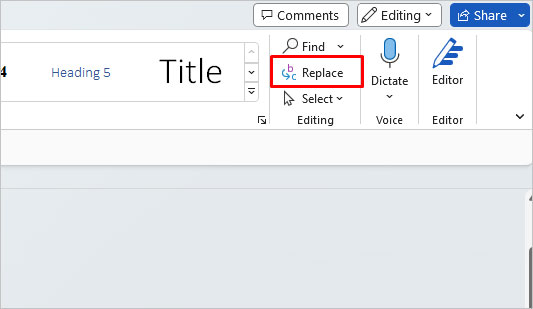
- On your Word document, go to the Home tab and click on the Replace icon. The Find and Replace window will now appear.
- In the Find What section, type the confidential information you’d like to redact. Then, in the Replace With section, enter “xxx” letters. For a neat format, make sure to enter the same number of letters as the original word.
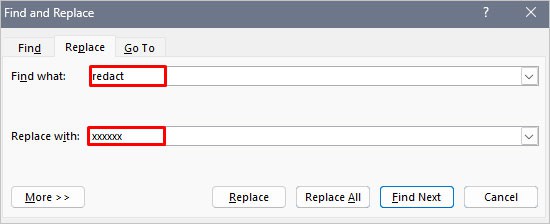
- Then, click on Replace All. You may need to perform this action multiple times for the rest of the words you want to redact.
- Your document is now successfully redacted.
Block Out Personal Data
If you want a quicker way of redacting your documents, you can use the Shapes tool to add blocks on top of the text that you want to redact. But, we’re merely adding these blocks to make it appear like the text is being hidden instead of actually covering the text.
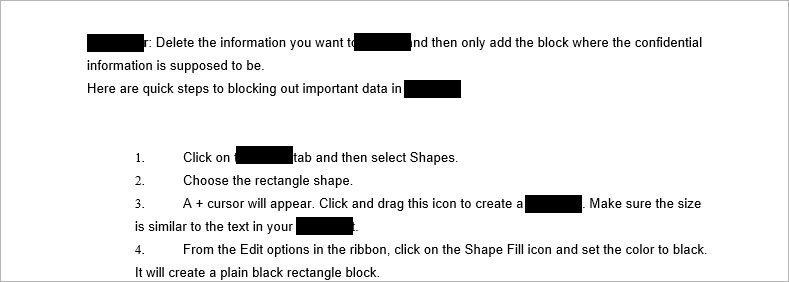
Here are quick steps to blocking out important data in Word:
- Click on the Insert tab and then select Shapes.
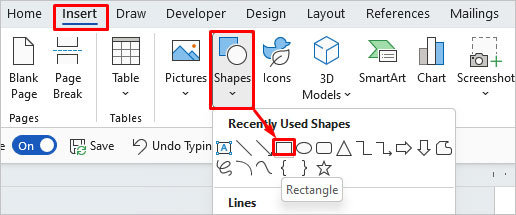
- Choose the rectangle shape.
- A + cursor will appear. Click and drag this icon to create a rectangle. Make sure the size is similar to the text in your document.
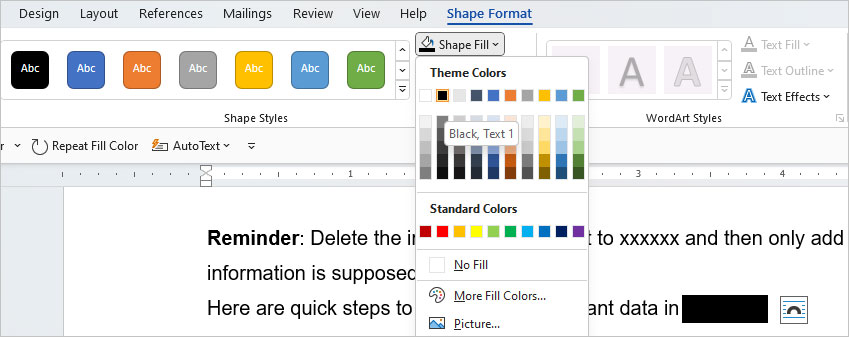
- From the Edit options in the ribbon, click on the Shape Fill icon and set the color to black. It will create a plain black rectangle block.
- Drag the block to the location of the private information.
- For the rest of the words, select the block and press CTRL + C to copy it. Then, press CTRL + V to paste the block. Continue until all the important text is redacted.
Remove MetaData by Inspecting Document
One of the final steps of redacting your document is by removing the metadata as well. Metadata is not in association with the content of the document but it can still include critical information from your document. For instance, metadata can look like the document’s author, last modified details, topic summaries, comments, and such. It can be easy for anyone to view these details when the document is shared online.
A quick way to delete metadata is by following these steps:
- Open the redacted Word file and go to the File tab.
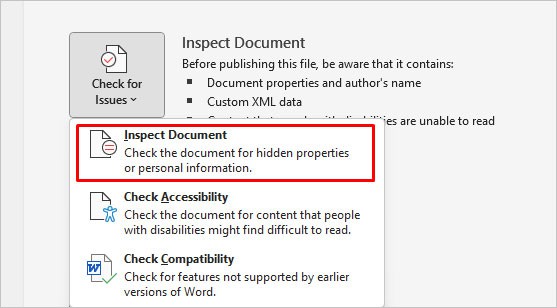
- Click on Info > Inspect Document. Again, click on Inspect Document.
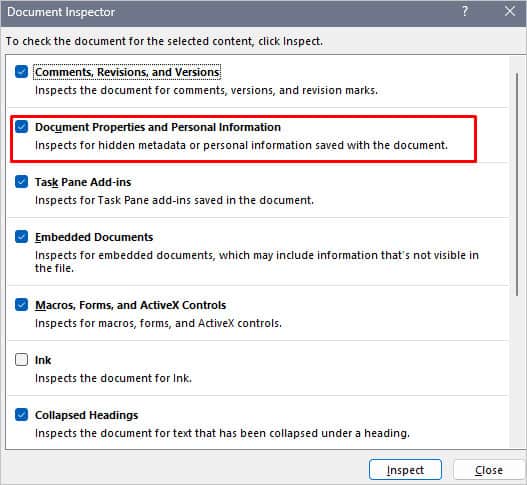
- The Document Inspector window will appear. Here, you can choose what to delete. Make sure to check the box for Document Properties and Personal Information. Also, tick the boxes for Invisible Content, Hidden Text, and Comments. Then, click the Inspect option.
- Now, if any available personal information details appear, click on the Remove All option. You may run the Reinspect option as well.
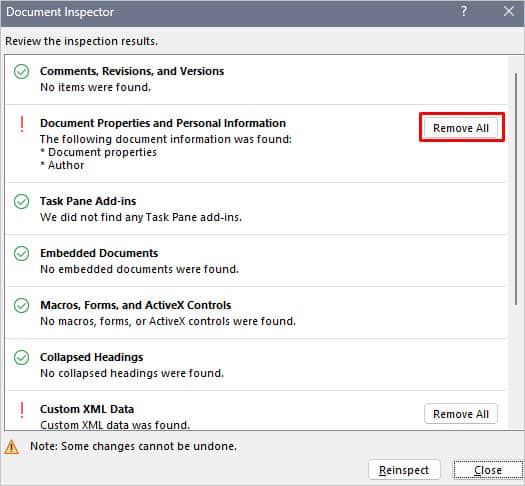
You’ll now notice that the author and similar details are no longer available.
Protect or Save Word Files as PDF/Image (Final Step)
Merely redacting your files may not be enough. To add more security, it’s important to save or export your files properly. Some effective methods are changing the file to Read-Only mode or changing to PDF or Image formats.
Restrict Editing in Word File
If you’re sure about distributing the redacted file as a Word document, you’ll need to restrict any form of editing. This will change the file to a Read-Only mode. Additionally, add a password for further protection.
- Launch the redacted document and go to the File tab > Info.
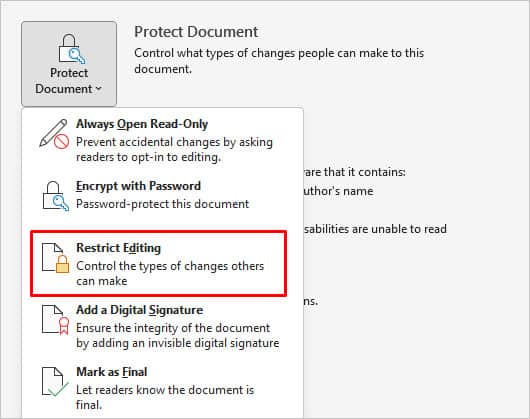
- Click on Protect Document > Restrict Editing.
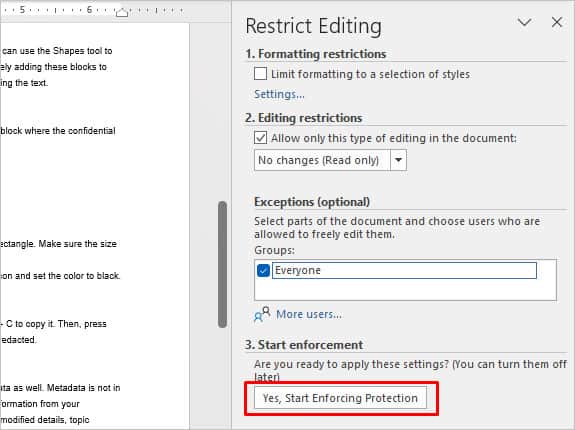
- The Restrict Editing view will open on the right of your document. In the no.2, check the box for Allow only this type of editing in the document: and select No changes (Read only).
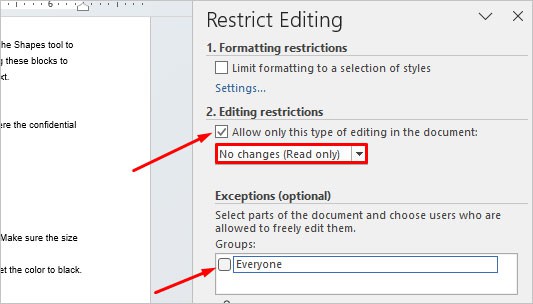
- In the Exceptions section, select Everyone. Avoid highlighting any text that you don’t want to be edited without a password.
- Select Yes, Start Enforcing Protection.
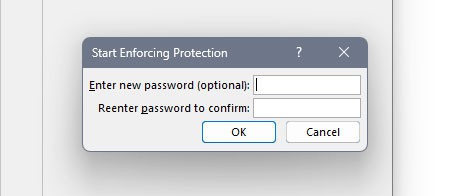
- In the new dialog box, enter a password for the file. Then, click on OK.
Now, no one can edit the file without your password.
Export File as PDF or in Image Format
Saving your redacted file as a PDF allows for more safety to your document. Here’s how to do it:
- Go to the File tab and click on Export.
- Click on Create PDF/XPS Document.
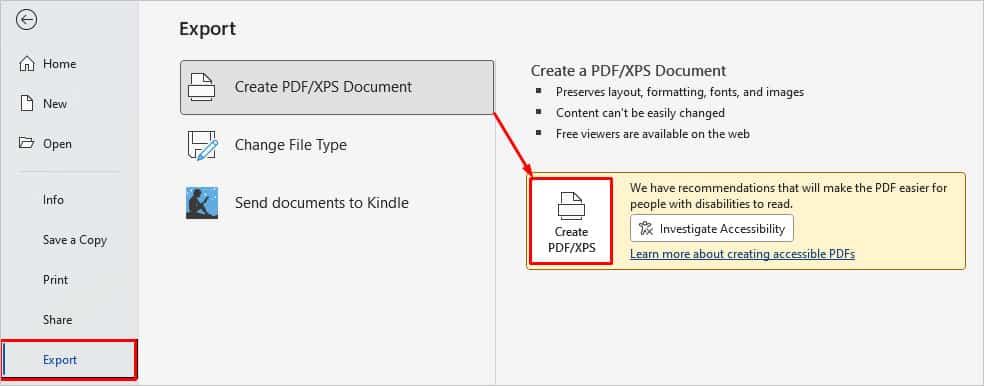
- Save the PDF file to any destination.
Now, you can leave the PDF as it is. But, you can also convert the PDF to an image for more security. For this, you’ll need to use Adobe Acrobat.
- Open the PDF file in Adobe Acrobat.
- Then, click on Export a PDF from the left pane.
- Select Image Format.
- Click on Convert.