The Tab Stop is a handy tool in Microsoft Word that aligns text in the document’s center, left, or right side. Besides text alignment, it is also used to add dots and lines in front of the tab. Although convenient, many users struggle to locate the option to add a Tab Stop.
There are a couple of ways to insert a Tab Stop on the Word document. You can insert it by using the Ruler or through the Paragraph setting dialog box. Keep reading to learn more about them.
Via Ruler
The easiest way to add a Tab Stop is from the Ruler. Before proceeding, enable the Ruler by switching to the View tab.
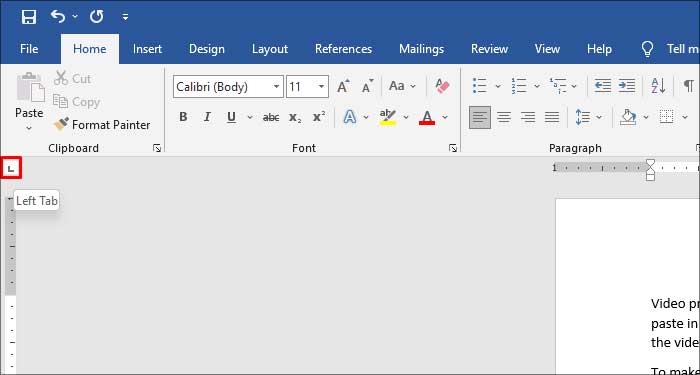
- Select an alignment from the Tab Stop toggle button. The button is on the left corner of the horizontal ruler.
- Select the text or the paragraph.
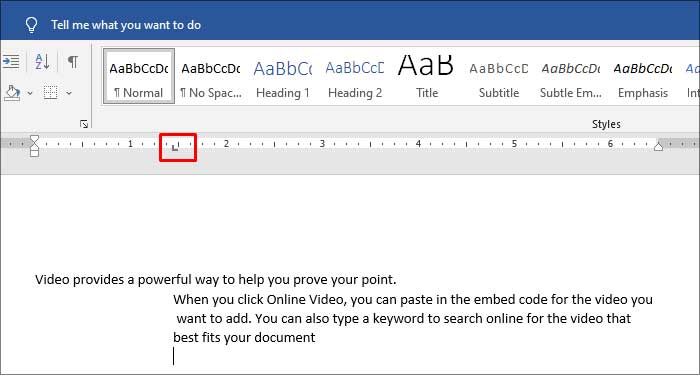
- Click on a position on the Ruler where you want to insert the Tab Stop.
- Press the Tab button on your keyboard.
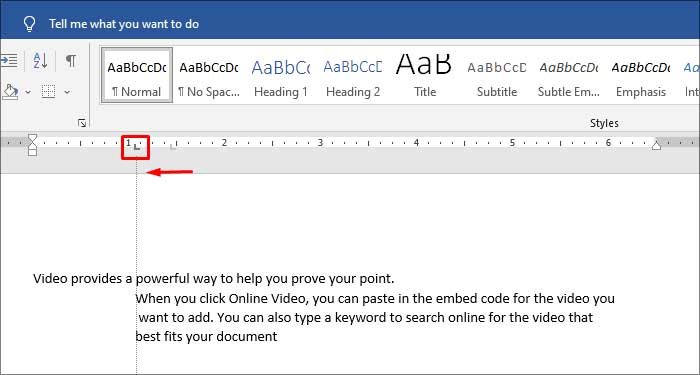
- You can reposition the Tab Stop by dragging its icon on the Ruler.
Note: If you’ve accidentally added multiple Tab Stops, you can remove them by simply dragging them onto the document. Via Paragraph Settings
The paragraph settings allow you to change the Indents, Spacing, and Line breaks in the paragraph. Besides that, you can also access the Tab Stop menu from the Paragraph setting dialog box.
- Launch Microsoft Word.
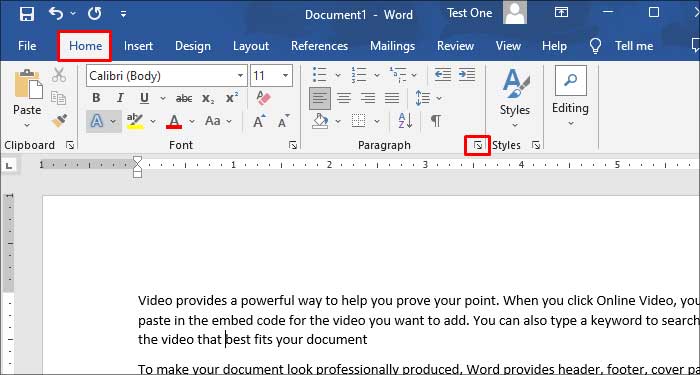
- Switch to the Home tab.
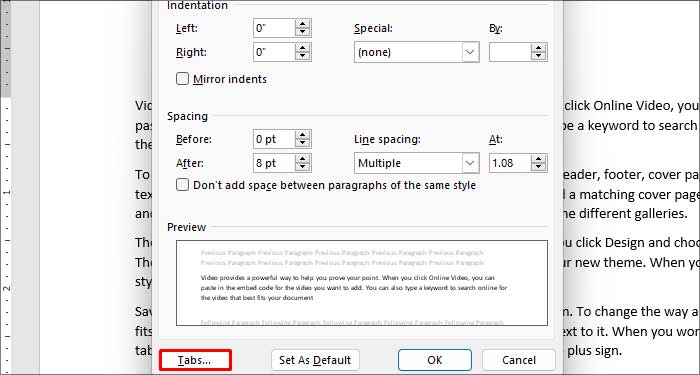
- Click the small down arrow icon under the paragraph section to open paragraph settings.
- Click on Tabs.
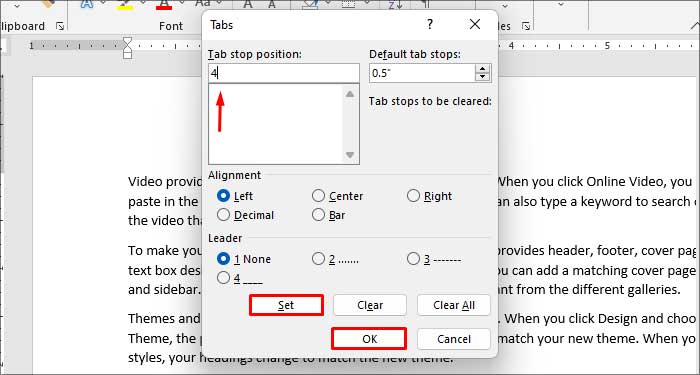
- Enter a position in the Tab stop position text field.
- Click on Set and then the Ok button.
Note: For tables, You can insert a tab stop by pressing the Ctrl + Tab shortcut keys.Customizing Tab Stops
You can customize the Tab Stops from the Tab Stop dialog box. Customization options include editing the Tab Stop position, adding a Leader, setting a default Tab Stop, and clearing the Tab Stop.
- Switch to the Home tab.
- Click the down arrow icon on the Paragraph section to open the paragraph option.
- Click on the Tabs button.
- Select an Alignment.
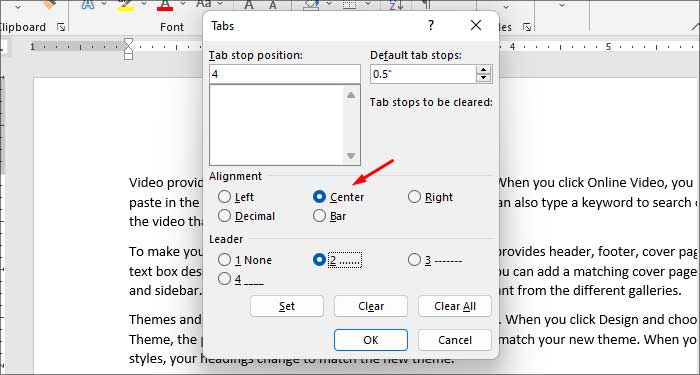
- You can also choose a Leader.
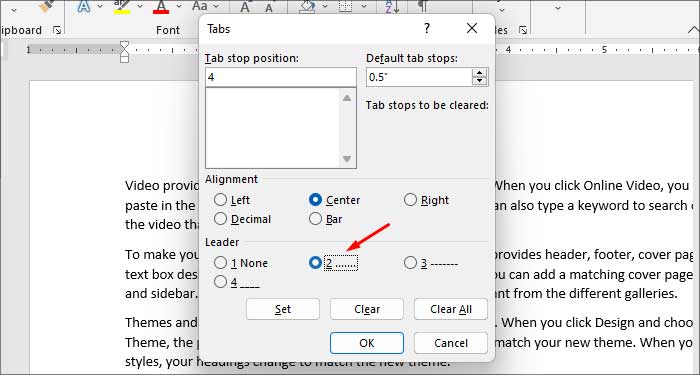
- You can clear a Tab Stop by selecting its position and clicking on the Clear button.
- You can remove all the Tab Stops by clicking on the Clear all button.
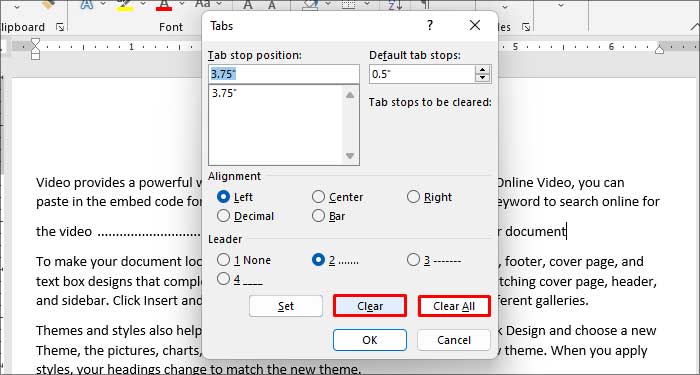
- Press the Ok button.
Note: Adding a Tab Stop will apply the alignment to the rest of the document. You can remove it to add a new Tab Stop or reset the current text alignment.