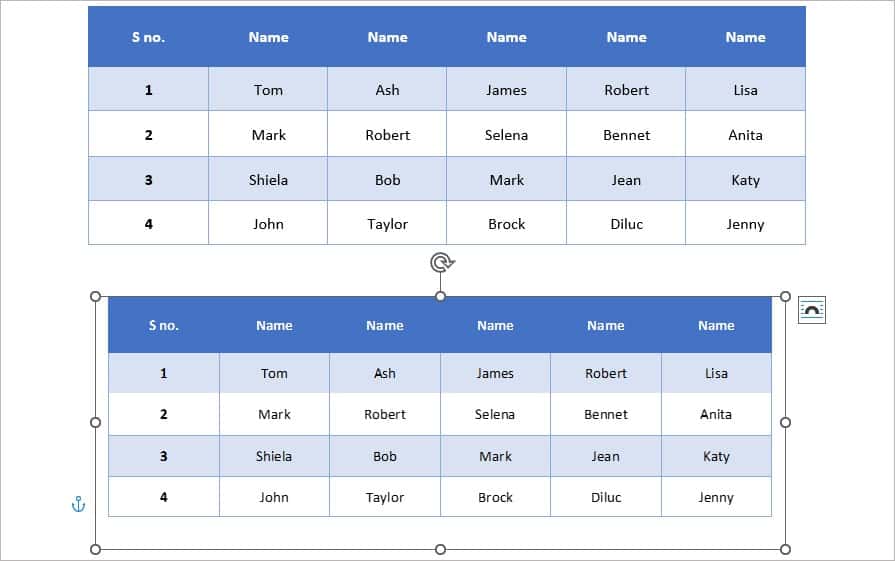
MS Word has a comprehensive set of features that help you craft the best text document. Along with them, you also get many options for even a simple table. However, when you insert a table in MS Word, its default alignment is always on the left. But if this alignment doesn’t go well with your formatting either for school or work, you can freely align it on the center of your document. Below is an easy guide to center a table.
How to Center a Table in Word?
A very simple way to change the alignment of your table on MS Word is by going to the Table Properties. Here are the steps you can follow:
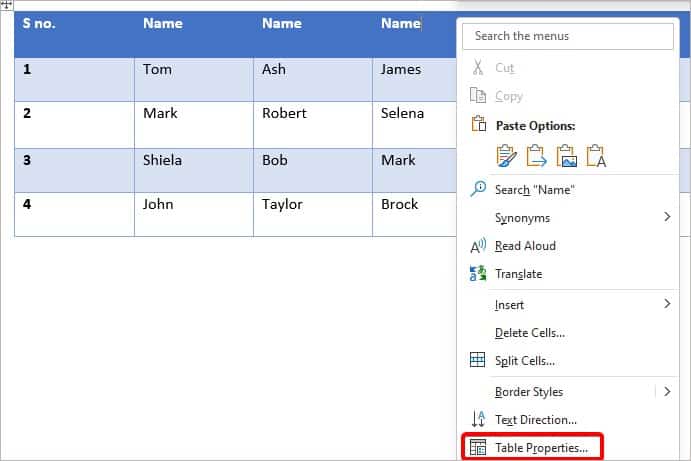
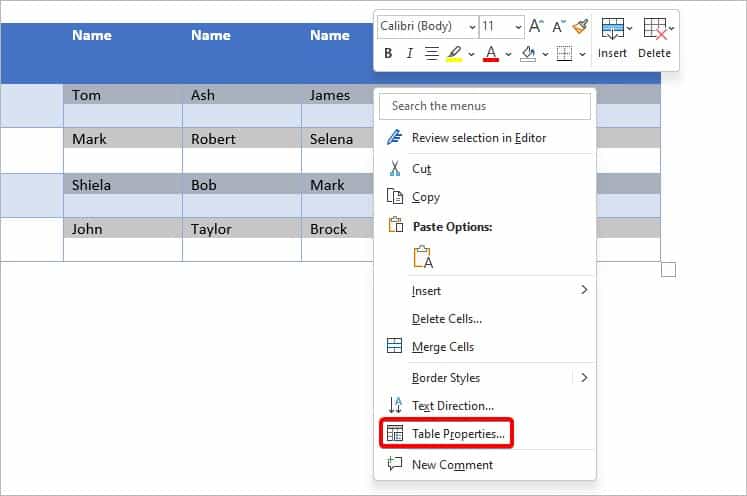
- Once you have your table ready, hit right-click on your table.
- A new menu will appear. From the drop-down list, select Table Properties.
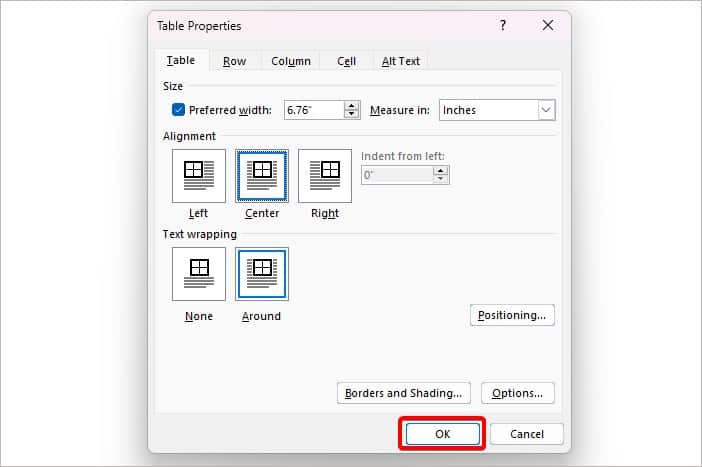
- You’ll now view a new window. The Table tab will open.
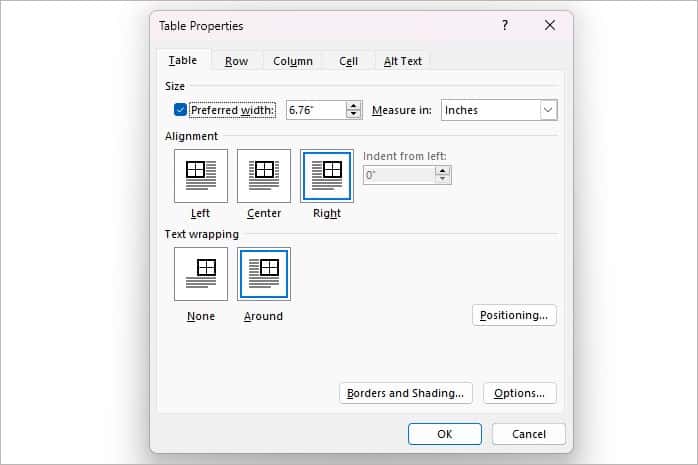
- Check the Alignment section. You’ll find that it is on the left or right. Click on Center to align the table in the middle of your page.
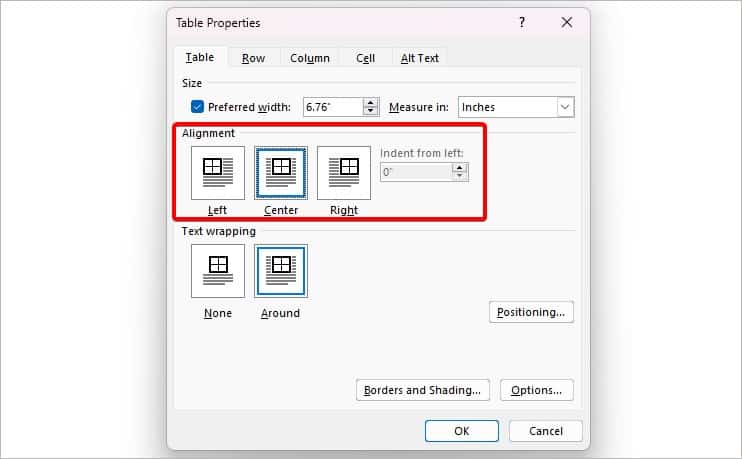
- Then, click on OK and exit the window.
How to Center Text Inside Table Horizontally or Vertically
After aligning your table properly, you can choose to also align the text inside your table. You can perform this either horizontally or vertically.
Align Text
- Select either a single cell of your choice or the entire table.
- Then, hit right-click and go to Table Properties.
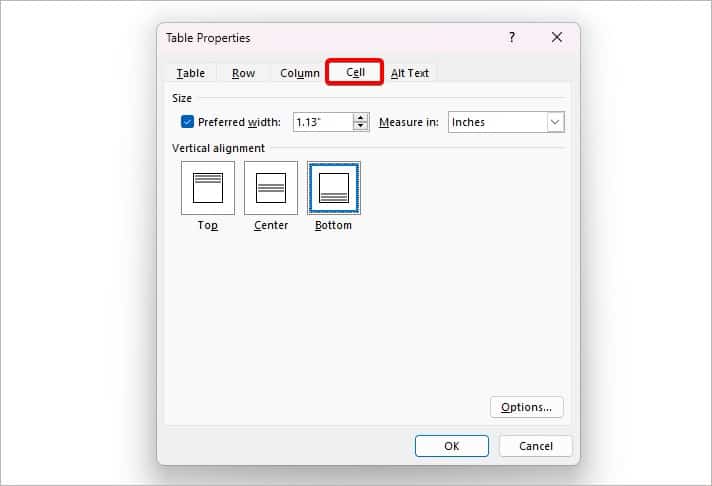
- Switch to the Cell tab.
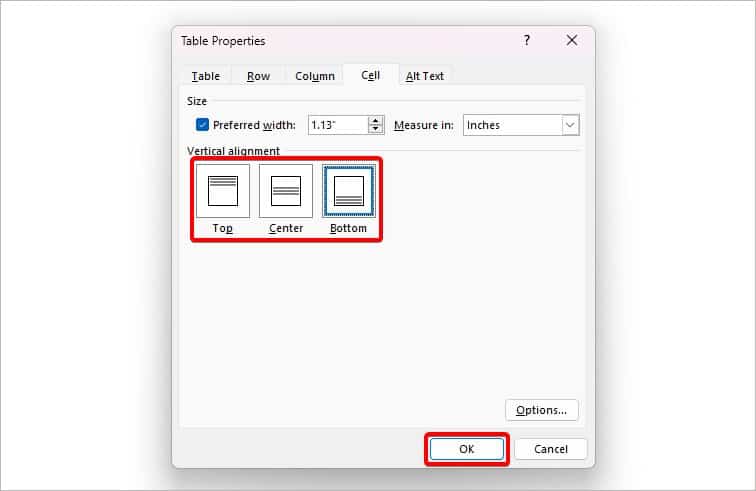
- Select any vertical alignment, like the top, center, or bottom of your choice. Then, click on OK.
From Layout Tab
- Click anywhere on your table. This will open the additional tab called Layout. Click on it from the ribbon.
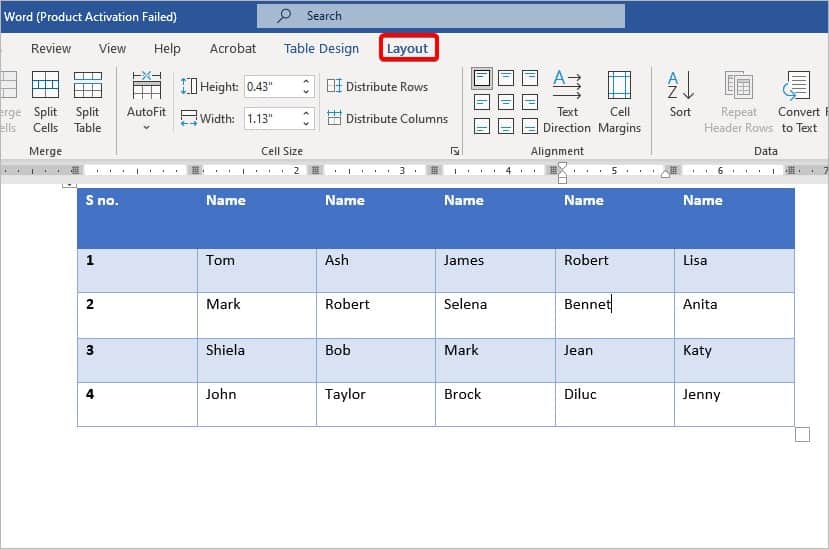
- Select the text inside your table.
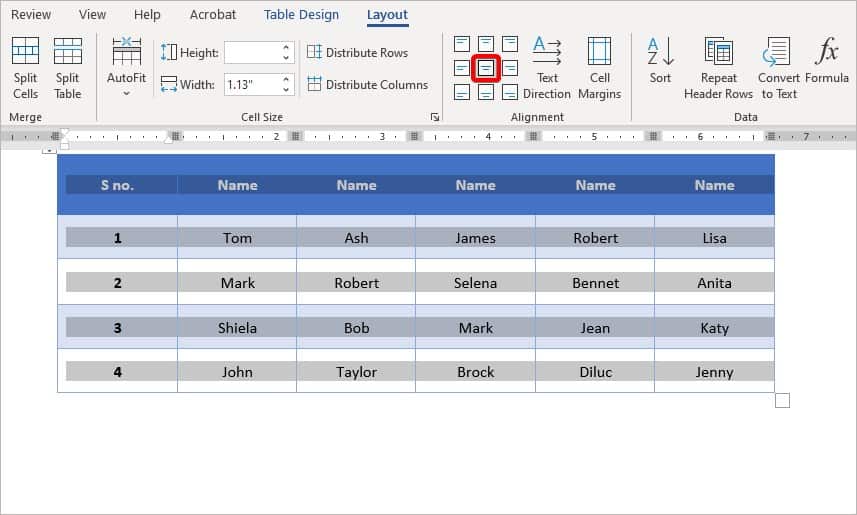
- Navigate to the Alignment group from the Layout tab. To center the text, click the Align Center icon.
Can I Rotate a Table in Word?
One way to rotate your table in Word is to rotate the text inside the table by following the steps below.
- Select the desired cells or the complete table.
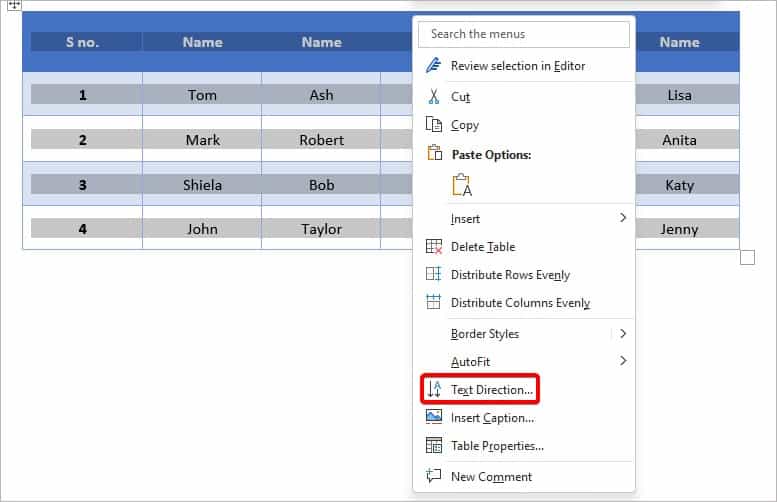
- Right-click to open the menu. Click on Text Direction.
- A new window will pop up where you can choose any orientation of the text inside the cells. You can also check the preview on the right.
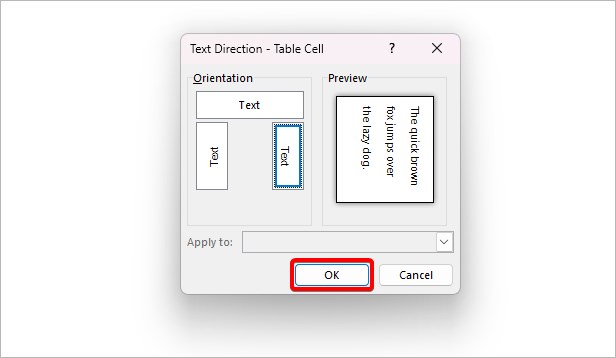
- Click on OK to apply changes.
While this won’t necessarily rotate the table itself, the rotated text will give the appearance of a rotated table. However, if you still want to manually rotate and adjust the placement of your table, you can do so by duplicating it as an image. Here’s how it works:
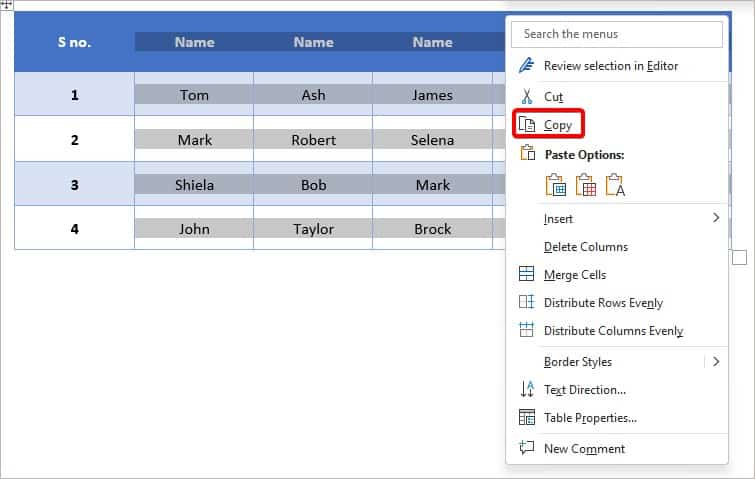
- Highlight your entire table properly and hit right-click. Select Copy.
- Then, go to any area where you’d like to insert the table. You can even choose to delete the initial table.
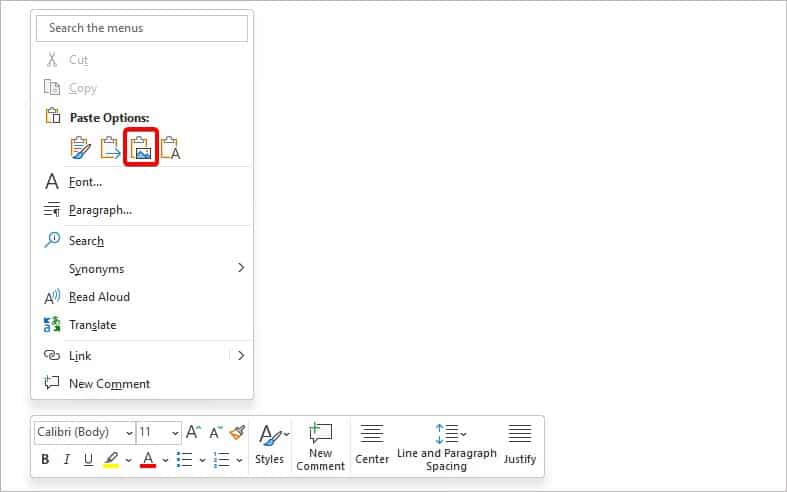
- There, hit right-click and check the Paste Options. Select the Clipboard with an image icon to paste it as an image.
- Your table is now ready. Click on the Rotate icon at the top of the image to freely rotate it. You can also click and drag the corners to resize the table.
