Instagram officially joined the bandwagon in 2010 and began developing a platform for business marketers. It evolved into more than just a photo-sharing app. By 2024, most global businesses will regard Instagram as a primary marketing tool.
If you are starting out a business in Instagram, you need to setup few information to let your clients find you and recognize your brand name. One of those information is your company’s location. You can add your business’s address on your Instagram Bio. Adding location makes it easier for customers to locate your business and helps you retain more customers.
How to Add Location on Instagram Bio?
When it comes to including location in your Instagram bio, you have three options. You can add the location while setting up a Business Account. If you’ve already set up a business profile, you can edit the account to add the location. Alternatively, you can add a link to the Google Map in your Instagram bio.
If you don’t have a business account, you have to change your regular account to a business one.
While Setting Up Business Account
Business accounts on Instagram can usually add their location on their bio. While switching your account into a business account, you can also add location.
- Launch Instagram.
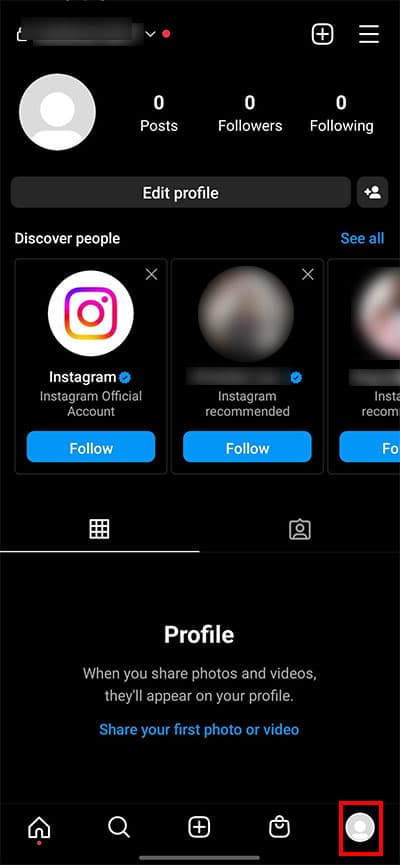
- Tap on the three-lines at the top right corner.
- Tap on your Profile icon.
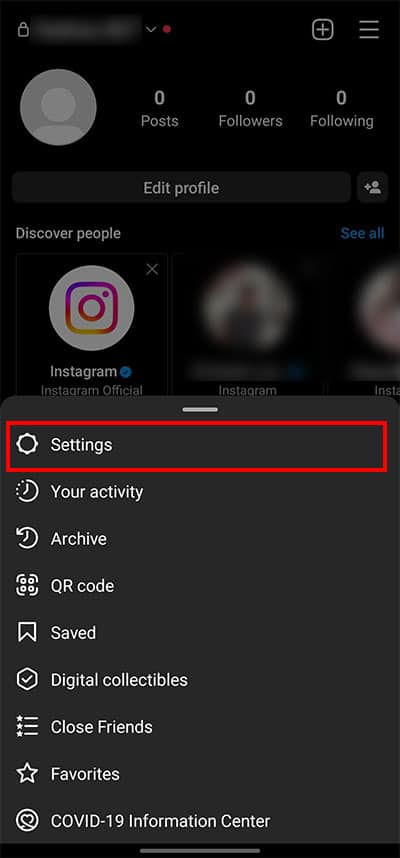
- Select the Settings.
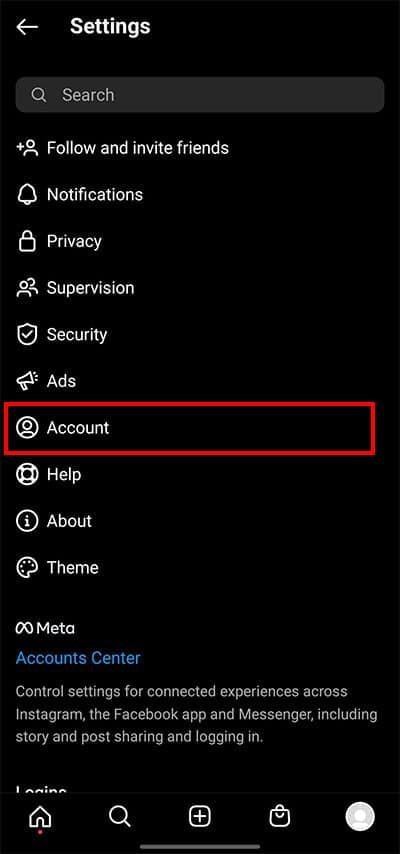
- Tap on Account.
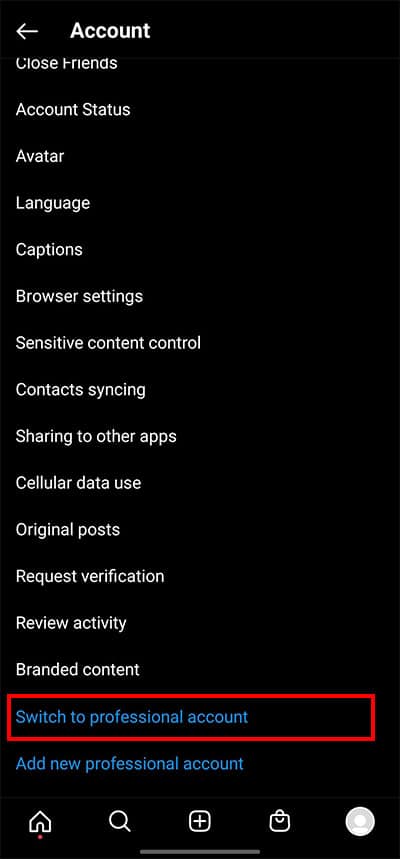
- Scroll down and Press on Switch to professional account.
- In the new tab, hit Continue four times.
- Pick any Business category and Tap on Done.
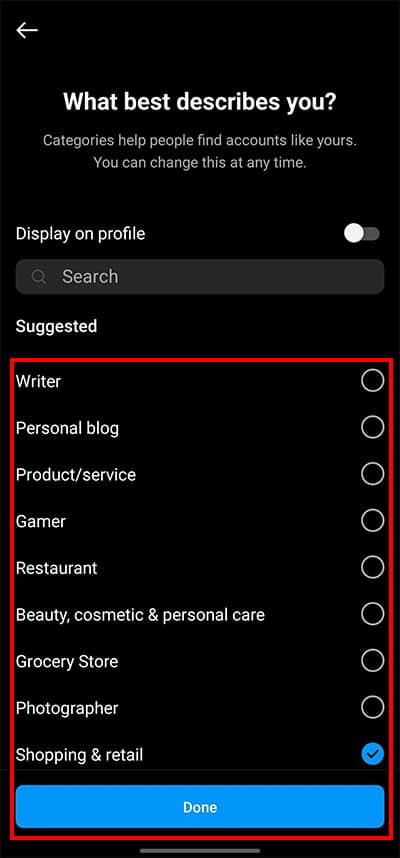
- Press OK in the pop-up box.
- Select Business in the new window and press Next.
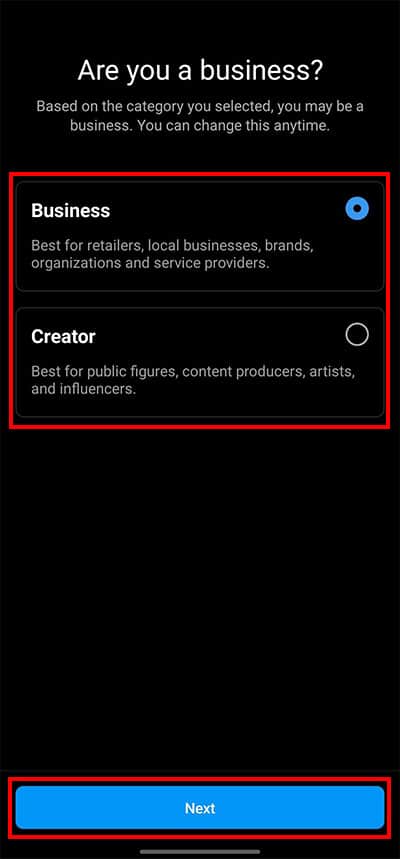
- Tap on Next again.
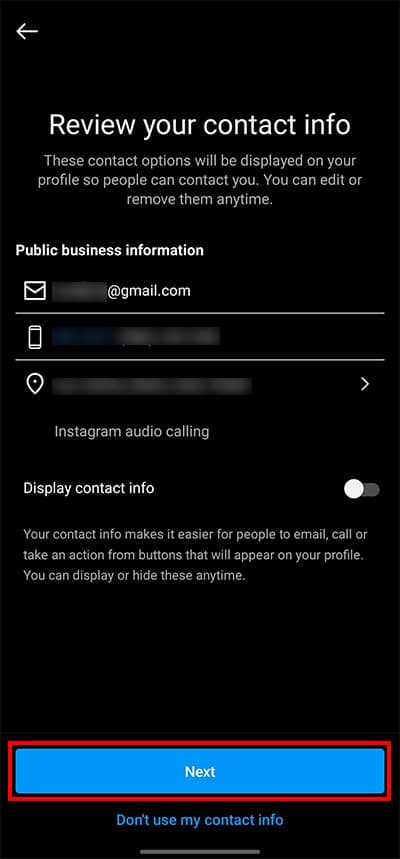
- Now, add the Email and Contact number of your business.
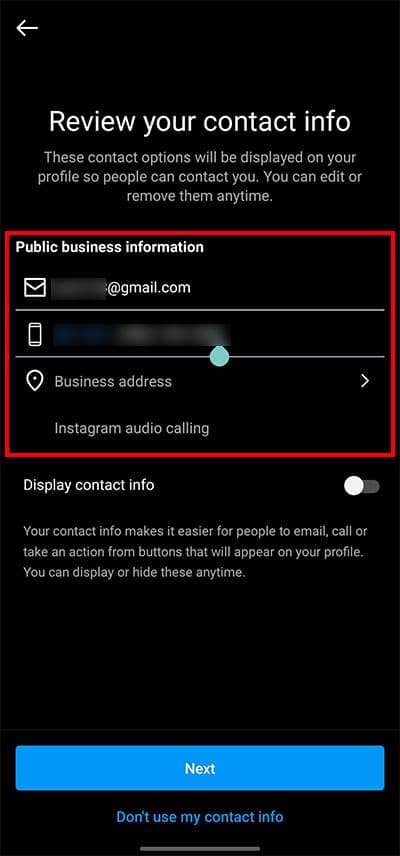
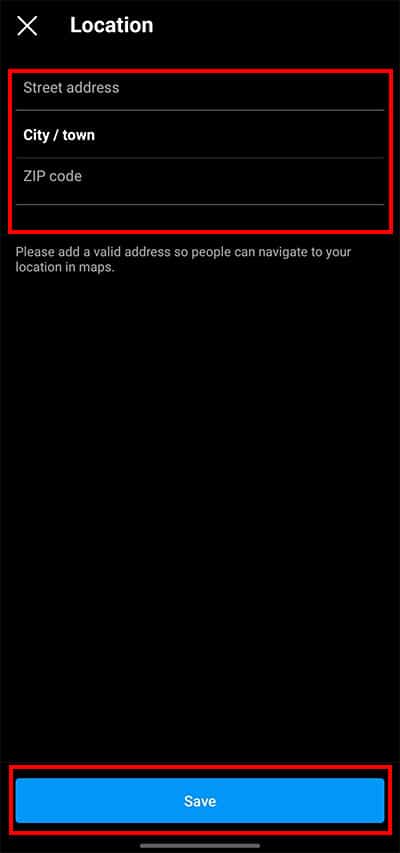
- Press on the Business address option.
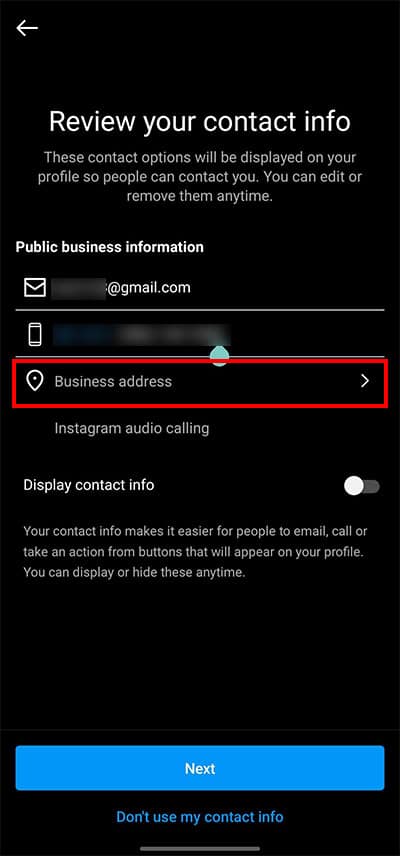
- Type in the Street address, City/town, and ZIP code, and press Save.
- Tap on Next.
- Tap Skip.
- Press on the Cross icon.
On Existing Business Account
Even if you have an existing Business account, you can still add or change the location on your Instagram Bio. If you want to add a location to your existing account, follow the steps below.
- Open Instagram.
- Go to your Business Account. then Tap on the Profile icon.
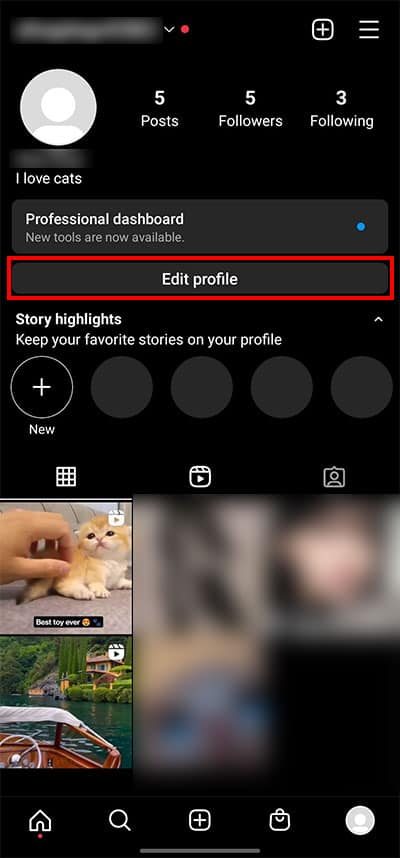
- Press on Edit Profile.
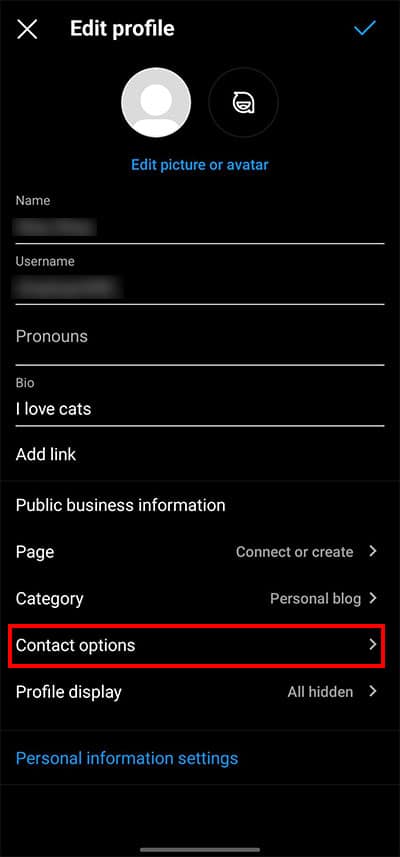
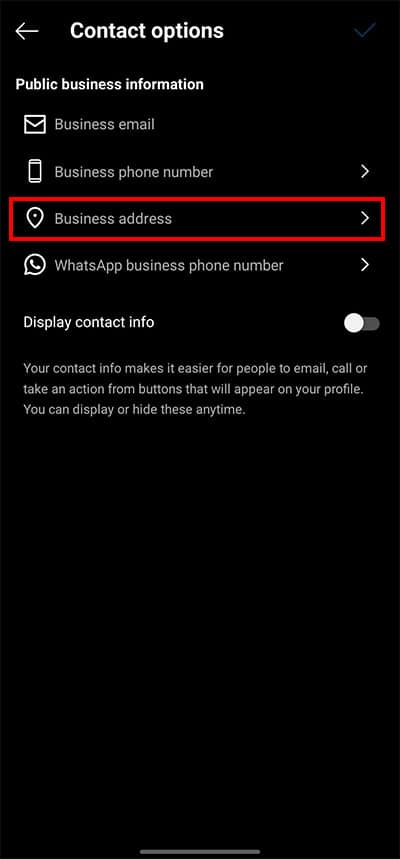
- Go to the Contact options.
- Tap on the Business address.
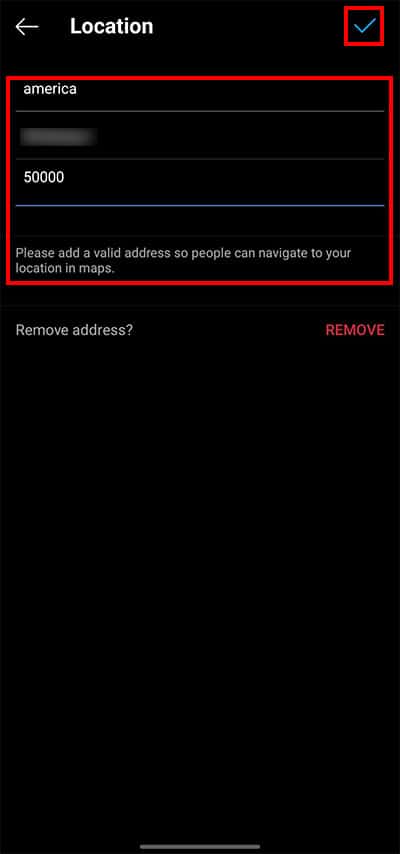
- Add Street address, City/town, and ZIP code.
- Press on the Tick icon.
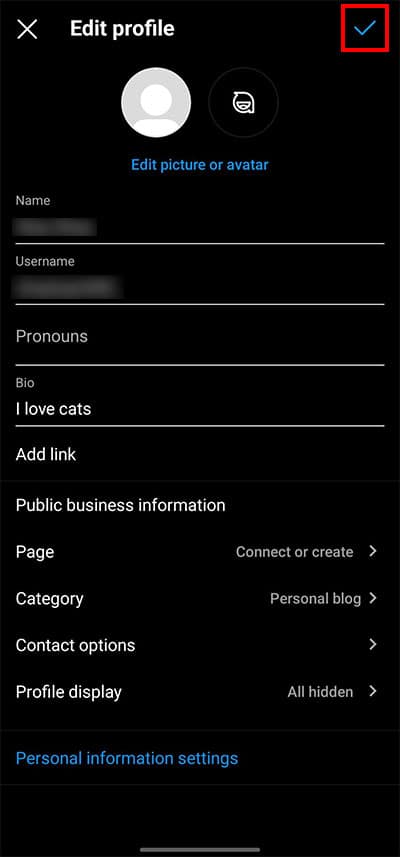
- On the Contact option section, tap on the Tick icon.
- Finally, on the Edit profile section, press on the Tick icon.
Add Google Map Link
You can also add a direct Google Map location link to your Instagram bio. When your customers click on the link, they will be redirected to Google Maps with a more accurate location of your business.
You don’t need a business account to add a Google Map link. You can easily add the link to your regular Instagram account. To Add the Google Map Location Link, follow the steps below,
Step 1: Copy the URL from Google Maps
- Open Google Maps.
- Type in your Business location on the search bar and press Search.
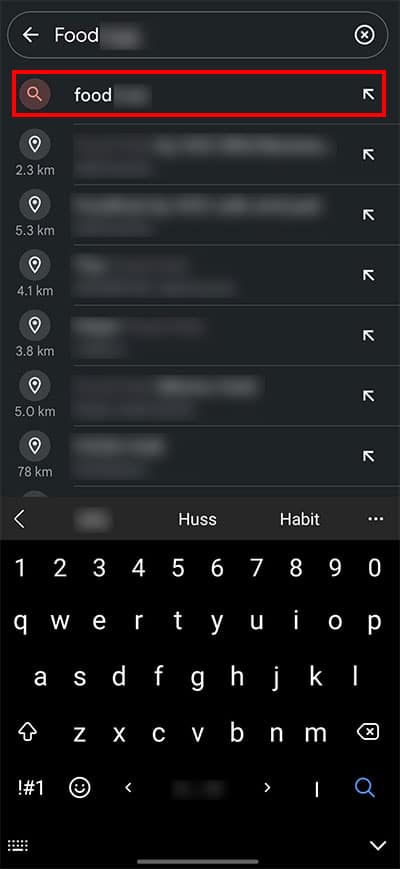
- Scroll to the right and press the Share option.
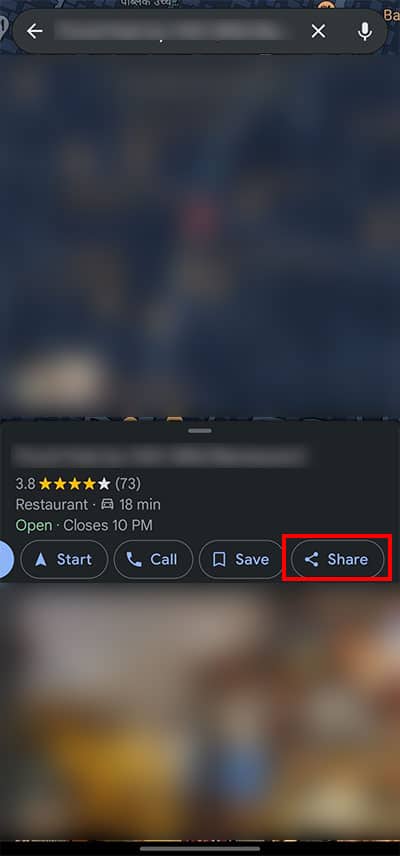
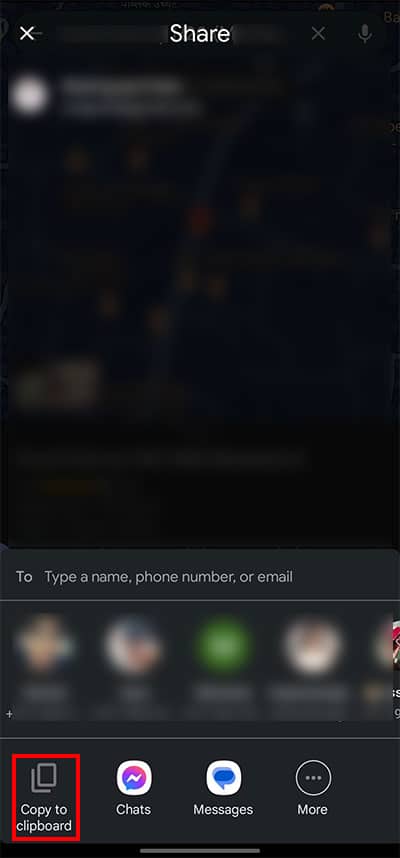
- Tap on Copy to clipboard.
Step 2: Paste URL on Instagram Bio
- Go to Instagram.
- Open your Business Account.
- Tap on the Profile icon.
- Press Edit Profile.

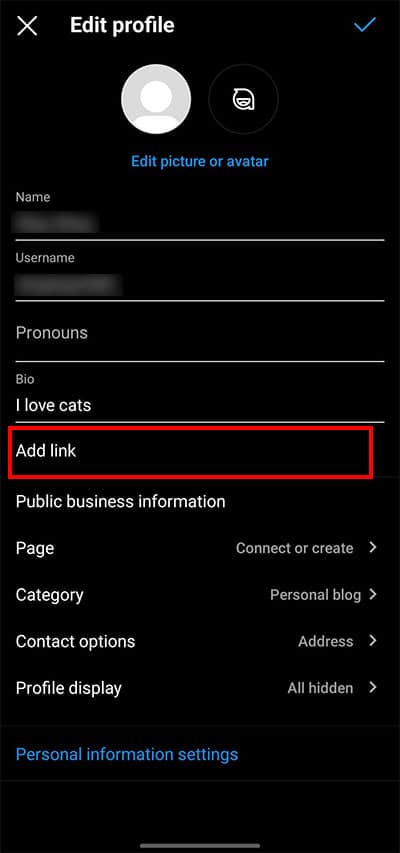
- Tap on the Add Link.
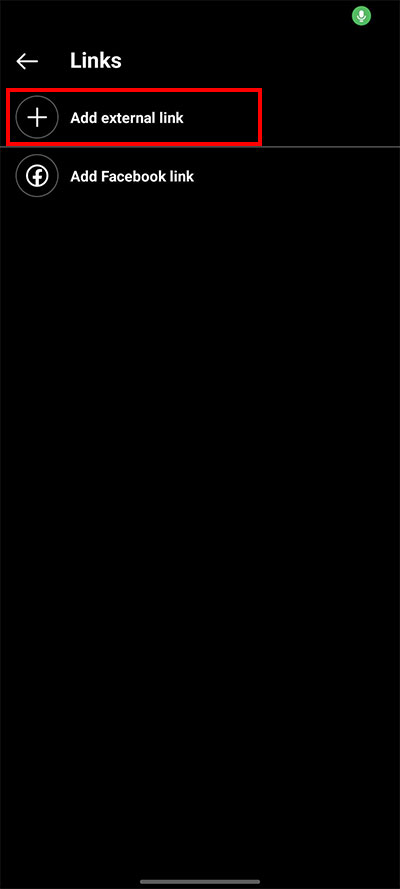
- Press on the Add external link.
- Paste the Google location URL.
- Delete everything before https://.
- Press on the Tick icon.
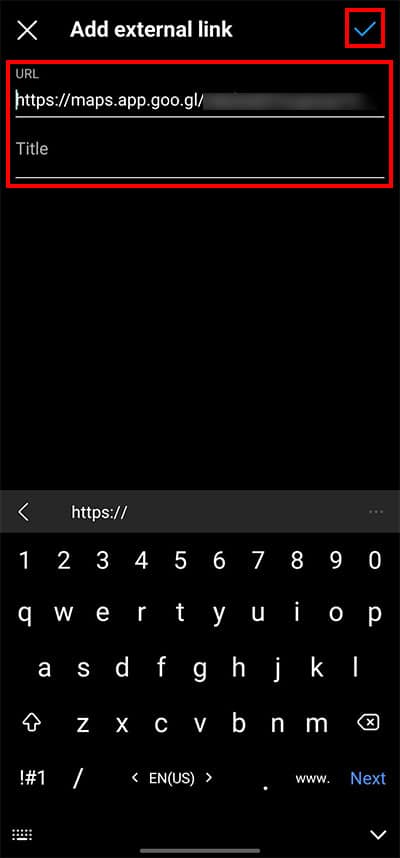
- Tap on the Left-arrow icon.
- On the Edit profile section, tap on the Tick icon.
How to Make Location Visible on Instagram Bio?
Even after you add your location, your location might not show up on your Instagram Bio. This can happen when your Instagram contact information is disabled. To fix this, follow the steps below.
- Launch Instagram.
- Open your Business Account.
- Press on the Profile icon.
- Tap on Edit Profile.

- Go to the Profile display.
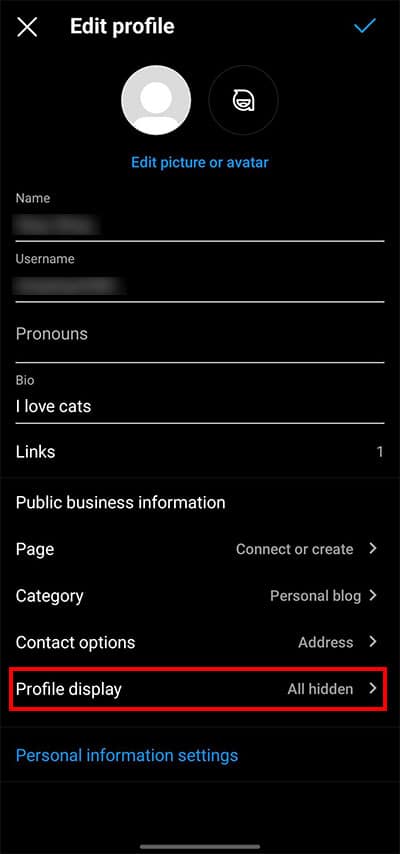
- Toggle on the Display contact info.
- Tap on the Tick icon.
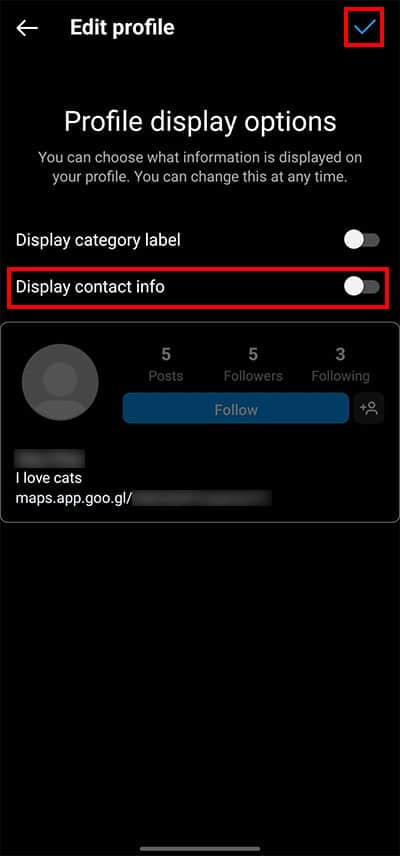
- Once again, press on the Tick icon.