Adding unique artistic fonts to the PowerPoint is an effective way to customize your office presentation.
To do this, you can explore the font tab for pre-installed fonts and download a desired one.
But if you want to insert the custom fonts from the web, you will have to download them first and install them on your PC. Once installed, the font will automatically appear on your list of Powerpoint fonts.
Download Existing Fonts on PowerPoint
Here’s how you can download the font to access it while using PowerPoint offline.
- Go to PowerPoint and open a blank document.
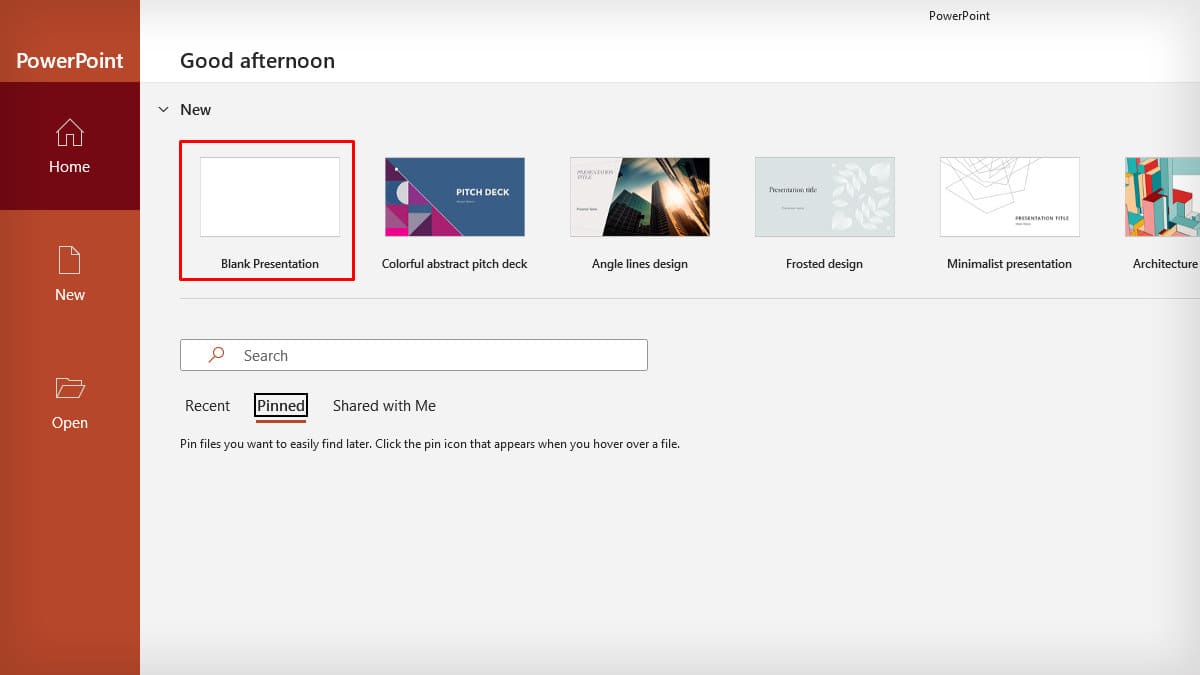
- Click on a slide and go to the Home tab.
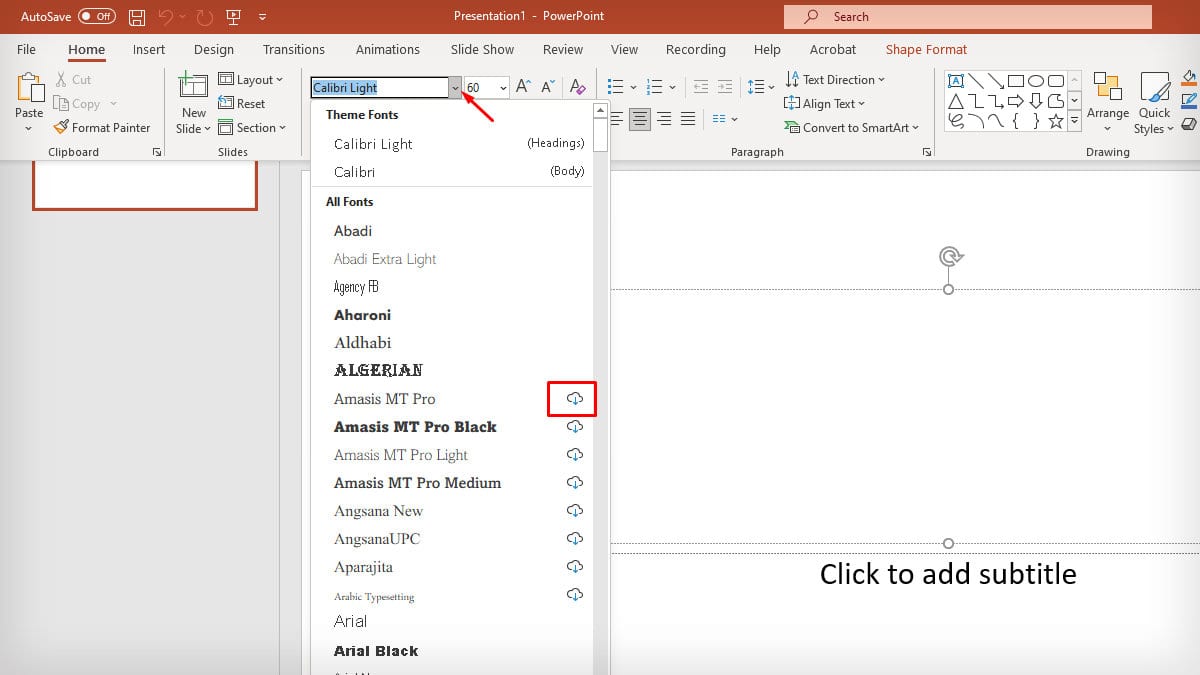
- Expand the drop-down menu beside the Font box.
- Find the preferred font and tap on the Download icon. The font will be added and be available offline, too.
Download and Install New Fonts on Windows
If you want to add a new font to PowerPoint, you can download it and install it on Windows. After installation is complete, the font will be available in all Microsoft Office applications.
Step 1: Download the Font
If you know the name of the font that you want to add, search it online and download it. You can explore sites like DaFont or similar trusted sources to find and download a font.
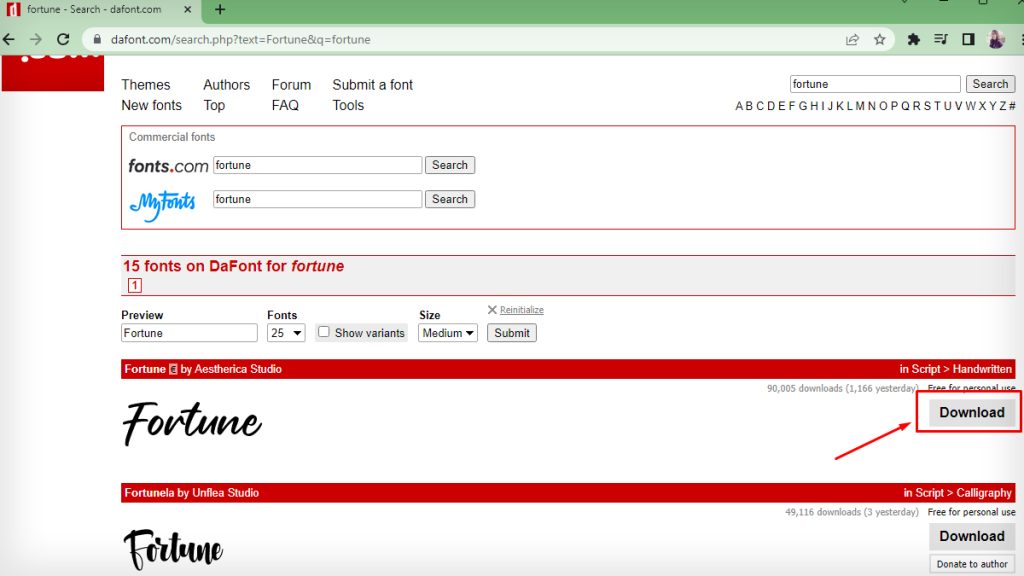
Make sure to download the font in .ttf (i.e., True Type Font) format.
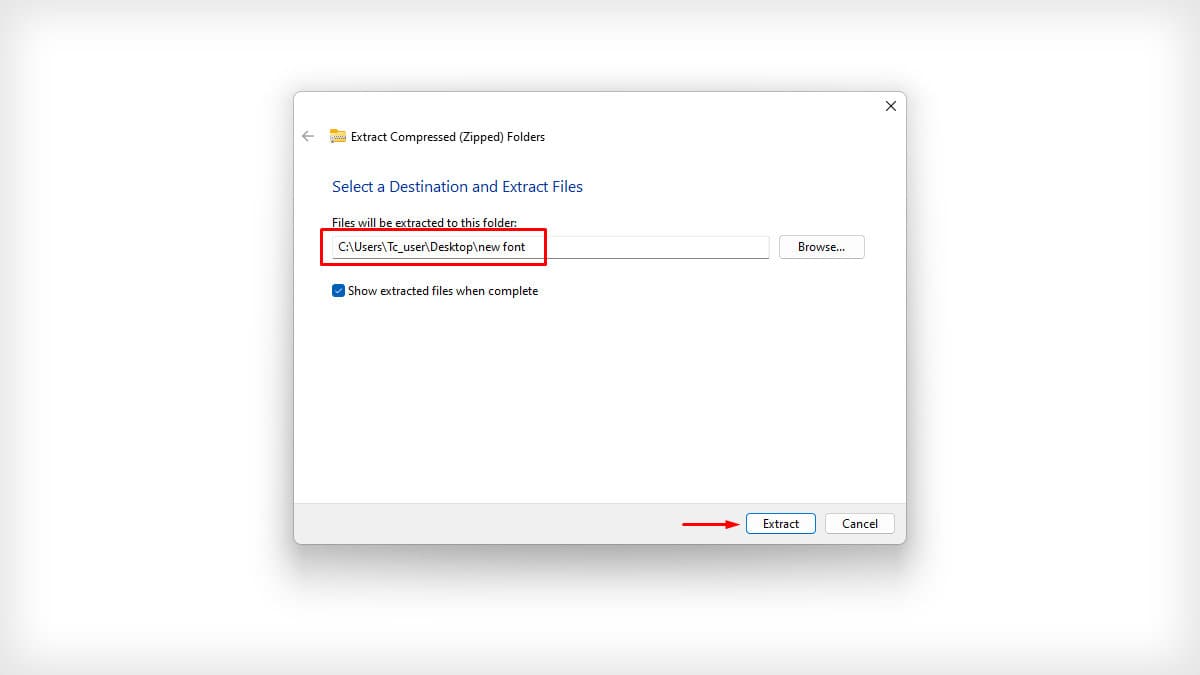
Step 2: Extract the Zipped File
Since the font file will download as a zipped file, you must extract it before installation.
- Open the zipped file.
- Tap on Extract all.
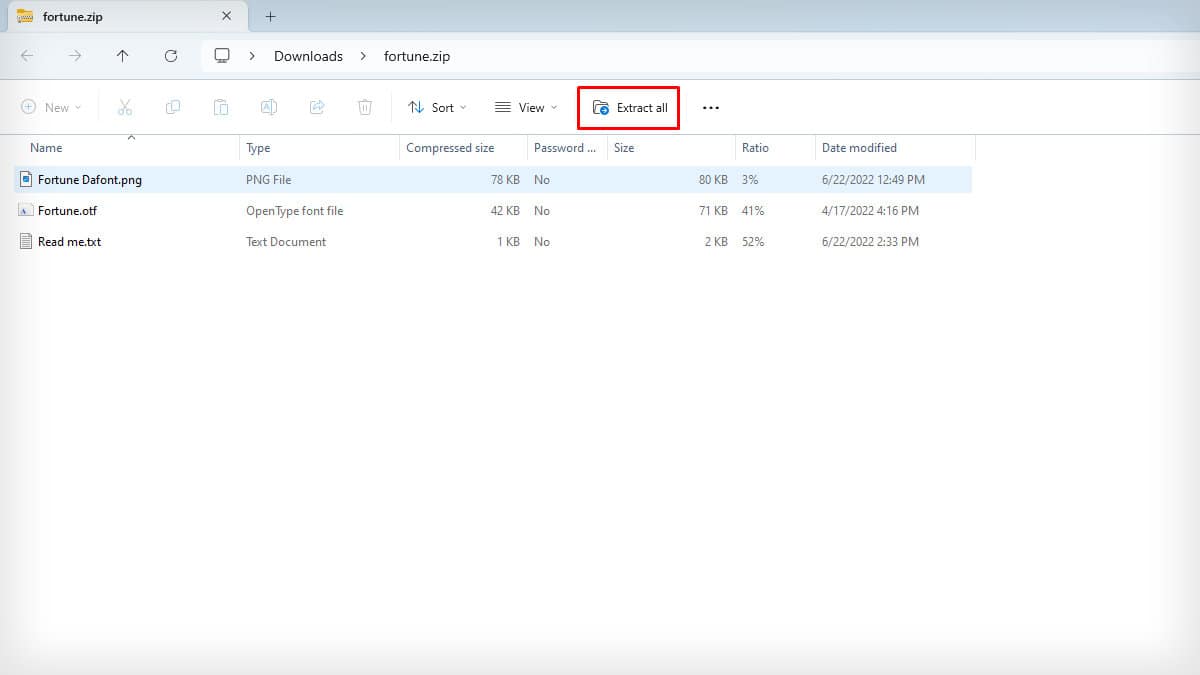
- Choose a destination folder and hit Extract.
Step 3: Install the Font on Windows
- Go to the folder with extracted files.
- Read the instructions in the Text document.
- Open the
.otffile and click Install. Wait until the font installs.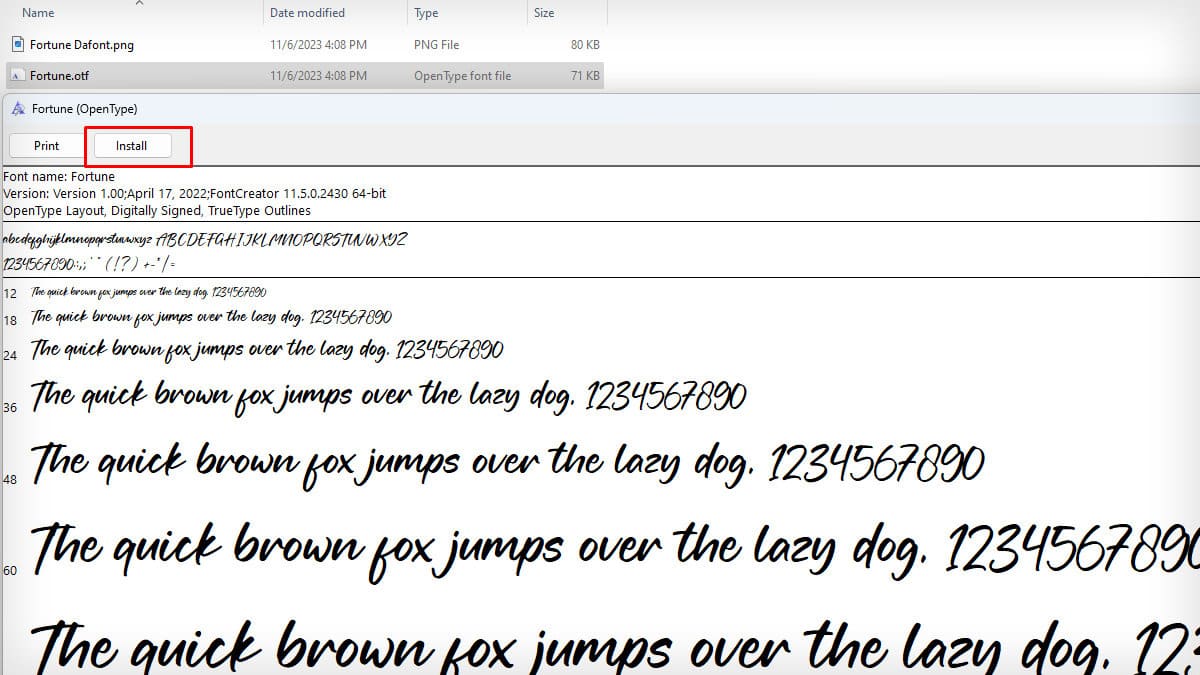
- Launch PowerPoint again and tap on the Home tab.
- Search the font by expanding the drop-down menu. Type the font name on the search bar and see if it has appeared.
Alternatively, you can also install the fonts by exploring the Fonts Folders in C drive. Drag the extracted files and drop them in the C drive on your Windows PC.
These files will be automatically added to the PowerPoint.
Download and Install New Fonts on Mac
Similar to Windows, you will have to download and install font on Mac for use on apps like PowerPoint. For installation, use the Font Book app.
Step 1: Download Fonts
As mentioned above, you can download new fonts from Apple or a reliable source. Since macOS can support .ttf, .ttc. and .otf format, you can download the fonts in any preferred format.
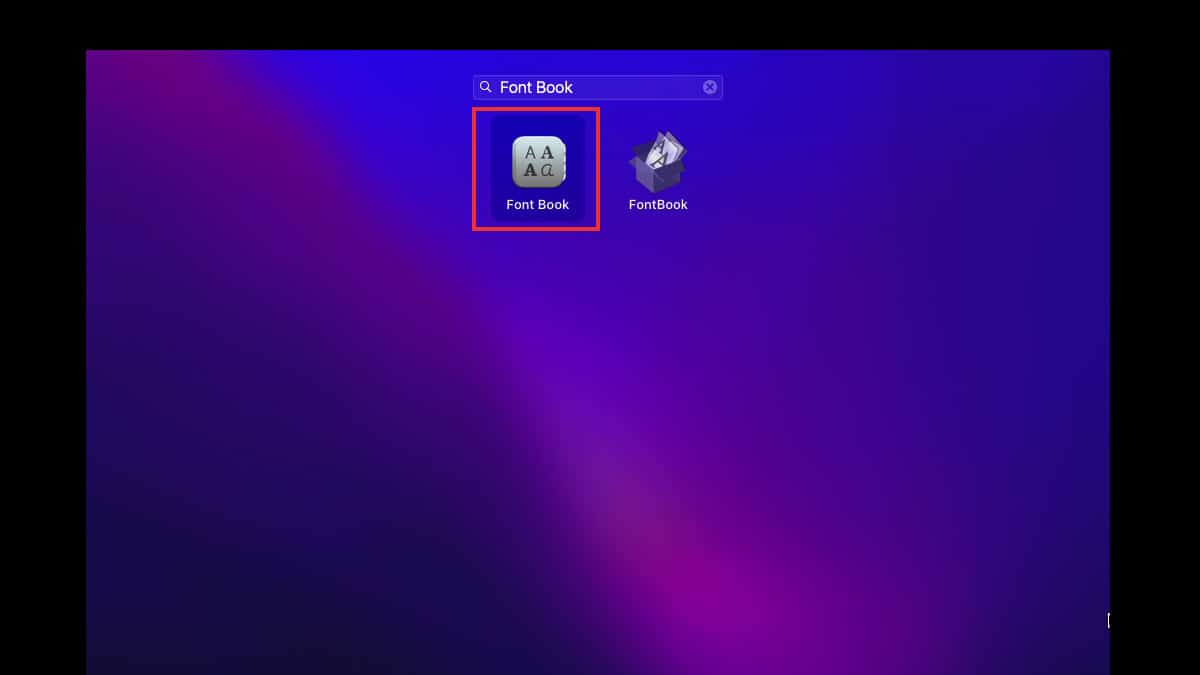
For downloading system fonts, you can directly use the Font Book app. Once downloaded, these will automatically add to the apps you want to use.
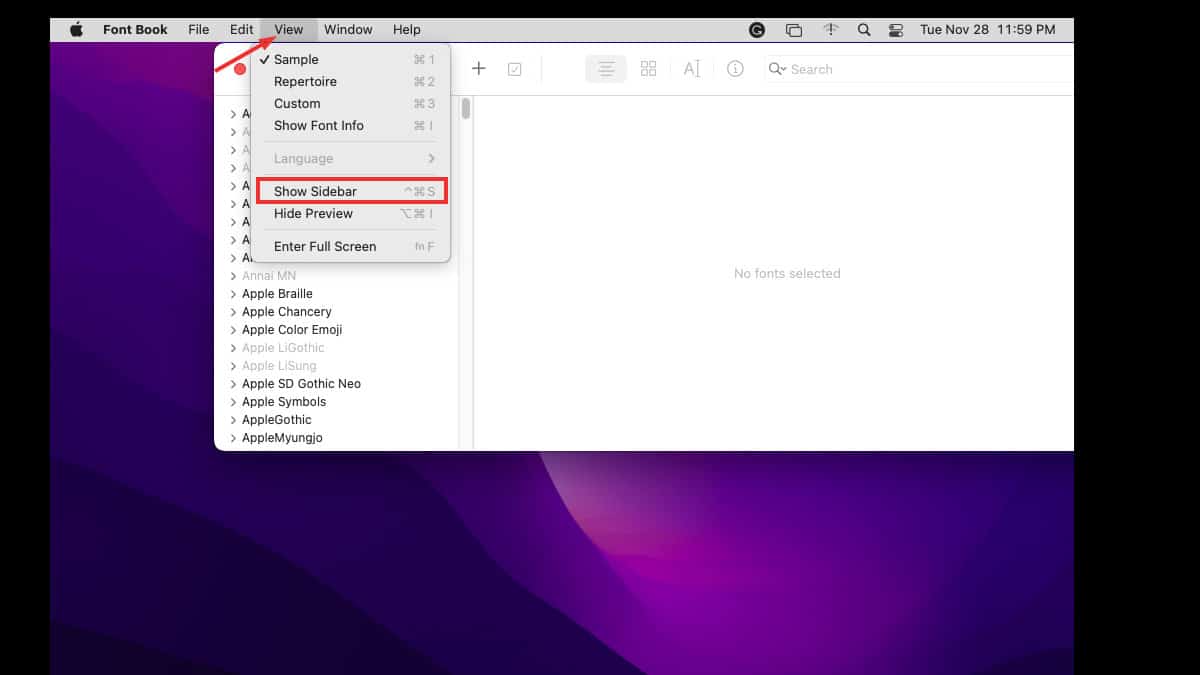
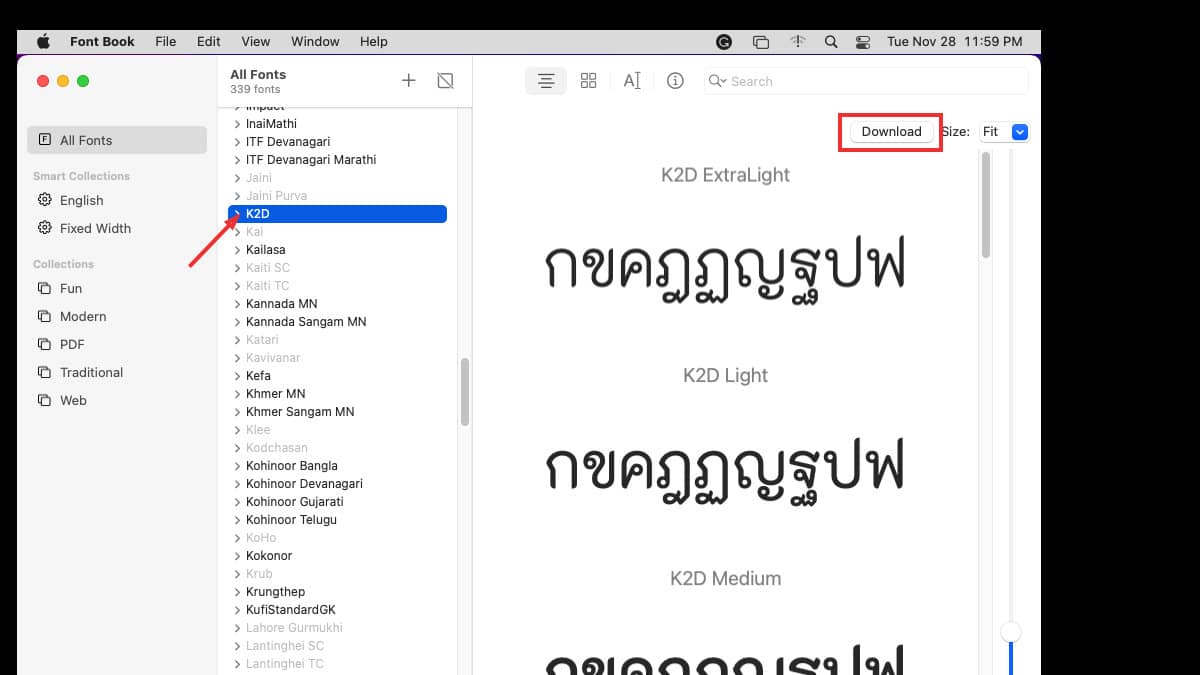
- Go to the Font Book app.
- Choose a Font category from a sidebar. If the options aren’t visible, select View and click on Show Sidebar.
- Find your preferred font and tap on the Download icon next to it.
- Press Download on the confirmation dailog.
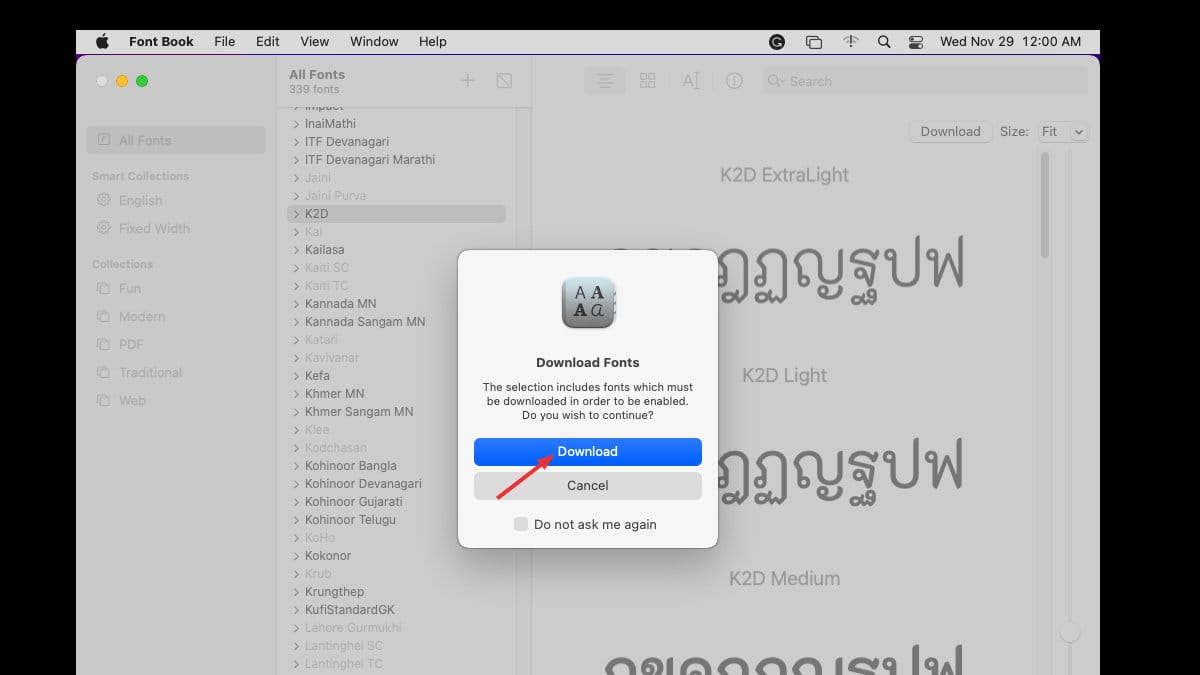
- You can also press Control and select Download.
- To download multiple fonts simultaneously, press Control and click the selected fonts. Select Download.
Step 2: Install the Fonts
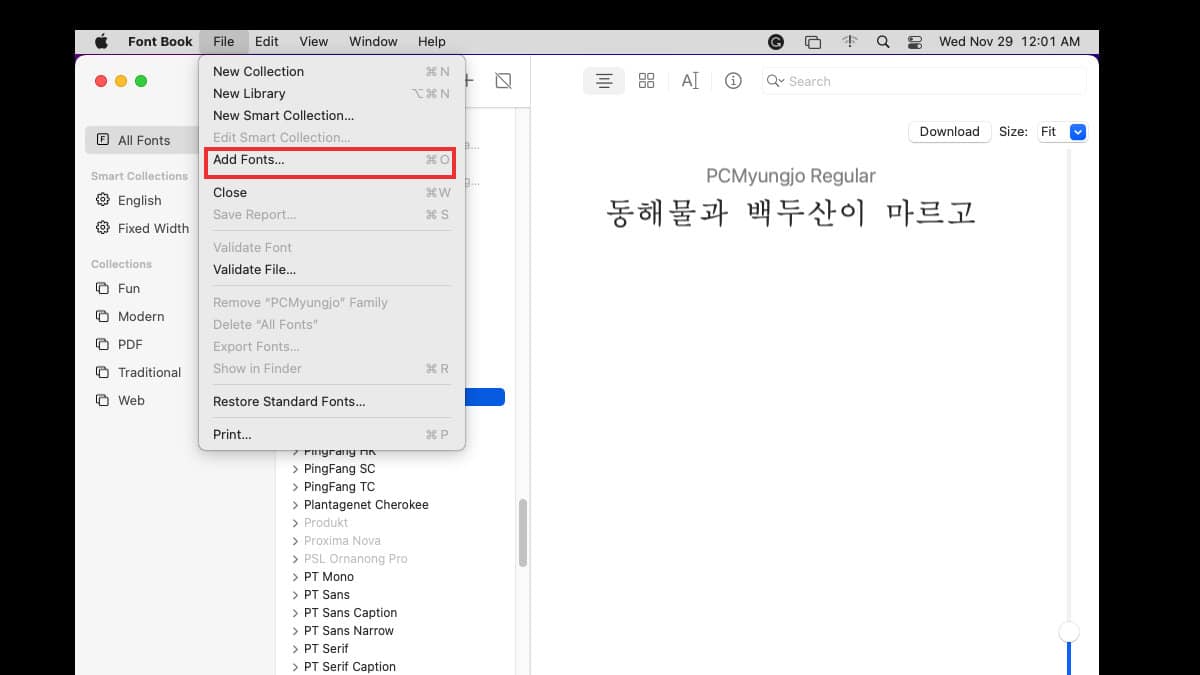
- Open the Font Book app on your PC.
- Click on File and select Add Fonts.
- On a new Window, double-click on the Font file.
- Alternatively, drag and drop the file to the Font Book app icon and then click Install.
Font Book will validate and check to install errors in the font. It will also scan for duplicate fonts.
Embed Fonts on PowerPoint Before Sharing the Presentation
Often, the formatting of PowerPoint files changes when shared with another user with different settings. This applies to the font of your file if the receiver doesn’t have that particular font in their software.
To prevent this, you can embed fonts in a PowerPoint presentation. Embedding also keeps formatting intact while exporting it to a PDF, DOC file, or other format.
- Launch your PowerPoint presentation.
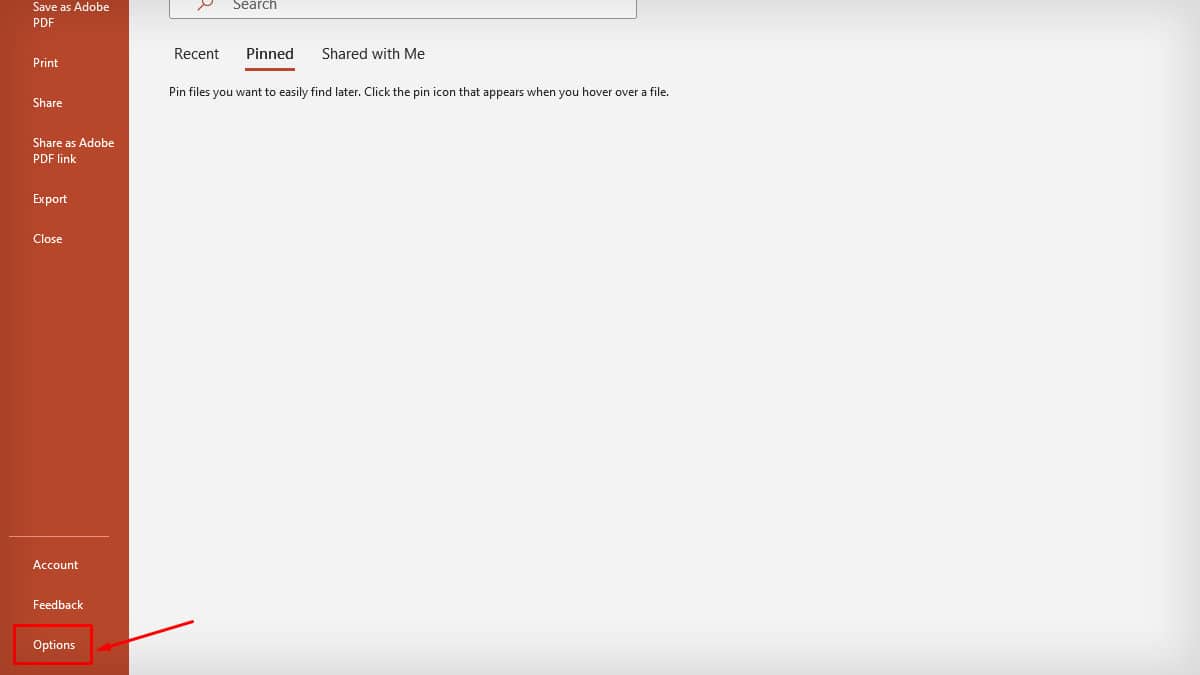
- Open the File tab.

- Tap on Options.
- Click on the Save option.

- Go to Preserve fidelity when sharing this presentation section. Check the box before Embed fonts in the file.
- Choose any of the following options:
- Embed only the characters used in the presentation(best for reducing file size): This will limit editing your presentation using the same font and reduce file size as well.
- Embed all characters(best for editing by other people): This will keep the font in your file intact when shared with other users.
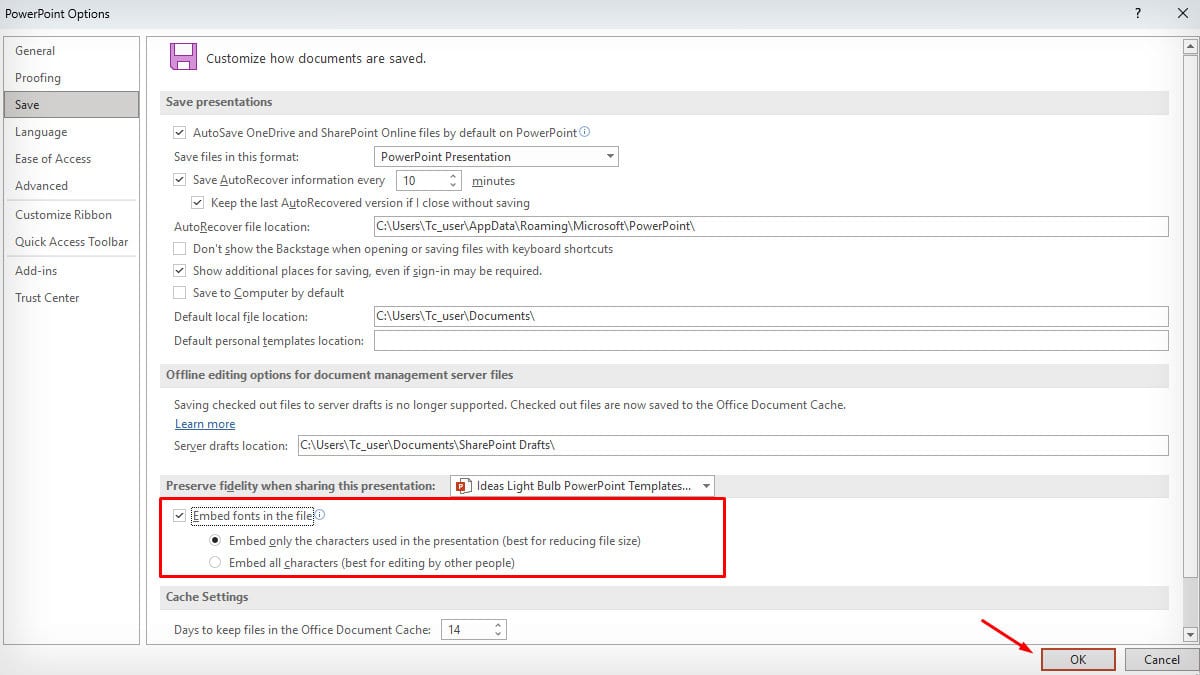
- Tap OK.
The process of embedding fonts on PowerPoint for Mac might vary slightly. Follow the steps to learn how.
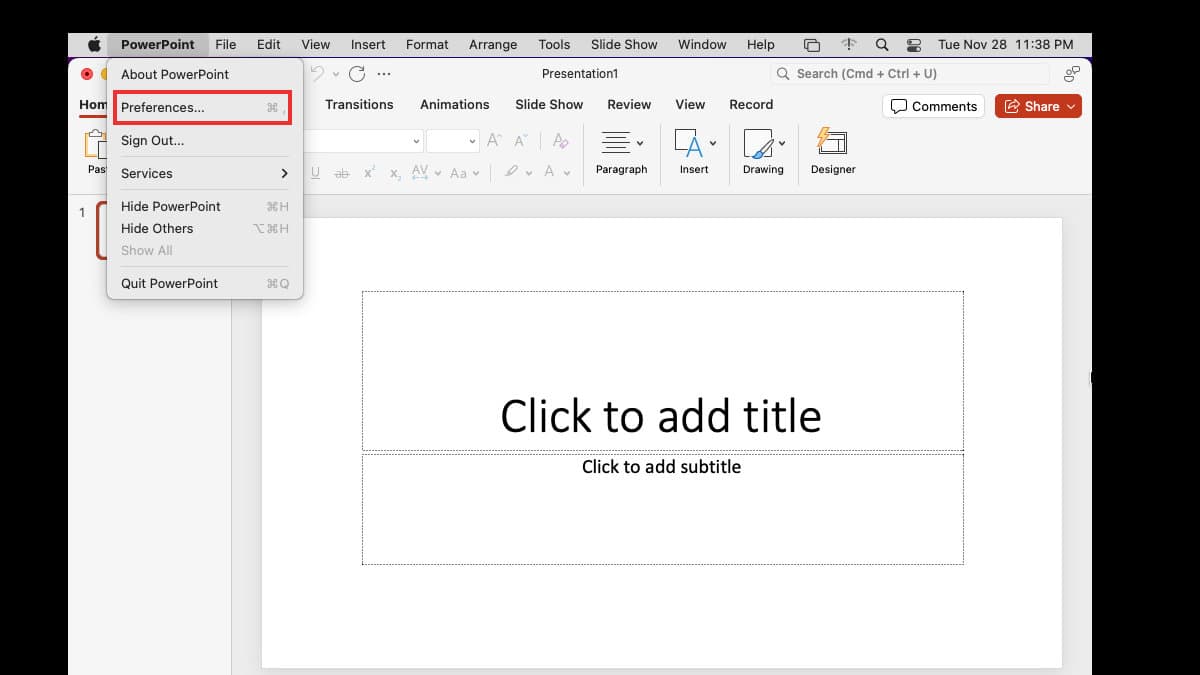
- Go to the PowerPoint menu. Click on Preferences.
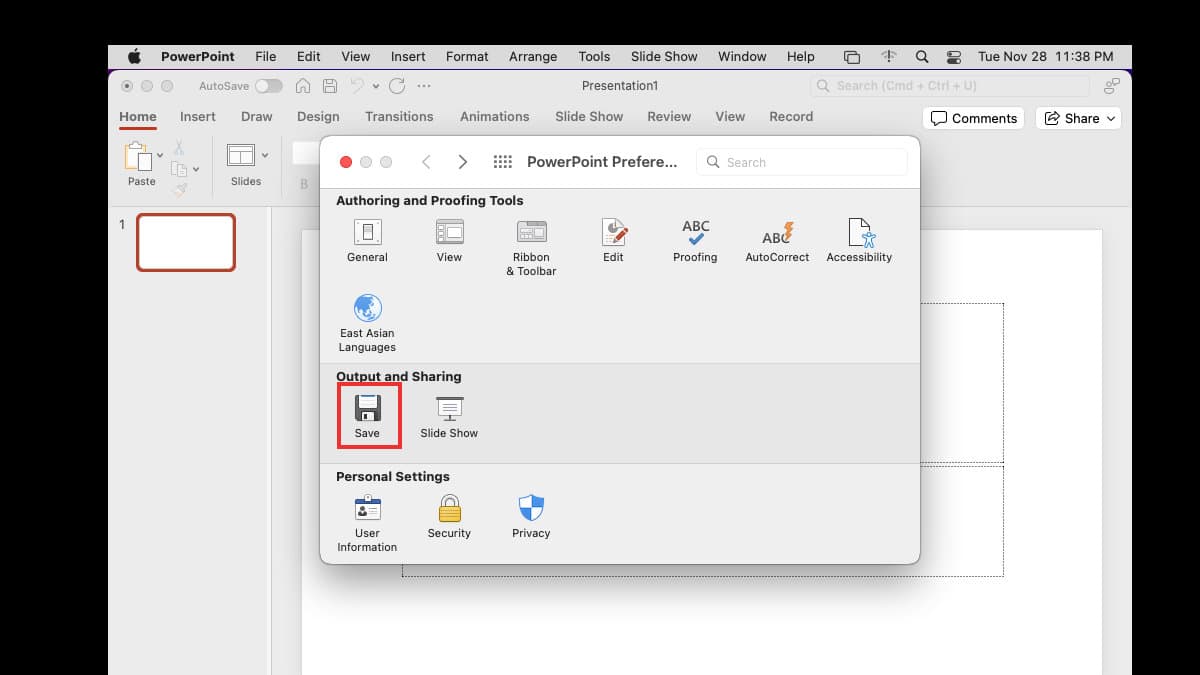
- Select the Save option.
- On Font Embedding, tick on Embed Fonts in the File.
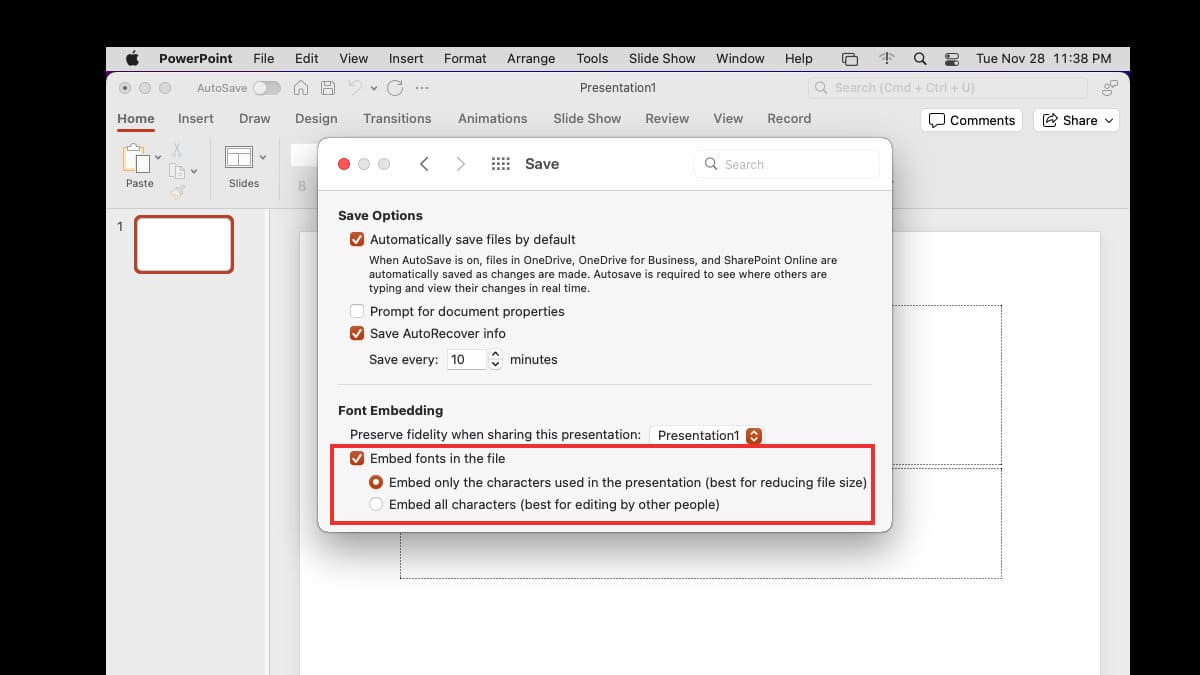
- Choose either of the options from the displayed list as mentioned above on Windows.
- Click on Save.