While creating the best format for your document in MS Word, the right choice of font equally plays an important role. But, the font choices in Word may feel insufficient if you want your document to look more creative.
If you’re wondering how to get unique fonts in Word, we’ll look at how to add cool new fonts on Windows and Mac.
Install New Fonts on Windows
If you want to use fonts that are not on the list in Microsoft Word, it’s best to download fonts of your choice from external sources—either through Microsoft Store or other third-party websites.
Via Microsoft Store
Installing fonts from the MS Store is the fastest way to use new fonts as you don’t need to open the zipped folders. After installing the fonts, they automatically go to the system fonts collection.
- Open the MS Store app.
- Simply go to the search bar and type ‘fonts.’ Select ‘Explore New Fonts.’

- You’ll get both free and premium font options.
- Select a font you like and then click on Get. Here, I’m installing Arial Nova.
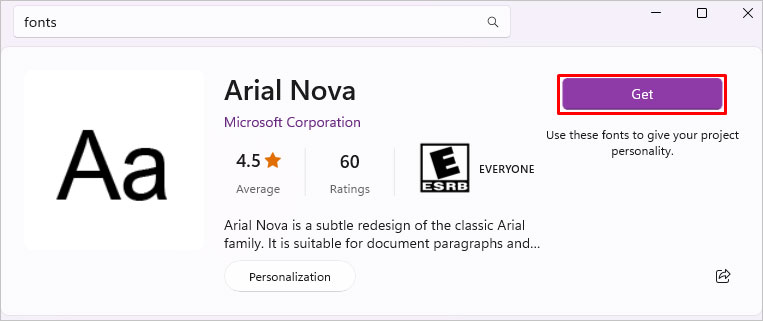
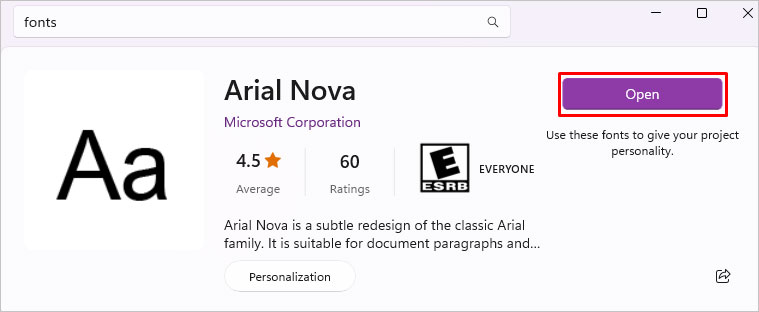
- After the font is installed, click on Open.
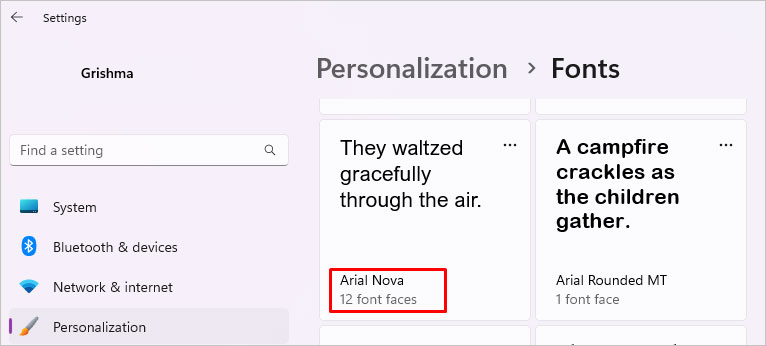
- You’ll be redirected to your system fonts where you can find the newly installed font.
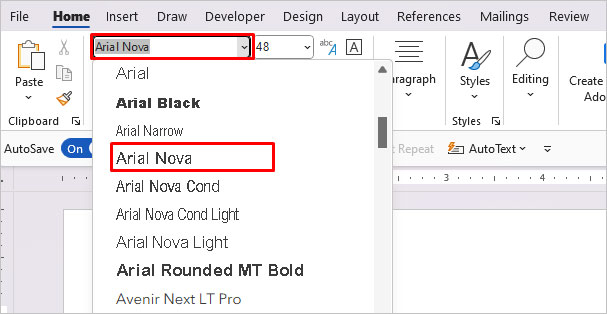
- Open MS Word and click on Fonts. If you already have MS Word open, you must restart it.
- You can now find and use the new font from the list. In my case, I can now use Arial Nova.
Download and Install Fonts from Online
Font files of both TrueType font file (.TTF) format and OpenType font (.OTF) format are compatible with MS Word. When you download the fonts, they are compressed in .zip folders. You’ll need to extract and install them in order to show up in MS Word.
Unlike google docs, MS Word automatically picks up the font once you install it on your system.
- Go to Google Fonts or DaFont.com and download fonts.
- Go to File Explorer and open the Downloads folder.
- Do right-click on the zipped font file and click on Extract All.
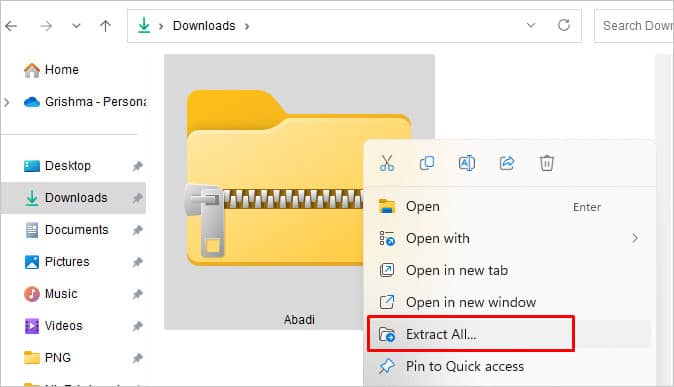
- Choose where you want to save the folder and click on Extract again.
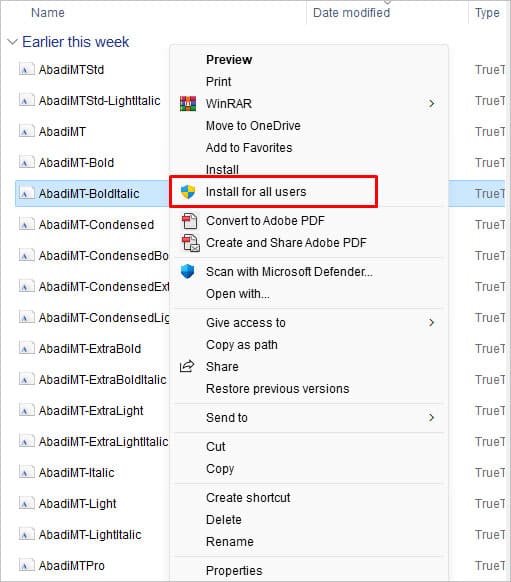
- Open the extracted folder and right-click on a font file.
- Select Install for your current user account.

- To install the font for all users, click on Install for all users. You must have administrative privilege to perform this action.
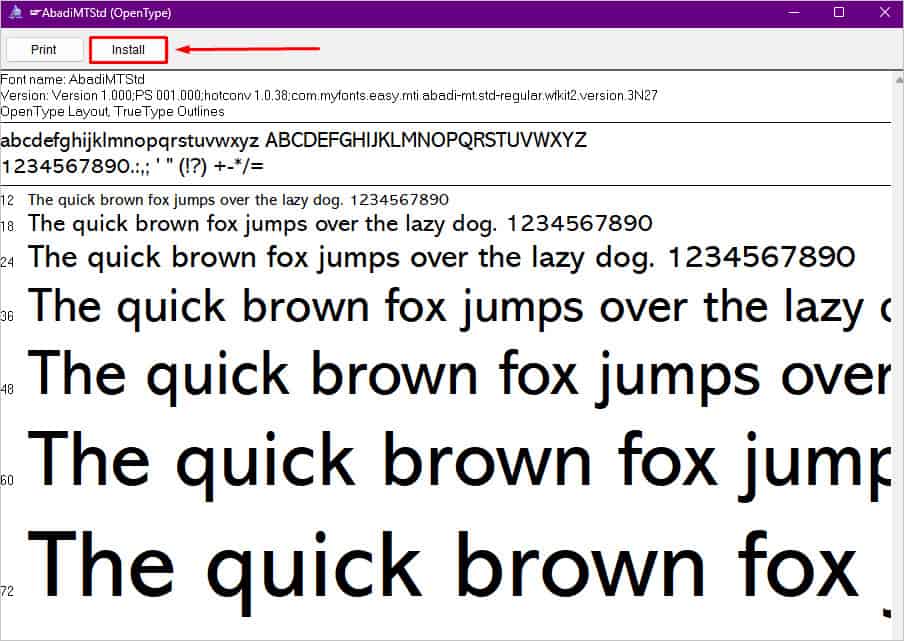
- Alternatively, you can also open the file to preview the font style. Then, click on Install.
- Also, you can drag the font file into
C:\Windows\Fontsfolder. It will automatically install the font in your system. - Now, restart MS Word and start typing using the new font.
Install New Fonts on Mac
Similar to Windows, there are two ways you can install fonts on Mac. One method is to use a Mac-exclusive app and the other is to download fonts from sources, such as websites.
Via Font Book App
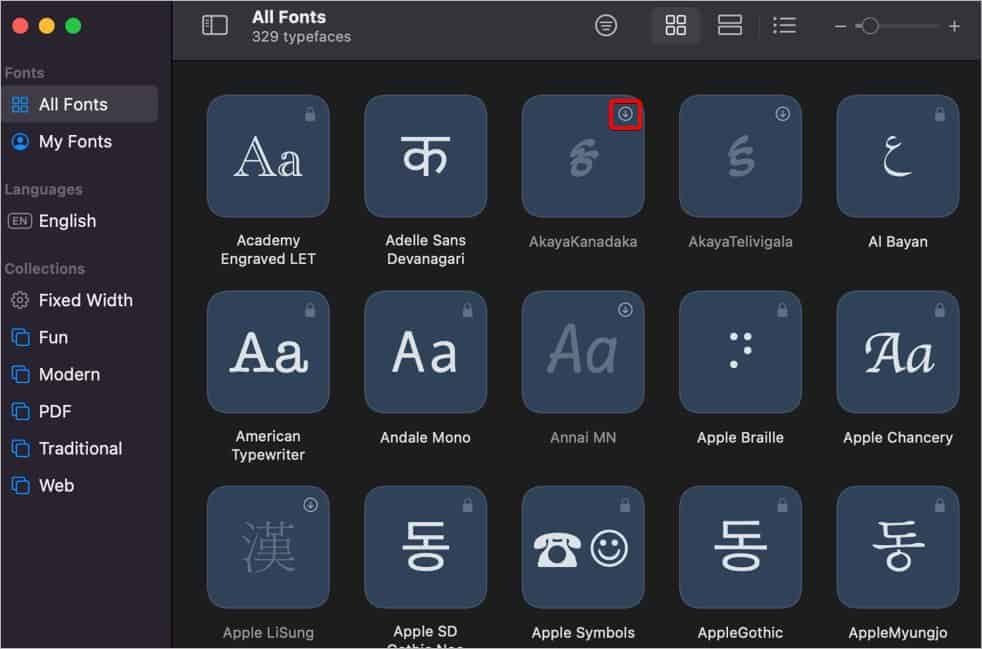
Font Book is Mac’s very own app where you can find all the fonts available on your system. You can even download new fonts within this utility. Refer to the steps below:
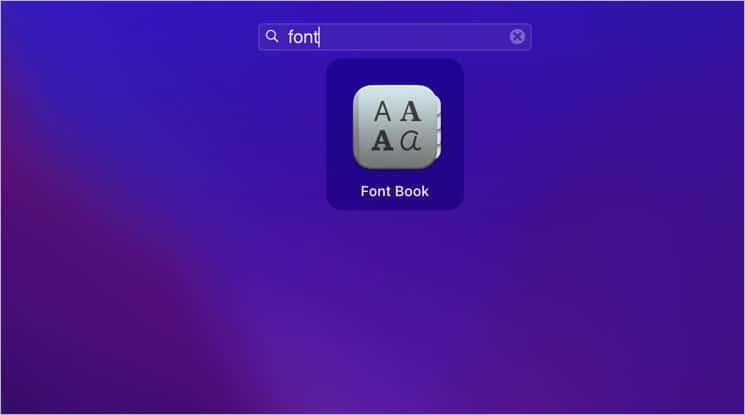
- Open Launchpad and search for Font Book.
- Look for a font that has a Download icon beside it.
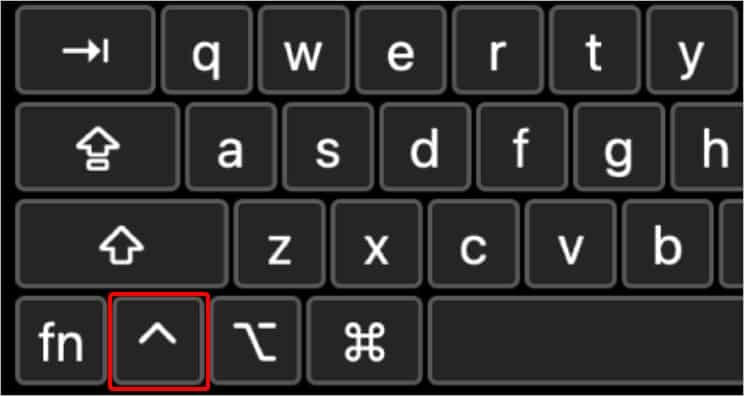
- Or, hold the Control key and select a font. Then, select Download.
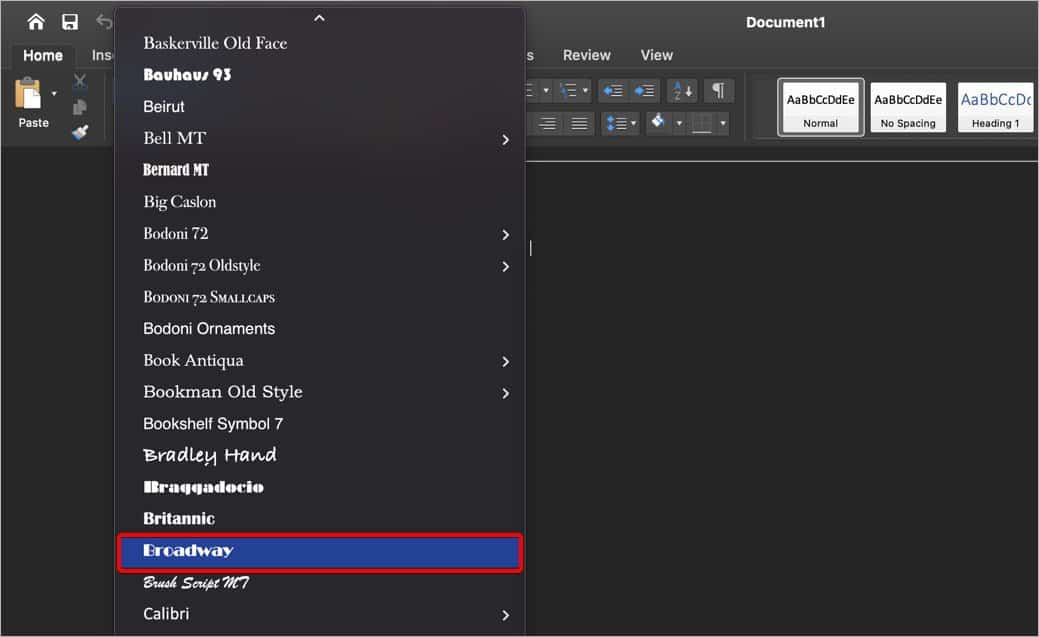
- Once the font is installed, restart MS Word.
- Find your new font from the Font list.
Download and Install Fonts from Online
If you have downloaded font files from the web, you can install them on a Mac in these easy steps:
- Go to Finder > Downloads folder.
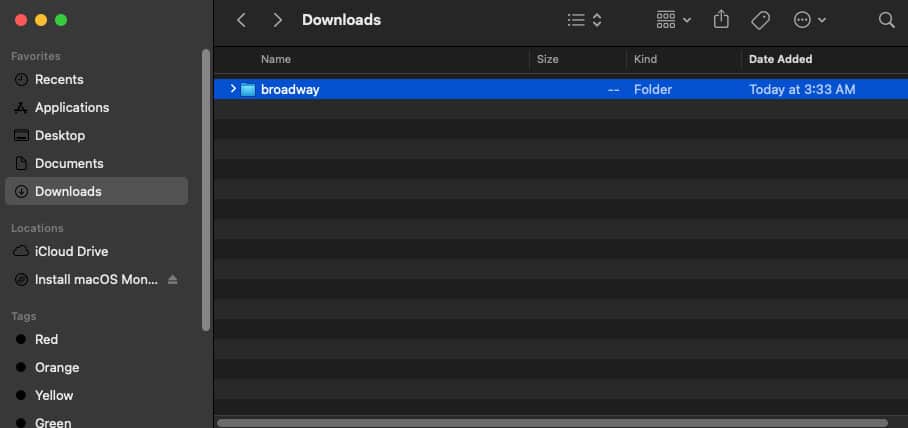
- Double-click on the zipped folder. Doing so will instantly extract the files.

- Now, open your font file and then click on Install Font.
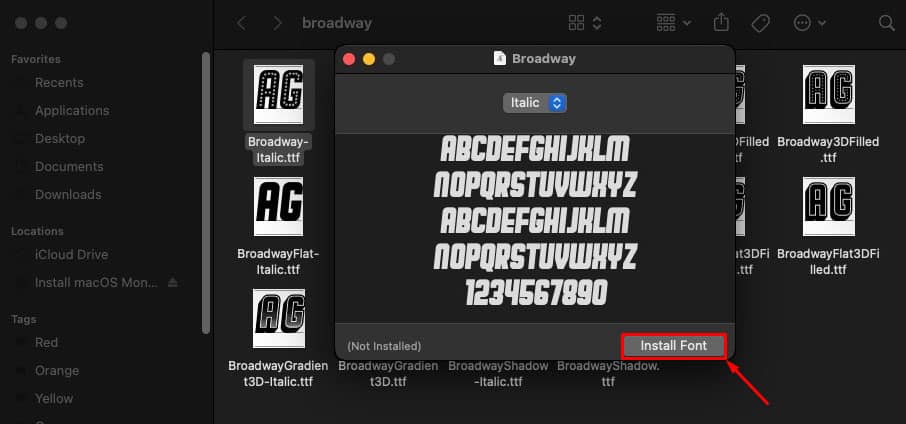
Alternatively, if you have multiple font files, you can install them all at once using Font Book. Especially when you download new fonts, it’s easy to install all the fonts at once in Font Book.
- First, download fonts from any website.
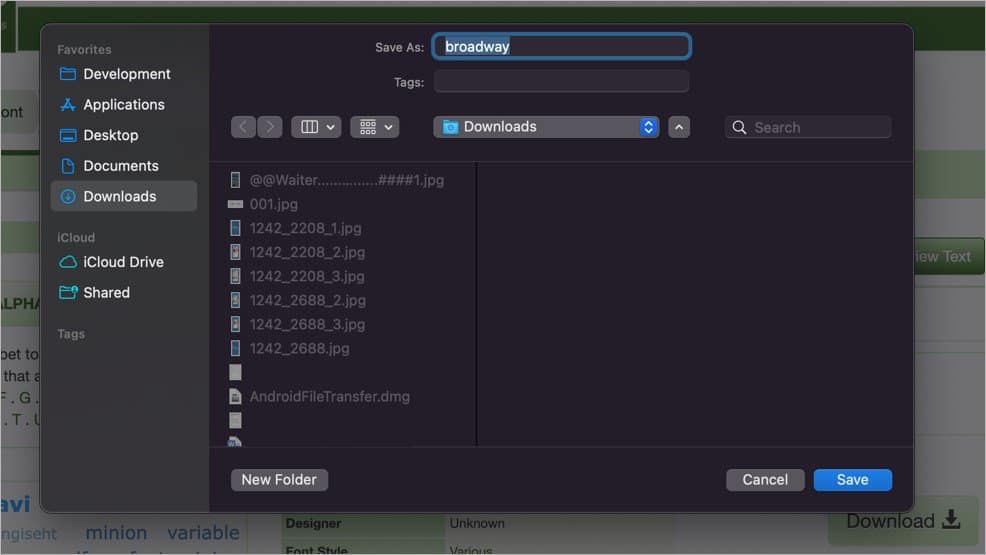
- Go to where these zipped fonts are saved, most likely in the Downloads folder.

- Then, open Launchpad and search for Font Book.

- Now, select all the fonts you just downloaded and drag-and-drop them to Font Book.
- Then, go to MS Word and find your new fonts in the Fonts list.

If you have multiple user accounts on your Mac, there are additional steps to make the new fonts available for all users. By doing so, the fonts are saved in your system specifically, thus, making them accessible to all users. Let’s see how:
- Open Finder and click on Go from the top of the screen.
- Then, select Go to Folder.
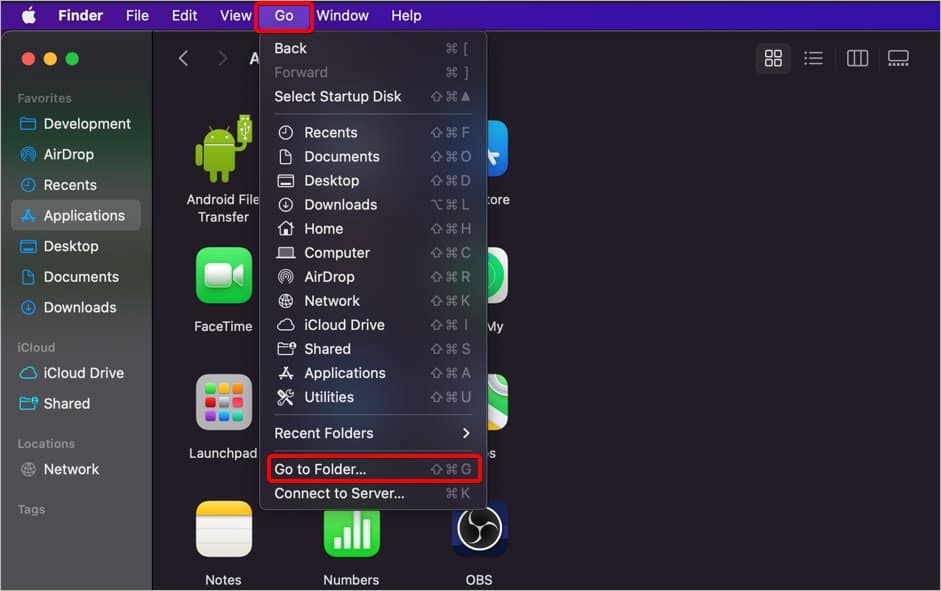
- In the text field, type
/Library/Fonts/.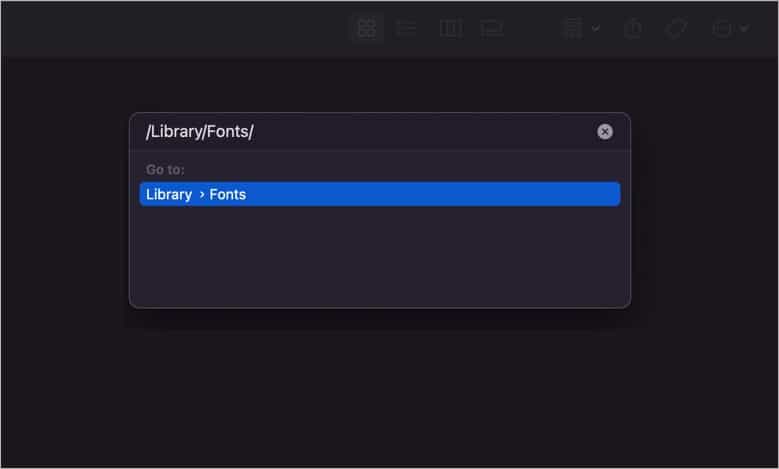
- You’ll be redirected to the system fonts folder.
- Open the new fonts in a separate window. Select and drag all the fonts and drop them in the system Fonts folder.
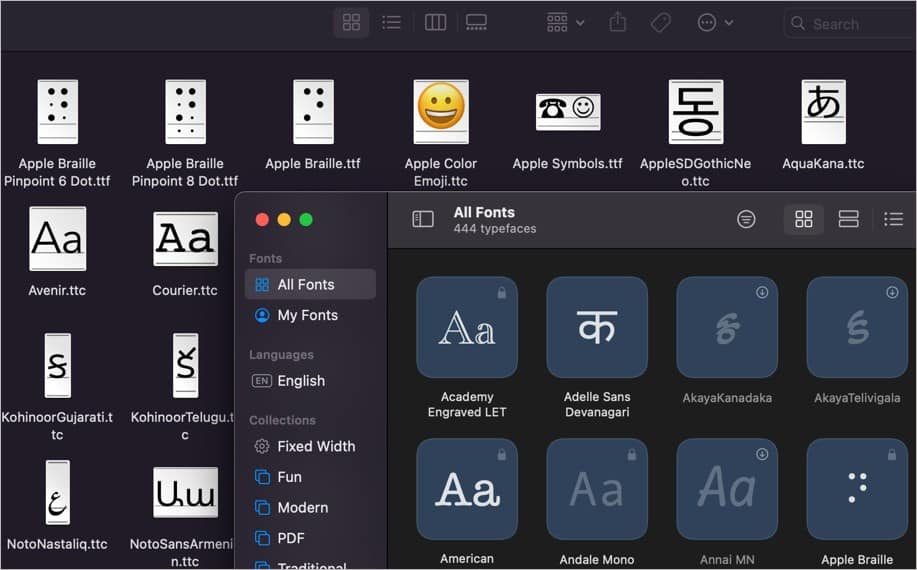
Now, the fonts are available for all the users on your Mac.