Starting from version 2010, PowerPoint offered the option to edit videos directly within the application. This allowed users to perform minor edits like trimming and adjusting video size without the need for external editing software.
In the newer version of PowerPoint, you can access the Video Format and Playback tabs by clicking on your video.
It offers numerous editing tools, including color correction and inserting captions. With these tools, you can easily customize and enhance your videos to give them a more professional and attractive appearance.
Importing and Inserting Videos
Before editing the videos, you should know how to import and insert videos in PowerPoint. You can import videos from different online sources or your PC through the Insert tab on PowerPoint.
After that, you can easily insert videos into your slides.
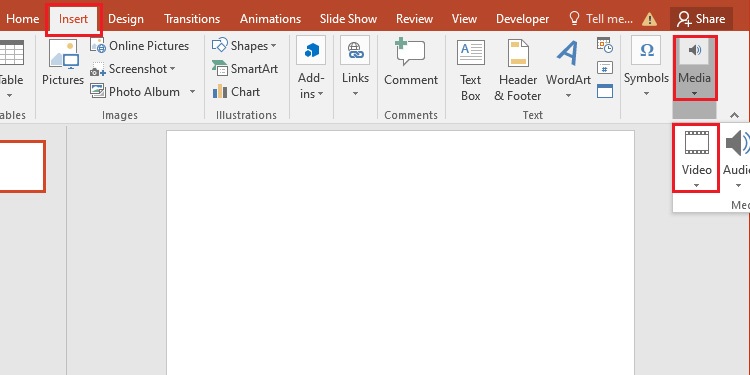
- Open PowerPoint and go to the Insert tab on the ribbon.
- Click on Media and Click on the Video option.
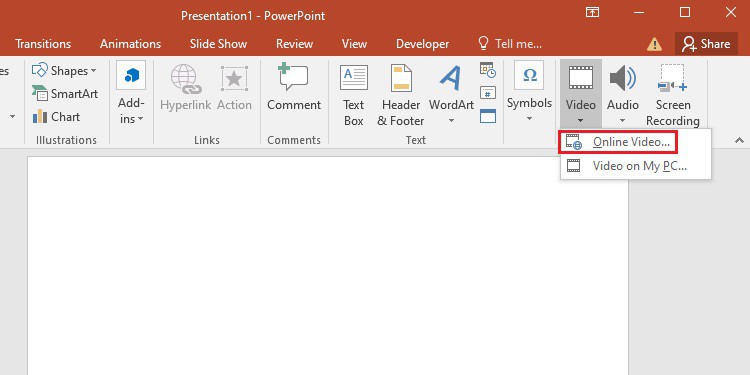
- Click on the Online Video option to import videos from sources like YouTube.
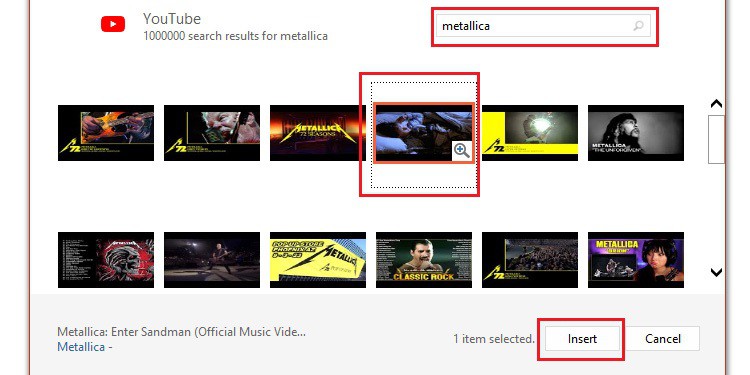
- Search your videos in the YouTube section and click Insert after selecting the video.
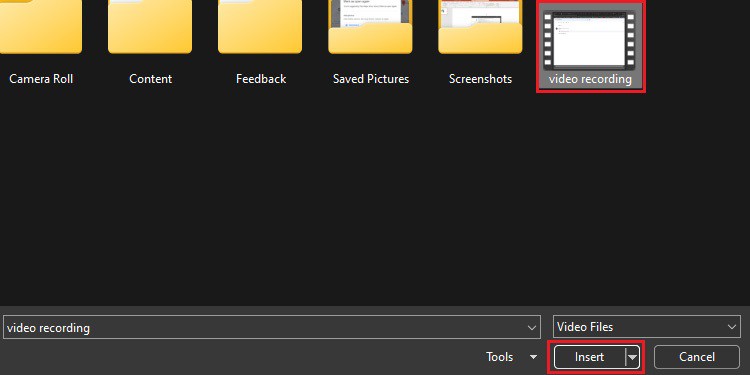
- Click the “Video on My PC” option to import videos from your computer.

- Select the video from the Insert Video window and click Insert.
Trimming and Adding Fade Duration
You can trim away the unwanted content of the videos from the Trim Video option. Additionally, you can use the Fade Duration option to add a fade effect at the start or end of the video clip.
Here’s how you can trim the video.
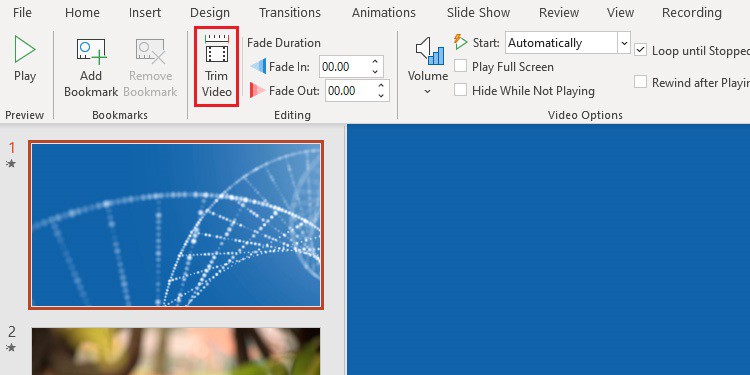
- Click on the video and go to the Playback tab.
- Click on the Trim Video option.
- You can trim the video from the trimming bar or enter the Start and End Time of the video.
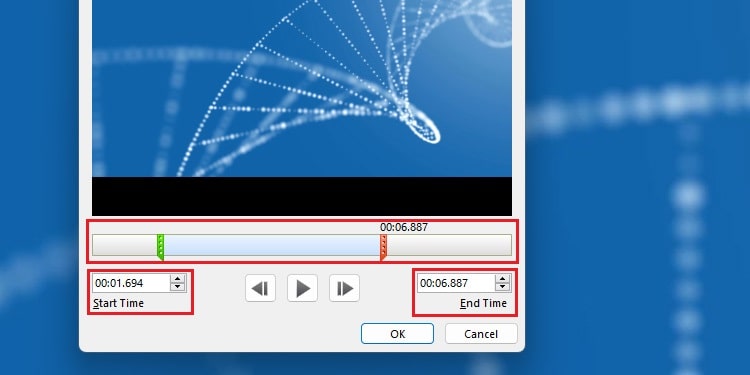
- Hit OK.
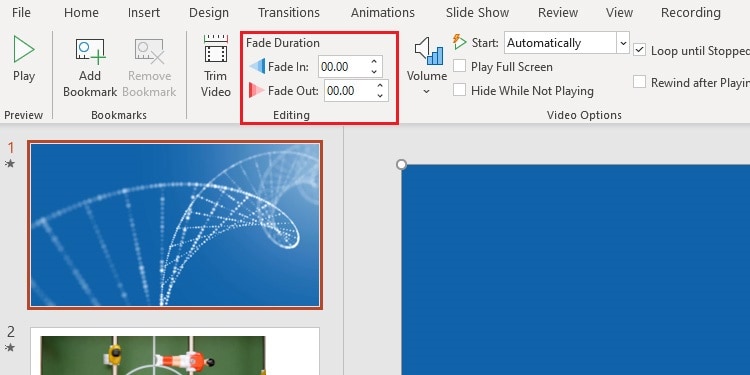
Here are the steps to Add Fade Duration.
- Click on your video and go to the Playback tab.
- Enter the Fade In and Fade Out time in the Editing section.
Adding Bookmarks in Video
Bookmarks are useful elements for when you want to highlight specific areas of your video while delivering a presentation. If you wish to trim your videos, bookmarks can also give you an idea of where you wish to cut the video out.
Here’s how you can add and remove bookmarks in videos.
- Click on the video and go to the Playback tab.
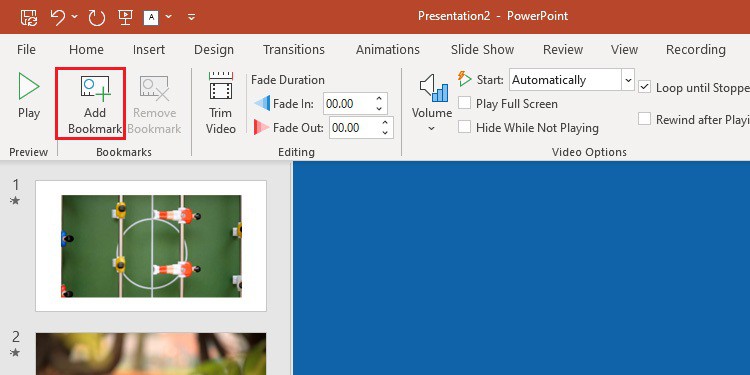
- Play the video and click on Add Bookmark option whenever you want to add bookmarks.
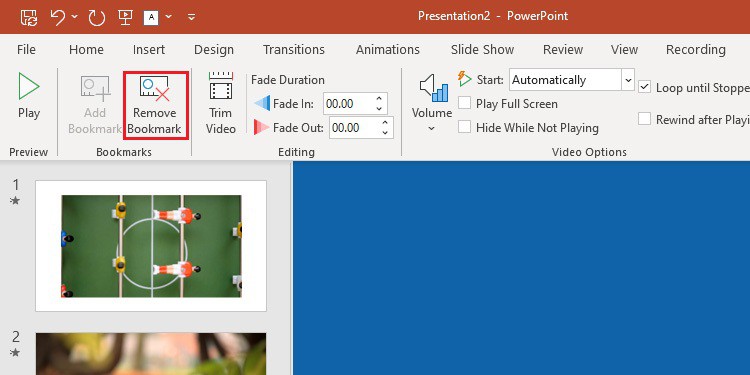
- To remove the bookmarks, click on the bookmark you want to remove and click the Remove Bookmark option.
Enhance the Audio Quality of Video
The audio quality in your videos can significantly impact your audience. Low sound quality and unclear voices in the videos can distract your viewers.
Therefore, enhancing the audio quality of the videos can make your presentation more engaging to the audience. You can enhance the audio by checking the compatibility of the media files.
- Open PowerPoint and go to the File tab.
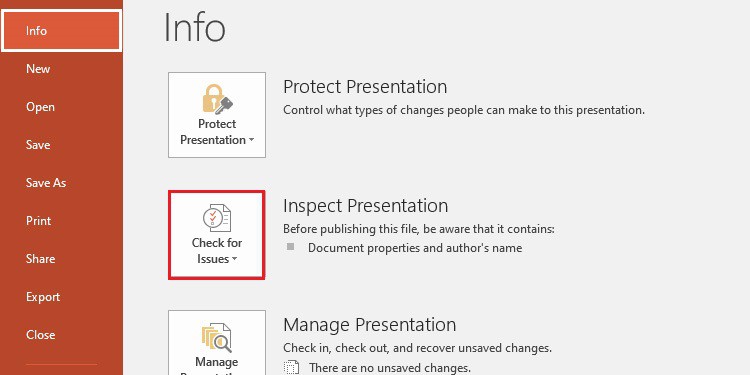
- Click on Info and click on the Check For Issues option.
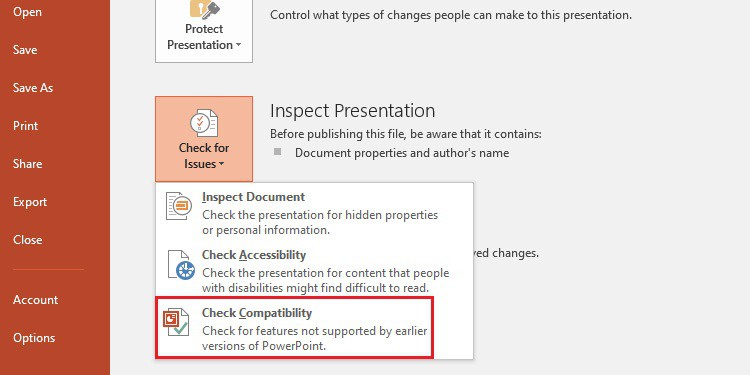
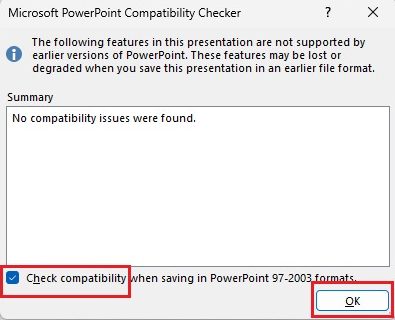
- Click on the Check Compatibility option.
- Tick on the Check compatibility when saving box and hit OK.
Additionally, you can experience a lag between audio and video when using special effects on your videos. In that scenario, you can compress the media size to remove lagging and enhance the performance.
- Open PowerPoint and go to the slide where you have inserted the video.
- Then, go to the File tab.
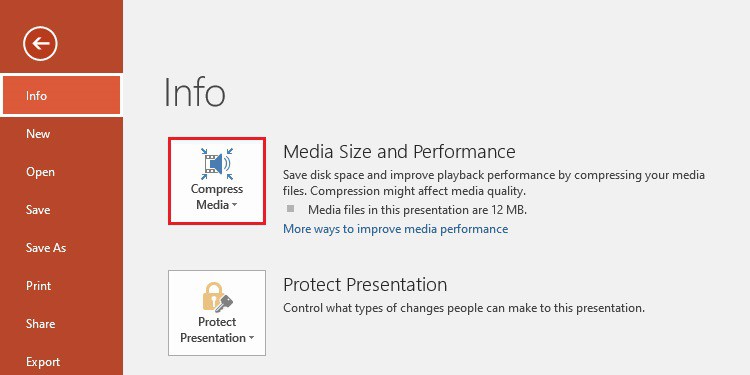
- Click on Info and click on the Compress Media option.
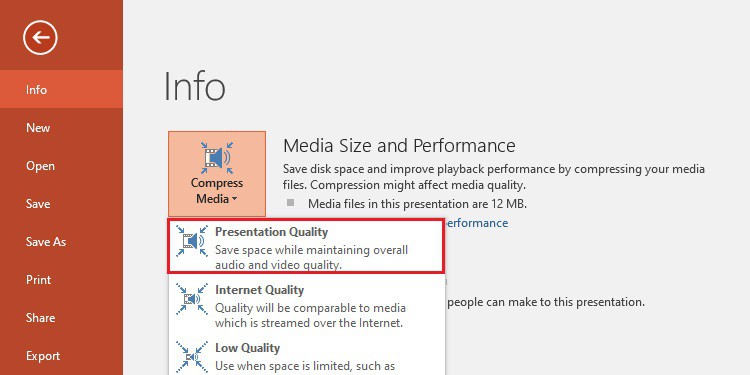
- Select the Presentation Quality option. This option will compress the media size while maintaining overall video and audio quality.
Inserting Captions
Inserting captions is very helpful in your presentation when you want to reach a broader audience, including people who speak different languages. You can easily create closed caption files and insert them into your videos.
Step 1: Creating Closed Caption files
- Open Notepad and create a new file.
- Before creating captions, the first line in the file should be WEBVTT.
- Add a time marker (start time and end time, separated by an “arrow,” –>)
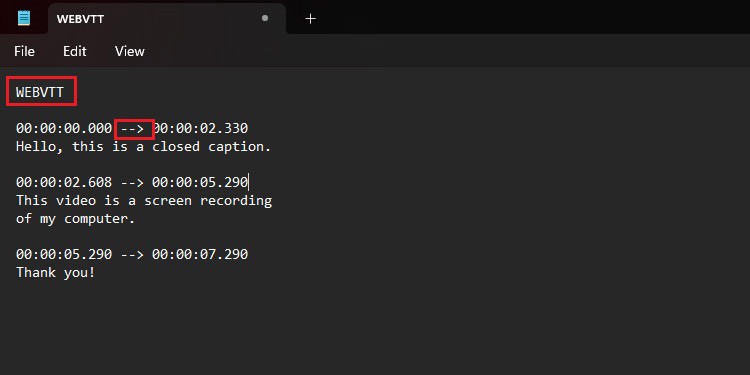
- The time marker should be in the “hh:mm:ss.ttt” format. Here’s an example of the format of the caption:
WEBVTT
00:00:00.000 --> 00:00:02.330
Hello, this is a closed caption.
00:00:02.608 --> 00:00:05.290
This video is a screen recording
of my computer.
00:00:05.290 --> 00:00:07.290
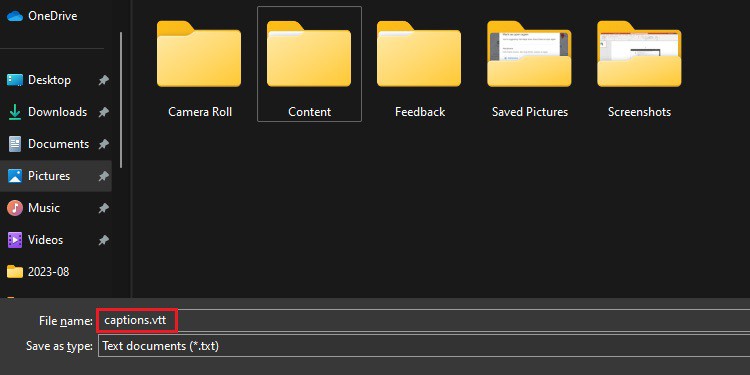
Thank you!- Save the file in the “.vtt” extension, like “caption.vtt”.
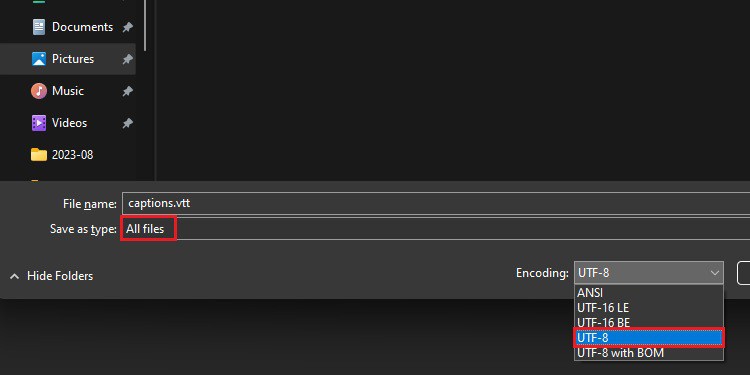
- Select All Files in Save as type and choose UTF-8 in the Encoding box.
Step 2: Inserting Captions on videos
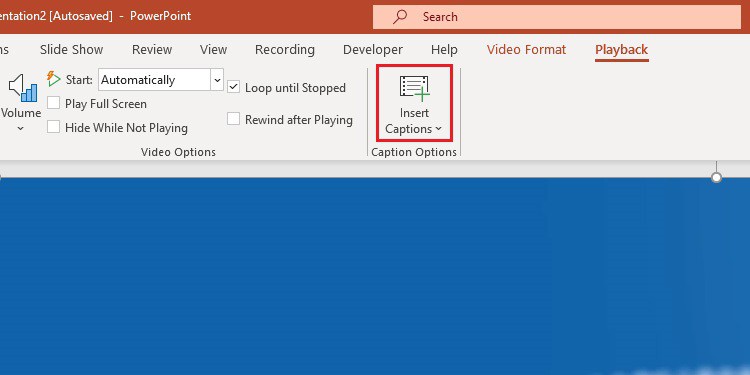
- Click on the video and go to the Playback option.
- Click on the Insert Captions option.
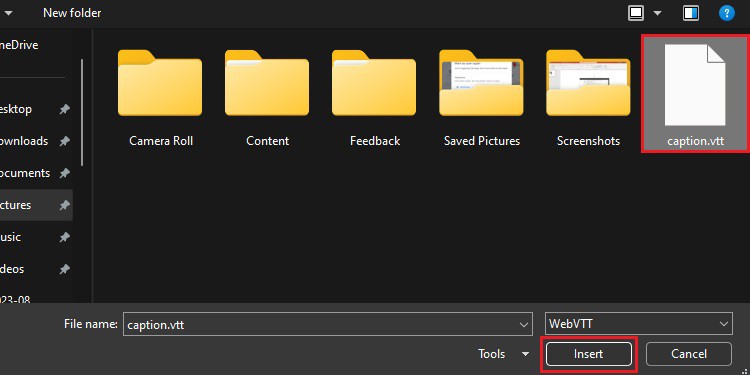
- Select the saved file and click Insert.
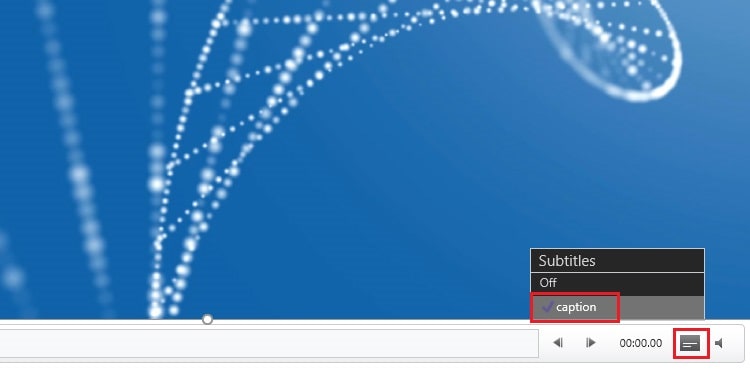
- A subtitle menu will be created; click on it and select the captions.
Adding Special Effects
The Video Styles section lets you edit the video’s shapes, borders, and effects. Here’s how you can do these editing from this option.
- Click on the dropdown menu in the Visual Styles section and choose a style from different options.

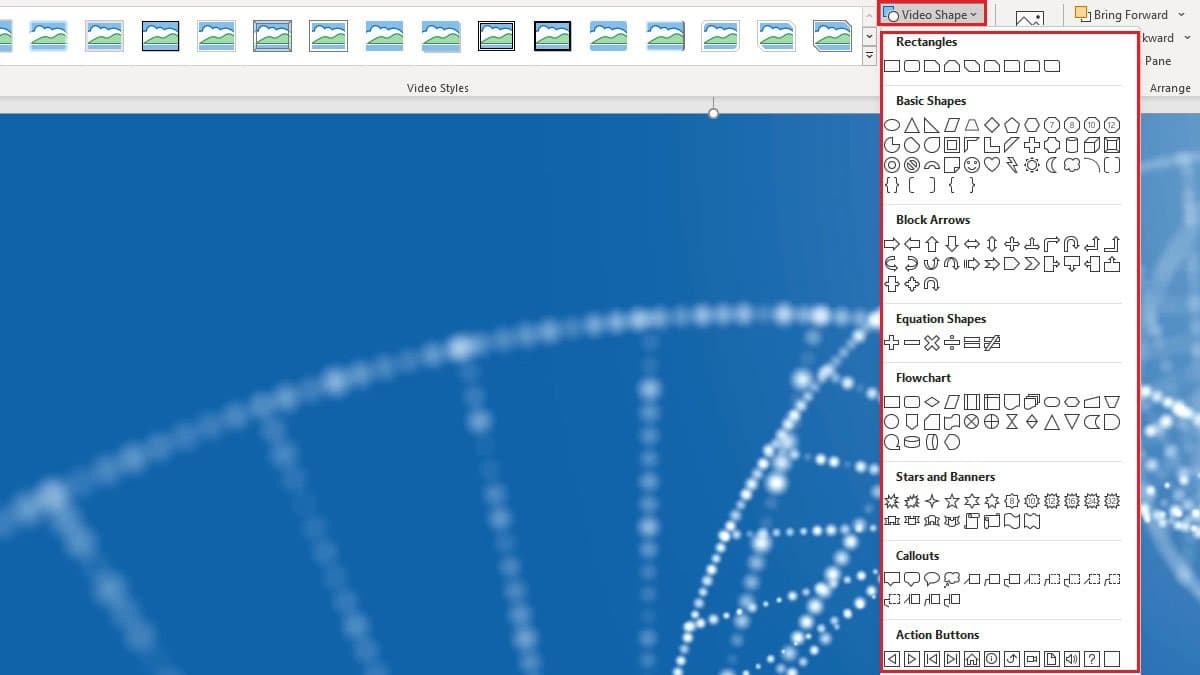
- Click on the Video Shape dropdown and choose a shape. PowerPoint will then frame your video according to the shape you selected.
- You can also style your video with a border using the Video Border tool. Use the Video Border to specify the color, width, and line style for the outline of the video.

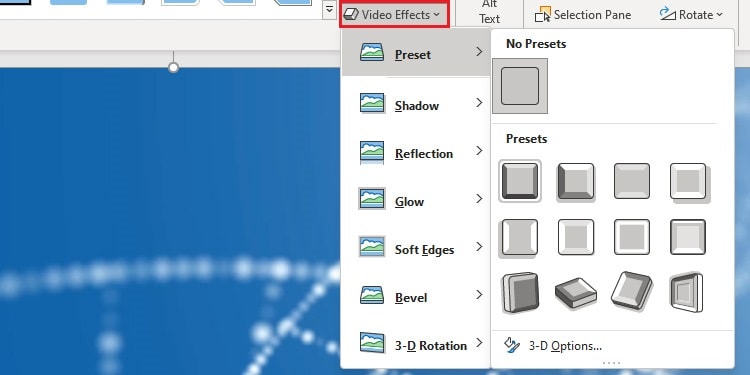
- If you wish to apply 3-D effects on your video, like shadow, glow, and bevel, you can use the Video Effects option. You can choose from PowerPoint’s presets or customize the 3D effects.
Other Video Options
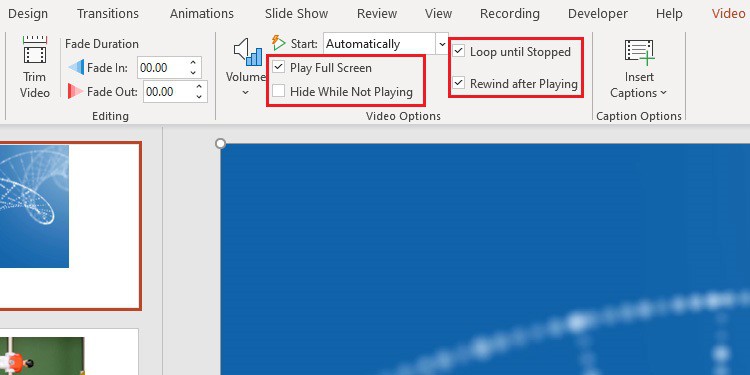
There are further video editing options in the Playback tab, like adjusting volume, looping until stopped, rewinding video, etc.
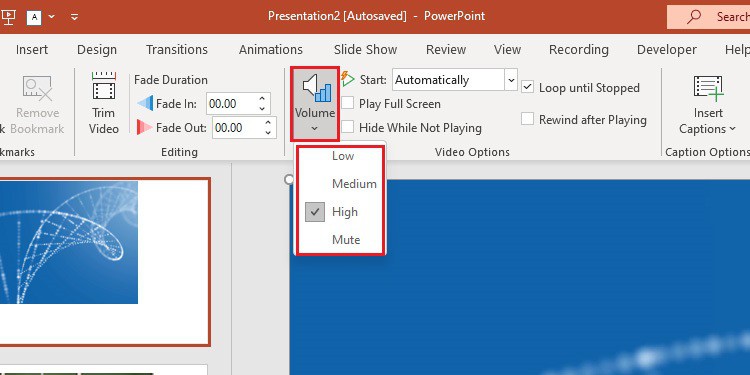
- Click on the Volume option and select an appropriate option from low, medium, high, and mute.
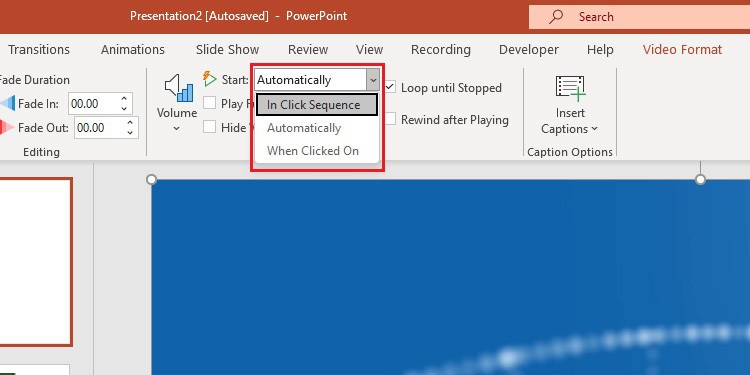
- From the Start option, you can choose to play the video automatically or when clicked on.
- Tick the options Loop until Stopped, Rewind after Playing, Play Full Screen, and Hide While Not Playing to include them on your videos.
Exporting Presentation as a Video
Sometimes, you might need to save your presentation as a video, which you can burn to a disc, upload to the web, or email them.
In that case, you can export your presentation as a video using the Export feature in PowerPoint.
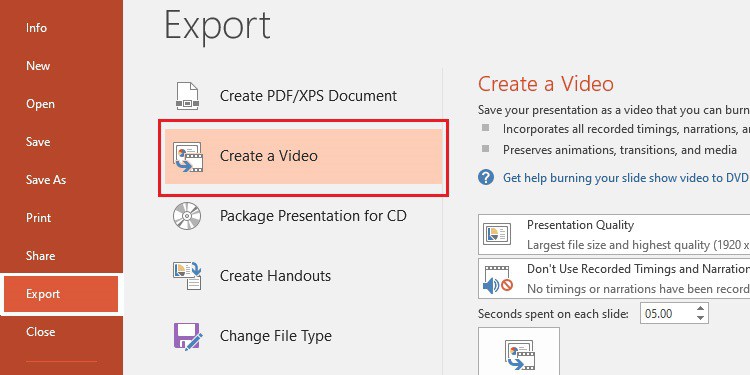
- Go to the File tab and click on the Export option.
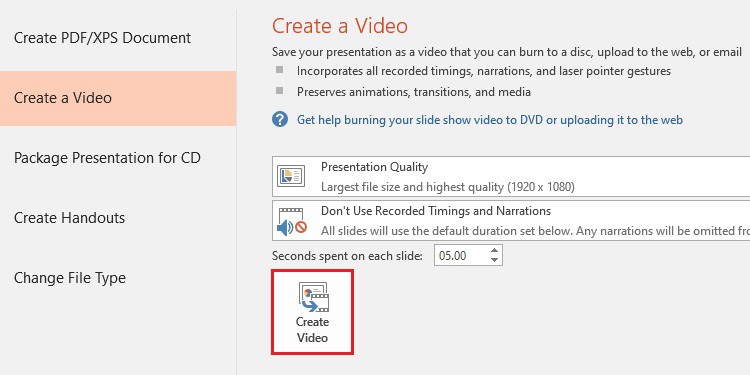
- Click on the Create a Video option.
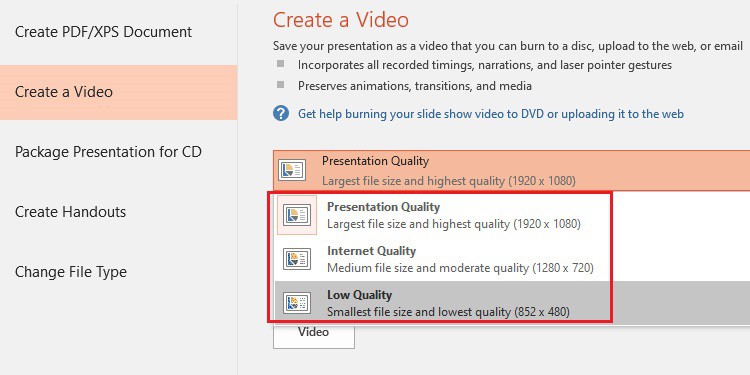
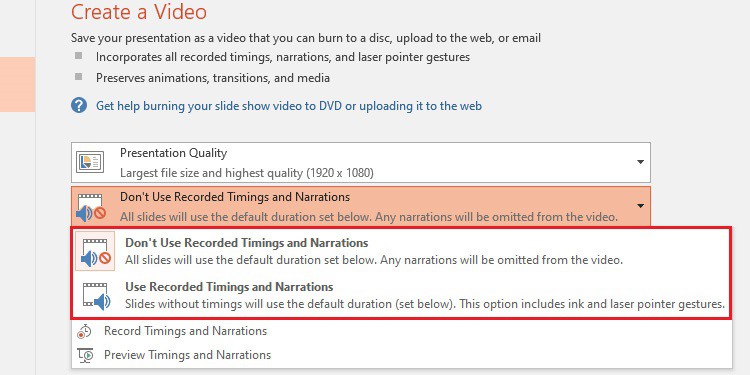
- Click on Presentation Quality and select the appropriate option.
- Choose to use Recorded Timings and Narrations.
- Click on Create Video.
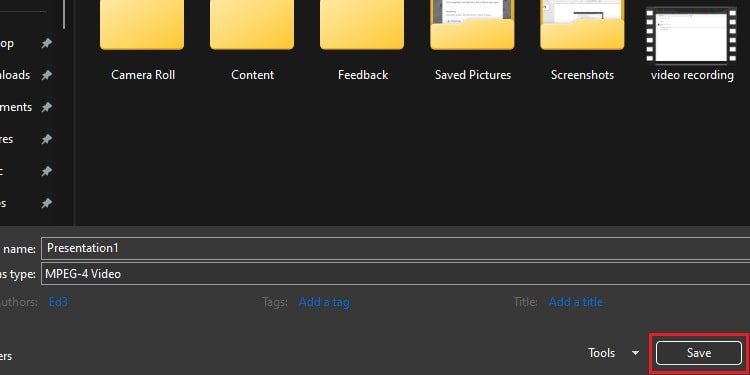
- Save the media in the location where you want.
